Kilted_Cleric (Collin) and I (Jim) played another battle with his Tau, this time against my Space Wolfies. This time, we both knew several days in advance the army the other chap would be playing..
Collin's Tau Exploratory Force.
HQ:
Shas O with Cyclic Ion Blaster, Plasma Rifle, Drone controller, 2x shield drone, multi-tracker: 134 pts -ish
Elites:
Shas’vre Crisis Suit with Missile Pod, Burst cannon, Multi Tracker, Drone Controller, 2xShield Drone= 90pts
Shas’vre with Missle Pod, Plasma Rifle, Multi Tracker, Drone Controller, 2xShield Drone=102
Stealth Team
5xShas’ui 2 with fusion blaster, 1xShasvre with Marker Light=207
Troops x2
5x Shas’la fire warriors, 1x shas’ui with marker light, hardwire target lock and bonding knife= 75
Dedicated Devil Fish with targeting array, disruption pod,, multi-tracker, decoy launcher=105
5x Shas’la fire warriors, 1x shas’ui with marker light, hardwire target lock and bonding knife= 75
Dedicated Devil Fish with targeting array, disruption pod,, multi-tracker, decoy launcher=105
11 Firewarriors, 1x shas’ui with marker light, hardwire target lock and bonding knife=
Heavy
Broadside team (2) with Drone controller and 2xshield drones= 200
Sniper Drone Team=80 points
Hammerhead Gunship with Railgun,
SMS, Disruption Pod, Target Lock, Multi-tracker=180
Total=1503 (point costs guesstimated at the moment)
Jim's Get of Freki -
HQ -
Rune Priest - (no wargear), Living Lightning, Storm Caller - 100
Elites -
Dreadnaught Hrolf - MultiMelta,
PF,
HF riding in a drop pod with Storm Bolter - 150
Wolf Guard - 4
WG in a Assault Cannon Razorback - 176
(plus 1
WG separate riding with the Swiftclaw pack)
Troops -
9 Grey Hunters, 1 Plasma Gun, 1
PF/bolter, 1 Bolter/Mark of Wulfen, 6 basic Grey Hunters in Rhino - 205
10 Grey Hunters, 2 Meltaguns, 1
PF/Bolter, 1 Mark of Wulfen, 6 basic
GH in a Drop Pod with Storm Bolter - 230
10 Grey Hunters, 2 Meltaguns, 1
PF/Bolter, 1 Mark of Wulfen, 6 basic
GH in a Drop Pod with Storm Bolter - 230
Fast Attack -
SwiftClaw Bikers - 3 basic Swiftclaws, 1 Attack Bike with MultiMelta, 1 Wolf Guard Biker with Thunderhammer - 213
SkyClaw Pack - 4 Bloodclaws (
BP,
CCW), 1
BP/Pfist, 1 PlasmaGun - 148
Landspeeder - MultiMelta - 60
Total - 1512
Army gallery here..
http://www.dakkadakka.com/gallery/images-6274-5767_Get%20Of%20Freki%20%28space%20Wolves%29.html
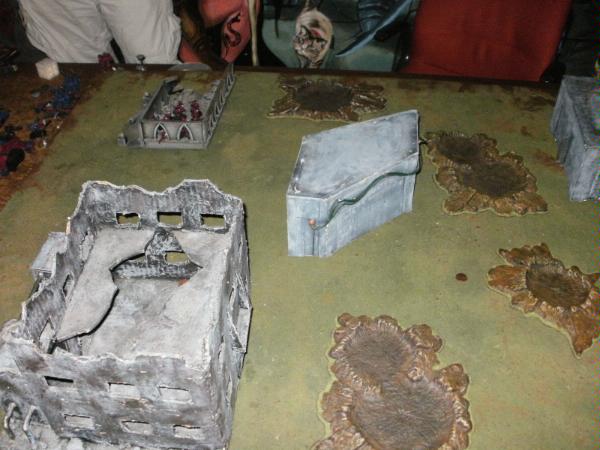
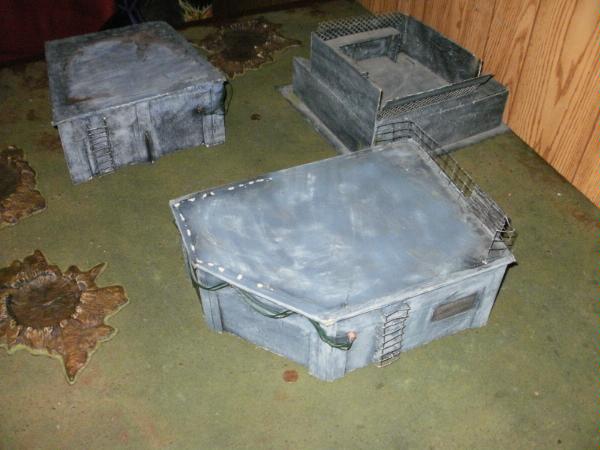
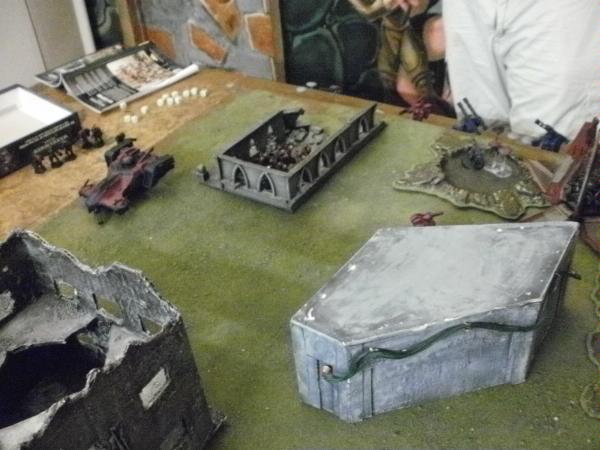
I was a smidge over, but it was workable. We set up our board to resemble an industrial warehouse district.. a fair amount of cratering. We agreed that the craters were difficult ground, and would provide 4+ cover saves to models in them.
Mission - Seize Ground - (5 objectives, represented by Abraham Lincoln iconograpy.. ie pennies)
Deployment - Dawn of War
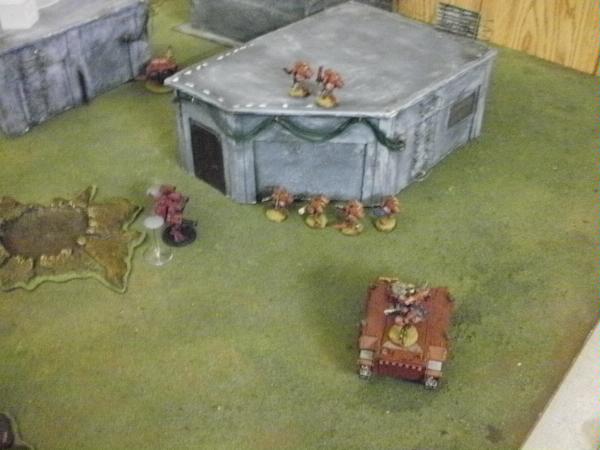
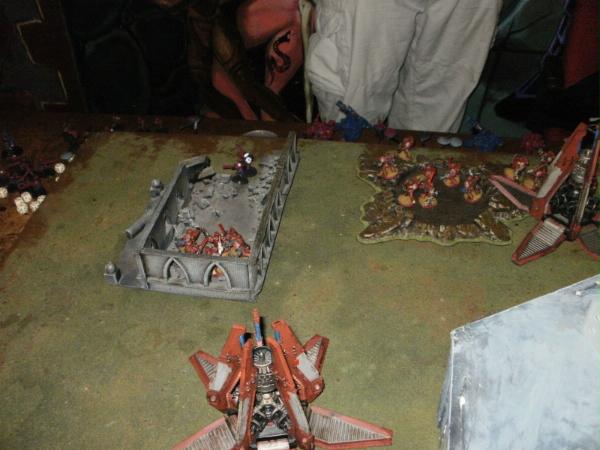
I won the roll for first turn. Hmm..I decide not to deploy anything. Collin places his 12 man Firewarrior team in a ruined building, smack on top of one of the objectives!
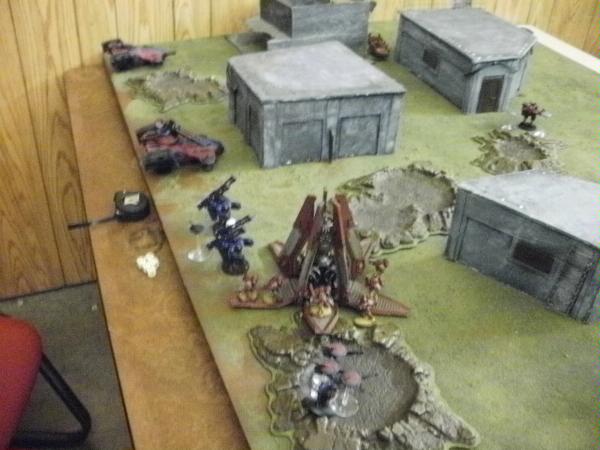
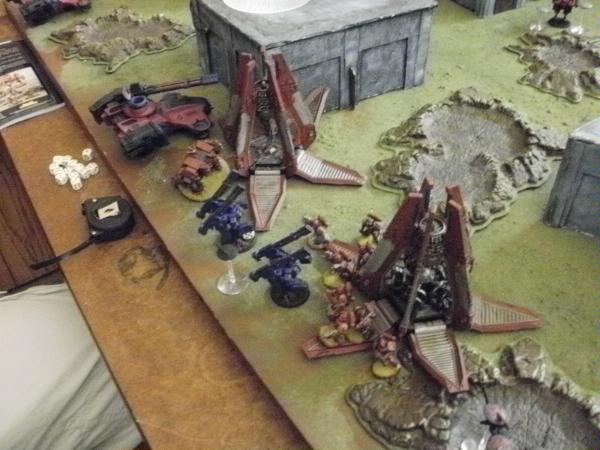
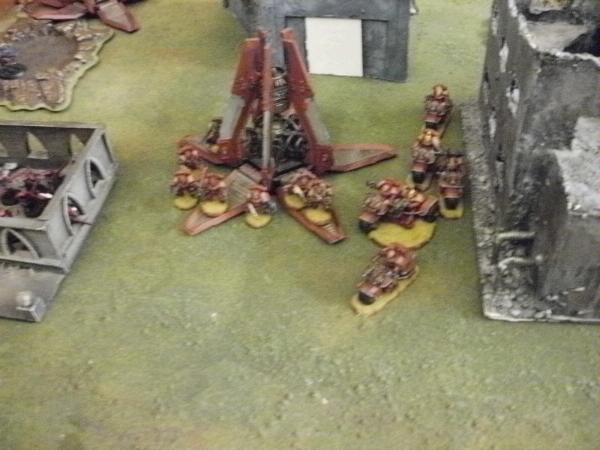
Western side of the battlefield, with Firewarriors camping out
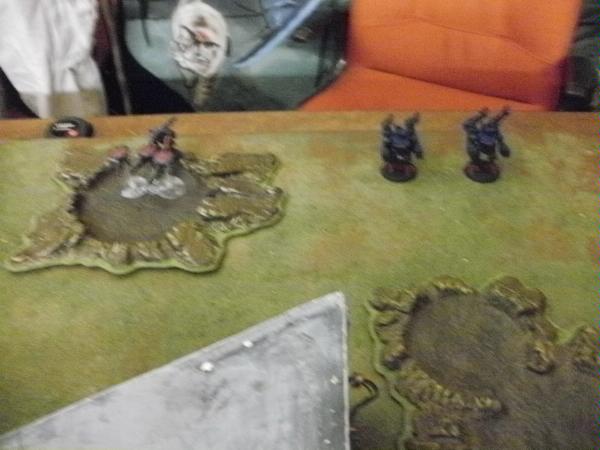
Eastern side, looking empty of enemies!
Collin decided to attempt to Seize Initiative.. and SUCCEEDS!!!! Whoops of excitement ring out..
Tau Turn 1
Tau Team Leader decides to send just the Sniper Team and the Broadsides onto the board at this point. He is sure that the
SW will be droppodding onto his forces, and wants to keep his heavier tanks and troops in reserve.
Sniper team heads into the crater, and the Broadsides walk on 5 inches, and lock their legs in anticipation of targets arriving.
end of turn
Space Wolf Turn 1
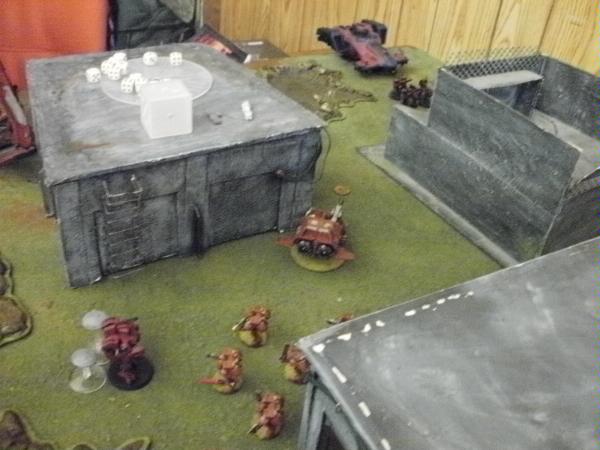
The Landspeeder and Skyclaws come into the board on the eastern side, using one of the warehouses to stay hidden from Tau gunsights. Tau Commander taunts them, making clucking sounds. (grin)
Thanks to Drop Pod Assault, 1 of the 3 pods I have comes down.. I chose a Grey Hunter squad, keeping Dread Hrolf in orbit until a Hammerhead should appear. Pod was placed close to the broadsides so that the Suits were between the pod and the edge, in case of drift.. but the Pod headed over to the crater, just stopping short of the huge divot. Doors drop down, Grey Hunters emerge, and rapid fire into the broadsides.
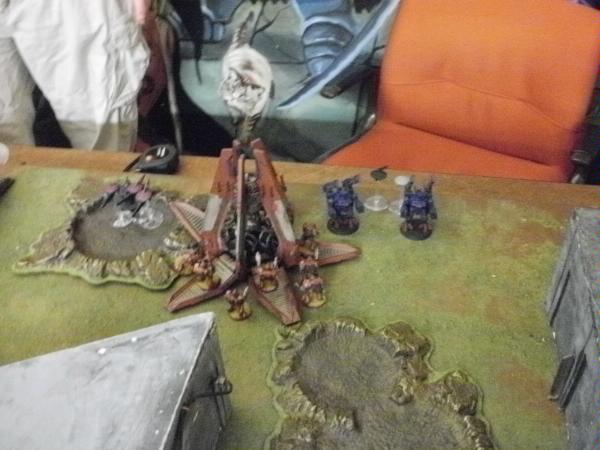
After the less than thrilling shooting phase, 1 of the Shield Drones disintegrates, and a Broadside takes a wound.
end of turn
Tau Turn 2
Rolling for reserves, Tau Collin gets his Hammerhead, both Devilfish, and one Crisis Suit. Crud.
The Devilfish come in on the far corners of the board, ready to do a pincher movement, maybe... and the Hammerhead glides in behind a warehouse. The Crisis Suit deep strikes into the open court in the center of the board, ready to Jump, Shoot, Jump next turn
Tau shooting phase is REALLY statistically lousy. The Hammerhead fired subminutions into the
GH, and either failed to wound or I made just about every armor save. 1 single Casualty. The Broadsides fired their
TL Railguns into the Drop Pod.. and either missed, or on the 1 that did hit, rolled a 1 on the Armor Penetration check. Sniper Team fired into the
GH.. and did nothing. Sniper team gets mocked from the
FW squad in the ruined building, but they ALSO fail to kill a single
GH.
Space Wolves Turn 2
Reserves... I get the Rhino of Grey Hunters and Rune Priest, and the Dread in Drop Pod.. ooookay..
Drop Pod dread goes in front of the eastern Broadside, and drifts towards the Hammerhead! Woot!..Dread gets out with a clean shot on the Hammerhead side armor.. The Tau send up a chant of "Evil! Evil!".. The Rhino trundles on the board heading for the objective and co-incidentally near that lone Crisis Suit standing in the open. The Grey Hunters in the Tau Backfield scootch a bit closer to the Broadsides, reading their bolters, whilst the Skyclaws hop around the Warehouse sensing Crisis doggie snacks.. the Landspeeder wends its way into the warehouses, and gets a bead on the Devilfish in the NE corner..
Shooting for the Wolves was interesting.. the Grey Hunters managed to remove the last shield drone and the wounded Broadside using only Bolt Pistols (and the Meltaguns...
lol) . Hrolf the Dread failed to hit the broad side of the Railhead (Hang your head in SHAME!)!
The Rune Priest summoned Living Lightning to destroy a Shield Drone on the lone Crisis Suit, with the SkyClaws picking off the other with Bolt Pistol fire. Plasma Gunner in the Rhino managed to hit, but not wound the Suit. The Drop Pod Stormbolter in the
GH Pod accounted for a destroyed Sniper Drone.
The Landspeeder lines up a shot on the Devilfish, and immobilizes it on the edge of the board!
Assault Phase... the Skyclaws pile into that drone-less Crisis Suit.. and pull it down with no losses themselves!
They then consolidate towards the Devilfish to assist the Landspeeder.
and the Grey Hunters assault the remaining Broadside which crumples like tinfoil! They consolidate towards the Hammerhead to assist with Melta-ing it into junk..
Tau Turn 3
Tau Commander decides to show up in person, as well as the other Crisis Suit.. Stealth team continues to slack off. Commander Deep Strikes into the center of the open space, close to the Blood Claws, whereas the Crisis suit comes in over by the
FW team in the ruins.
The NW Devilfish moves 12 inches up.. and the Hammerhead slides sideways 6 inches away from Hrolf... and the 6 man Fire Warrior squad disembarks from their immobilized Fish.. and start walking towards the objective that the
LS is guarding.
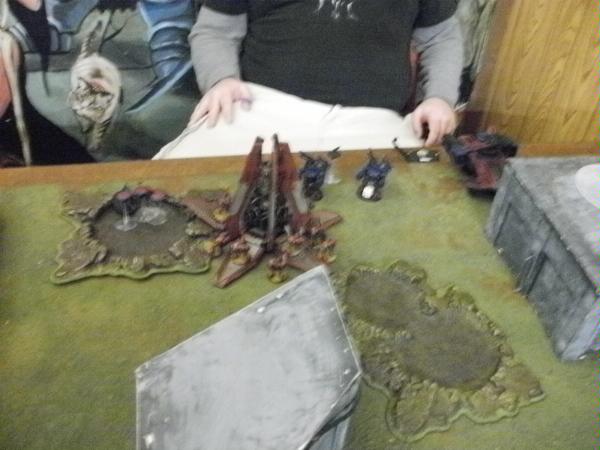
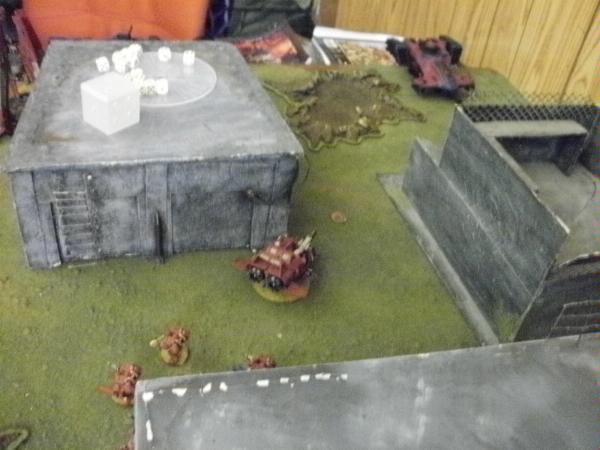
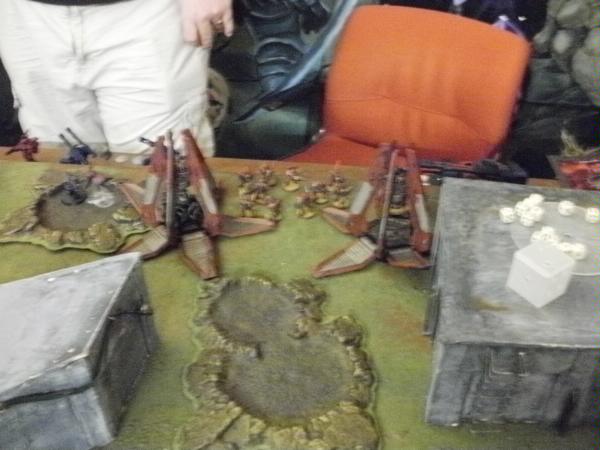
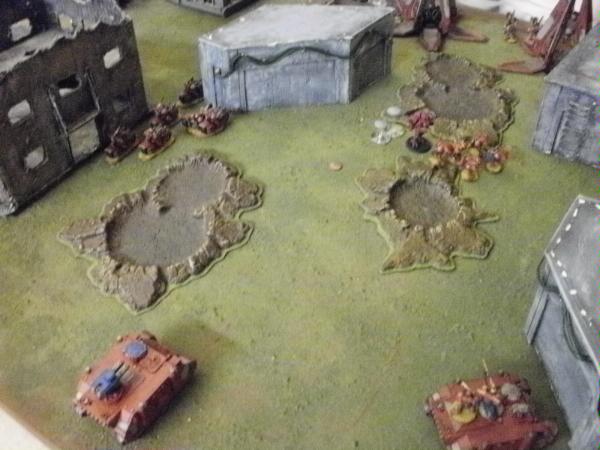
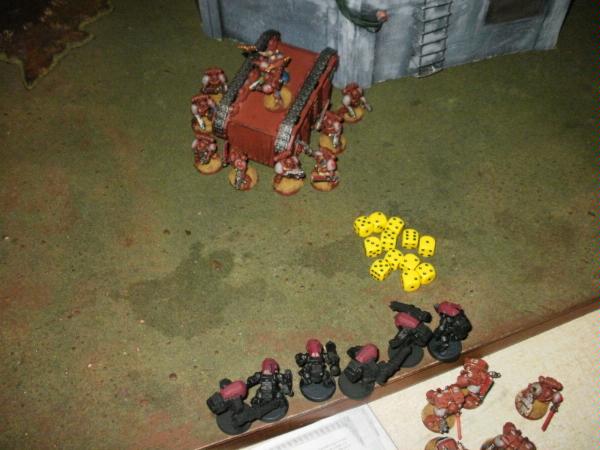
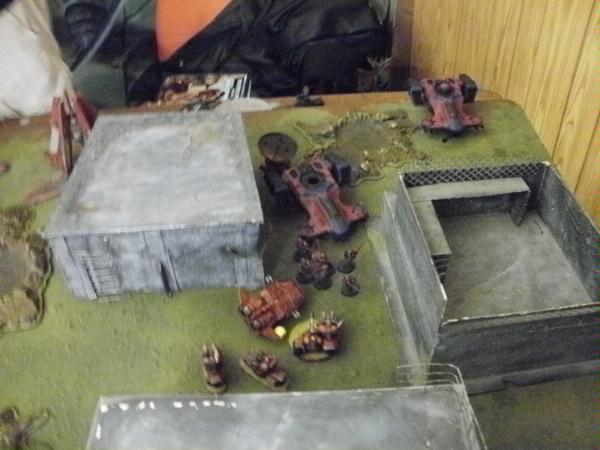
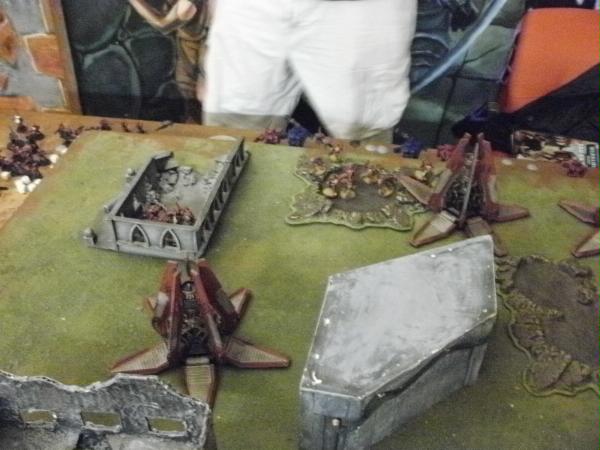
Western side
Eastern Side
Tau Shooting-
The Hammerhead manages to Stun and Shake poor Hrolf.. no moving and shooting for you! The FireWarriors in the ruin manage to kill another Grey Hunter. The Crisis Suit attempts to destroy the Drop Pod, and manages to do nothing except scratch the paint.
The immobilized Devilfish manages to Stun the driver of the Landspeeder, but the
FW with their Pulse Rifles totally wreck it. Tau Commander brings the Cyclic Ion Blaster online.. and fails to kill a single Skyclaw. His Plasma Rifle does account for 1 of them though..
Oh.. the Sniper Team in the crater? They miss again.
Assault phase -
Tau Commander jumps backwards 6 inches to put some distance between him and the Skyclaws, and the Crisis Suit gets closer to the Grey Hunters.
Space Wolf Turn 3
Swiftclaw Bikers and the Wolf Guard arrive.. Bikers turboboosting onto the board, getting ready to head around the corner and tackle the Devilfish in the west. The Razorback trundles on and locks the
TL Assault Cannons on Tau Commander. Hrolf the Dread contemplates the Railgun with calmness, confident that the Tau couldn't hit him. The Grey Hunters slide past Hrolf, and heft meltaguns. The Skyclaws prove to Tau Commander that 6 inches is not enough to get him away... and land ready to assault. The
GH Rhino parks on top of an objective.
 SW
SW Shooting-
The Skyclaws and the Plasma Gunner in the Rhino take the drones off the Commander. The Melta guns ALSO miss the Hammerhead (mega sigh). The Razorback targets, and kills, Tau Commander with well placed Assault Cannon rounds. And.. once more, the 2 Drop Pod stormbolters manage to kill Sniper Drones, leaving the Spotter alone with his pistol.. contemplating ending it all.
Assault phase.. none! All targets dead!
Tau Turn 4
Once again, the Stealth Team, realizing that things are not going well, fail to answer the call to duty.
The Crisis Suit jumps over the building, to target the Swiftclaws, the Firewarriors in the NE continue to advance to the objective, and the Hammerhead slides around the warehouse to support the
FW. The NW Devilfish moves a bit, and the Firewarriors inside hop out.
Tau Shooting-
The Hammerhead cannot see anything, and the
FW in the NE can't either. The Spotter of the Sniper team, takes a pistol shot at the
GH, with no effect. The Crisis Suit, the 12 man
FW squad in the ruins, the Devilfish and the 6 man
FW Squad ALL shoot at the Swiftclaw bikers, and the turboboost 3++ saves biker bacon.. no casualties.
Assault Phase - The Crisis Suit jumps behind a warehouse
Space Wolf Turn 4
Reserves.. I get the last Grey Hunter in a Drop Pod squad! The Fish + 6 man
FW squad looks tasty, so I drop the pod that way.. and get a great Scatter roll for placement.
The
GH Hop out of the pod, as the Swiftclaws come around the corner..
The Skyclaws move back towards the Hammerhead, landing on top of the Warehouse, in a good position to assault later in the turn.

The
GH in the Rhino stay put, as does the Razorback and the backfield
GH move into the crater to assault the poor Spotter... Hrolf the Dread runs around the back of the Warehouse and gets a good bead on the rear hatch of the Hammerhead.
SW Shooting -
Hrolf manages to punch a shot in and immobilize the Hammerhead!
The Skyclaws fail to injure the Hammerhead with their Plasma gun, so.. down to the assault phase for them. The
GH and Drop Pods shoot the Spotter down before assault can happen..
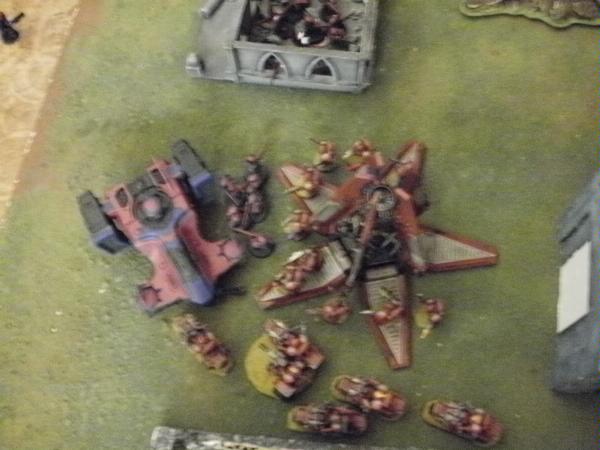
Over in the west, the Swiftclaw Attack Bike shoots the Devilfish and Melta's it into an incadescent fury! When it goes critical, 3 of the
GH have perished as well as 3 of the Fire Warriors from inside it. The remaining 3 Fire Warriors don't have a lot of time to bemoan their comrade's fate, as the
GH rapid fire them into oblivion..
Assault Phase.. the Skyclaws assault the Hammerhead and FAIL to get there by an inch! Aarrrg. The
GH feel lost in the crater..
Tau Turn 5
The Tau Commanders eternal spirit sends the Stealth team in (Go Avenge Me!).. and they Deep Strike behind the
GH Rhino in the
SW south.
The NE set of Firewarriors advance further to the objective in front of the Hammerhead.
The Crisis Suit hops on top of the warehouse and targets the Bikers.
Tau Shooting -
The Crisis Suit manages to kill 2 of the Swiftclaws with plasma and missiles, and the Firewarriors in the ruins eliminate another Grey Hunter in the Pod. The Firewarriors in the NW, double tap and rapid fire death into the Skyclaws, claiming 3. The Hammerhead swings it's Railgun around and fires into the ground at Hrolf's feet, while Smart Missiles patter like rain from the Dread's armour. The Skyclaws fail their Morale, and retreat!
The Stealth Suit fusion guns make short work of the Rhino, wrecking it, and the
GH disembark.
Assault, the Crisis Suit jumps off the warehouse, and the Stealth Suits move a bit back to the back line of the Wolves.
Space Wolf Turn 5
Thanks to Knowing No Fear, the Skyclaws regroup themselves. The Swiftclaws turn and chase after the Crisis Suit, but fail to get close enough for a future assault. The Grey Hunters continue to pick their way thru the crater, while their compatriots move right up to the ruin! In the backfield, the Hunters reside in their Rhino wreakage. Hrolf advances upon the hapless Hammerhead.
Shooting -
The Drop Pods, the crater
GH, and the other
GH squad outside the ruins, all fire into the
FW inside.. killing 7 of them, and they break and run! The Swiftclaws manage to put a wound on the Crisis Suit with bolter fire, and the
GH and Razorback combine with the Rune Lord's Living Lightning to eliminate 3 of the Stealth Suits.
Hrolf fires again, and blows the Railgun turret off the Hammerhead! (cheers!)
No assaults at this point.
Collin rolls to see if this is Game Over.. but no.. we continue at least one more turn.
Tau Turn 6
The Crisis suit flanks the Swiftclaws, and the Stealth Suits don't move. The Fire Warriors regroup at the edge of the ruins, and the other
FW squad claims the NE objective!
Shooting -
The Stealth Suits manage to kill another Grey Hunter off the Rhino, and the Crisis Suit puts a wound on the Attack Bike. The
FW rapid fire into the Skyclaws, but fail to kill them. The Hammerhead swivels it's
SMS system, and blasts Hrolf.. this time penetrating his defences and wrecking him! (Poor Hrolf... we can rebuild him.. we have the technology).
Assault - the Crisis suit moves away from the bikers, and the Stealth suits slide 6 inches further away from the
GH Rhino wreck.
Space Wolf Turn 6
The Grey Hunters from the Pod manage to advance into the ruin and secure the objective. The
GH in the crater STILL slog towards the ruins. I forget to move the Skyclaws.. (they are out of my field of vision, but.. no excuse!) .. The Swiftclaws catch up to the Crisis Suit again!
Shooting - The Swiftclaws eliminate the Crisis Suit finally! The 2
GH squads and the Drop Pods knock the Fire Warrior squad down to 2 models.
The Rhino
GH and the Rune Priest reduce the Stealth Suits to one model..
Assault - None really, thanks to forgetting about the Skyclaws.. and the
GH shooting their bolters instead of bolt pistols.
Collin defers to me for the "end of game" dice roll.. and we play the 7th Turn!
Tau Turn 7
This turn is about taking as many
SW down as possible..
The Stealth Suit moves slightly away from the
GH rhino, the
FW camp on the objective in the NE, and the 2 firewarriors in the ruin take cover and prepare to perish for the Greater Good.
Shooting -
The
FW in the ruin rapid fire into the
GH squad sharing the ruin with them, and kill one. The other
FW squad, along with the Hammerhead
SMS system eliminate the Skyclaws..
Space Wolf Turn 7
No real movement other than the Swiftclaw pack turboboosting to get a SLIGHT chance of contesting the objectve with the
FW.. but they are not close enough. (Attack Bike ends 5 inches away)
The Drop Pods of all things are the unit that eliminates the Fire Warriors in the ruins..
and the Rune Priest's Living Lightning short circuits the last Stealth Suit.
Game Over
Post game discussion
Oh good lord.. we BOTH had some serious dice pain in this game. Tons of shots, tons of missing.. I did get the better luck though.. almost all my early armor saves were perfect. The Tau seem to not be able to hit big metal boxes that were right in front of them..
I am not sure why he Deep Striked 2 lone units smack into several lanes of fire .. I did ask if he was sure he wanted them there, and .. he did. Hopefully he will come in and comment his thinking.
My biggest performer this game probably had to be the Grey Hunters.. took a huge amount of fire and had great armor saves... my underperforming unit was the Razorback with
WG inside.. never really got to use them.. and the majority of hits dealt by the Assault Cannon were saved.
I think I would nominate the Tau Sniper Team as the worst performer on his side of the table.. not sure of the best at this point..
Anyhow, comments welcome.. and any glaring rules issues too..
-Porkuslime


 <TopC> - but its raw? :p you cant argue raw
  )
) 3000+ Points
 3500+ Points
 2000+ Points
 2000 Orks