Here is a recent batrep where I've decided to try a few new elements and see how they work.
HQ CCS - Capt. Fernando with a plasma pistol, 1 flamer, 3 meltaguns, 1 MoF
Chimera with Mlaser and HHF
Elites - 1 overseer + 8 battle psykers, in a chimera with a Mlaser and HHB
- 8 ratlings
- 1 The AGENT of Death (Sly Marbo)
Troops - 1st Platoon
PCS - Lt. Sherard, 2 flamer, 2 meltaguns, in a chimera with Mlasr and HHF
- 3 squad blob, each squad with a sarge with a
PW, grenade launcher, autocannon, led by commissar sherwin with a bolt pistol and
PW. 1st squad has a chimera with a Mlaser and HHF
-
SWS with 2 flamers and a demo charge (rides the vendetta)
-
SWS with 3 meltas (will borrow the chimera from the 1st squad)
- Veterans - Sgt. Shawn with plasma pistol, 1 flamer, 2 meltaguns, in a chimera with a Mlaser and HHF
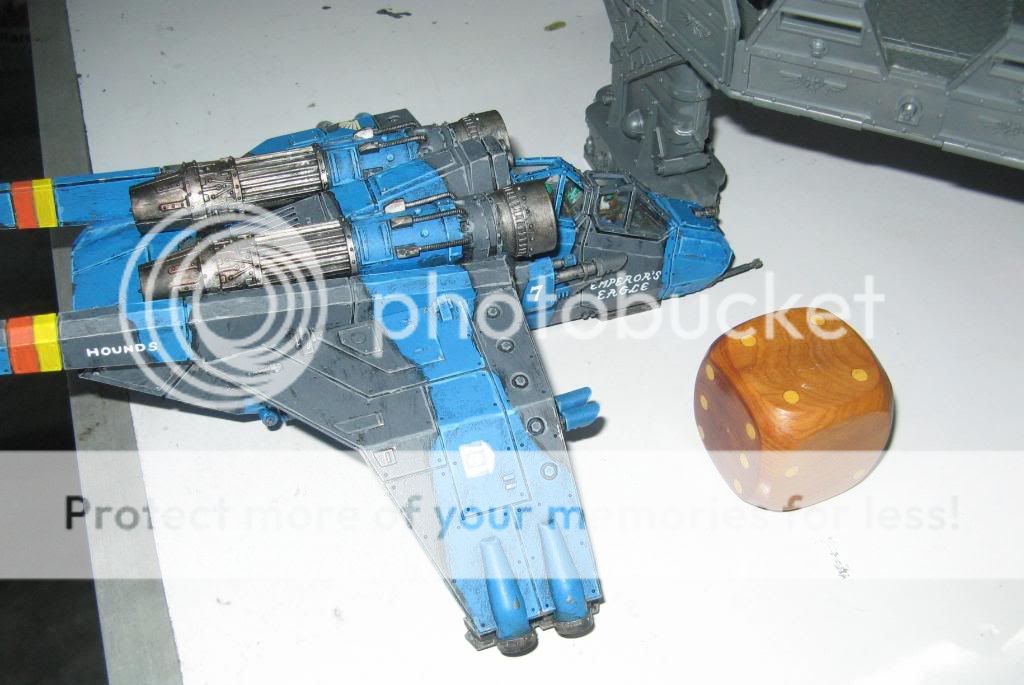
Fast - Vendetta
- Scout sentinel with Mlaser
- 10 Rough riders
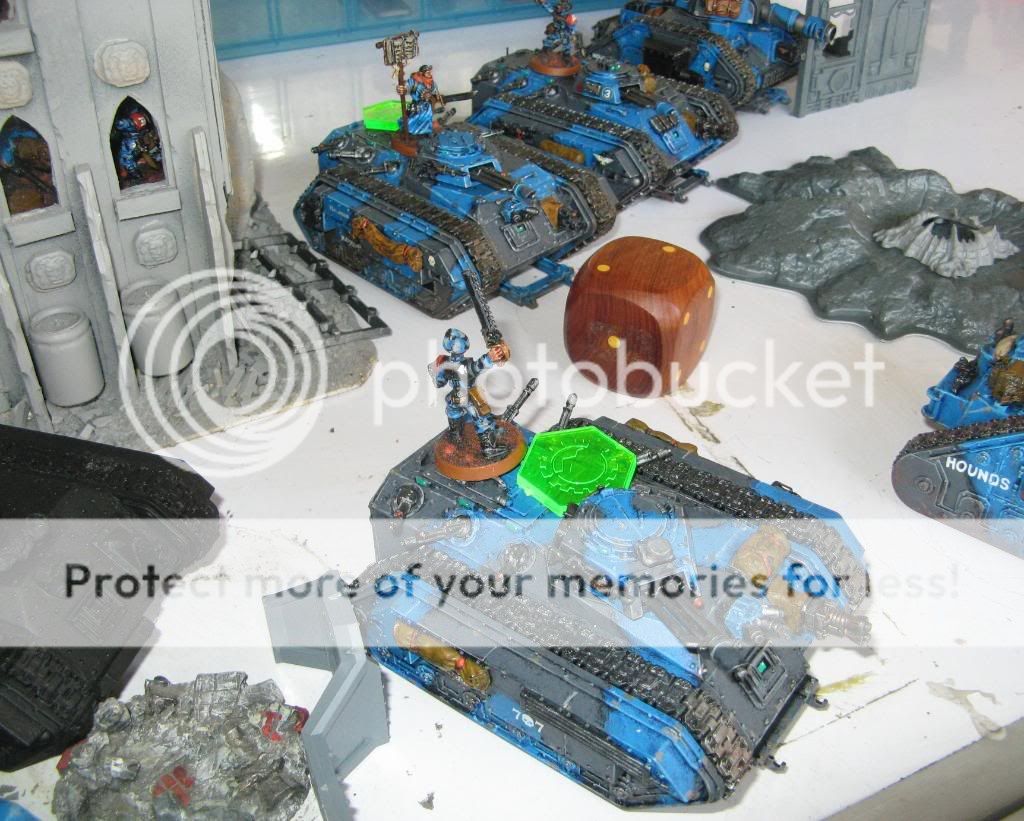
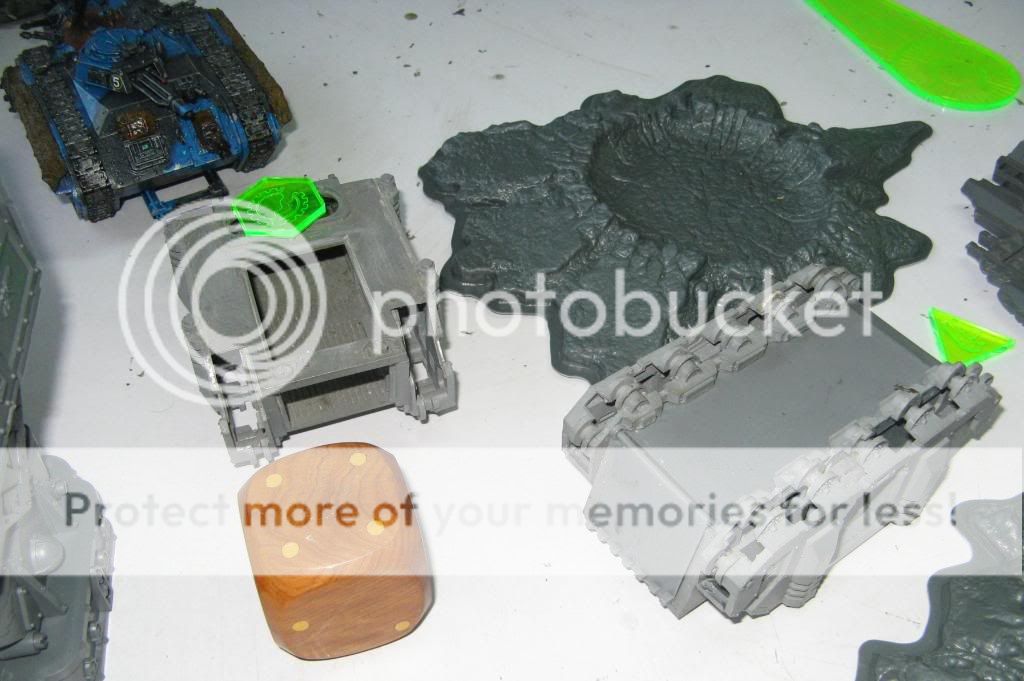
Heavy - 1 Leman Russ Demolisher with Hull lascannon
- 1 Leman Russ with plasma sponsons
- 2 Hydras
This is the first time I will try a list with no artillery, and the first time I have used the demolisher in Ages! It's also a first for me to try the plasma sponsons, as well as the
PBS.
I am fighting Donel's Space Puppies again, and while you guys may say it is a ripoff from the winning adepticon list, it is actually a concept he has been experimenting with (as evidenced by the mass of dogs he has been collecting!), and the Adepticon victory by goatboy has proven that the idea is a winner!
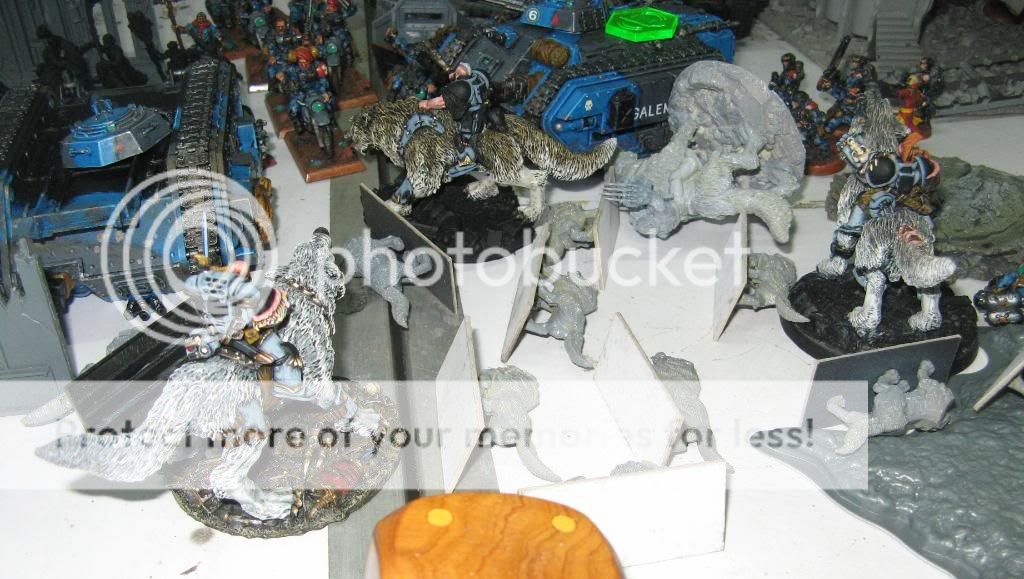
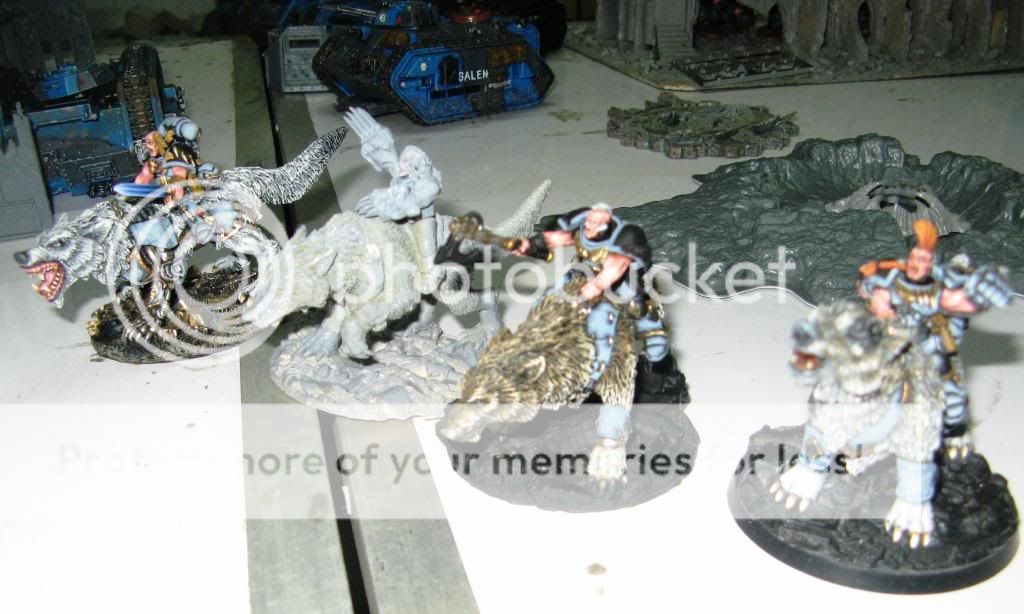
HQ - Canis Wolfborn with 2 fenris wolves
- Wolf Lord with
PF, Storm shield, Rune armor, on a thunderwolf with 2 fenris wolves
- Wolf Lord with a Frost axe, Rune armor, Belt of Russ,
WT talisman, Saga of the Bear, on a thunderwolf with 2 fenris wolves
- Wolf Lord with a Frost Axe, Storm shield, Rune armor, Saga of the Majesty, on a thunderwolf with 2 fenris wolves
Troops - 4 x 5 man
GH packs, each with a flamer and a pack leader with a mark of the wulfen, riding a razorback
- 15 Fenris wolves
HS - 3 x 6 man Long Fang packs, each with 5 missile launchers (the lascannons count as
ML)
Gawd, that's a lot of dogs! And my MoF was rendered useless (I thought he would be packing wolf scouts)....
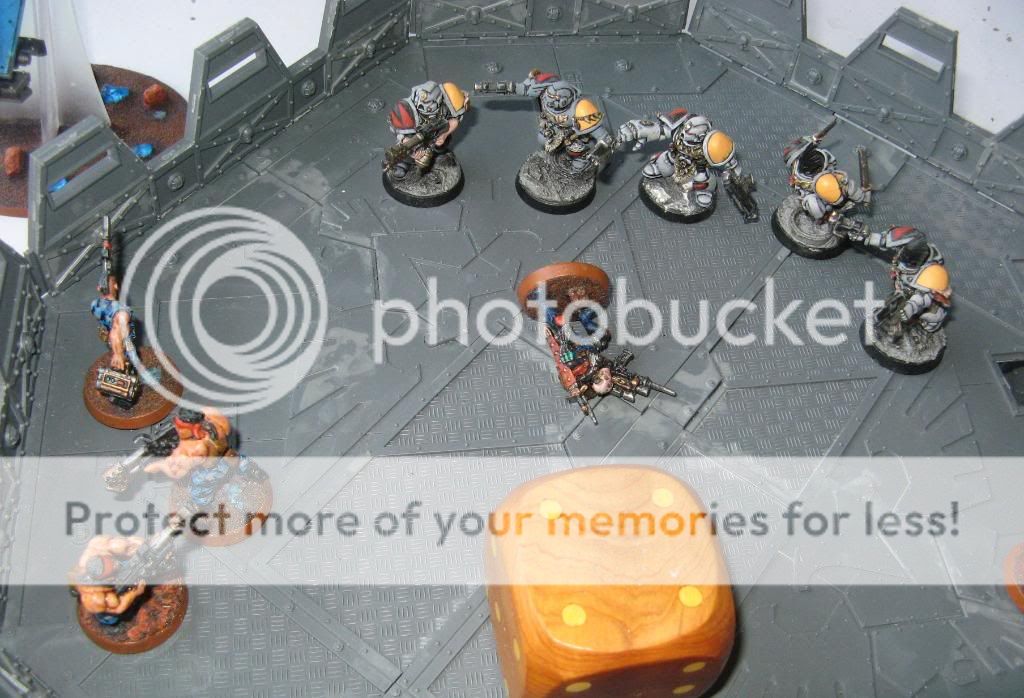
The scenario was capture and control, with a spearhead deployment (thank goodness!). Donel won the roll to setup and go first, and I failed to steal the initiative.
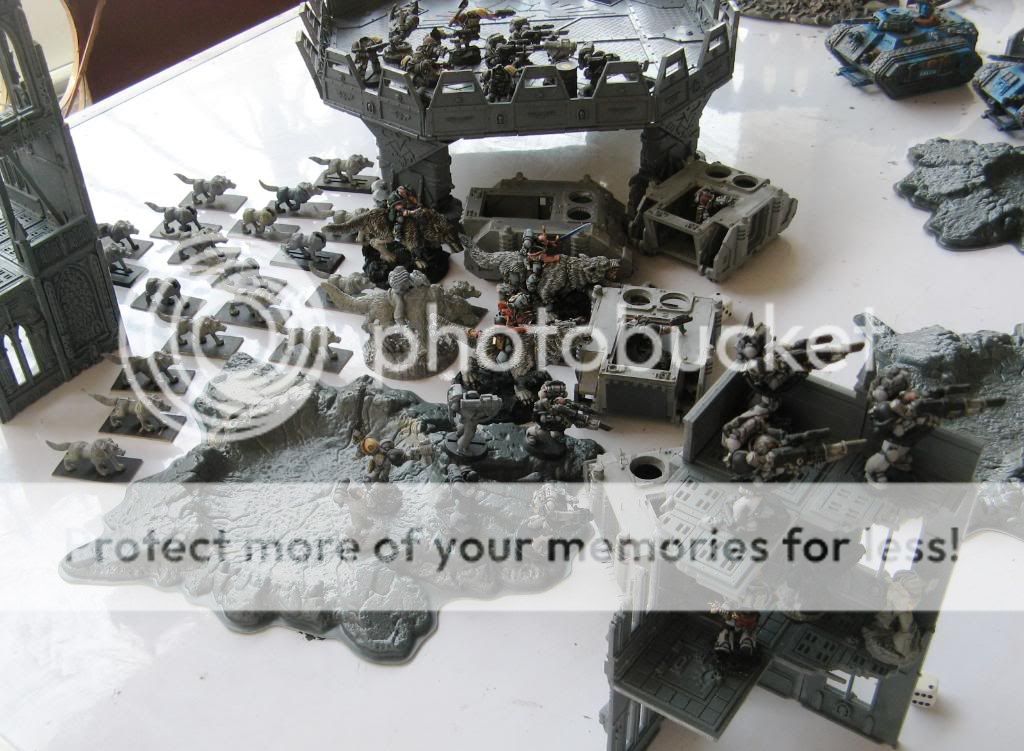
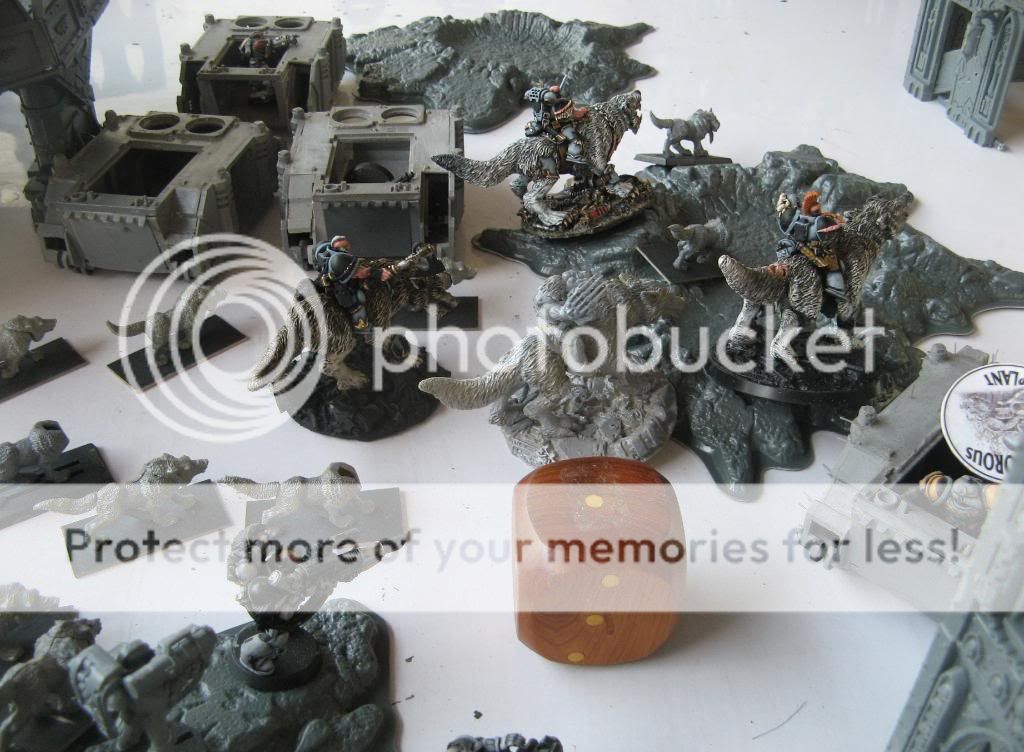
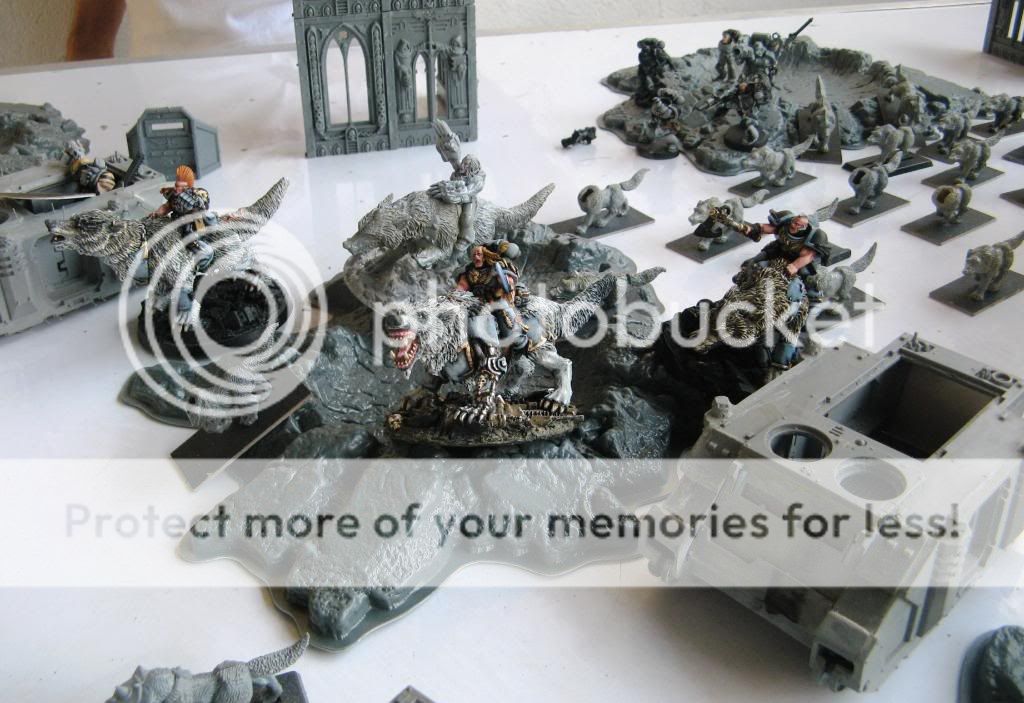
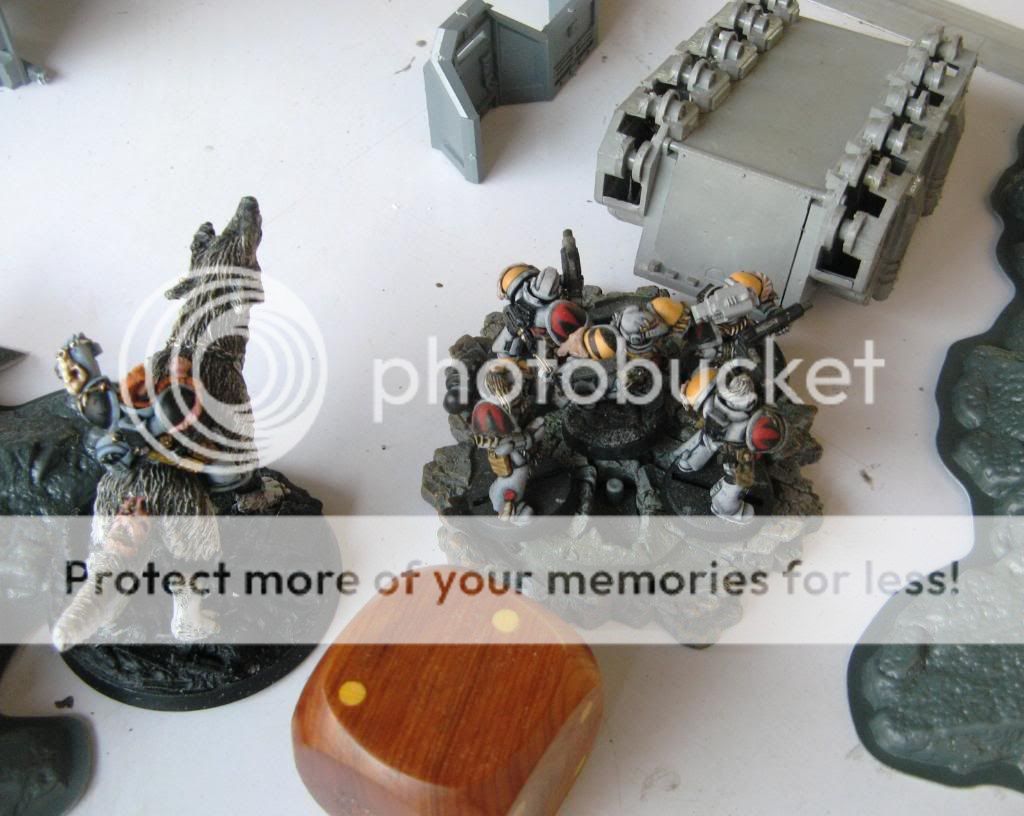
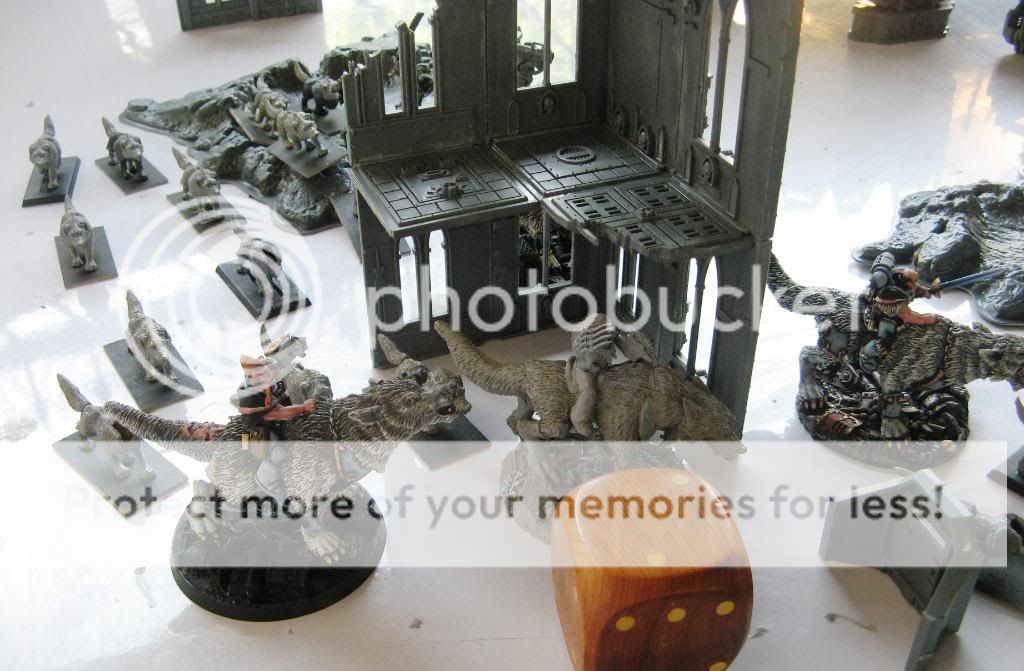
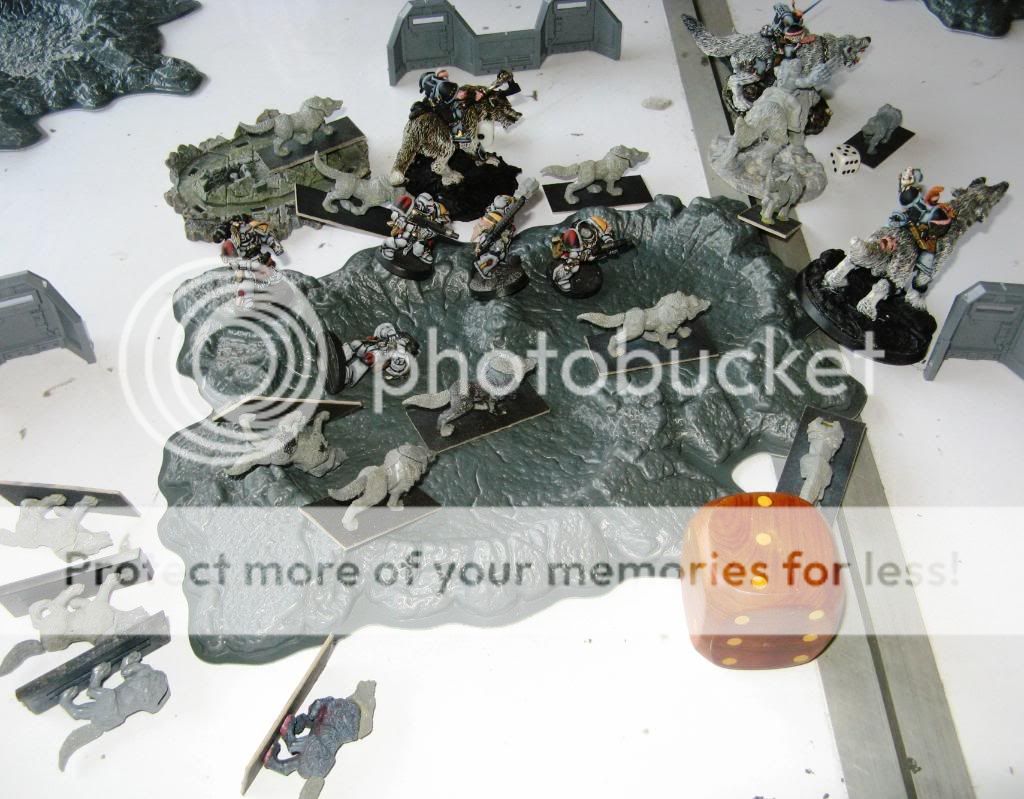
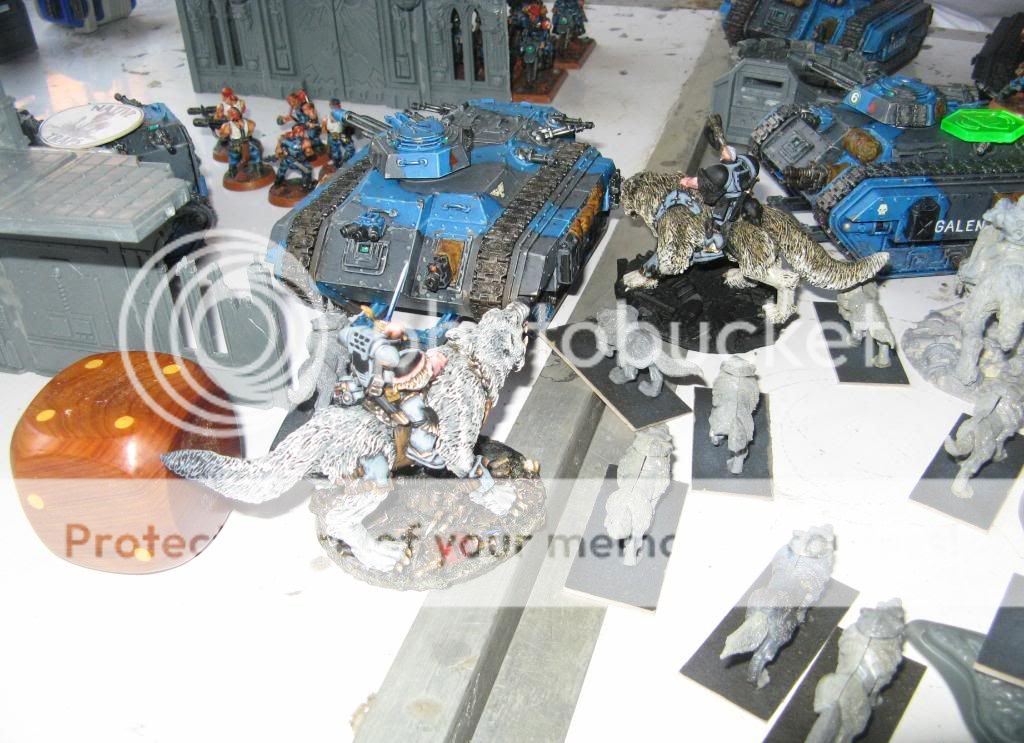
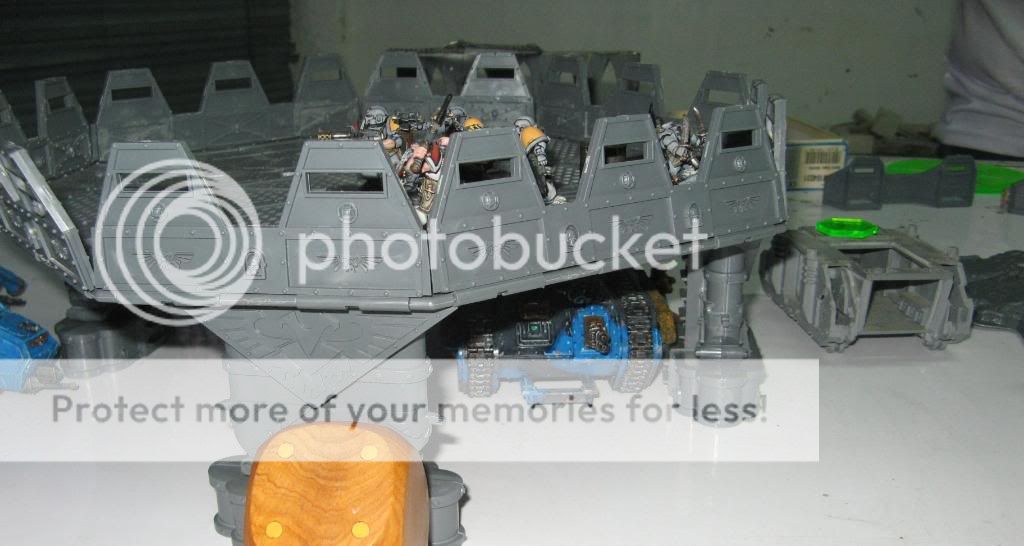
2 views of his deployment. He deploys Long Fang Pack 3 as well as
GH pack 4 on the landing pad beside his objective. The other
GH and the empty razorback screens the entire unit composed of the 4
HQ's which joined the wolves (23 wolves + 4 TWolves, aroooooo!!!!).
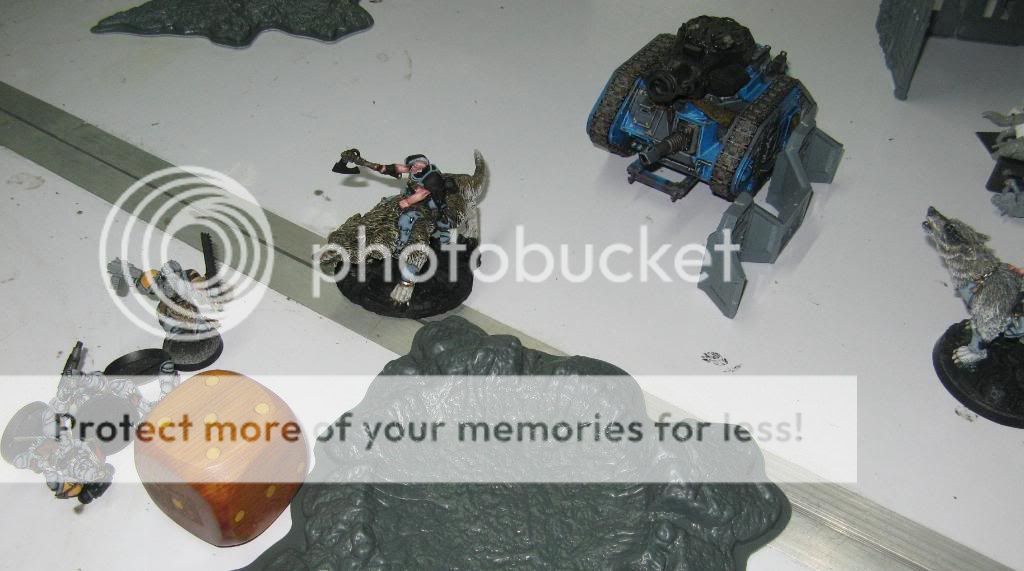
LF 1 deploys on an elevated ruin, and LF2 in a crater beside the wolves.
Growwllll.....Donel's exquisite characters (His converted Canis is still unpainted)
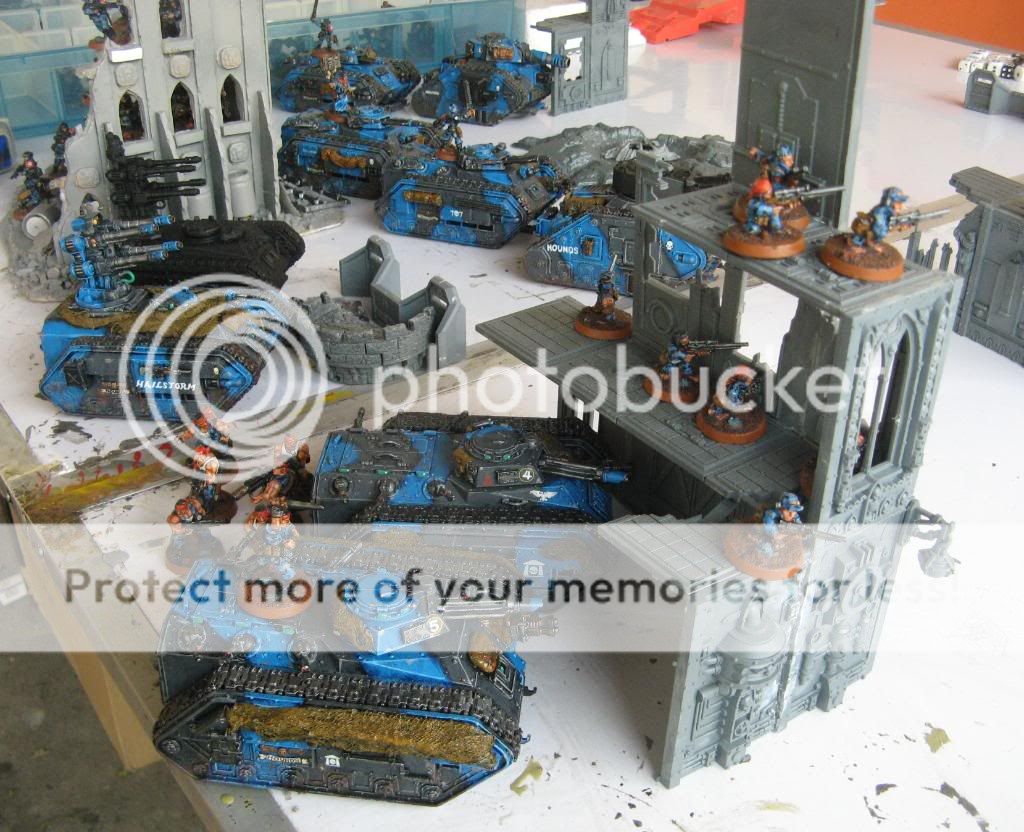
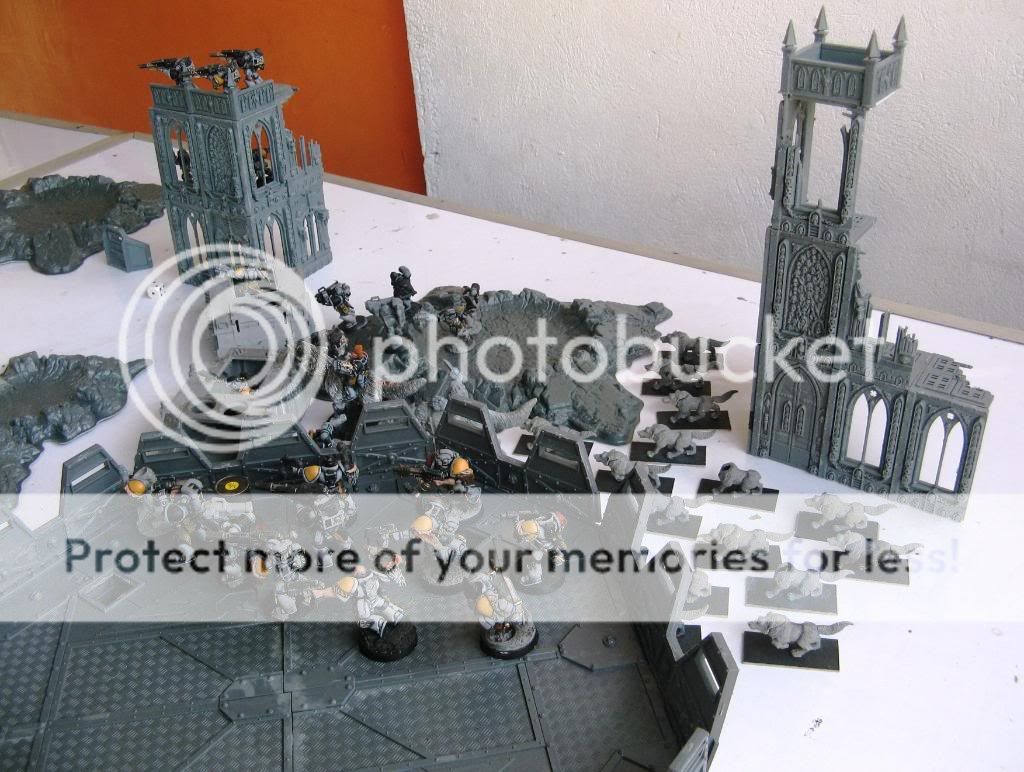
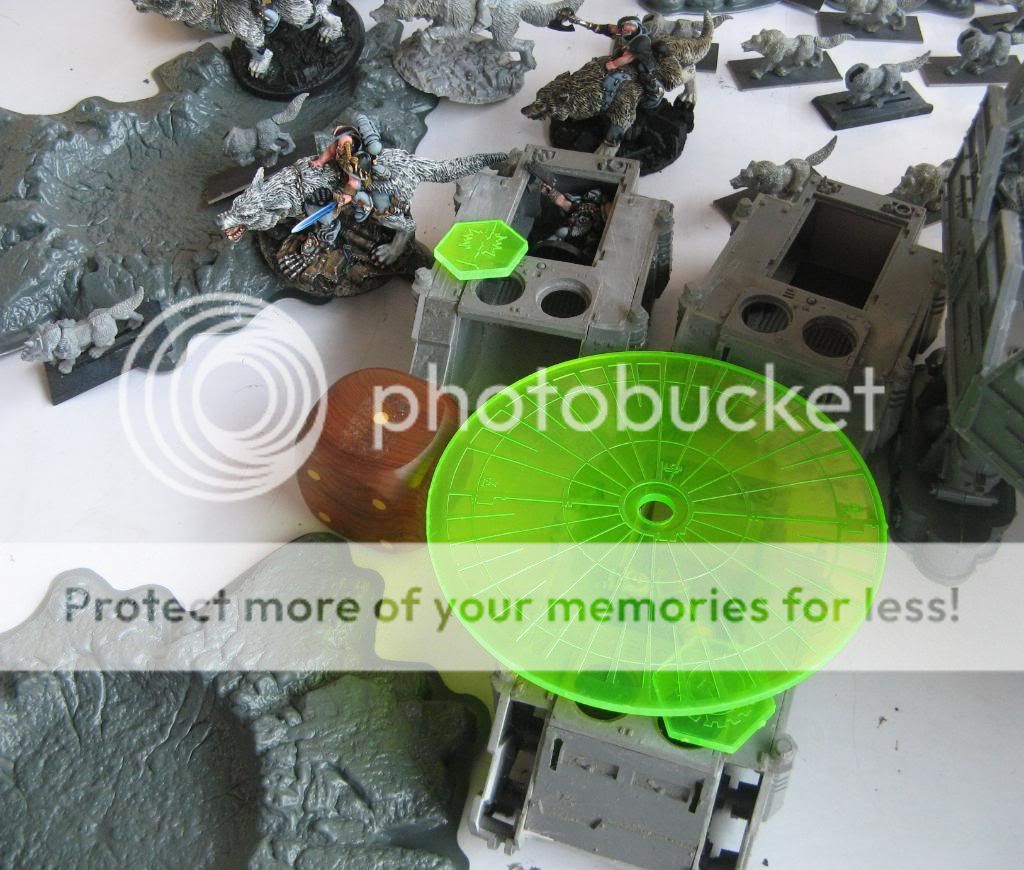
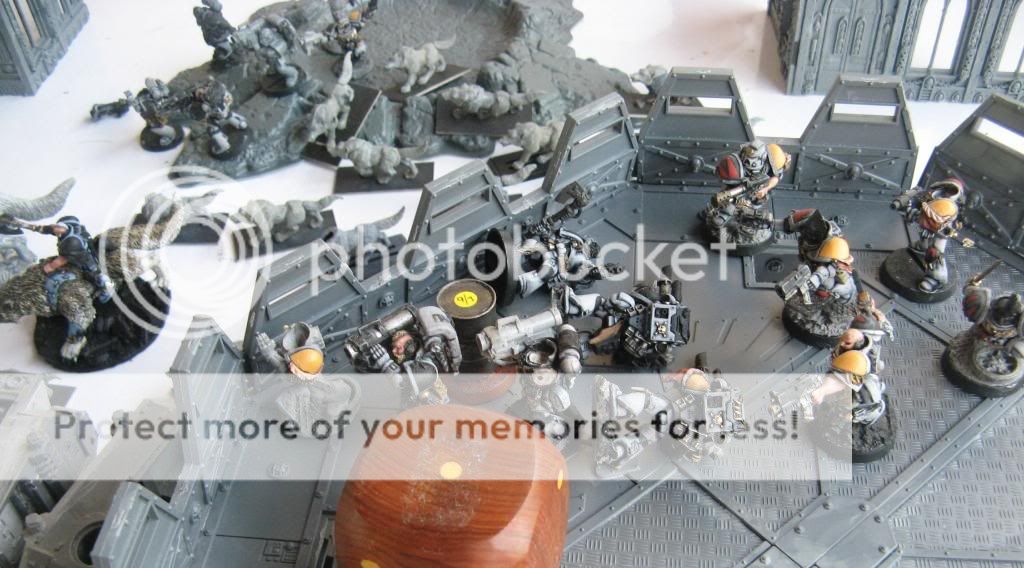
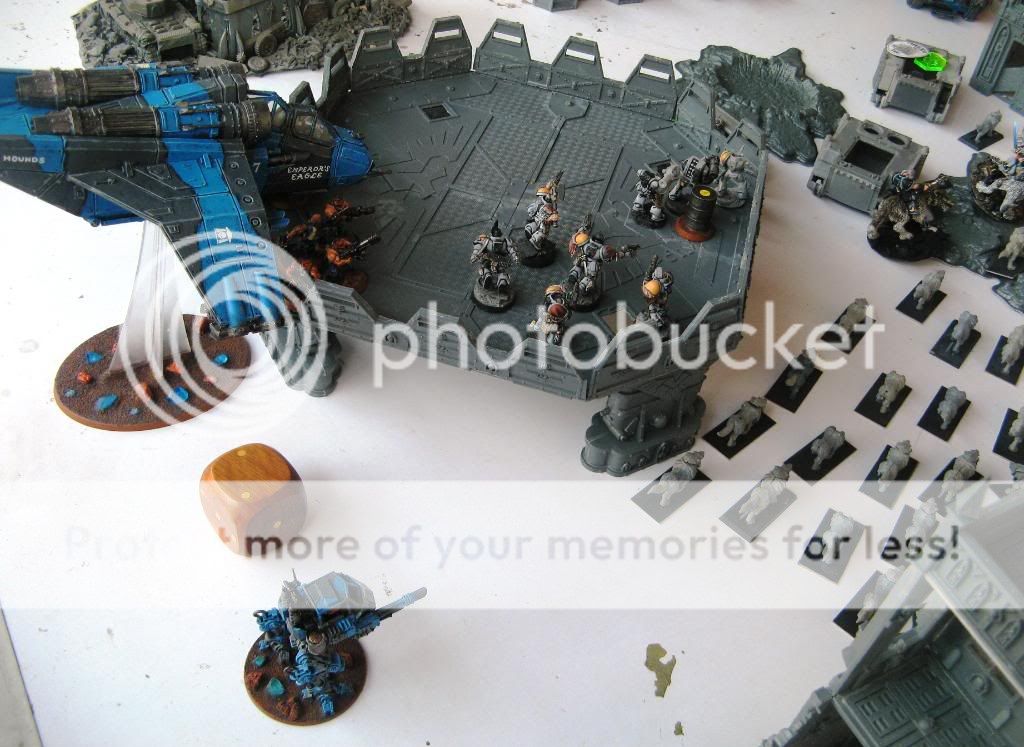
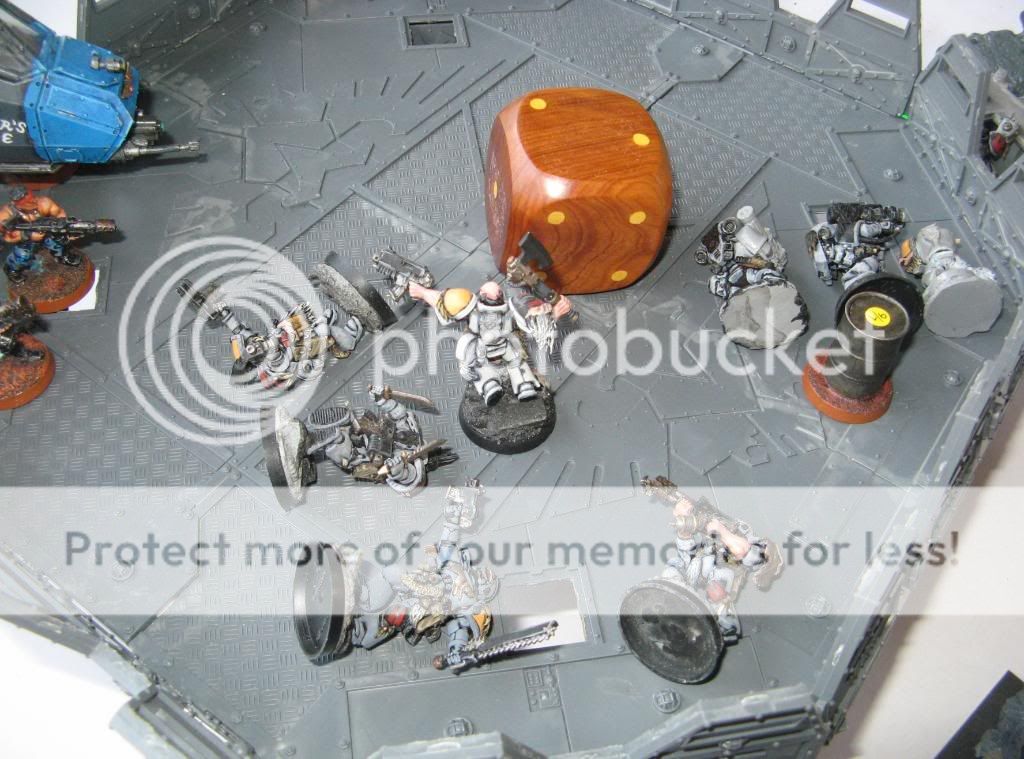
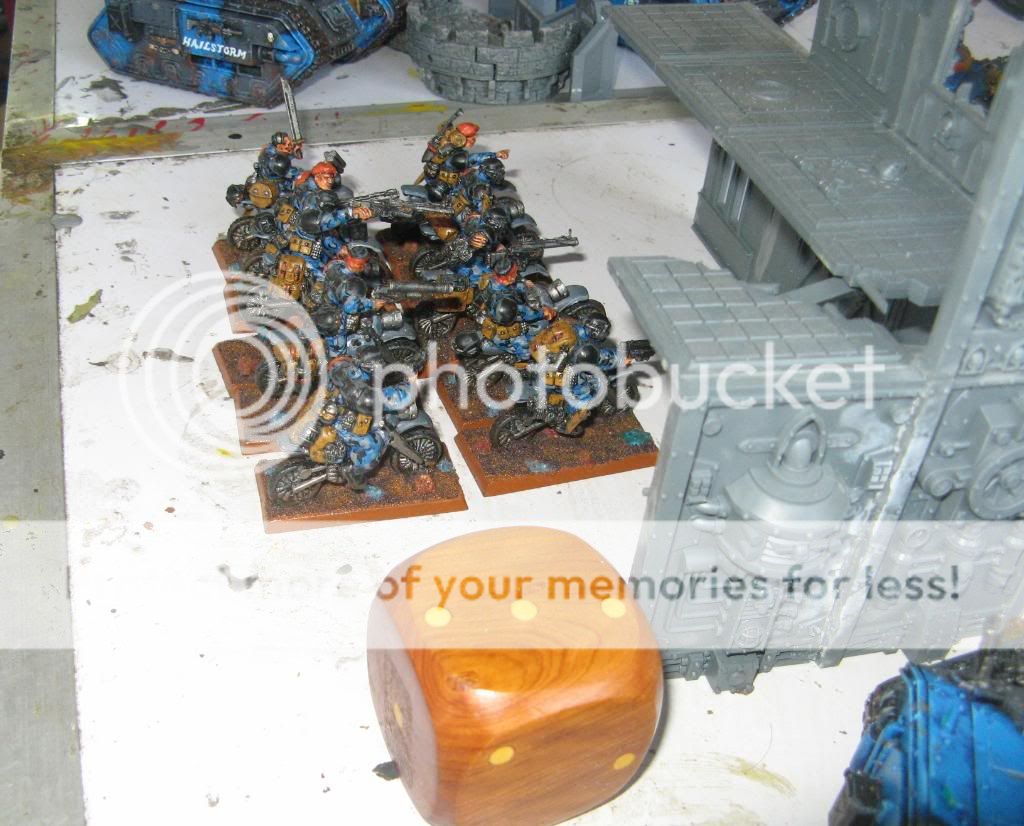
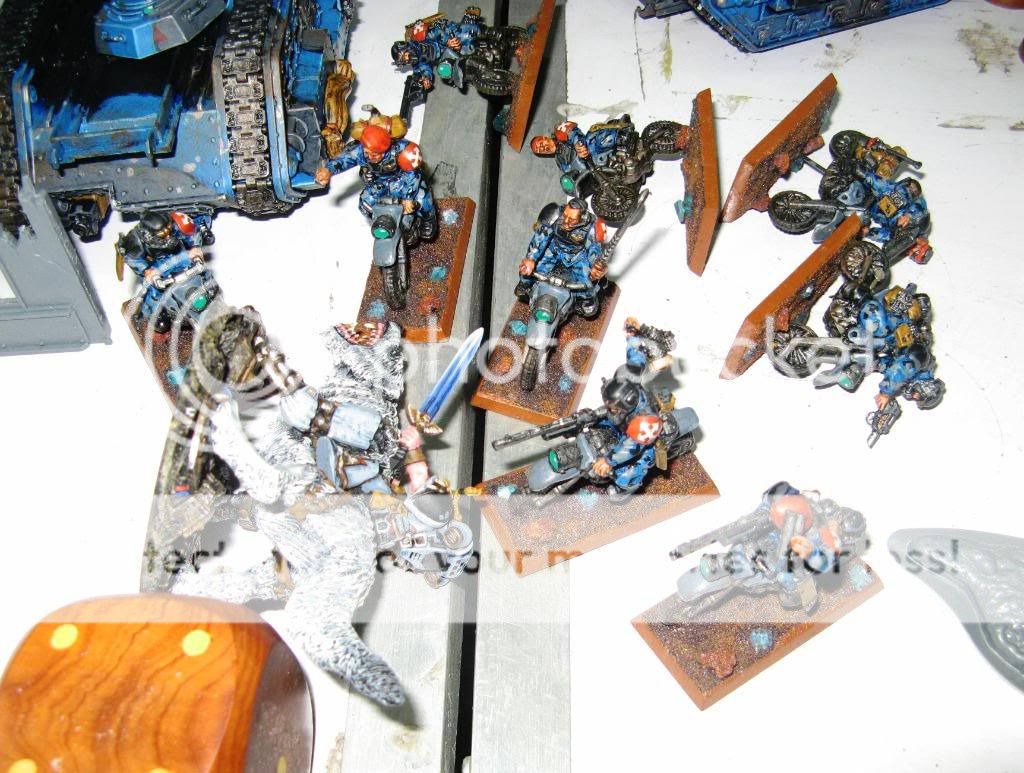
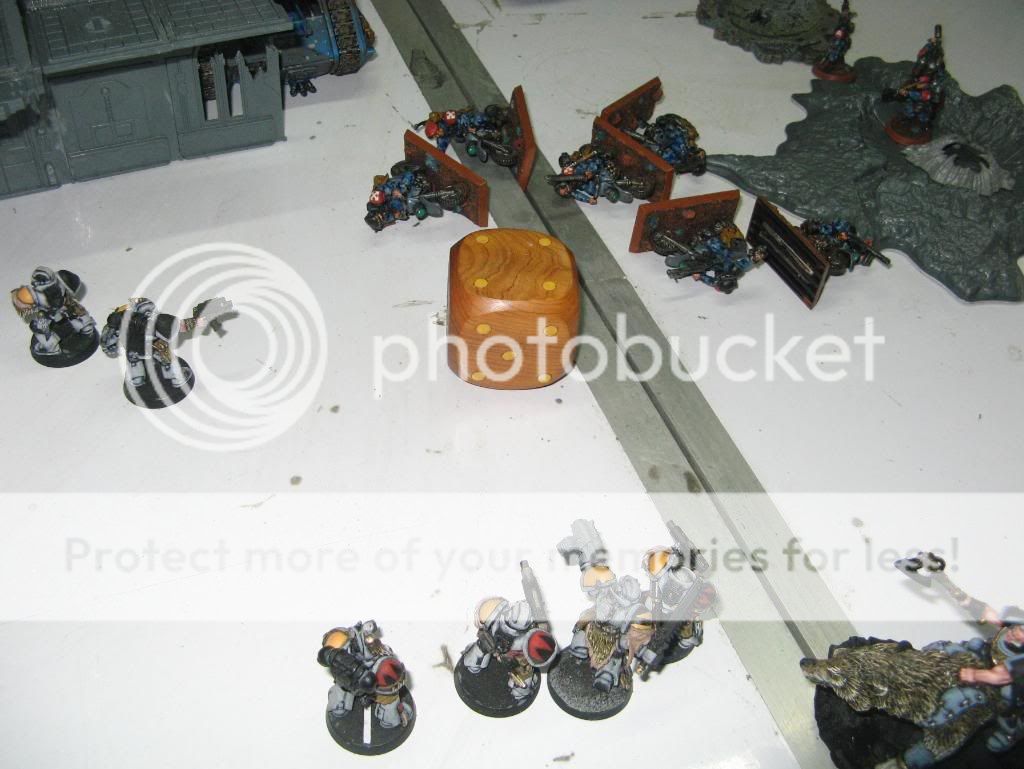
My deployment. The blob occupies the cornermost ruin, where my objective is on the highest floor. The demolisher leads up the center, where the central ruin in front of it provides cover versus LF2 and LF3. The
CCS and
PBS chimeras trail behind it. The
LR with plasma sponsons deploys halfway into a ruin on my left, the
PCS chimera behind it. The ratlings infiltrate on the higher levels of a ruin on my right edge, the veterans and melta
SWS + empty chimera beneath them, while the hydras take position behind an aegis defense section+low ruin.
Automatically Appended Next Post:
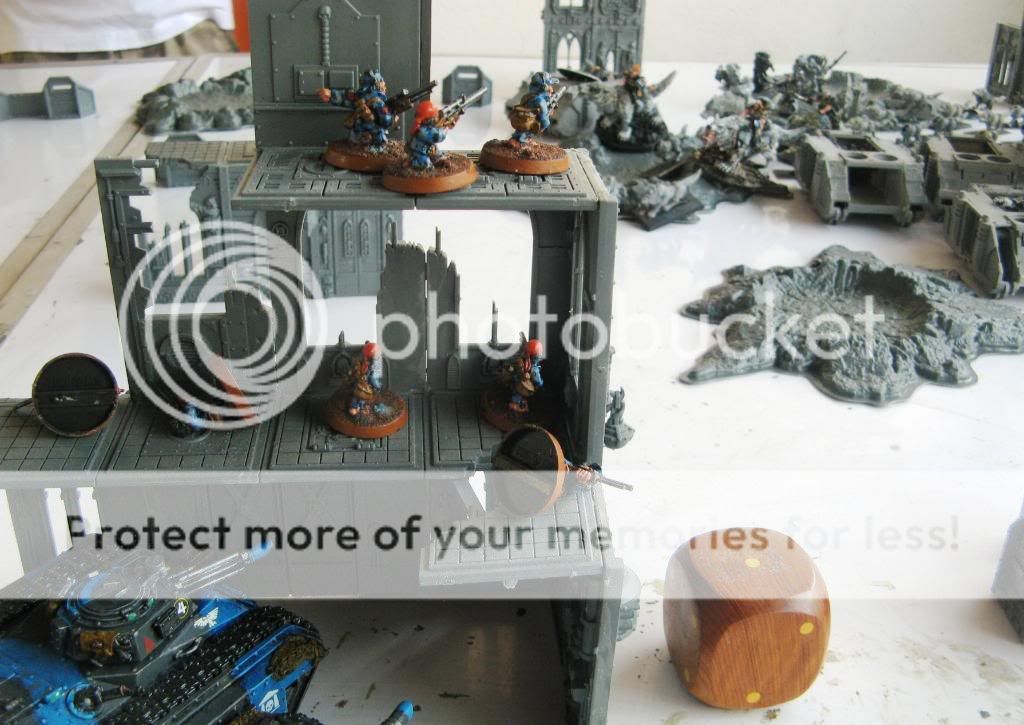
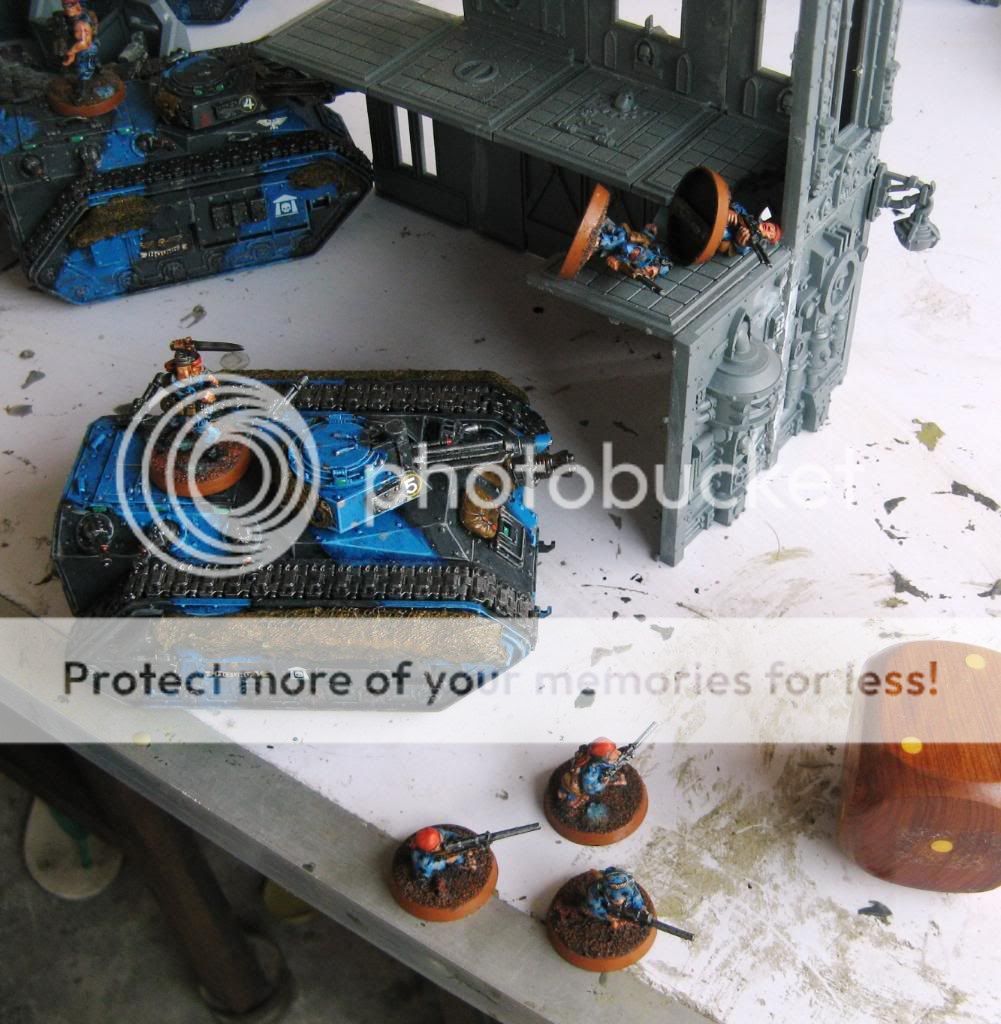
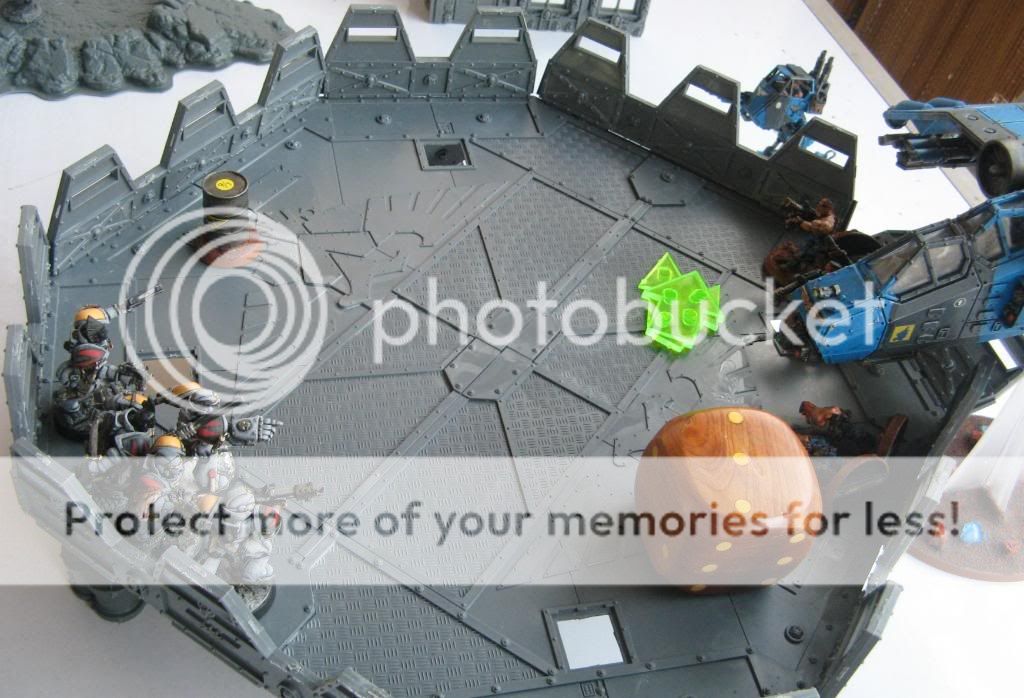
The large wooden die by the way indicates the current turn, as Paulo (who was the camera grot for this fight) said it would be a good guide for the batrep as a way to keep track what round the pics were taken. Good idea, except he made a mistake during the
SW turn 5, where the die indicated round 4..oh well...
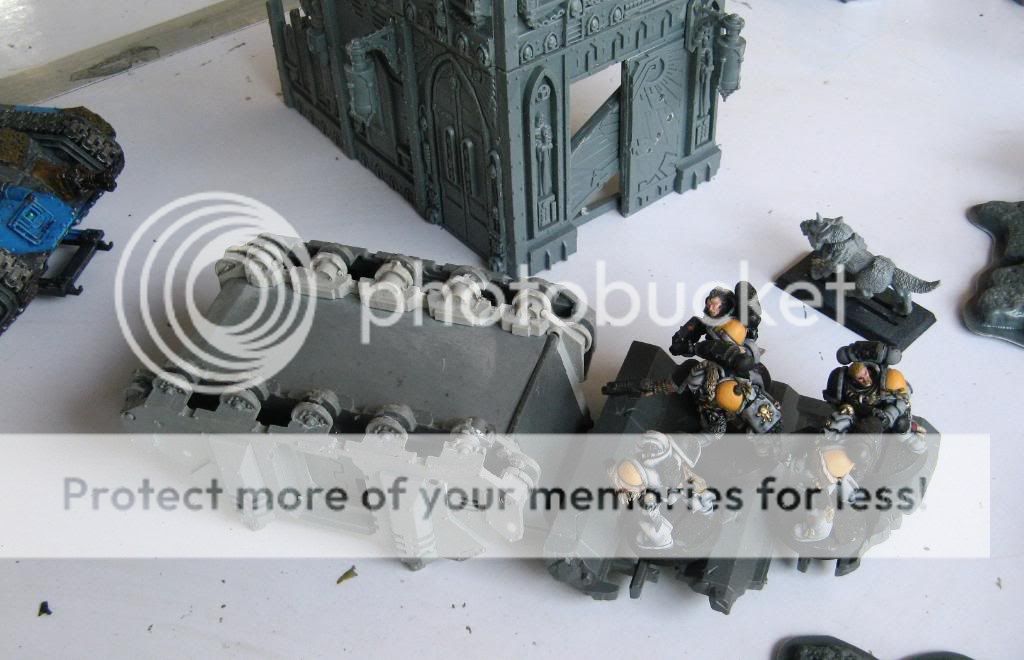
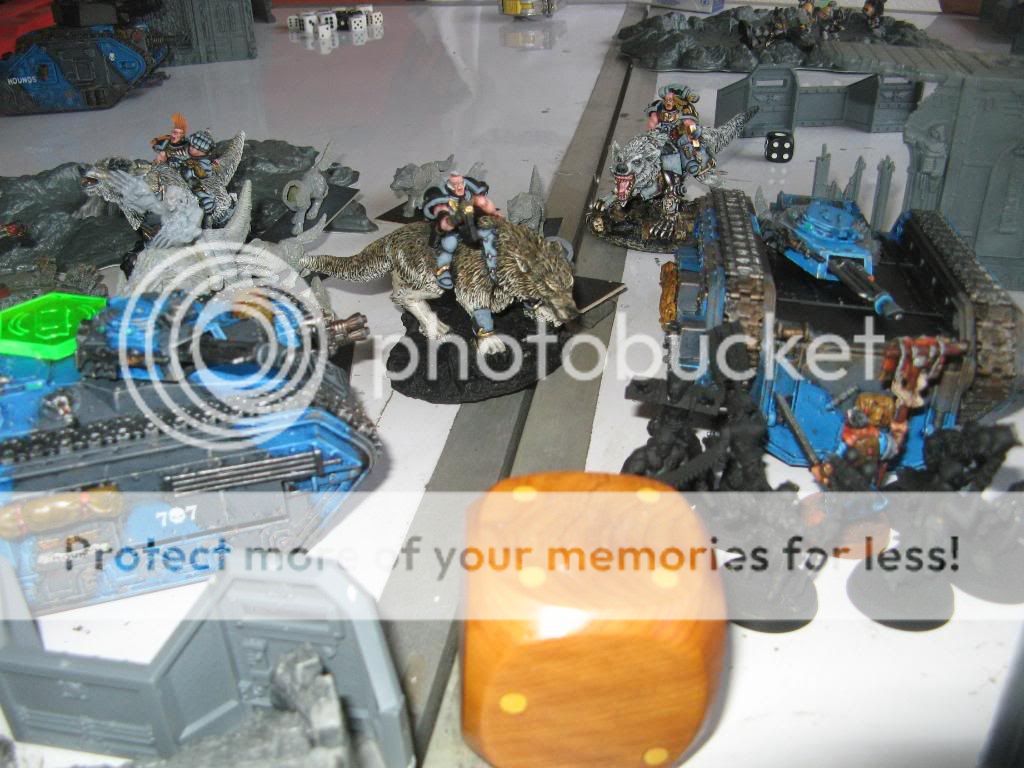
SW1
Razorback1 containing GH1 makes a move to the right and pops smoke. The other Razorbacks (including the empty RB4) move forward besides the landing pad. The Large wolf pack, however, is slowed down by the crater, getting poor rolls in both the move and run dice.
The presence of the Lemar russes is viewed as a threat by Donel, and he focuses all his Long Fangs on both, to no avail! Seeing the threat of sniper rifles + weaken resolve, the 3 razorbacks pump
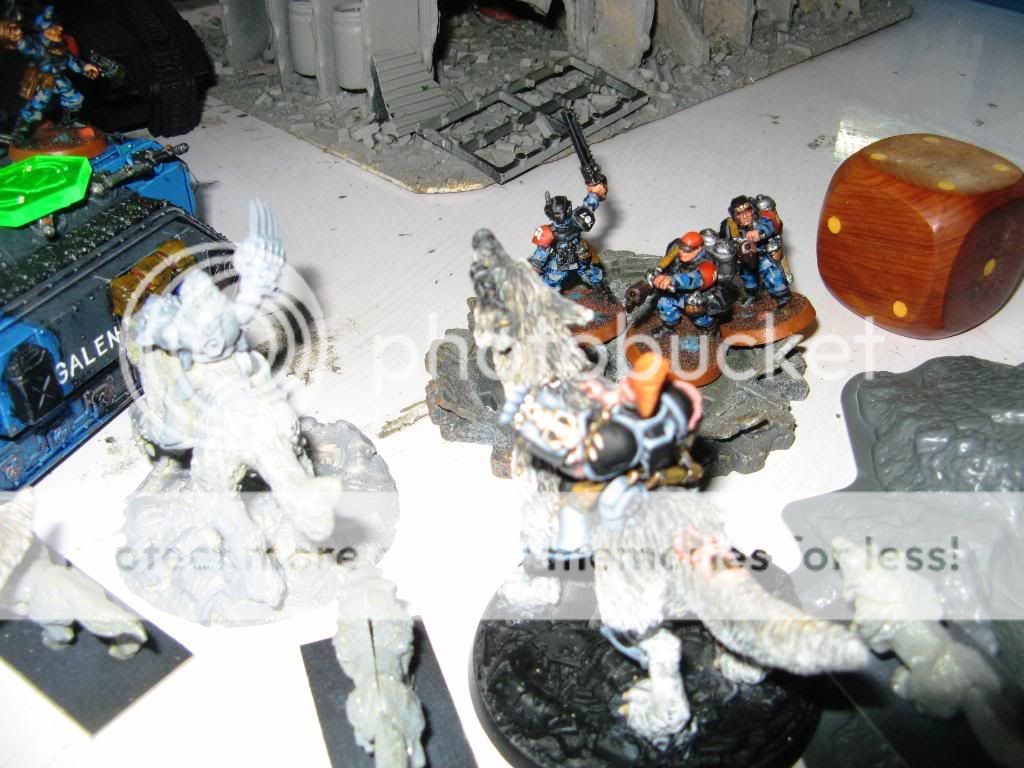
HB rounds into the ratlings, who despite going to ground lose 3! They promptly flee down to a level.
The pack is slowed down by the craters
The ratlings take the heat from the razorbacks, and flee!
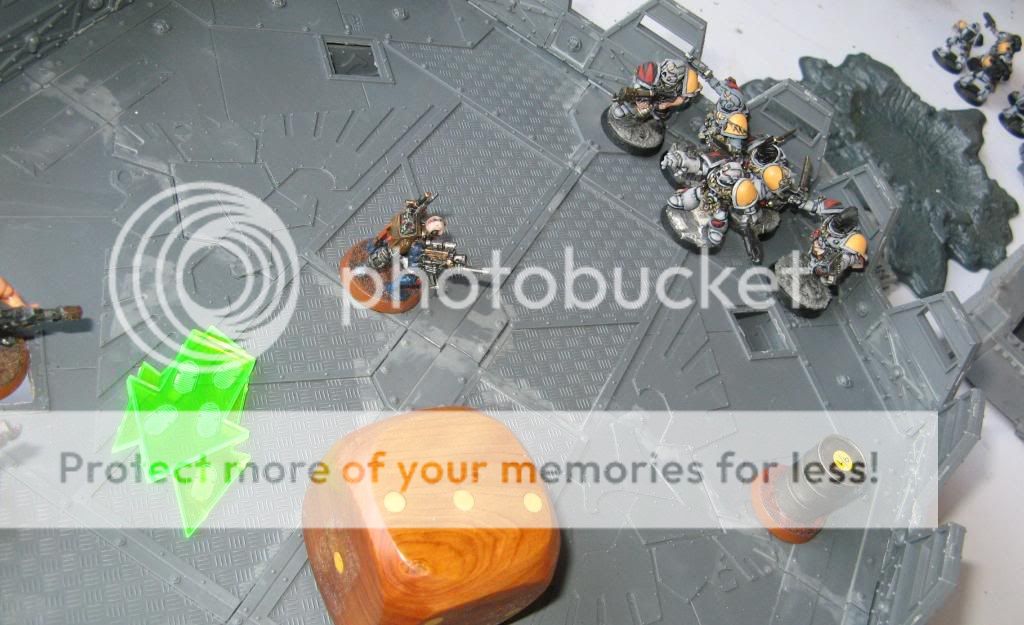
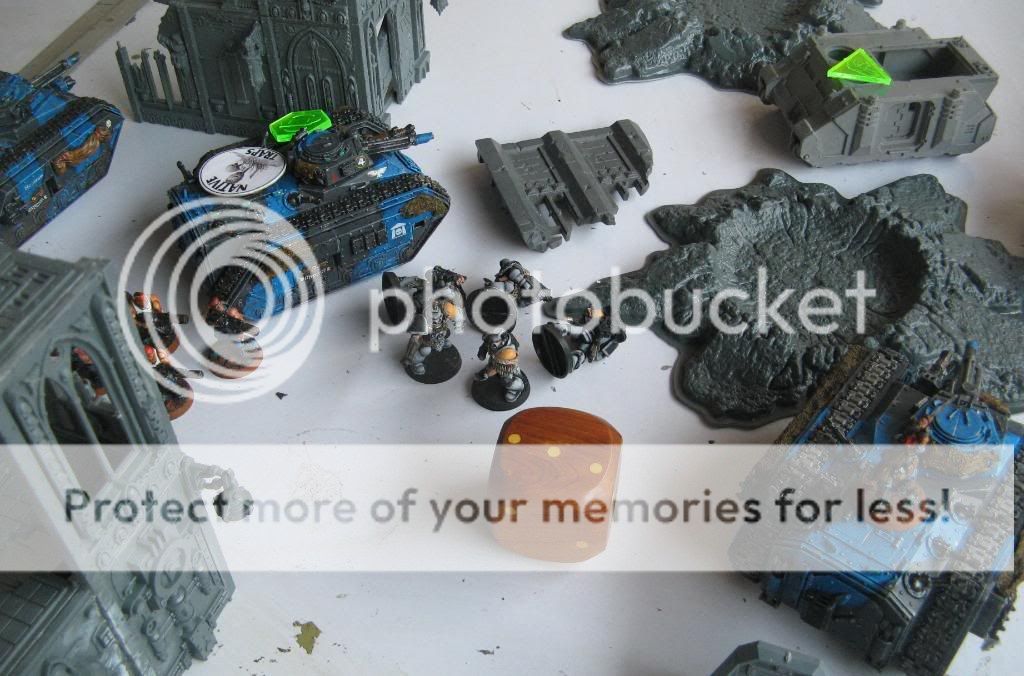
IG1
The ratlings continue to flee, albeit a short distance (thank goodness for the low flee rolls). The demolisher moves back a bit to the left, while the
CCS chimera moves to the right in order to be within 12" of the fleeing ratlings. The veteran chimera peeps out of the ruin in order to shoot, while the melta
SWS embarks in Chimera #4, which also moves slightly for a good shot. The
LR stays put (it did not move the entire game!)
Orders see a successful "Get back into the fight" issued to the ratlings, who consolidate 3" up 1 level. BID on the blob also bears results, as RB3 is immobilized. The demolisher shoots at RB2, and the lascannon blows off the TLHB. The shell scatters onto
RB 3, but cover saves the tank from further damage.
I decide to focus the rest of my fire on the closest long fang units in range, namely
LF 1 and 3.
BC, Plasma, Multilaser, Autocannon, and
HB rounds kill off 3 members each from
LF 1 and 3. However, my
PBS fails to cast weaken resolve on
LF 1, and all the affected units hold.
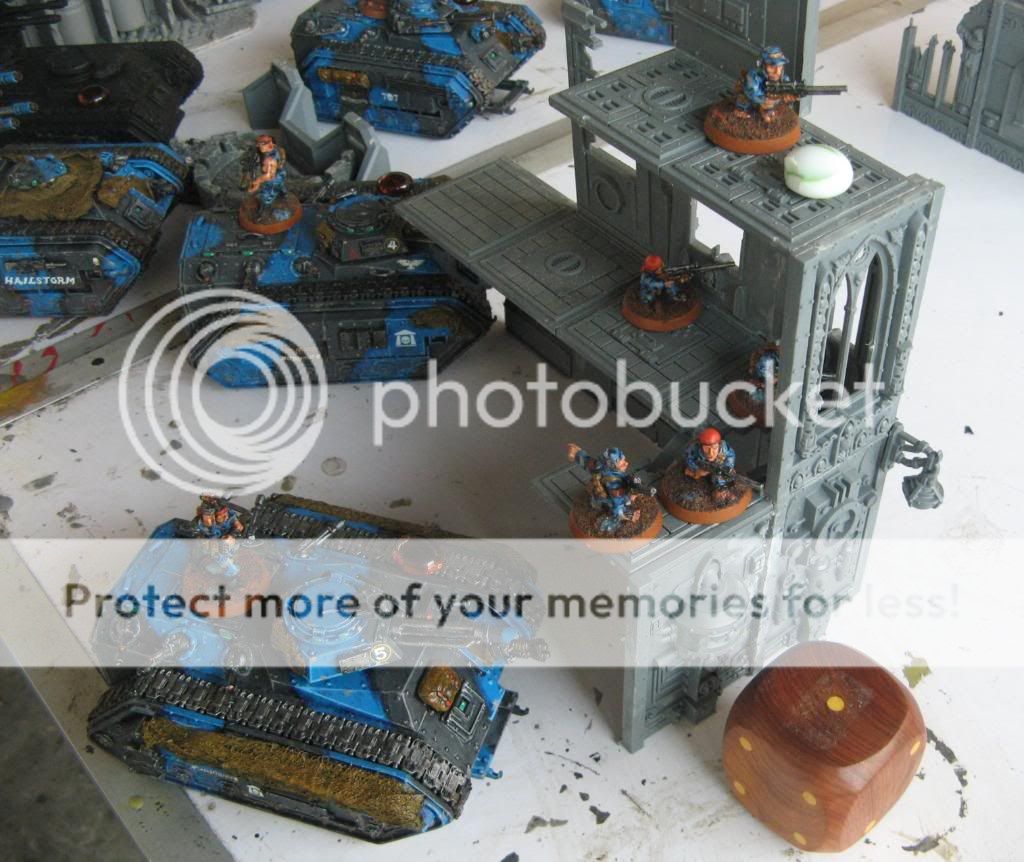
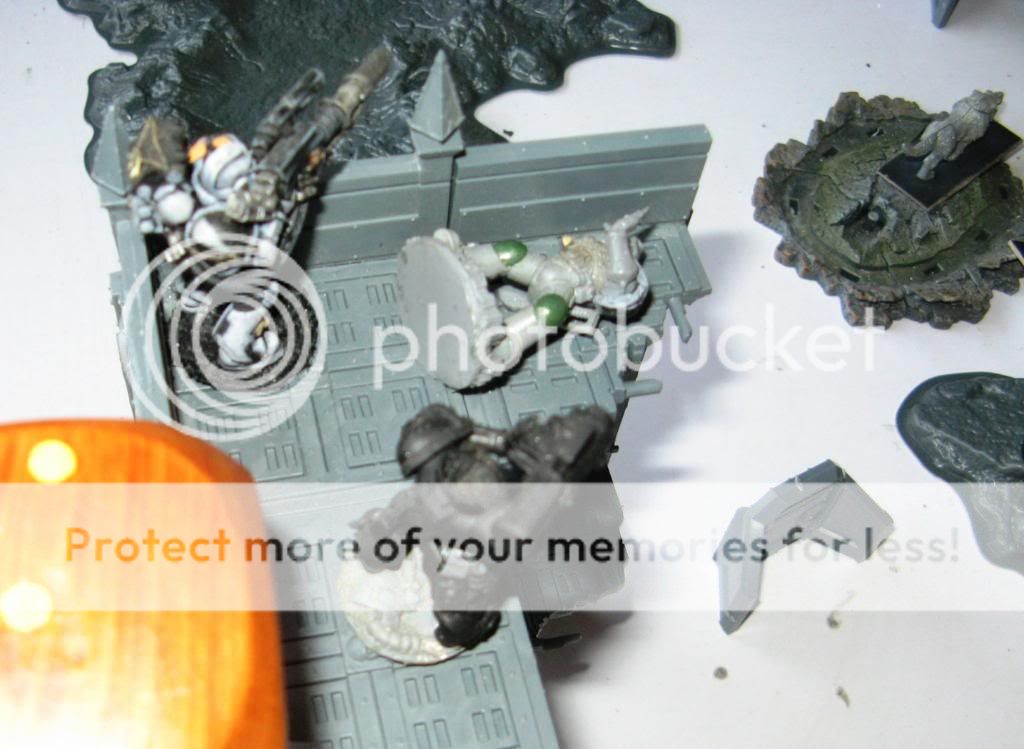
The ratlings get back into the fight, and consolidate up the ruins
A demolisher shell lands among the razorbacks

LF1 and LF3 pack members fall


 65/4/6,
  10/2/1,
  10/3/0,
  2/0/1,
  0/1/1
0/1/1
 1/0/0
1/0/0


 .....LVO GT 2014 Team Tournament - Best Generals
 ,
, 


