The pics may be poor quality because I took them with my phone and I've never used the Camera on it before. Somewhere around 25 pictures. I take alot in the beginning and they start to slow down as the game progresses around turn three I kept forgetting pictures and ended up with 1-2 a turn instead of 4-6 a turn.
I've been over at my Friend's House the past couple days and we got a couple games of
40k in. I wanted to make a battle report out of one, so we did a Battle Mission. This is my first Battle report. My Tau Vs his Nids
Tau
-----------------------
HQ
-----------------------
Shas'O with Plasma rifle/Missle pod/multitracker
Total:112
----------------------
elites
----------------------
3x Xv8 w/ Plasma Rifle, Missle pod, and Multitracker
3x Xv8 w/ Plasma Rifle, Missle pod, and Multitracker
3x Xv8 w/ Plasma Rifle, Missle pod, and Multitracker
total:558
----------------------
Troops
----------------------
9x Shas'la
9x Shas'la
9x Shas'la
14x kroot
06x kroot hounds
total:404
----------------------
Fast attack
----------------------
8x pathfinder shas'la
1x devilfish
1x Disruption pod
1x Multitracker
1x Smart Missle System
total:221
----------------------
Heavy support
----------------------
2x Broadside shas'ui with targeting array
1x Broadside Team Leader with targeting array/HWDC
1x shield drone
1x Railhead with Disruption pod/Burst Cannon/Multitracker
2x Broadside shas'ui with targeting array
1x Broadside Team leader with targeting array/HWDC
1x shield Drone
total:715
---------------------
total: 2000
Nids
--------------------
HQ
--------------------
Tyrant
Wings
Hive Commander
255
Tyrant
Wings
230
---------------------
Elite
---------------------
1x Zoanthrope 60
1x zoanthrope 60
--------------------
Troops
--------------------
6x Warriors
5x deathspitters
1x Barbed Strangler
215
6x Warriors
1x barbed Strangler
190
-------------------
Fast Attack
-------------------
6x Shrikes
1x Barbed Strangler
220
-------------------
Heavy
-------------------
Trygon Prime: 240
Mawloc:170
Mawloc: 170
-----------------
total: 2000
Using Battle Missions, I won the theme roll and we got Fall Back.
We deploy in Diangle Table halves. All three objectives on my side.
I get no Reserves, He has to walk on the board his first turn. He gets first turn, All tau get Hit and Run.
I'm using Termies as Whatever they are in a squad with, Stealthsuits are Kroot hounds
-----------------------------------------------------------------------------------------
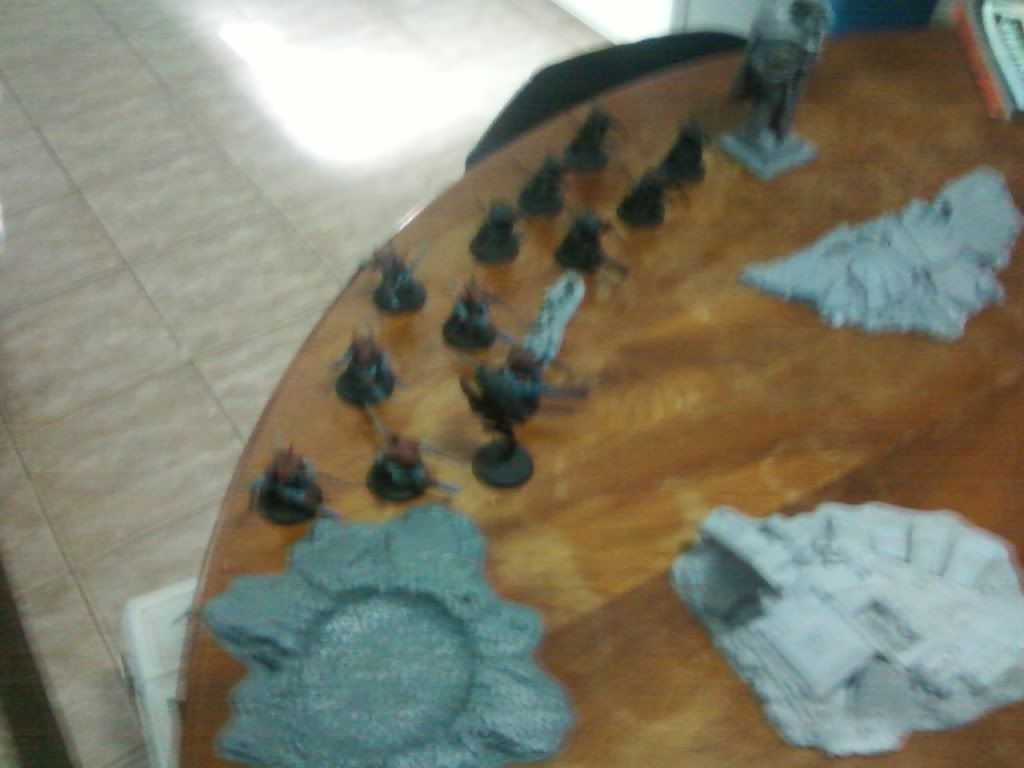
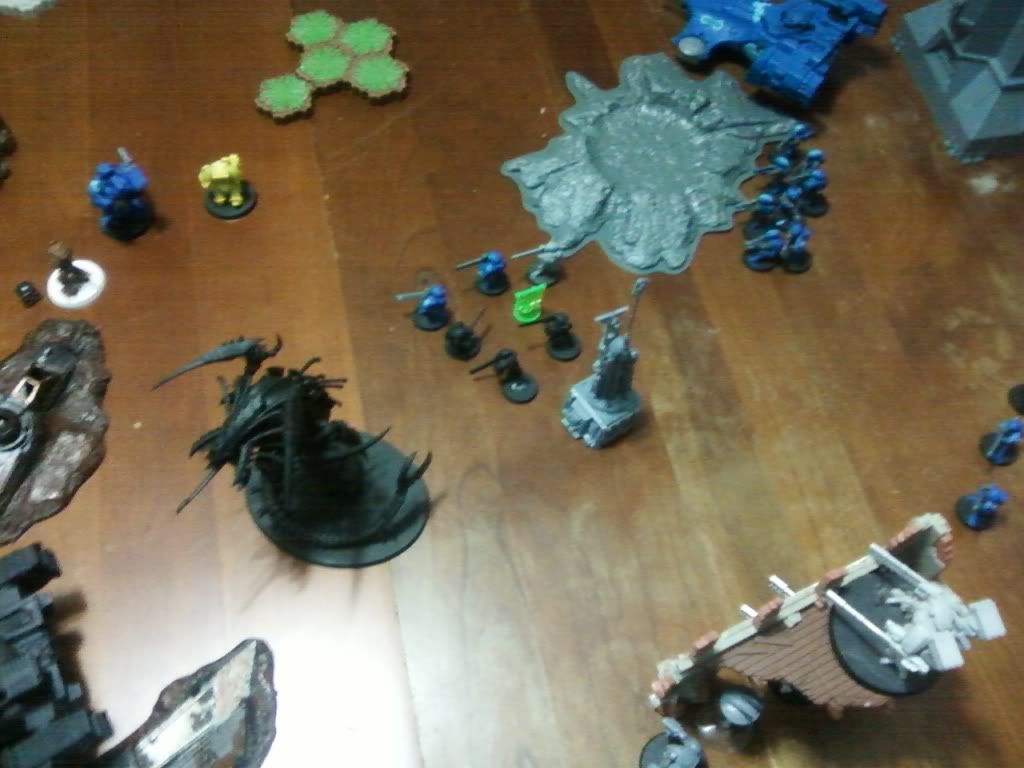
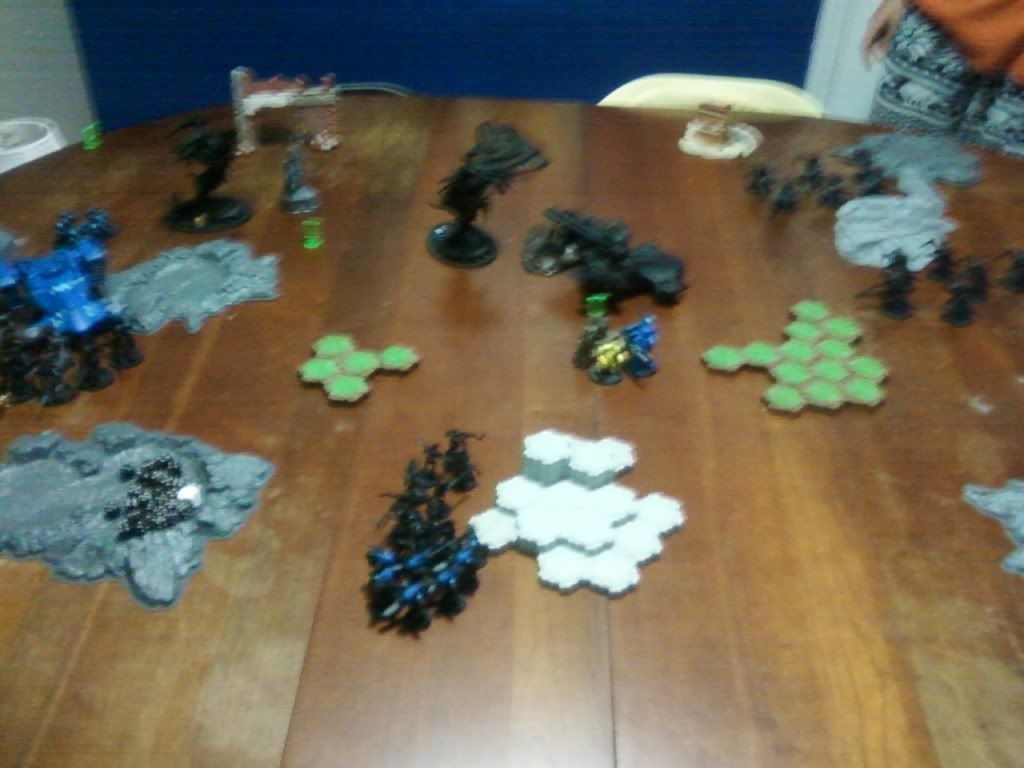
Deployment: I Put a fire warrior squad on the middle and back objectives, My Broadsides deployed in the Tower and the Ruined Wall. The devilfish deployed near a crater. My Suits deployed between the first and middle objective. My hammerhead deployed on the opposite side of my deployemnt zone, away from the Devilfish. The 3rd fire warrior squad sit behid the devilfish
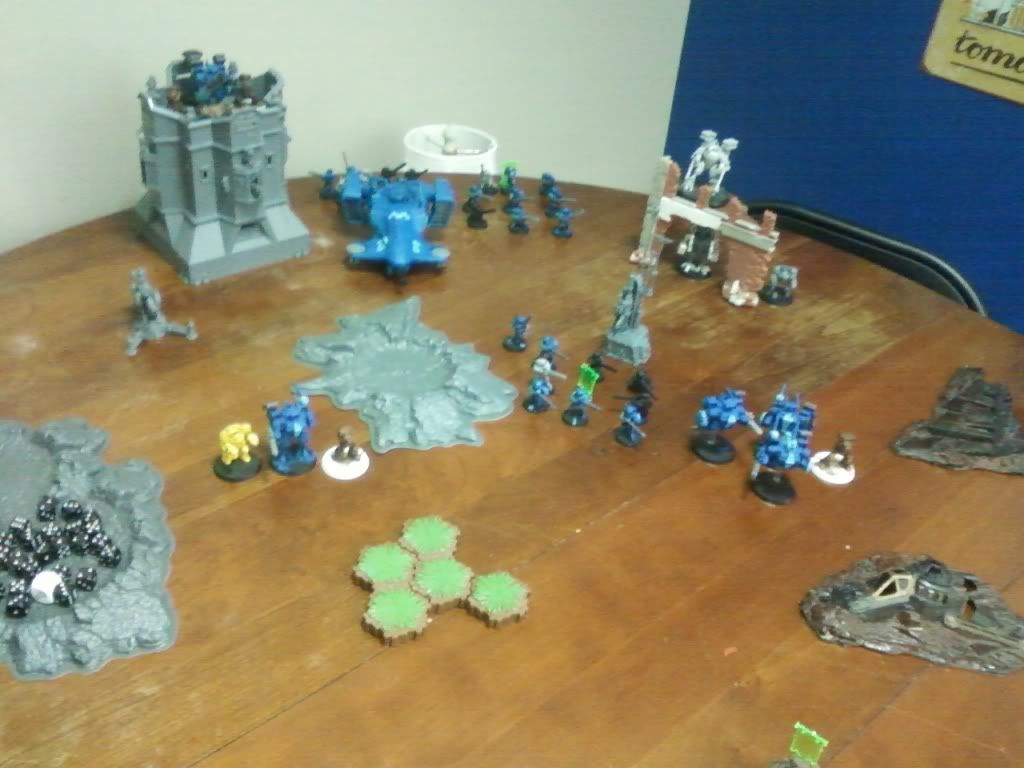
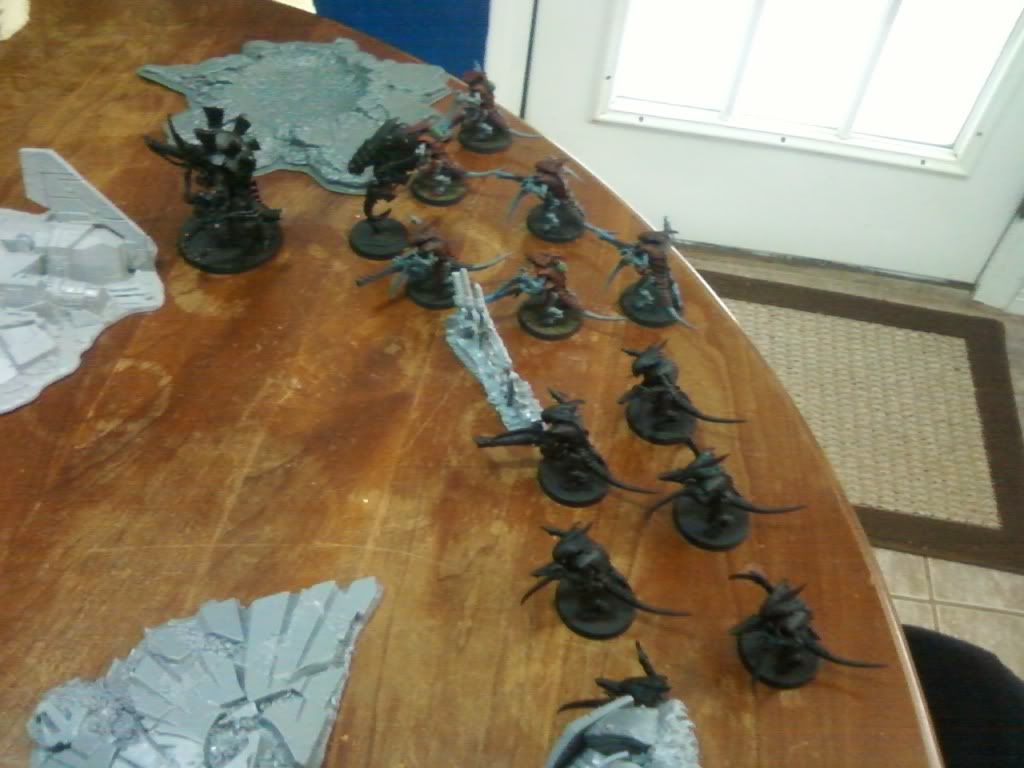
My Kroot infiltrated on the Nid long table edge
-----------------------------------------------------------------------------------
Scout move: Turned the devilfish to release the Pathfinders near the crater.
---------------------------------------------------------------------------------
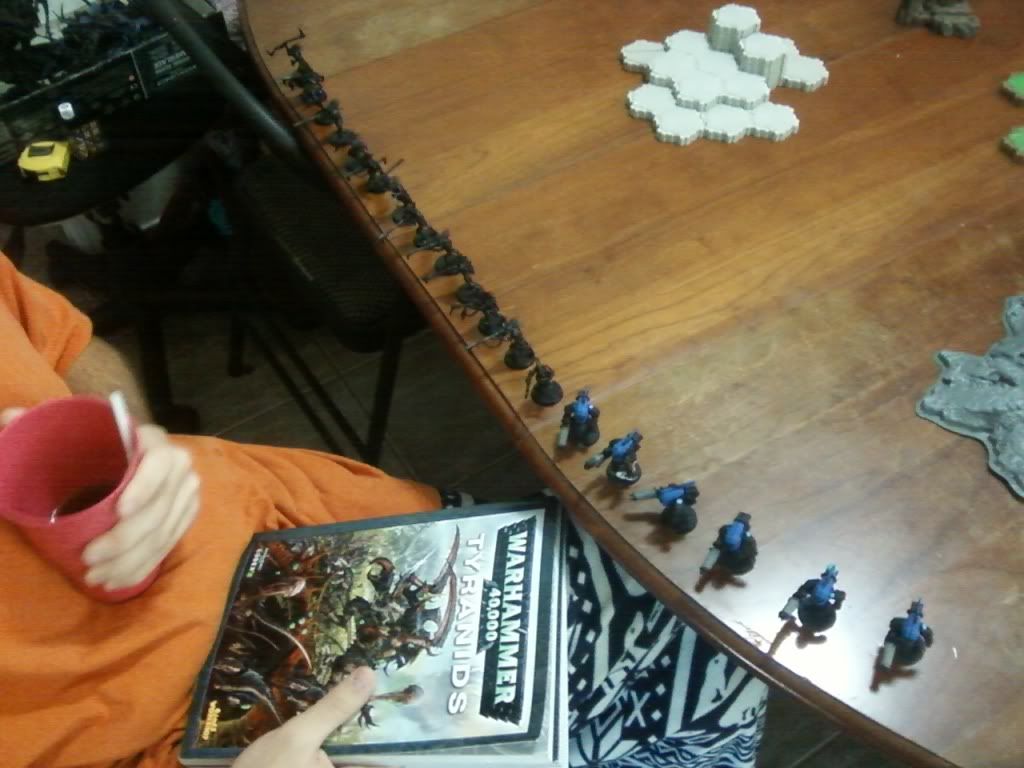
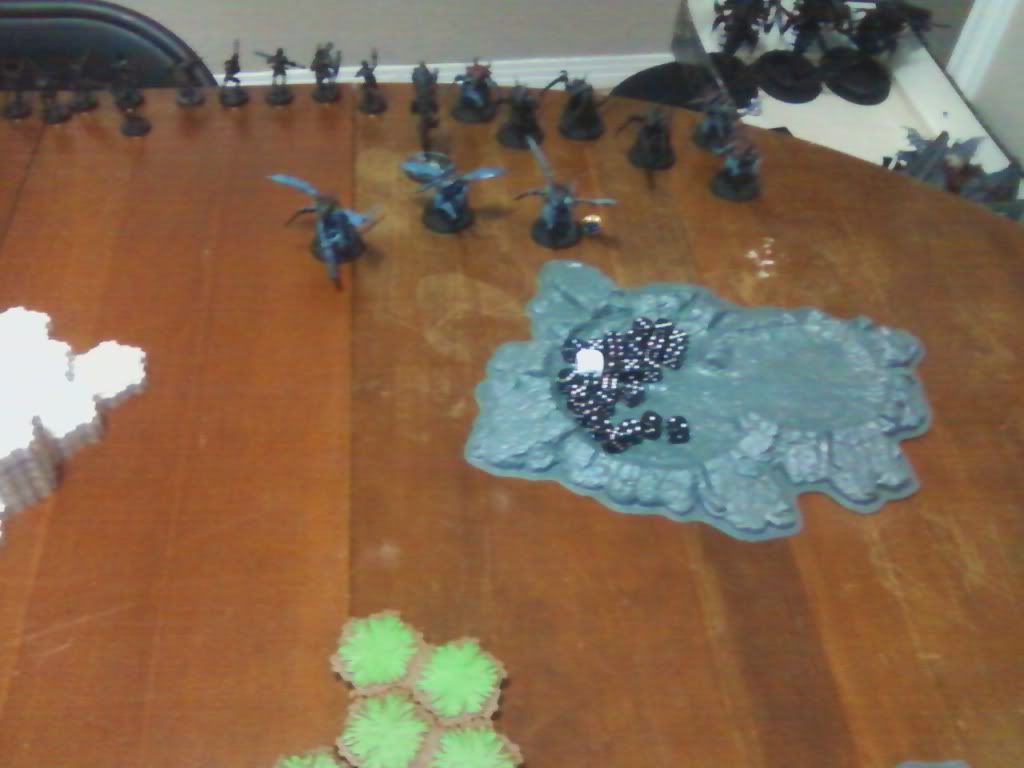
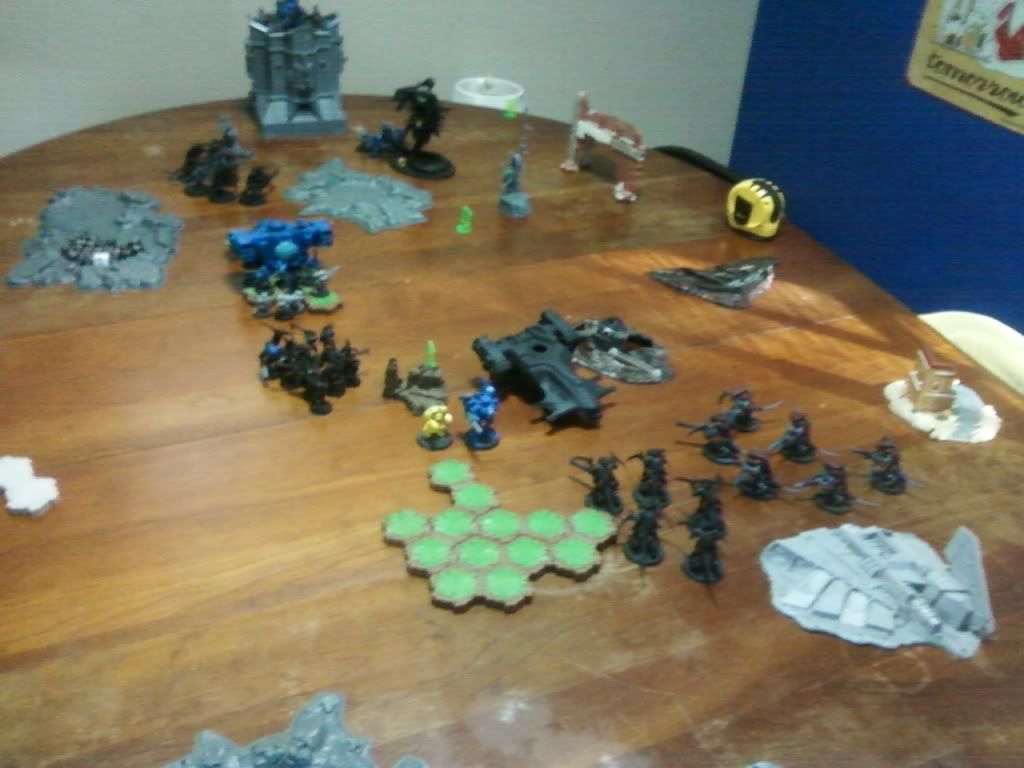
Nid First turn: Shrikes, a warrior squad, a Zoanthrope and the Hive Commander Flyrant come in from the long table edge.
2 sqauds of warriors, other Zoanthrope and the regular Flyrant come in from the short edge
Shrikes fire the Barbed Strangler at the Middle Objective Fire warriors, Killing two
The warriors with the Hive Commander fire their Barbed Strangler at the same Fire Warriors, Killing one more.
The middle objective Fire Warriors pass the Pin Check.
The Hive Commander's Zoanthrope Fires a Warp Lance at the closest Crisis suit squad, but kills nothing
Painted Warriors on short edge fire their Barbed Strangler at the closest Crisis suits, but wound nothing.
Unpainted Warrior fire thier barbed strangler at the same crisis suits, Wounding nothing.
The plain flyrant's Zoanathrope attempts to fire the Warp Blast, but failed the Psychic Check.
-----------------------------------
Tau Turn one: The devilfish picks up the Fire Warriors not sitting on an objective. I move the hammerhead six inches closer. All the Suits fall back six inches, the kroot try to get ready for a charge.
Pathfinders fire into the Hive Commander flyrant, getting 6 tokens.
Raise the
BS of the broadsides to five and strip the Hive commander Flyrant's Cover.
All Broadsides fire into the hive commander Flyrant, killing it.
Hammerhead fires into plain flyrant, causing 2 wounds.
The Crisis Suits next to the hammerhead fire into the plain Flyrant, killing it.
the suits nearest the Shrikes opens fire, wounding one.
The command squad fire at the same Shrikes, killing two.
The middle objective Fire Warriors wounds a shrike.
The warfish fires on the Shrikes, killing another
My Suits move closer together during the assault phase.
---------------
Nid turn two: One Mawloc Comes in on the command squad and the nearby suit squad. Killing 1 suit in each squad
Everything closes in.
the long table edge Warriors' barbed Strangler fires on the Broadsides in the tower to no avail.
Long edge Zoanthrope fires on the nearest Crisis suit with Warp Blast, wounding one.
Shrike's barbed Strangler into the same squad, wounding nothing. Fires Devourers, also nothing.
the Zoanthrope on the short edge fires on the Hammerhead with Warp lance, but fails the test.
both short edge warrior squads are firing on the Same Crisis suit squad as the Shrikes with the barbed Stranglers. One scatters, hitting a fire warrior and a suit, killing nothing. The other scatters into the middle of the board hitting a rock.
The mawloc kills my Shas'o Squad in
CC, the other squad use Hit and Run, but fails.
--------------------
tau turn two: I move the Crisis suit nearest the Shrikes away from the shrikes.
the warfish moves towards the Shrikes, The hammerhead moves away from the Zoanthrope.
Pathfinders light up the shrikes, getting five tokens. I raise the warfish and my last Crisis suit squad's
BS to 5 and the middle objective fire warriors to 4. The suits and the warfish fire on the Shrikes, killing the last three.
The broadsides all fire on the long edge Zoanthrope, killing it,
The kroot fire on the warriors, wounding one.
The Hammerhead fires it's railgun on the short edge Zoanthrope, killing it.
The Fire Warriors all fire on the Warriors on the long table edge, doing nothing.
The Suits move away and the mawloc kills the other suits during the assault phase.
------------------------------
Nid turn three:
Reserves: everything comes in. The second Mawloc comes up on the middle objective Fire Warriors. the tyrgon prime came up in the center of everything else.
He moved the long edge warriors towards the Warfish and the other warriors twards the hammerhead
Moved the mawloc towards the broadside team in the ruins
Trygon Prime fires it's Containment spines at the back objective fire warriors, killing one.
Unpainted warriors fire the barbed Strangler at the suits. wounding nothing. Painted warriors do the same thing with the same results.
The long edge warriors charge the Warfish, stunning it.
The mawloc charges into the broadsides, killing them all.
The other mawloc kills one fire warrior, they stay. the Fire warriors try for hit and run. nothing.
-------------------------------
Tau Turn 3:
The Hammerhead moves 12 inches to cover the suits from the long edge warriors
The kroot move towards the objective.
The pathfinders light up the Trygon Prime, getting 4 tokens.
Raising the
BS of the Fire warriors to 5, raising the
BS of the Broadsides to 5, and the
BS of the railhead to 5
The railhead, Fire warriors, and Broadsides fire on the trygon, causing 3 wounds.
The Crisis suits fire on the unengaged Mawloc, wounding it twice.
The kroot run 4 inches towards the center.
The Crisis suits move towards the middle objective.
The mawloc kills the middle objective Fire Warriors.
---------------------------
Nid turn 4
Everything moves closer to assault
The trygon's Containment spines kills two fire warriors
mawloc runs four inches. The short edge warriors fire at the Suits. finishing off a suit.
The long edge warriors charge the warfish again, stunning it. Again.
The second mawloc charges the pathfinders, killing one. The pathfinders do a wound back.
The fire warriors die in combat with the Trygon.
Hell freezes over and the pathfinders make thier hit and run.
--------------------------
tau turn 4
The kroot run the the Middle objective
The kroot run two inches
The pathfinders light up the Trygon and the Broadsides bring it down.
the Suits and hammerhead fail to kill the mawloc. Again.
The suits jump over the Objective.

--------------------------
Nid turn 5:
Mawloc moves closer to Railhead
Other mawloc moves closer to pathfinders
Short edge Warriors move closer to the Objective/Railhead
Short edge Warriors fire into Kroot, killing 5.
Mawloc assault hammerhead
other Mawloc assaults pathfinders
Long Edge Warriors assault Warfish, This time only rolling a shaken result
The other Mawloc takes a wound and kills one pathfinder
first mawloc wrecks the railhead.
-----------------------------
Tau turn 5:
Devilfish runs away and wrecks.
Kroot move to objective and run one inch.
broadsides kill the first mawloc.
Crisis suits kill one warrior and move closer.
We roll a one for turn 6, Game Ends
No one had an objective. I had 7 kill points, he had 7.
The kroot were just a hair away from Controlling the Forwardmost objective. The Whole "use the Kroot to block His deployment" plan could have worked better. I just didn't place them right. I messed up by letting my suits get too close together for the first Mawloc.


 65/4/6,
  10/2/1,
  10/3/0,
  2/0/1,
  0/1/1
0/1/1
 1/0/0
1/0/0
 4250 points of Blood Angels goodness, sweet and silky
  1000 points of Teil-Shan (my own scheme) Eldar Craftworld in progress
  675 points of Commoraghs finest!


 .....LVO GT 2014 Team Tournament - Best Generals
 YOU ALL!

 Tyr Redfang's Great Company

 : The Primal Host- Double as Angry Marines who went to far...