Hey guys!
My name is Jon and I work for Heroes World located in Markham, Canada! I've been working on a new army to play at the shop with all comers! I've decided to use Army Painters spray and dip method. So far the results are quite good...i won't be winning any contests but it serves my overall goal (to have a painted army to play with everybody that comes into the shop). I just though i'd share my progress as i go along...hopefully i can help some other modelers or players out along the way.
I started the army on November 1st and have been working on them about 1-2 times a week for several hours, just so you have a time line. This first post should have alot of pictures as i've done quite a bit of work...and after that i'll try to update each week as i do a little more.
Thanks for check out my thread! Any questions, comments, or suggestions are always welcome! and if your local to the markham area come by and play me a game!
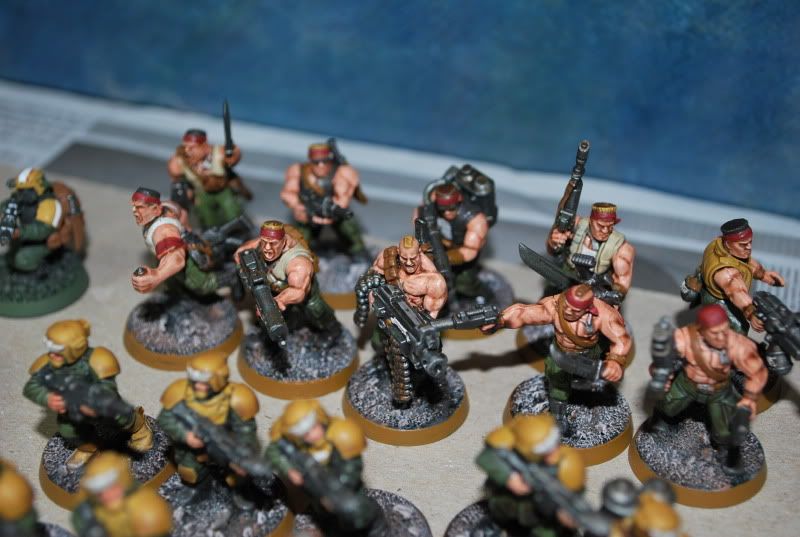
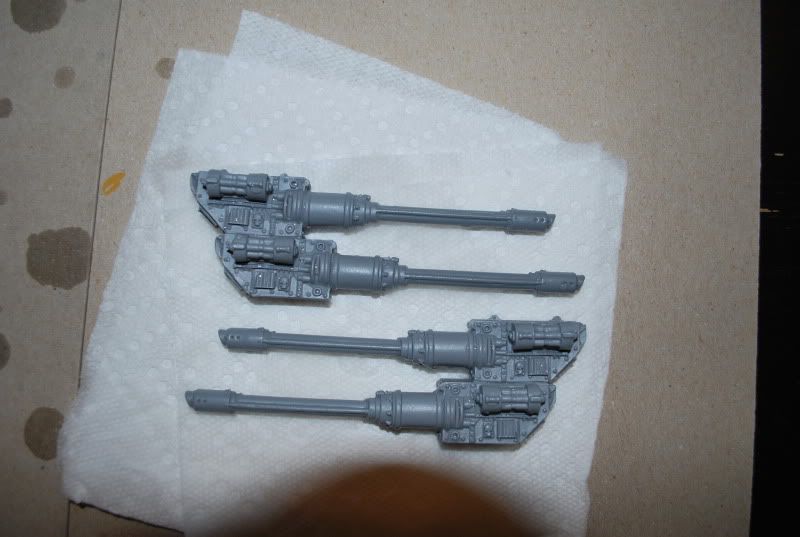
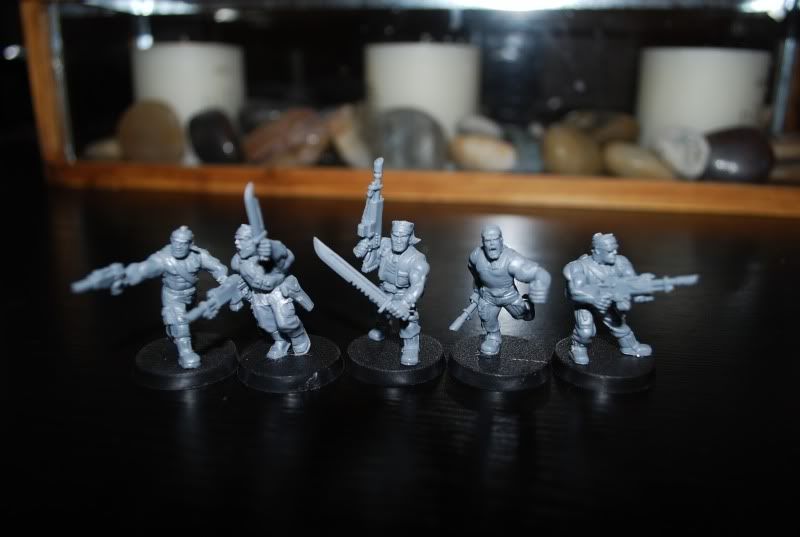
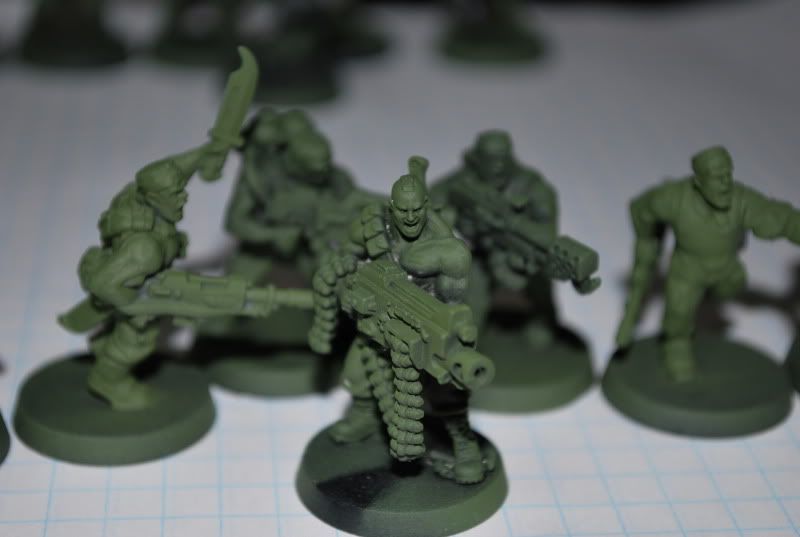
Started off simply with come jungle fighters...plan was to mimic the army in the recent white dwarf (i'll post the issue number later, but it was the one featuring the new Dark Eldar stuff)
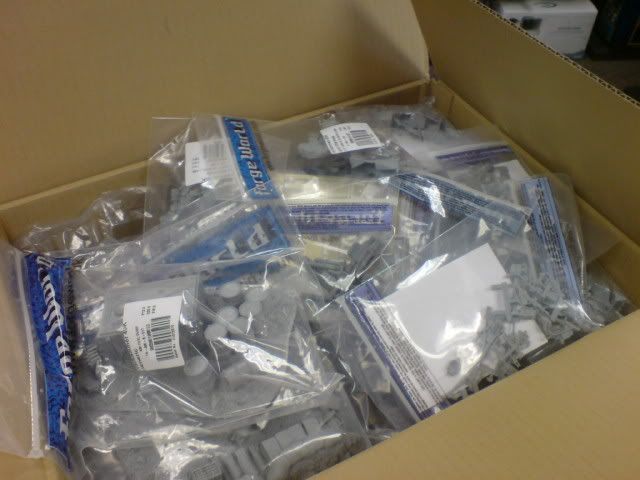
Here's the basics of what i'll be using.
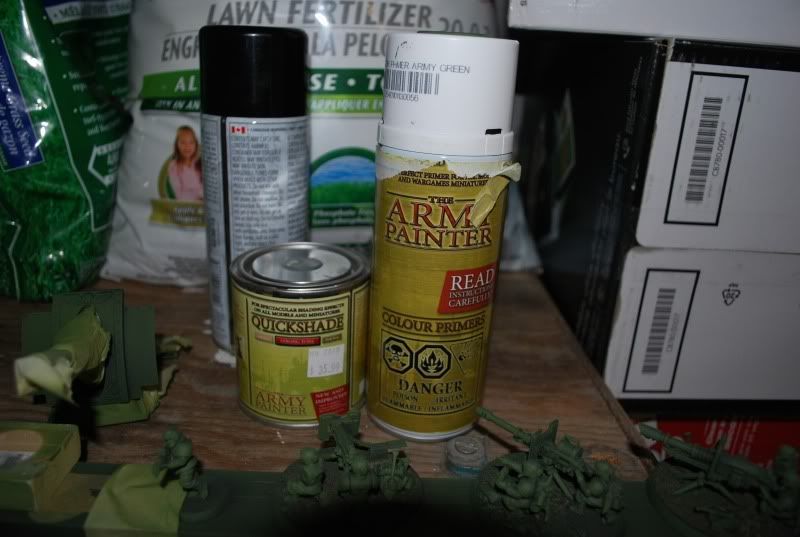
GW Chaos black spray as undercoat. Dusting all models with Army Painter Army Green Spray. Then after doing some basic layers of colours i'll be using the army painter quick shade. After the quick shade you are instructed to use a matt varnish to bring down the shine (as a result of quickshade), this matt varnish will be army painters brand as well.
I undercoat everything in chaos black...reason is that if you dust it with the next coloured spray, meaning you lightly spray it, you'll get a little bit of shading going on there...and this can save you some time. Also if there are parts you wanted to be black then you can simply tape them off when you do the 2nd spray.
For the troops, i prime them on a wooden stick using double-sided tape. This helps get good coverage and can be inverted to get those hard to reach spots...the better your undercoat the less work later i say.
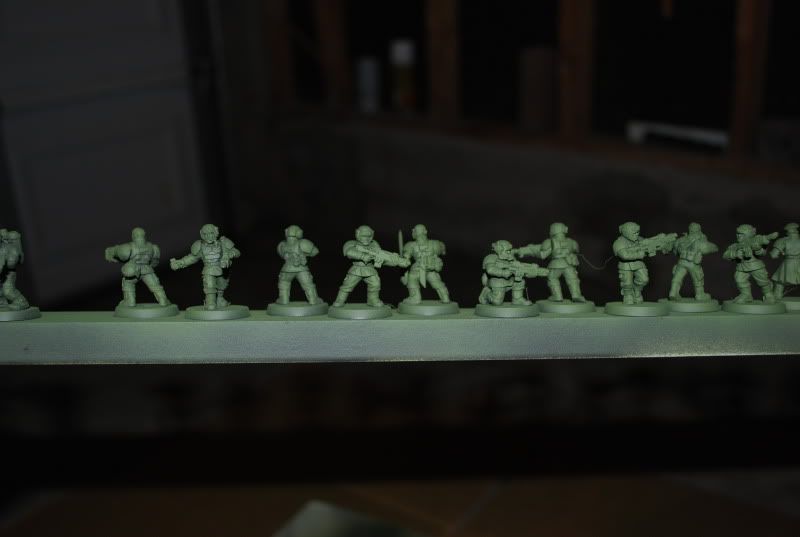
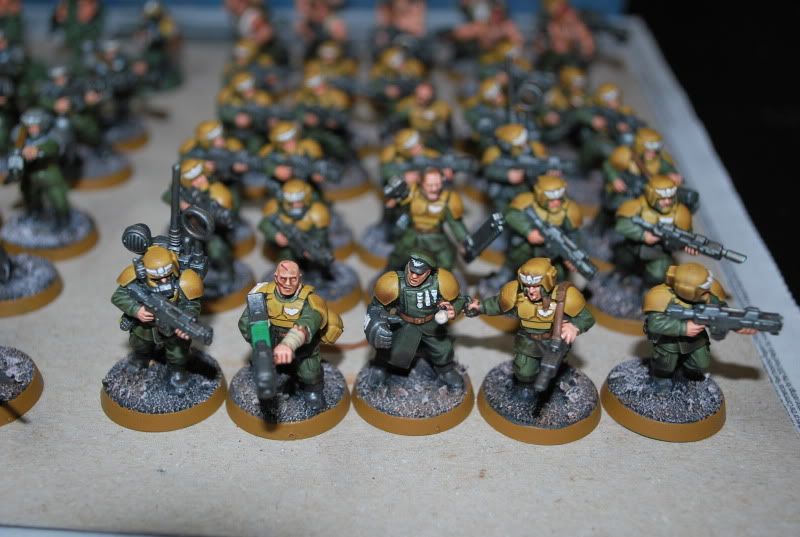
After all undercoats have dried...then it's time to lay on your base layers of colours! Nothing crazy here...just pick some colours and lay some nice even coats down. I opt for yellow armor, some brown for leather belts and pouches, a skin colour and a dark silver metallic for the weapons.
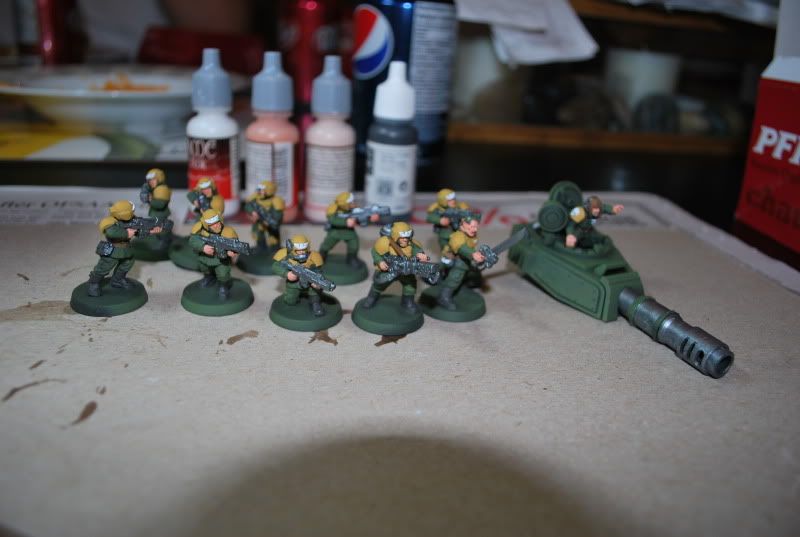
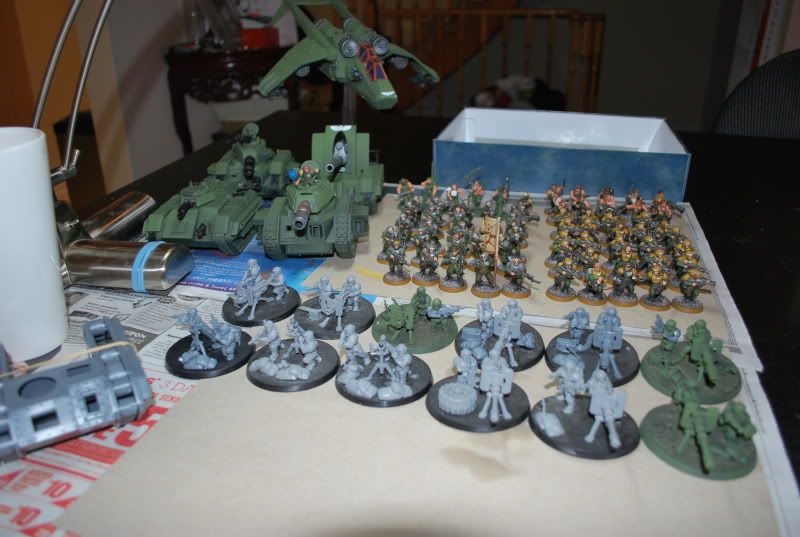
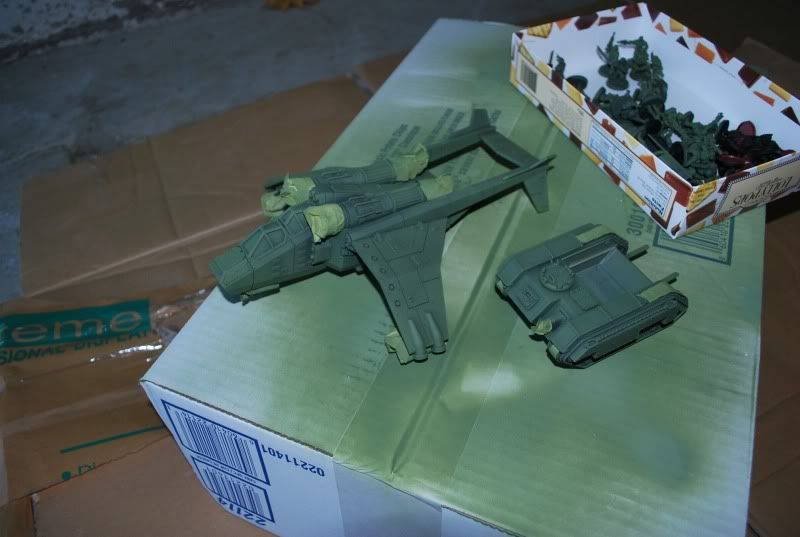
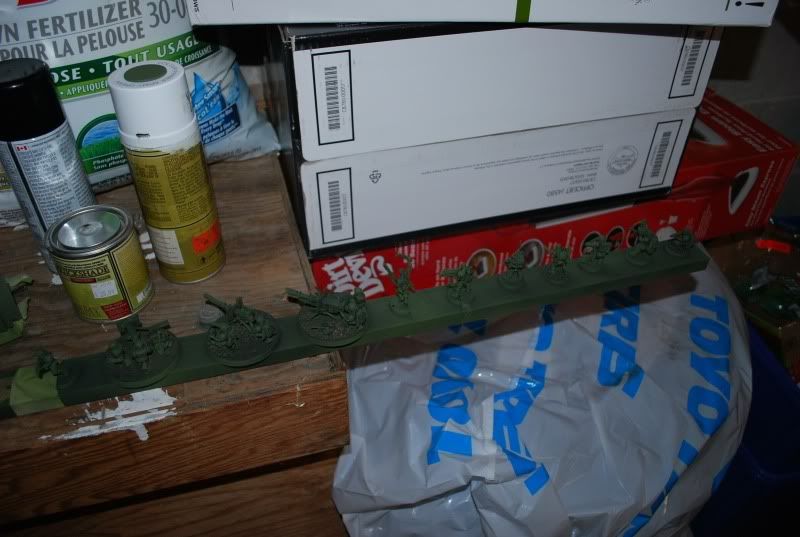
I also get some basic colours onto my vehicles
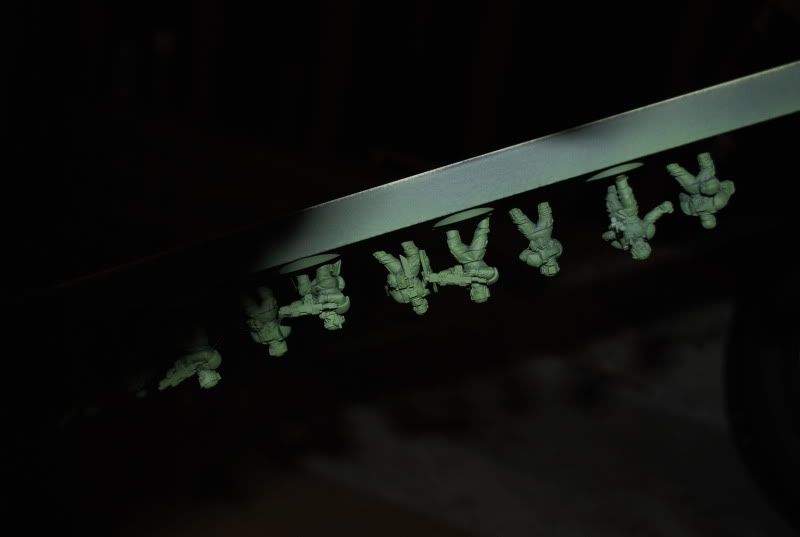
Figures after a being dipped (i have more pics of actual dipping process for my 2nd squad). The quick shade takes about 24 hours to dry/harden. They will come out shiny, but one your done you spray them with matt varnish and the shine goes away
more pics coming of the 2nd squad and a more detailed look at the dipping process
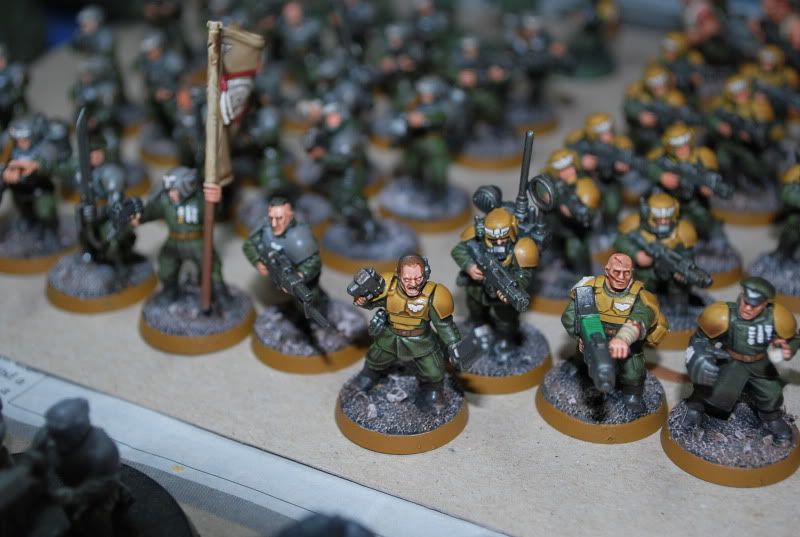
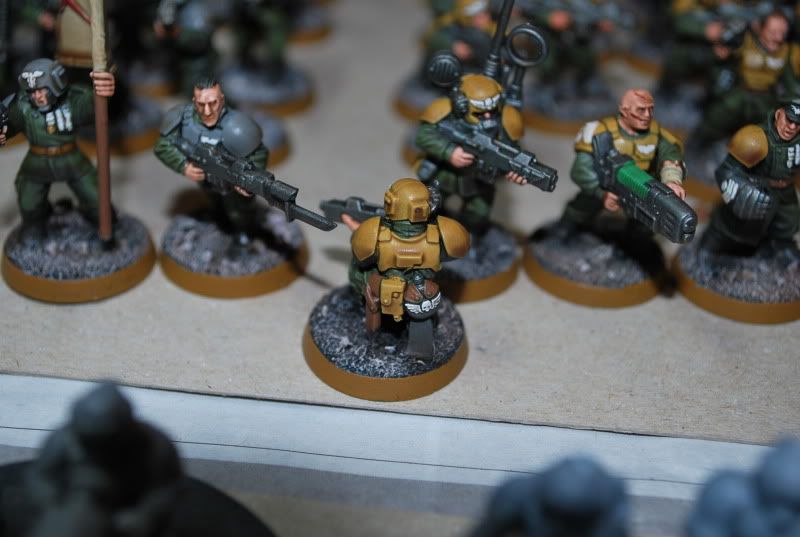
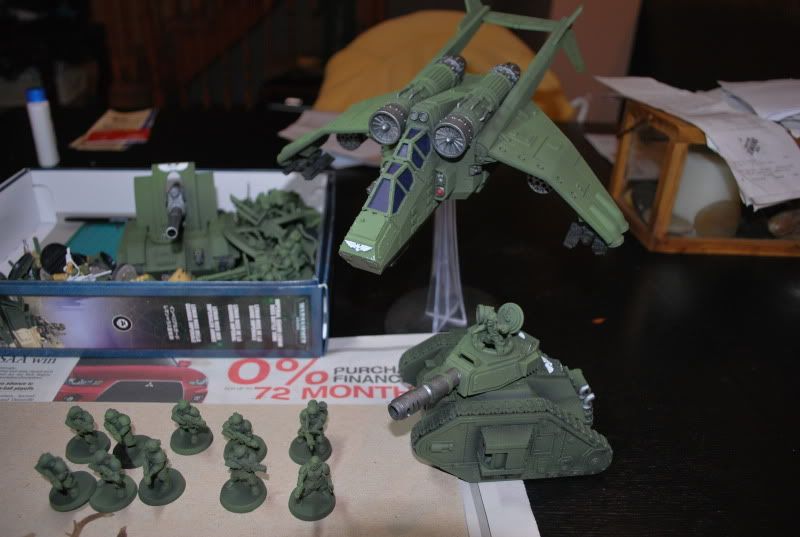
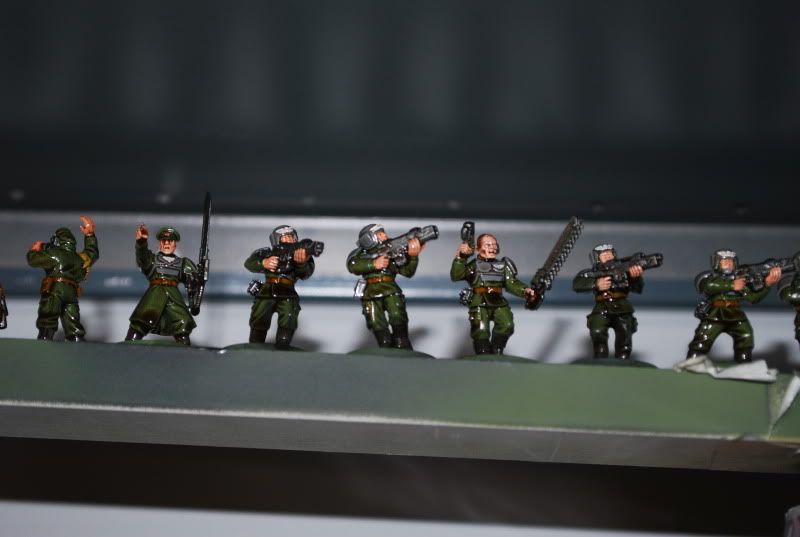
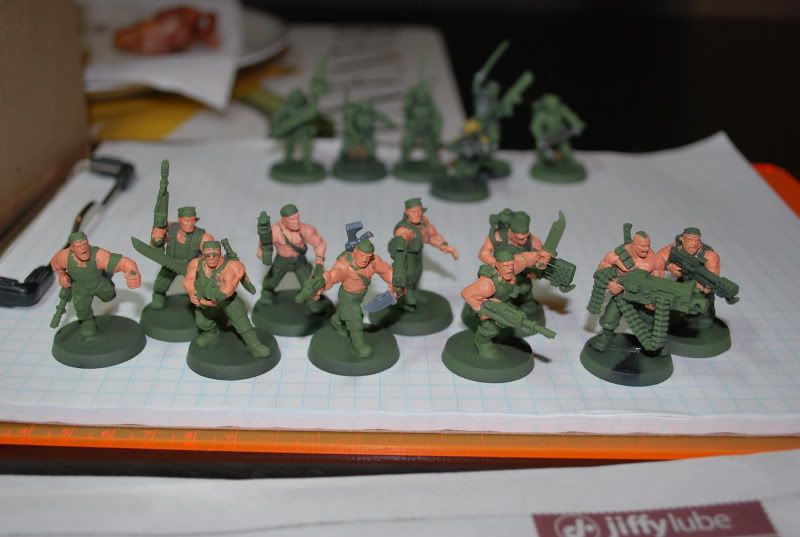
Automatically Appended Next Post: Squad #2 begins...this time i opt for grey armor. I figure each of my larger squadrons will have different coloured armor so i can tell them apart and for ease of play (ie. i will shoot the grey squad). Again the same deal...lay on all your base colours. I try a lighter flesh tone to see the difference...in the end i don't think it went quite light enough to make a difference.

Once your done all your base layers...so no shading...or dry brushing...just straight up painting colours on your models. It's time to dip! I use an old pair of pliers (don't use new once cause the dip will get all over it and gum it up).
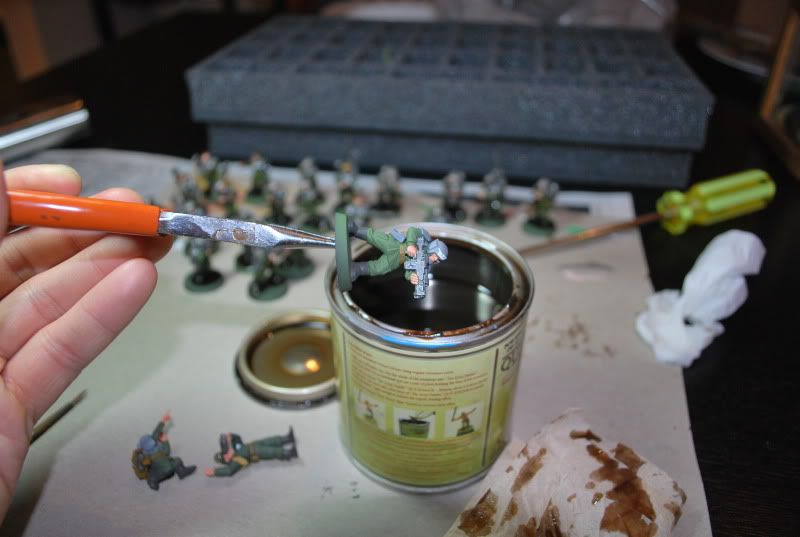
Dip the model in head first. i try to submerge it all the way until just before it will hit the base...if you manage to pull this off it's less clean up later. The dip is pretty thick, almost like a syrup and not really like a bucket of
GW wash
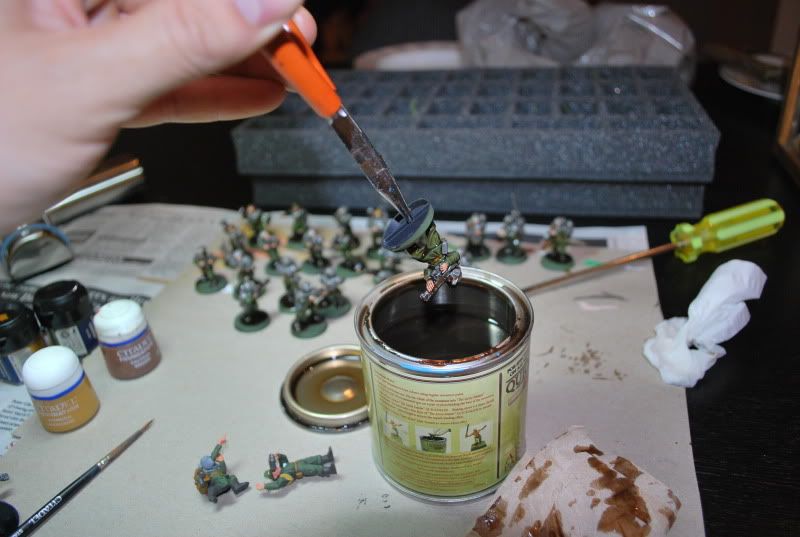
Give the model a couple good "flicks" to remove excess. I'll usually tap my pliers on the side of the can to knock large pools off, and then spin the model around to get the liquid moving.

Once you remove the model, you should wipe down the base if you can...cleaning off the edges at least. Use a paper towel, not a tissue as the dip is quite sticky. You can also give the areas that it really pooled on a few dabs with the paper towel if you like. Too cold to leave them in my garadge this time so i put them in my basement cold room on top of the dr. peppers...I grab a can while i'm down there

Remember it takes about 24 hours for it to dry/harden...at the 12 hour mark they are still a little sticky, so be careful. Also i would recommend putting them on something solid when drying, if you leave them on a piece of paper or cardboard they will end up sticking to it...i use an old kitchen tile or piece of wood...in this case my same priming stick of doom.
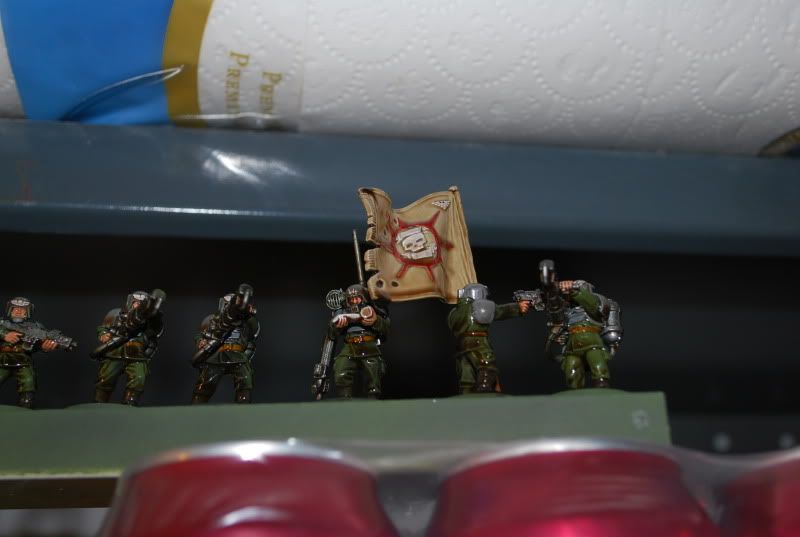
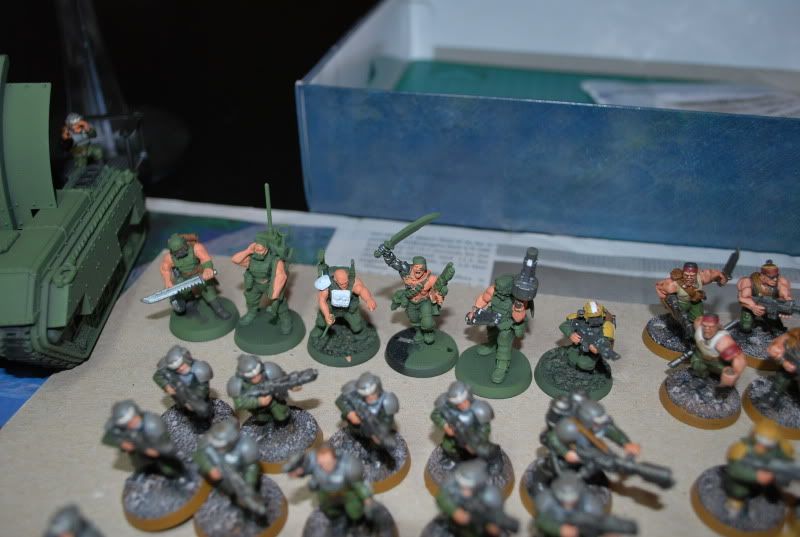
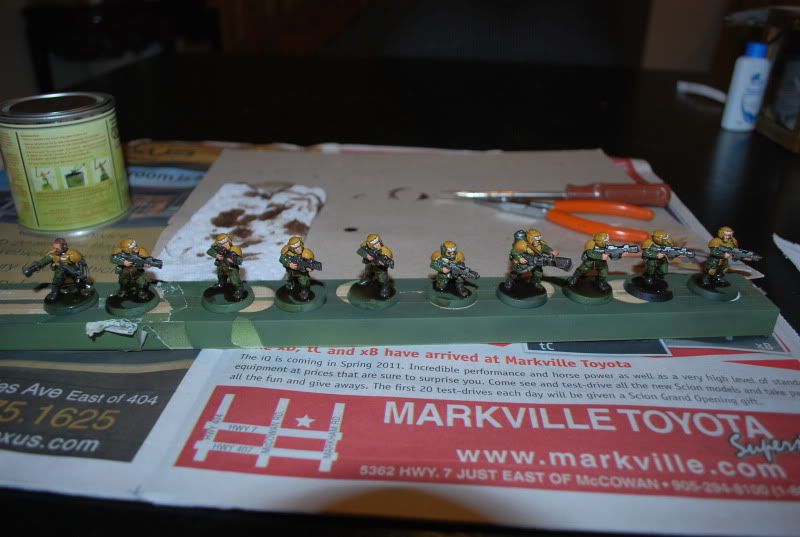
next up is my squad of jungle fighters veterans, along with a Harker!
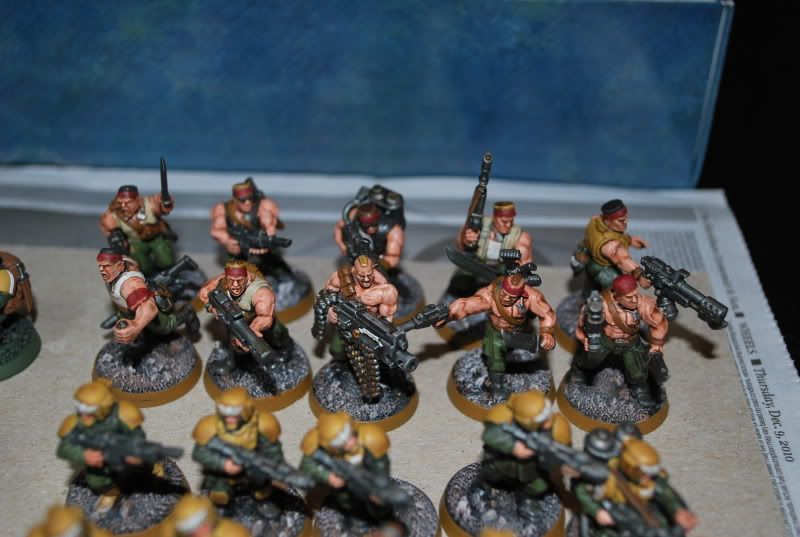
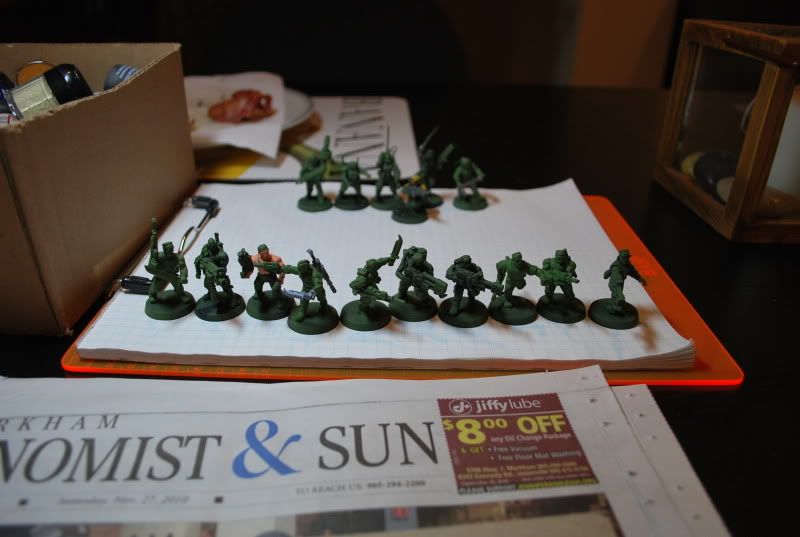
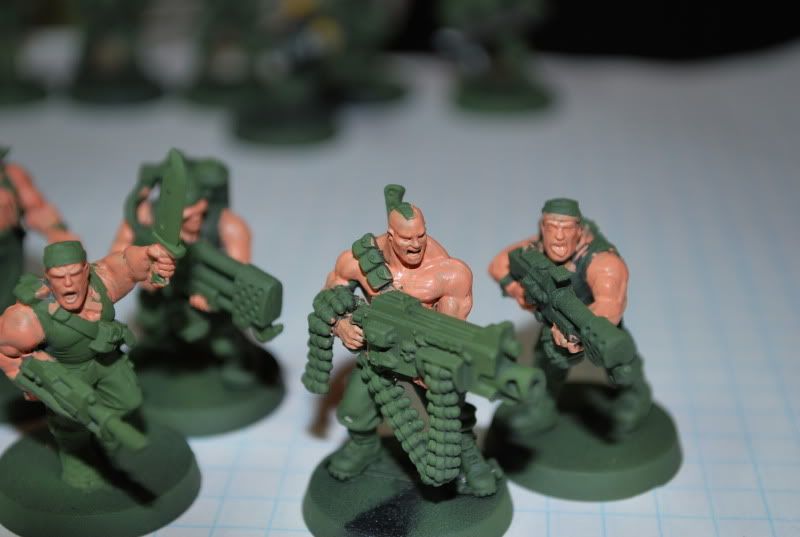
Automatically Appended Next Post: work on jungle fighters begins! I had originally intended to have my entire army consist of jungle fighters...but good thing i didn't do it cause the skin is alot of work here.
Reason why the skin is a pain, is cause the coverage isn't the best...i didn't use a
GW foundation paint, so perhaps this would have made my life easier. Again the same process here is to base layer everything you want to have colour. I did do two to three layers of skin per jungle fighter here...just to add some depth. So of course a darker layer first and then a lighter layer.

Here's a closer look at the harker skin progression...he got the most layers and work out of all the jungle fighters. I had originally planned not to "dip" him and do it the old fashioned way...but was worried he might not look the same as the other models so i decided to dip. you'll notice the first layer of skin isn't covering too well... this is ok, and when your doing something like this resist the temptation to keep throwing paint at it...it'll just come out a blobby/chunky mess...let it dry and then apply your next layer it'll even everything out
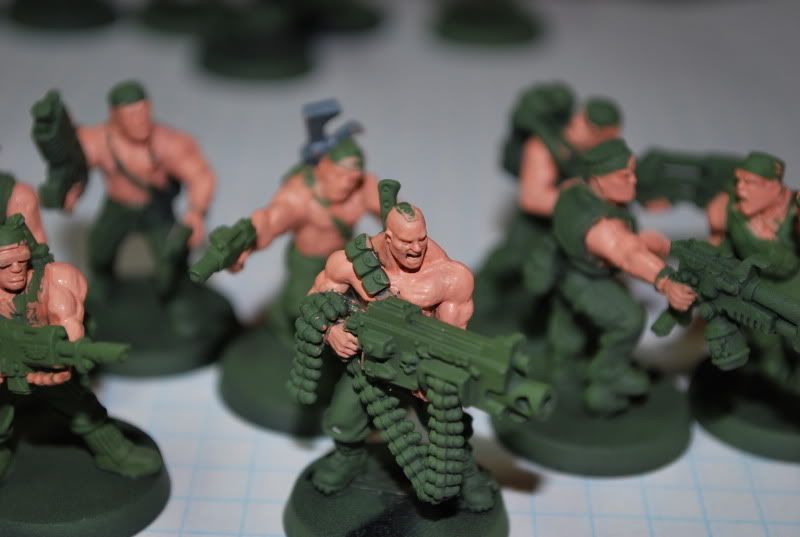
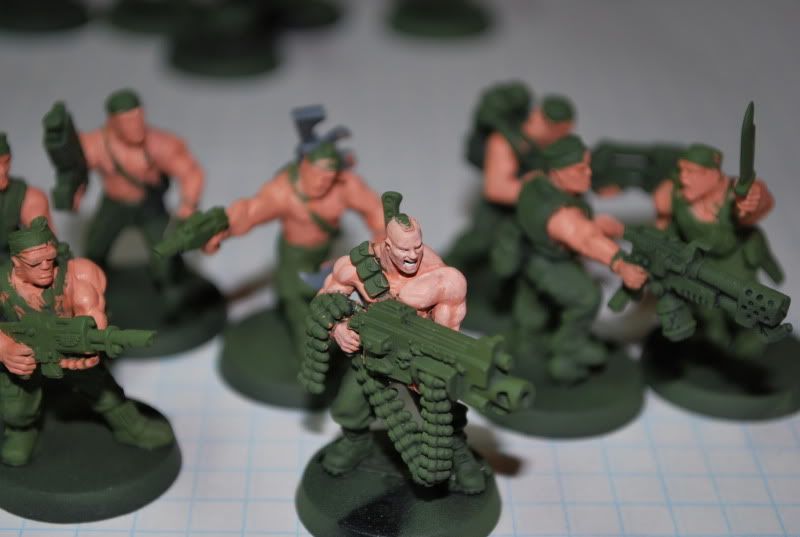
Here's how they end up looking before dipping. If you notice for these and my other troops i don't really do the eyes and such on the face...as i will have so many of them i'd take way to long...i opted to let the dip do the work and just create shading on those areas...i'll save doing eyes and such for my main characters.

After dipping...these guys have a little more going on so there are more pools of dip going on...you'll want to dab those with a paper towel if you can...no worries if you forget, it's easily removed after everything is dry, you can just pull it off with your fingers or a hobby knife. I use a old bathroom tile to let them dry on this time.
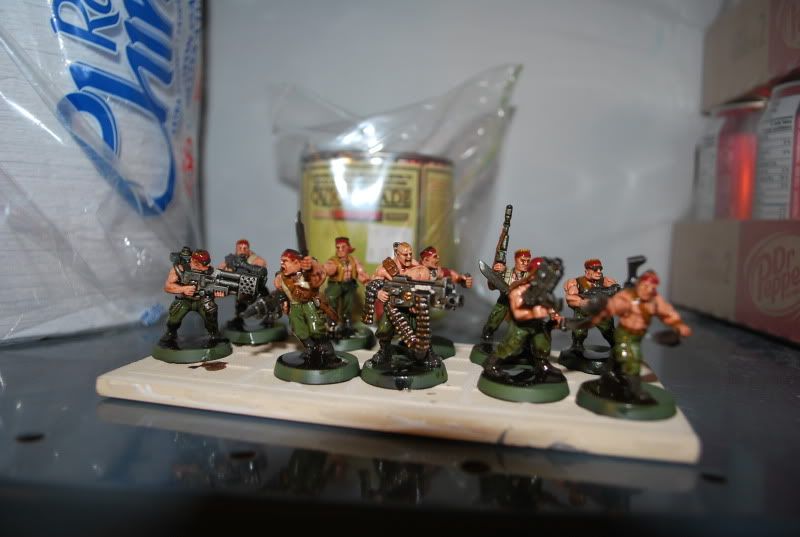
up next: Two squads of regular troops done, and harkers veteran squad. Paint the bases and it's off to the matt spray to see how it all turns out in the end.
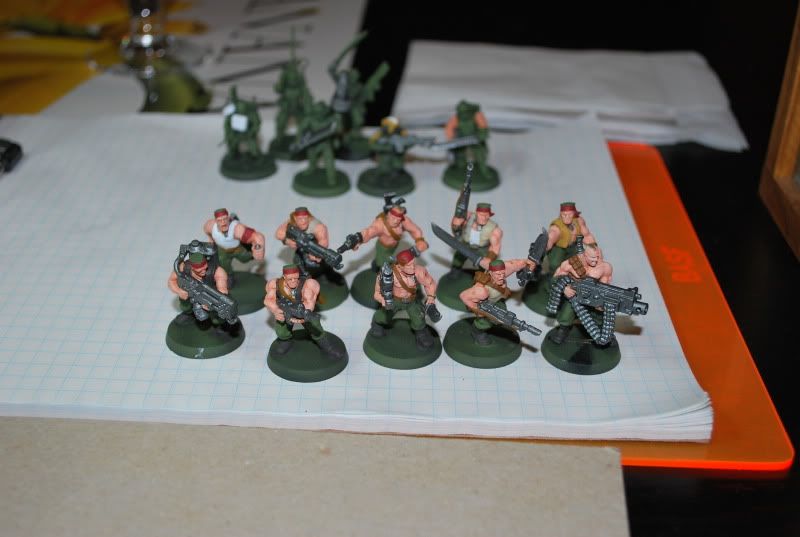
Automatically Appended Next Post: okay, figured i should get this one last post in so people can start seeing how a "dipped" army looks
2 troop squads, 1 veteran squad with harker just about done.
Just gotta complete the bases and then it's off to matt varnish to see what the end result will be. Using regular PVA glue you stick on the sand. Then after it dries i use a mix of watered down glue and chaos black to make sure it all sticks good.
First dry brush chardon granite. Next using beastial brown. Then the finial dry brush of deneb stone. Last i do the ring on the base in snakebite leather...i have to do two coats to ensure coverage.
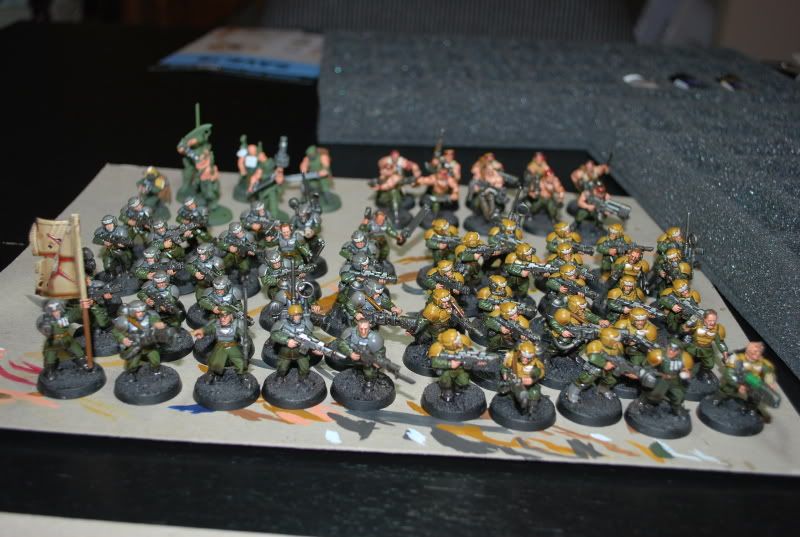
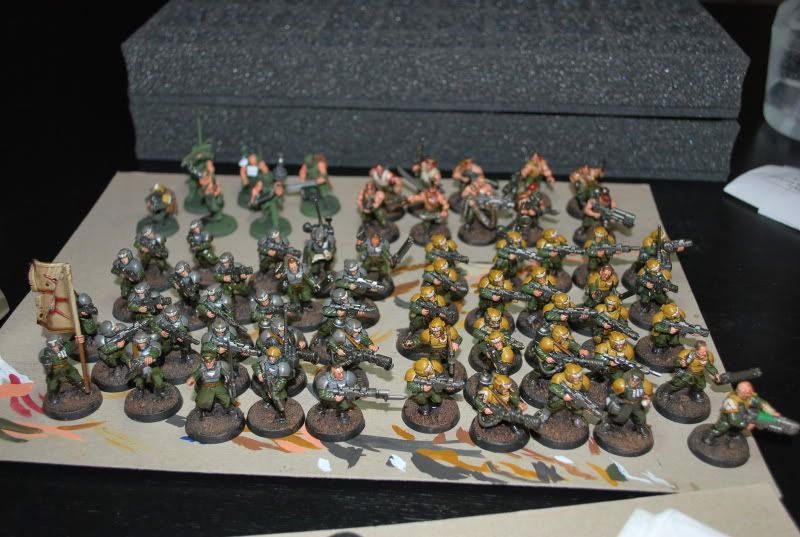

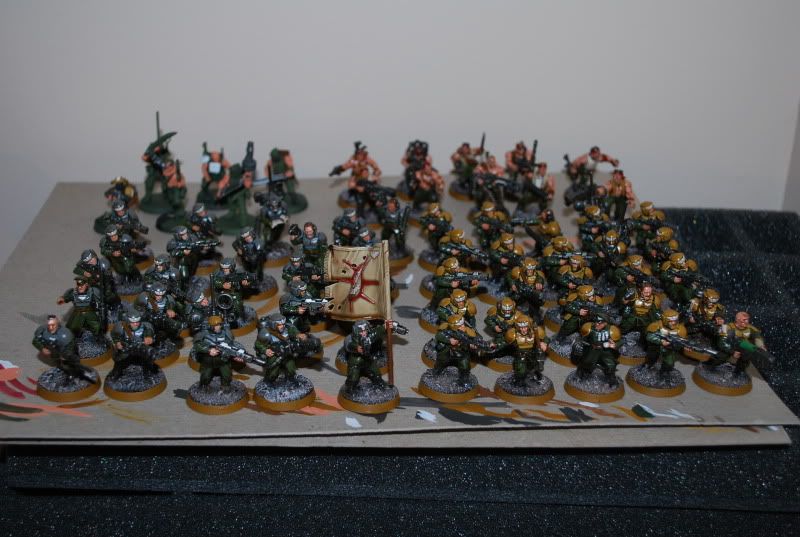
now they are good to go for Matt Varnish! then addition of some static grass


 ~Ice~
~Ice~