Welcome to Part II of my custom resin base project. I’ve been waiting for almost 2 months for this part and I couldn’t wait to get started, so here we go!
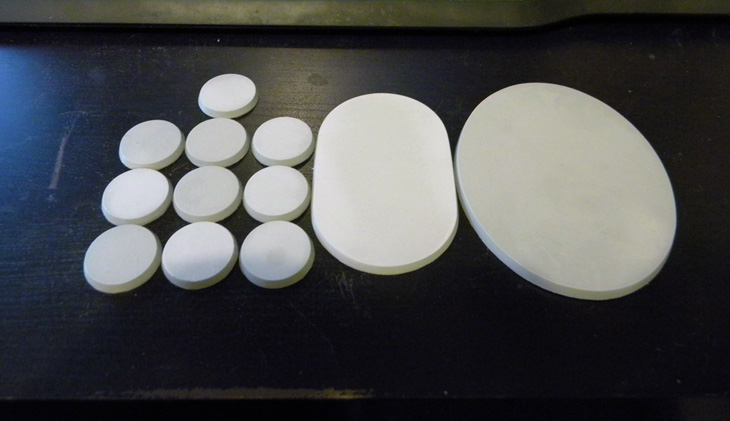
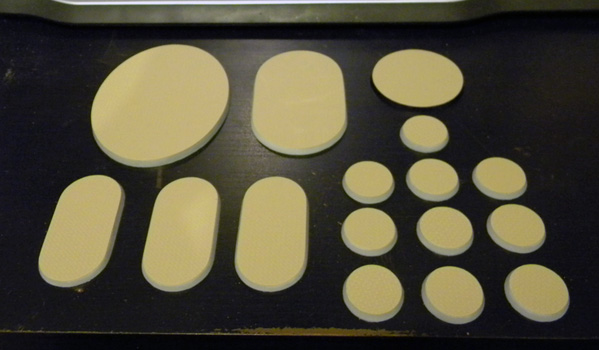
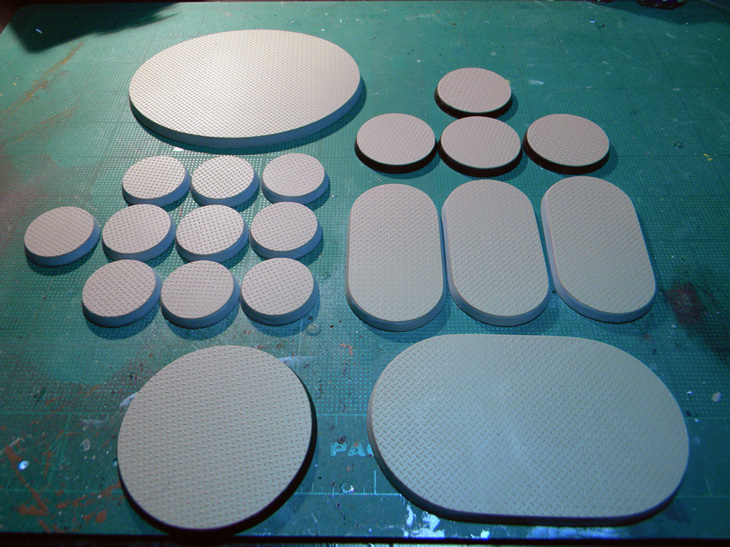
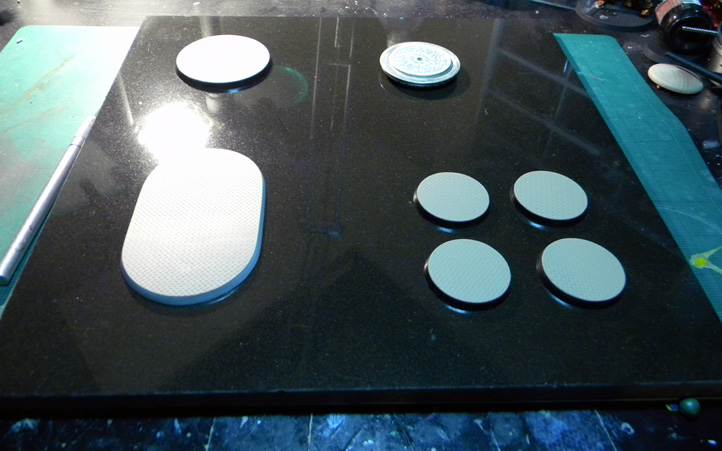
A few weeks back I picked up some granite tiles from Lowes for use in this project (and they worked perfectly). I plotted out real estate for each object to be casted on a tile.
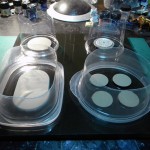
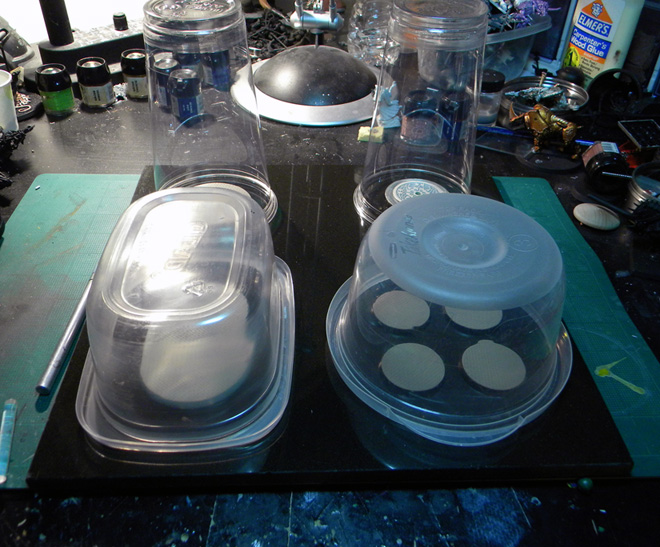
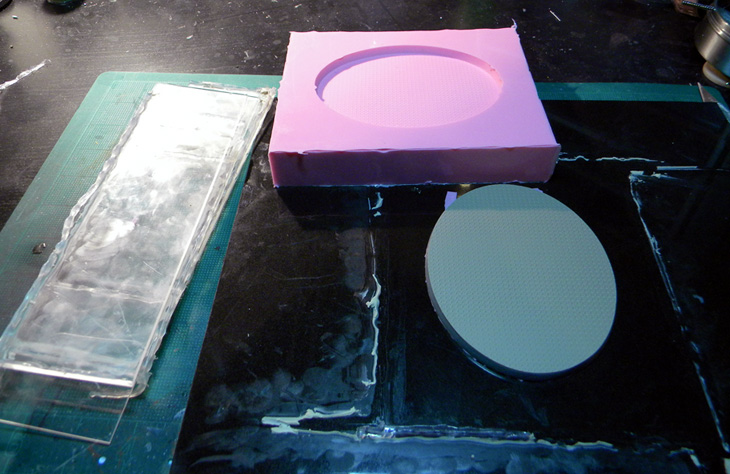
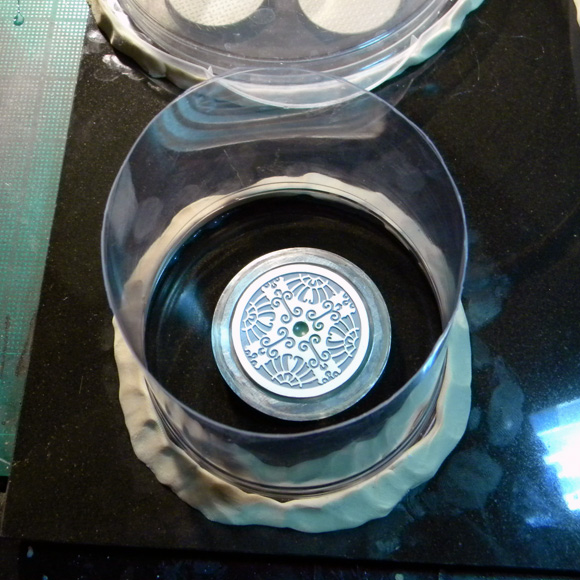
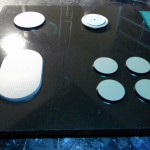
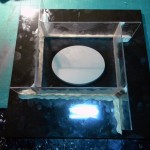
After each was roughly in place, I placed their respective “mold boxes” down so I could gauge the room each would need. My mold boxes being a pair of plastic cups and old plastic bowls. The tops of each were cut off with a X-Acto knife.
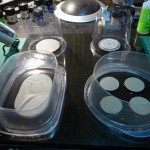
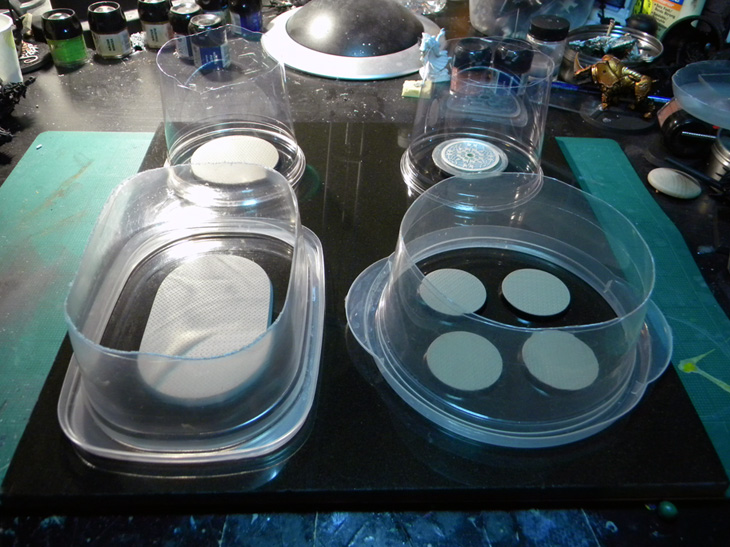
With a hot glue gun affixed each set to the tile followed by each mold box. This part was pretty annoying as I had real difficulty getting the bases to lay flush on the tile without any gaps. I anticipated this problem and tried crazy glue but it would not cure for some damn reason (I assume it needs air to cure?). Gaps will allow for rubber to get under the object and give you cleanup work after the mold has set. I only managed to get the 40mm and 60mm sets to sit flush. All the others had small gaps. I’ll need to find a better solution…
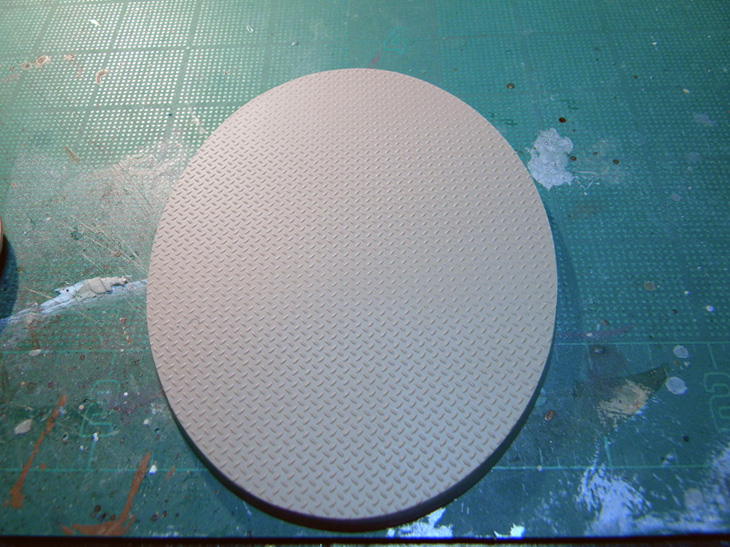
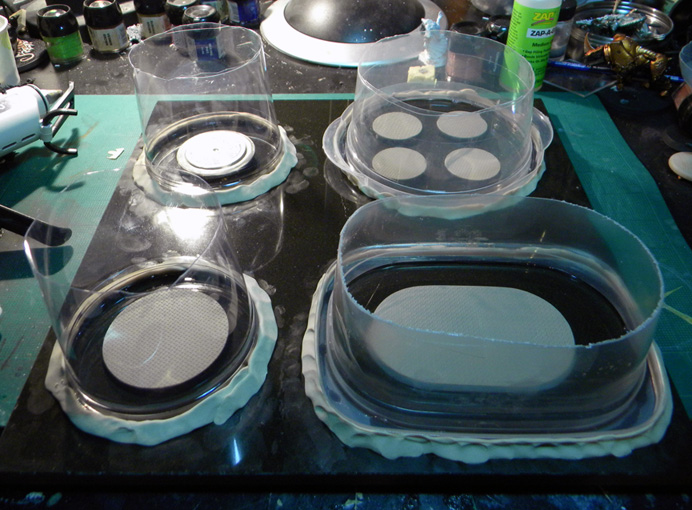
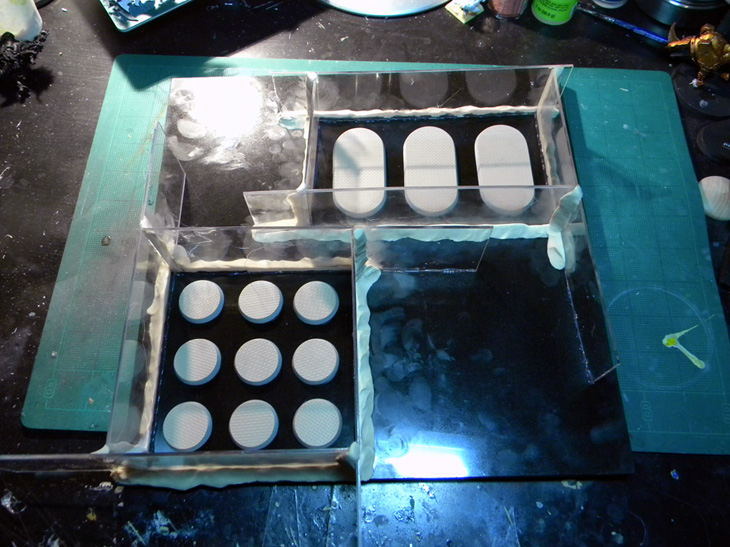
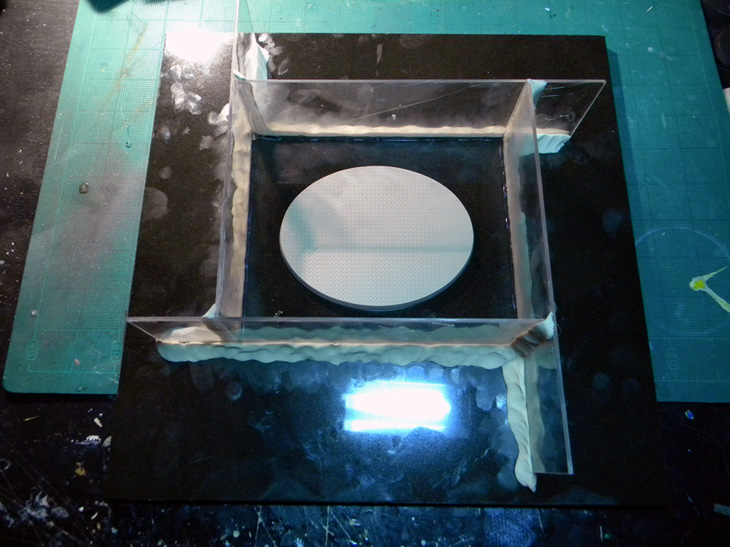
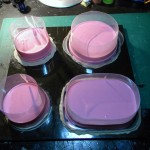
I need again sing the praises of acrylic sheet. It makes for perfect mold box crafting material, as it’s cheap, easy to cut, and most importantly CLEAR. I used 3 10x8 inch sheets for the last three boxes and cut them into 2.5x10 inch strips. I glued the bases down (cursing the gaps), built/glued the boxes around them and sealed the edges with non-drying clay to prevent leaking.
I then brushed some mold release to avoid possible sticking.
Rubber pouring stage en route so stay tuned!
Shawn G. (SoI)
Automatically Appended Next Post: Welcome to Part III of my custom resin base project. Mold Making!
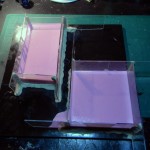

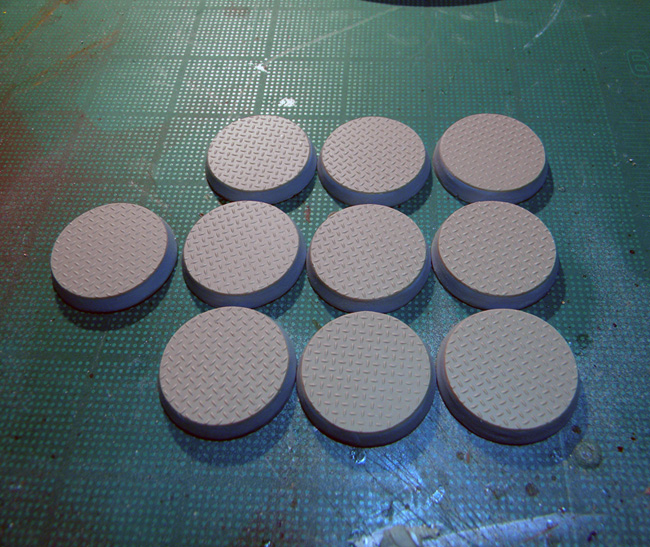
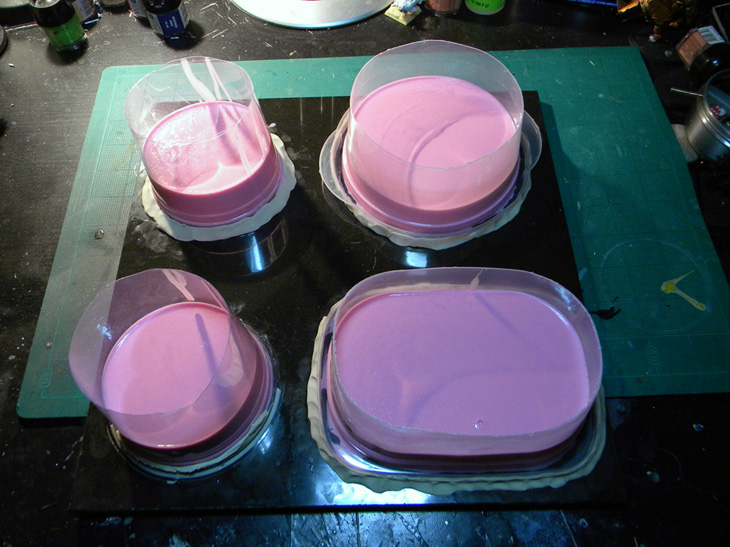
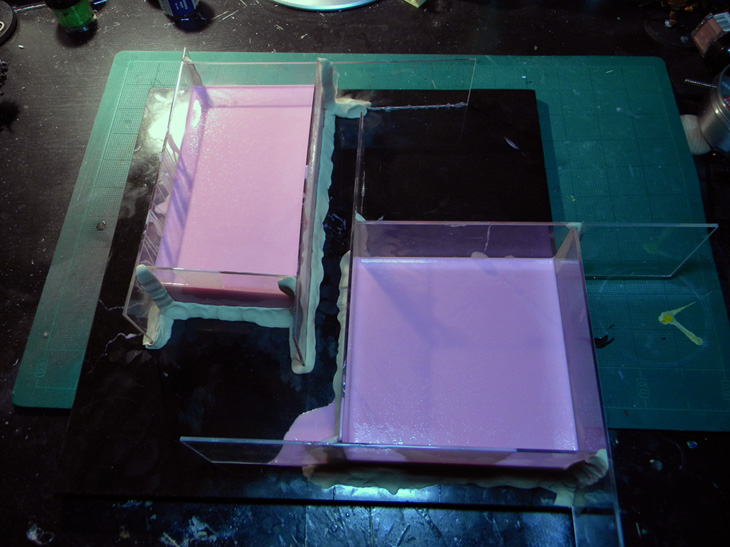
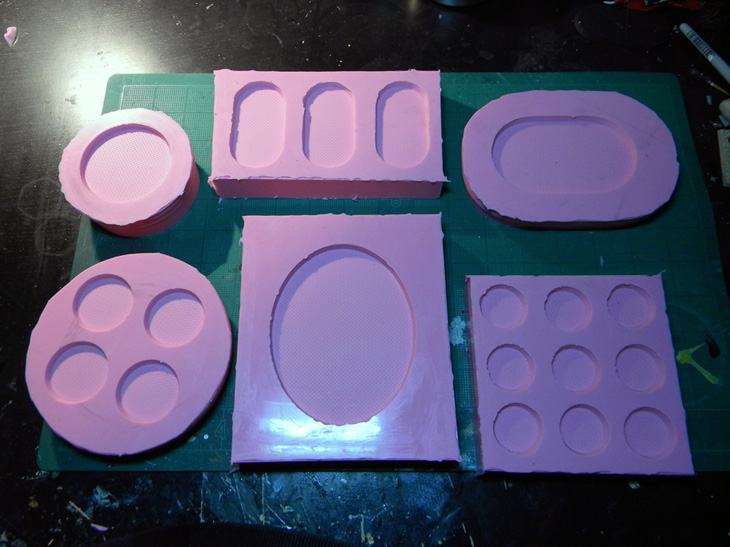
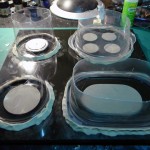
I mixed up the rubber in a large plastic paint pot. Now this stuff usually needs a scale to measure out the 10:1 ratio but as I was using the whole trial kit that was not necessary. Each mold was poured slowly in a very thin stream into a corner (if it had one) so the rubber could work it’s own way around each base. This method prevents air bubbles.
It took 2.25 trail kits for these 7 molds (had to whip out the scale for the last bit). I made sure that each one had at least 3/4 ‘s of an inch of rubber padding. Each mold performed excellently and there were no leaks (I did spill a little on the side of a few). I allowed each base to cure for 22 hours. I usually give it a full day but I was really impatient this time.
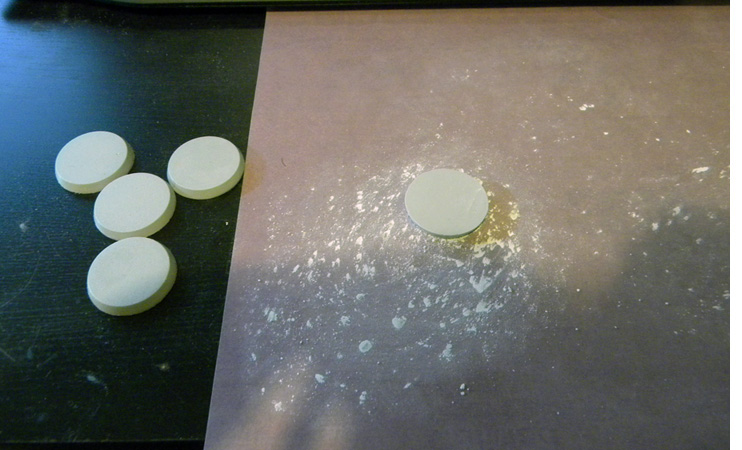
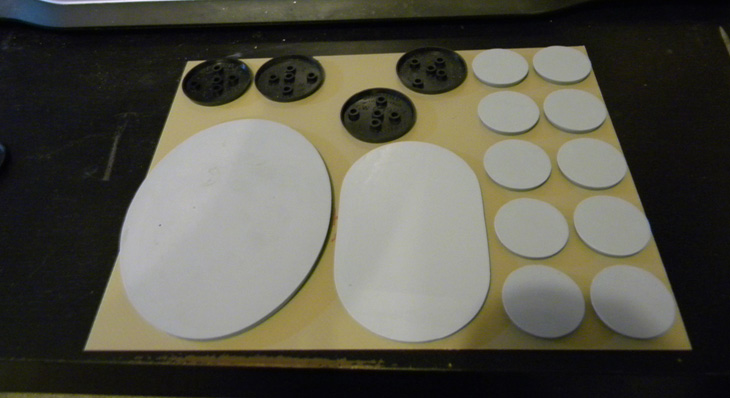
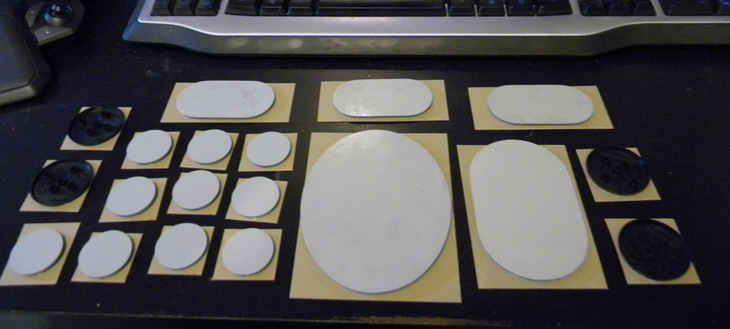
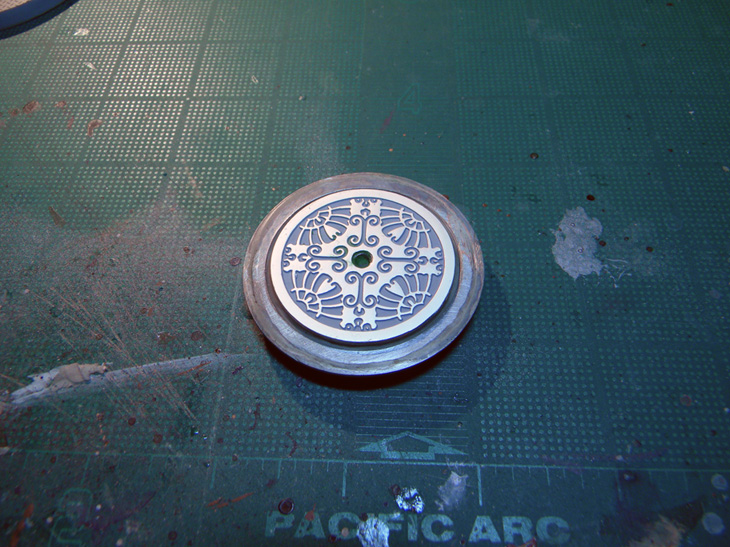
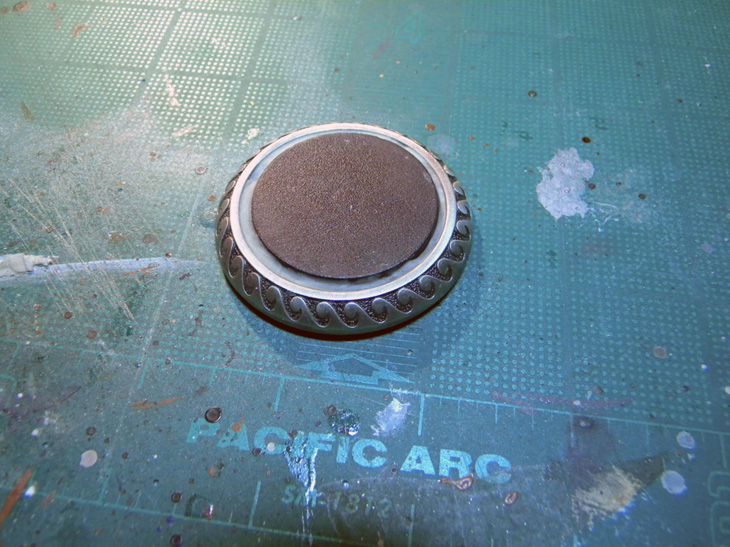
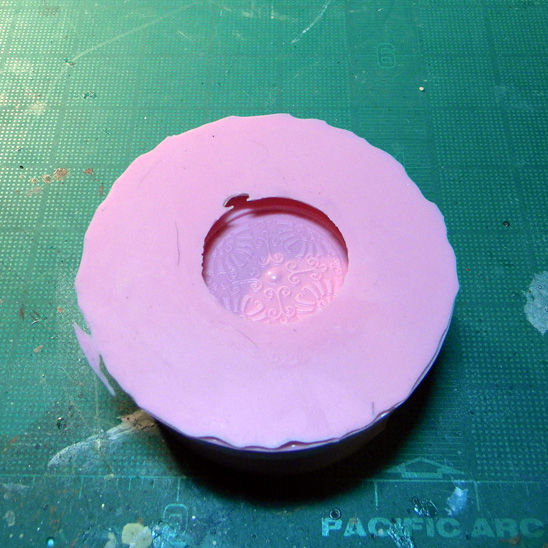
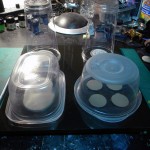
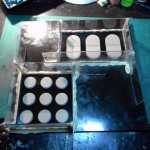
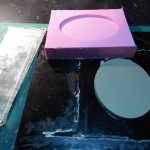
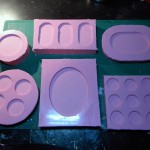
Demolding was easy. I recovered the clay and saved it for future projects in a ziplock bag, then GENTLY pried the mold boxes of the round set off of the tile. The hot glue came away from the granite with ease. Be sure you take your time here. You don’t want to go yanking the molds up as you can tear the rubber and ruin the mold.
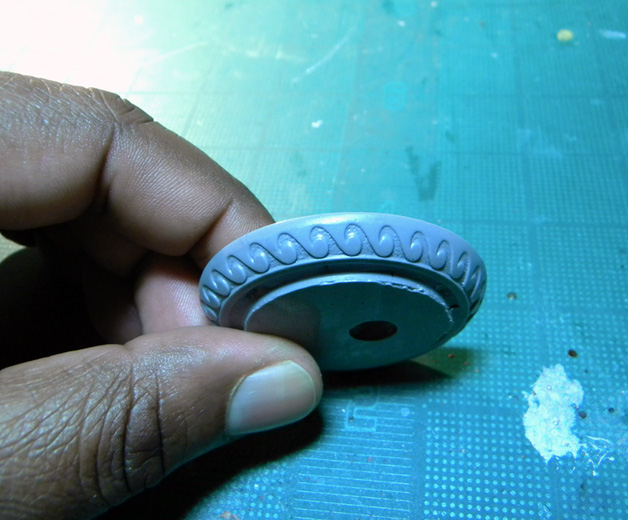
The acrylic boxes took a little more time. I had to cut the sides a little with an X-Acto and then peeled each side away. As expected rubber seeped under some of the bases and I had a bit of cleanup work to trim all that extra rubber away.
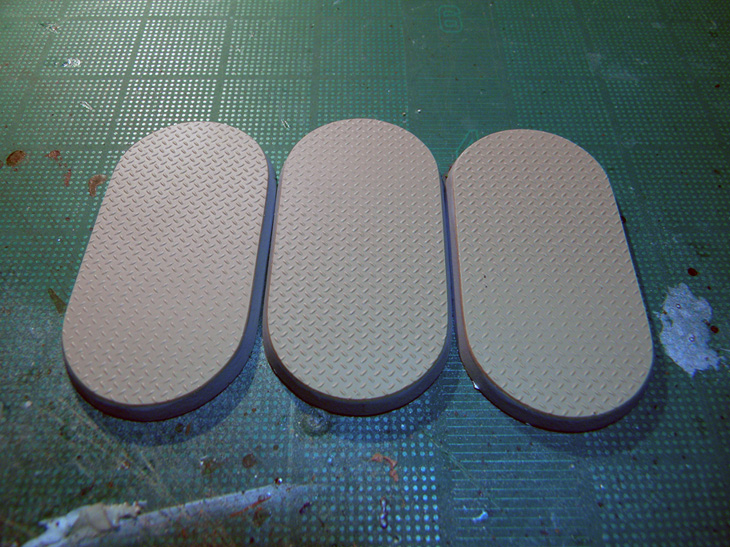
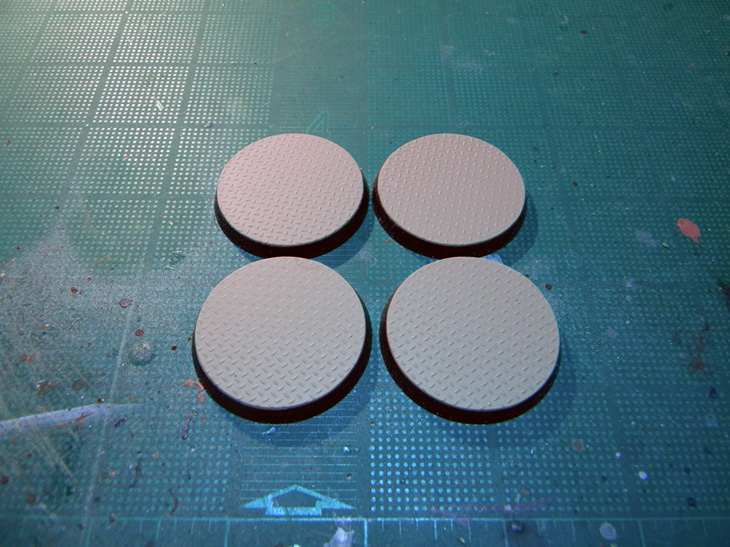
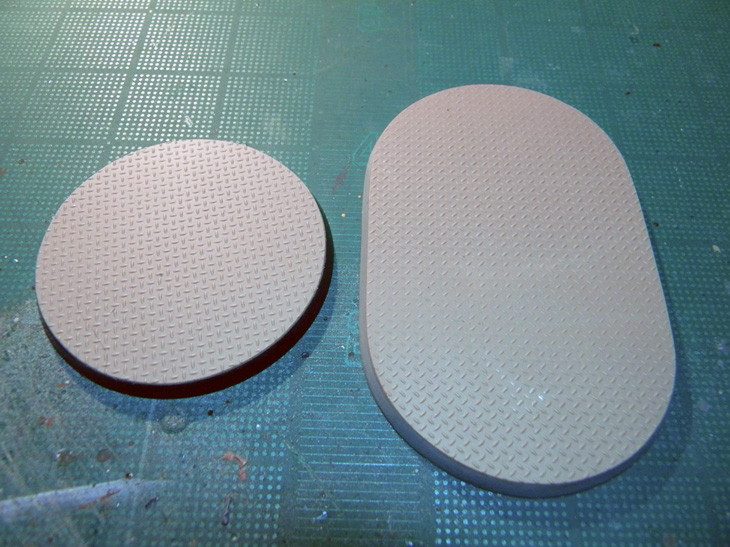
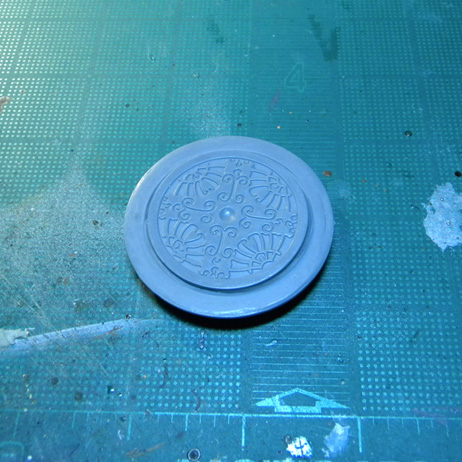
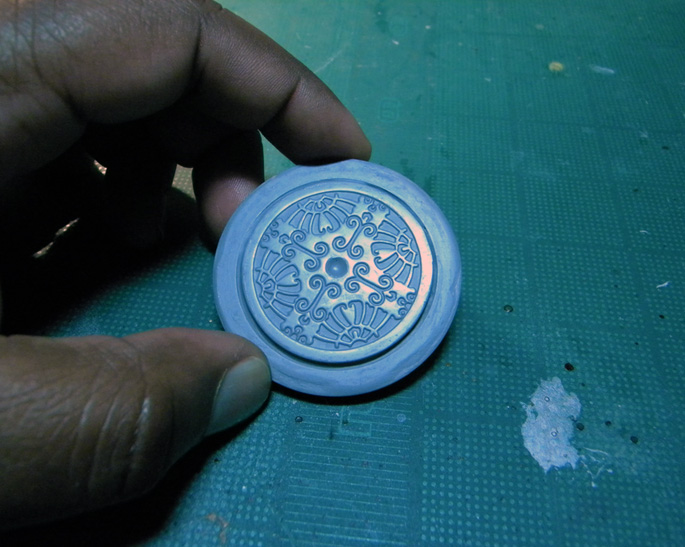
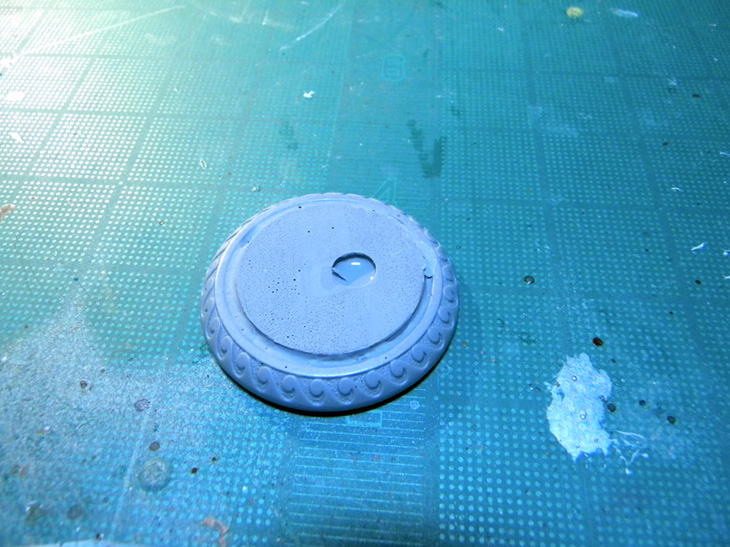
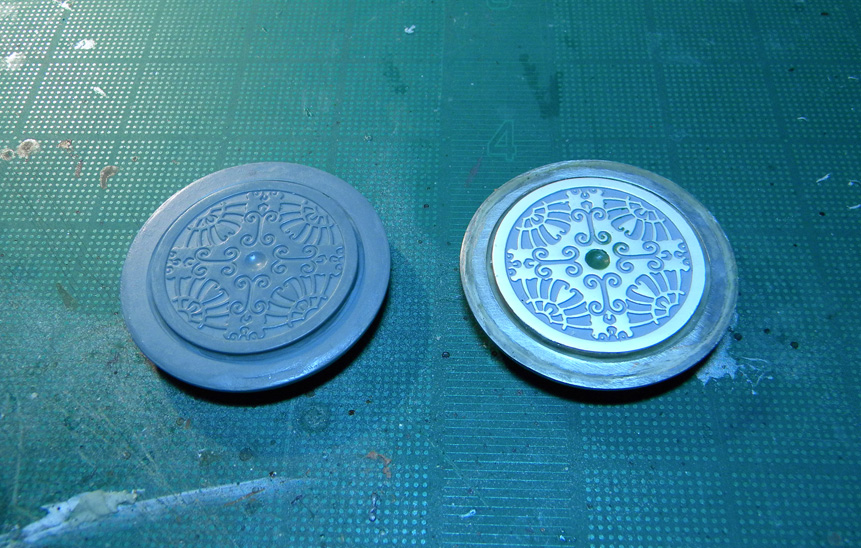
All and all, these came out well!
Casting to follow…
Shawn G. (SoI)