Switch Theme:

Exodites Conversion Tutorial  [RSS] Share on facebook Share on Twitter Submit to Reddit
»
Author Message
Advert


Forum adverts like this one are shown to any user who is not logged in. Join us by filling out a tiny 3 field form and you will get your own, free, dakka user account which gives a good range of benefits to you:
  • No adverts like this in the forums anymore.
  • Times and dates in your local timezone.
  • Full tracking of what you have read so you can skip to your first unread post, easily see what has changed since you last logged in, and easily see what is new at a glance.
  • Email notifications for threads you want to watch closely.
  • Being a part of the oldest wargaming community on the net.
If you are already a member then feel free to login now.


Made in au
Horrific Howling Banshee


WHAT YOU NEED
1x Guardian Defender Squad ($55 AUD)
1x Wood Elf Glade Guard Kit ($50 AUD)

This gives you enough to construct 10, individually posed models that are already cheaper then the Finecast Rangers which are $110 AUD for 10, with only five poses and also will have an additional 6 spare components for future conversions.


Now, onto the tutorial. Once again, I apologise for the picture quality, I am looking for a camera right now, but for now I am still limited to my iPhone.

STEP ONE
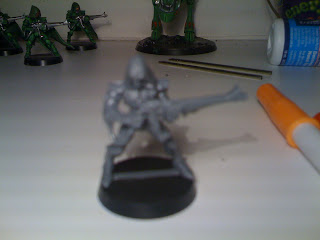
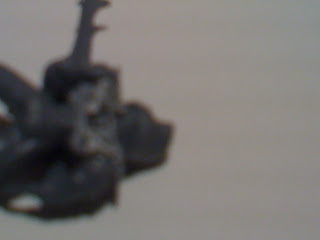
Assemble the guardian as per normal, however using a Glade Guard head and leaving the back off.
Here I used the hooded head, though it is generally best to go for a 70:30 mix of hooded to non-hooded heads for variation's sake.


STEP TWO
If you turn over the model, you will notice that the entire back half of the torso is missing, and there is a peg sicking out the back

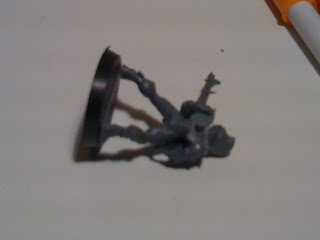
At this stage, you need too clip off the peg on the back.

STEP THREE
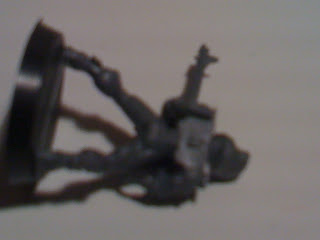
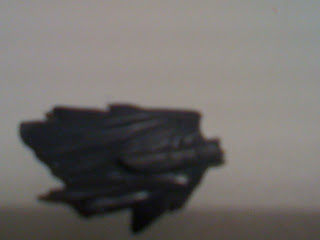
Slice off two small pieces of excess sprue, ensuring that they will fit on either side of the model's back.


WARNING: DO NOT GLUE THESE ON YET


STEP FOUR
Clean up one of the Glade Guard's cape, removing any flash or mould lines.

STEP FIVE
Apply plastic glue over the entire back of the model and put the two pieces of sprue into their previous positions.
Quickly apply glue over the entire back again, including the off cuts and attach the cape, with the circular component of the cape sitting in between the two off cuts of sprue, which should give it an area to adhere upon and also filling the large gap where the backpack of the Guardian normally goes.


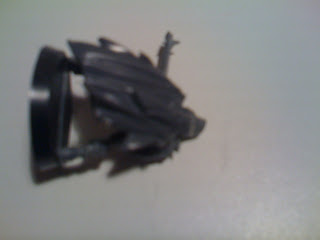
Leave it sitting face down until the glue dries then paint as you see fit!


So that's how I do them!
Any thoughts, criticisms or unfathomable rages?
Find more Eldar related articles on my blog, http://eldaracceptancesociety.blogspot.com/

This message was edited 3 times. Last update was at 2011/07/03 09:40:53


Made in nz
Longtime Dakkanaut


New Zealand

Looks interesting, really need some better photos though (even if its only the finished product, the rest I can kinda follow). I've been pondering doing an Exodite based list using the Dark Eldar codex and was thinking that turning Wyches into a more Wood Elf type look shouldn't be too hard, but I'm still not 100% sure what I'm going to do for Warriors.
   
Made in au
Horrific Howling Banshee


I'm taking some new pictures tonight hopefully!
   
Made in nz
Twisted Trueborn with Blaster


New Zealand

Nice tutorial, it's a shame those pictures are making me so confused haha.

Try to post some clearer ones when you can, I'm very curious as to how the final result looks!

Cheers,

I Xiii

"Don't worry bro, I got this."

Scarab Prince Corsairs: http://www.dakkadakka.com/dakkaforum/posts/list/328486.page

Protectorate of Menoth: http://www.dakkadakka.com/dakkaforum/posts/list/617825.page 
   
 
Forum Index » Painting & Modeling Tutorials
Go to: