So I'm on fall break from college right now, so I figured I would whip up some scenery. I've noticed that at the
FLGS (aka the kitchen table), that there is a distinct lack of greenery, so I hatched an idea for some woods. I liked the Citadel woods,
http://www.games-workshop.com/gws/catalog/productDetail.jsp?catId=cat440156a&prodId=prod1095512, but 3 trees didn't seem like enough to me, and I didn't feel like paying that much for that little. So I figured I could do better (or at least just as good).
For the lawyers: This tutorial makes us of power tools. Please use discretion and common sense when operating power tools! Always use the proper safety guards and equipment, and if under the age of 18, have a responsible adult supervise your work. Thank you.
Materials:
Plywood (got a 2x2 piece of quarter inch from home depot)- $5
Model trees (more on these later)- $17
Spray adhesive (wal-mart)- $3
Paint (99 cents each from wal-mart)- $3
Flock (optional)- $10
25mm bases (had some extras from different boxes)- $0
super glue- had it already
Sand- free from the local golf course
Tools:
Bandsaw
Drill press
Forstner Drill Bit (1" diameter)
Sand paper (optional)
Paint brushes
Ok onto the tutorial. I decided to use plywood for my base. You could use foam board as a base, and I would actually recommend it if you don't have the proper tools. I prefer the heft of plywood for my bases so that's what I used. I sliced off a small piece of my plywood, then cut it into a blob shape with the band saw.

I was going for a bean shape, but it came out looking like a fish. Oh well. I ran sand paper around the edges to take the edge off.
So I'm going to be using a forstner bit to cut indents into the wood for my trees. Forstner bit:
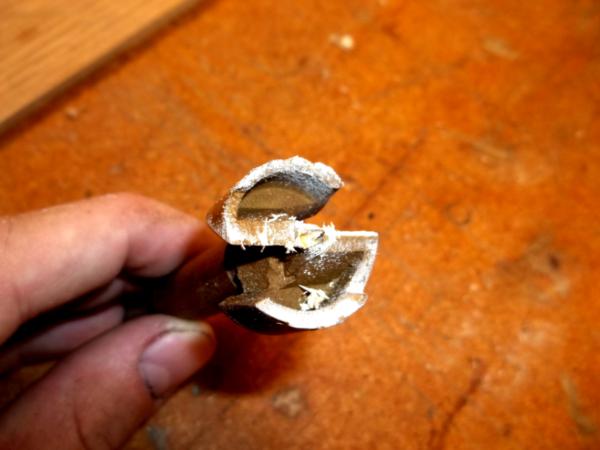
These bits are special because they create a flat bottomed hole, and remove all the material. My dad is a carpenter, so he has all these in his shop, but you can borrow one from a friend, or buy just a 1" diameter one. For foam, I would suggest just gouging it out with a knife.
I bore into the wood some holes. I tried to place them randomly, because forests don't grow in perfect shapes. The trick here is not going all the way through. You just want to go about 1/8" or 1/16" down. I got this:
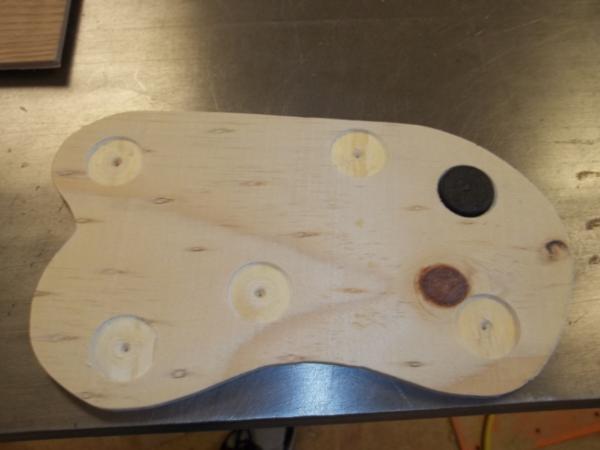
Note 25mm base in one of them.
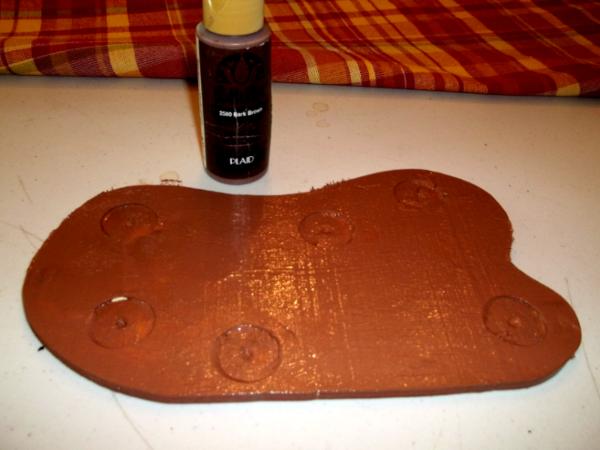
Now that we are finished in the wood shop, we move on to decorating. I painted the entire thing with a dark brown color. I used 99 cent wal-mart paint. I'm not using 4$
GW paint for terrain.
While I waited for that to dry, I started on the trees. Now I wanted a lot of trees for cheap, so I went to my local Hobbytown USA, and found this:
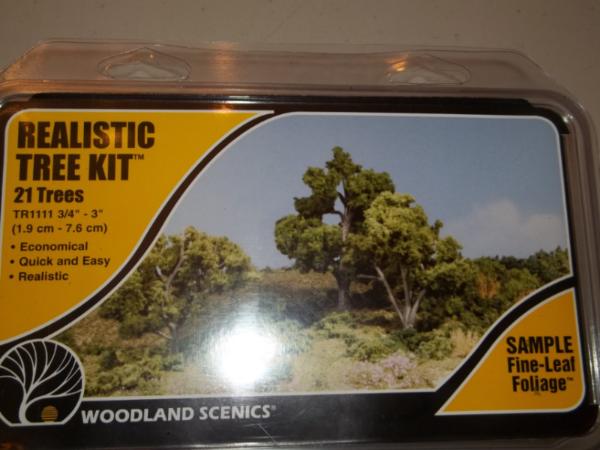
Looked about good. Box said it made 21 trees, and they were about the right height too. $17 a good price.
However, this being a "kit" I had to assemble my trees. Following the directions, I first had to bend the tree trunks into "tree shapes".
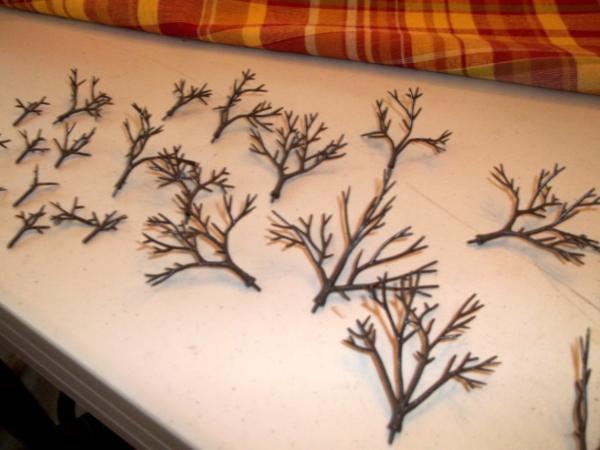
Look like sticks huh! So next step on the directions was to apply some sort of adhesive (another woodland scenics product). I had spray adhesive lying around, and figured that would work just as well.
I hit a tree with some spray adhesive, then dunked it in the included clump foliage (note: wear gloves, this stuff is sticky as all get out!).
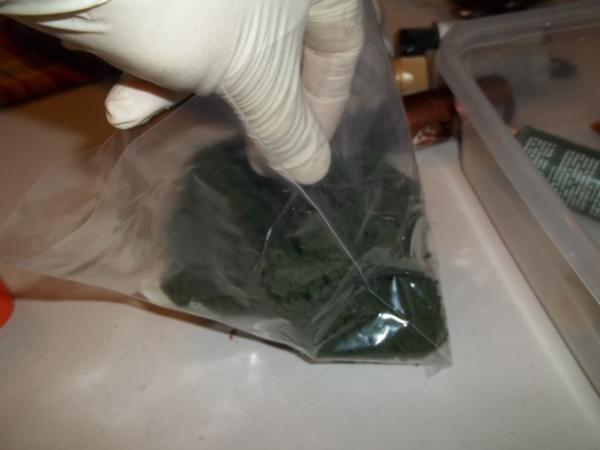
Clump foliage is the name for it, and it is very clumpy. Make sure you reach in and break it up with your fingers, otherwise it will be a big brick.
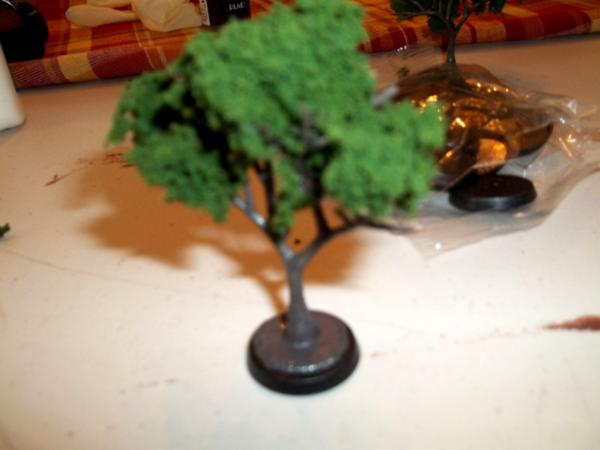
Tree!
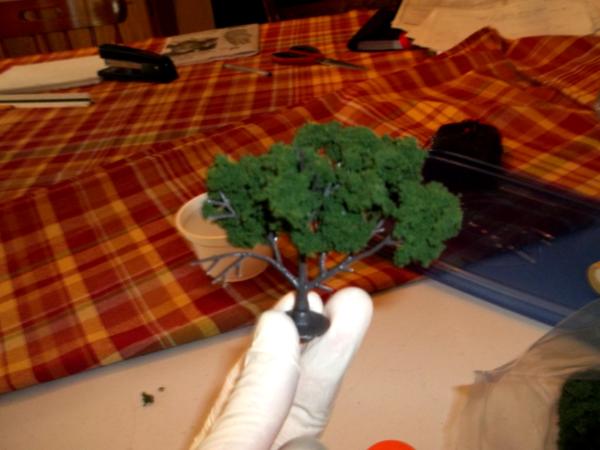
A dab of super glue to attach each to their bases, and we have a veritable forest:
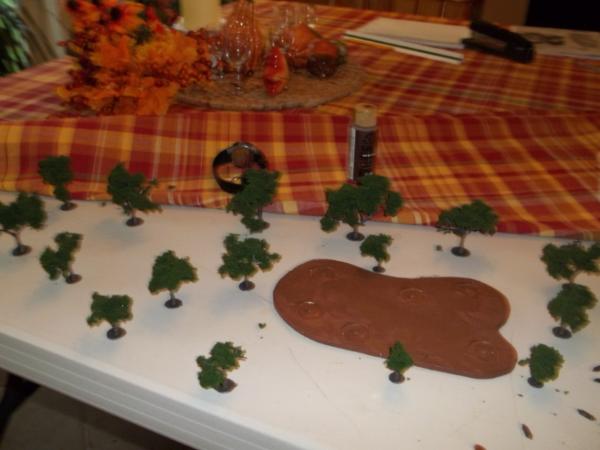
At this point, I started looking at my trees. These trees are meant for display, not play. As such the foliage didn't like be handled very much. I hit all of them with a heavy coat of clear coat, and this helped them stick well.
Hindsight being 20/20, I probably should have bought some pre-made trees. They were more expensive, but they looked really good, and weren't a pain in the

to put together. Additionally, although the box said "21 trees", about a third of them were not so much trees, but twigs. Oh well.
Now that our trees are put together, we turn back to our base. I then covered the base in white glue, and coated in sand. That done, I covered it with watered down white glue to lock it in place.

Try to not get any in the holes, but its not the end of the world if you do.
While waiting for my sand to dry, I attached each tree to a 25mm base.
These are extra bases I got in boxes, but you could buy some from
GW if you want.
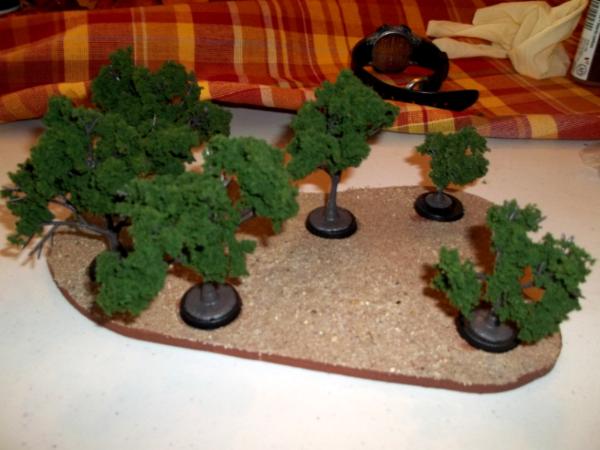
So at this point, you could stop and it would be mission accomplished. Looks pretty legit:
I like to add a little more to my terrain, so I'm going to paint and flock mine. My colors are inspired by this tutorial,
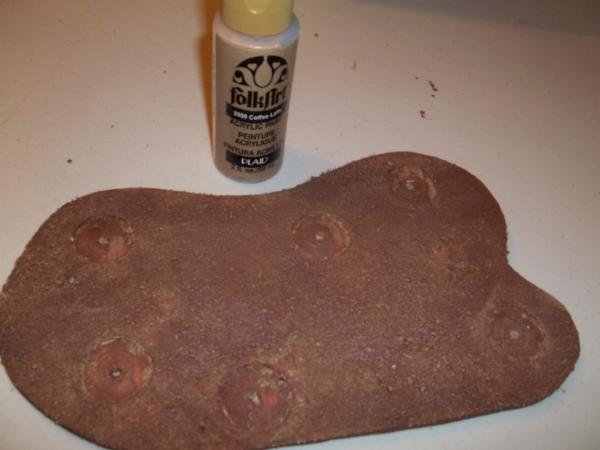
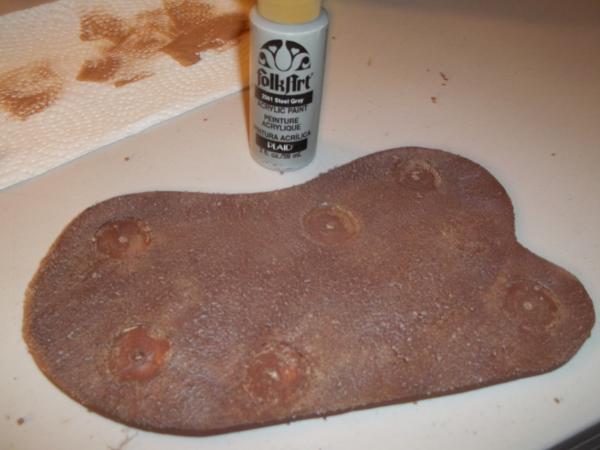
http://www.dakkadakka.com/dakkaforum/posts/list/339312.page, but you can use any colors you like. First I painted the sand the same color brown as before. This would be akin to bestial brown in the
GW range (whoops sorry no picture)
Next I did a yellow-brown drybrush. This would be like vomit brown from
GW:
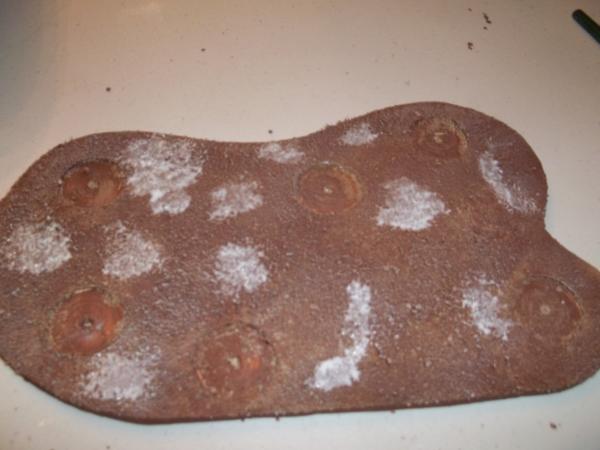
And finally a grey drybrush, similar to codex grey:
If you don't like fake grass, this would also be a perfectly good place to stop.
Next up is flock. I put some random blobs of white glue down:
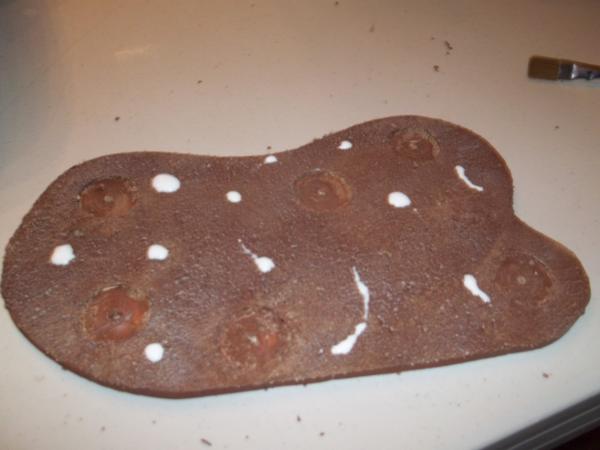
...then spread them out. You want to try for a non-uniform look here:
Then dump on the fake grass, and shake the excess off. Make sure to do this in a metal baking pan, so you can put it back in the container. Your left with something like this:
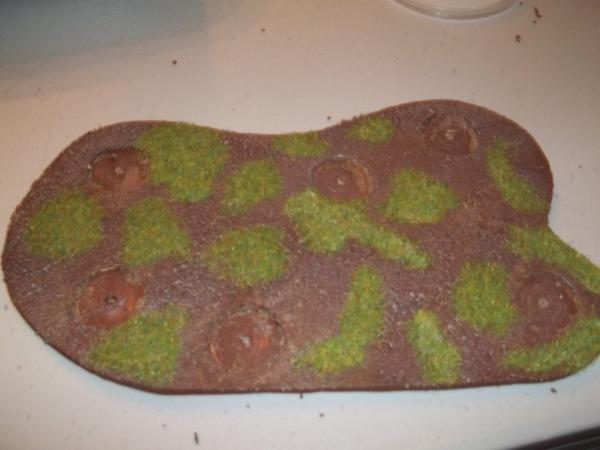
I would suggest the "blobs" instead of total coverage, as this looks more characterful to me. Alternatively, you could skip the sand and painting, and simply cover the whole thing in grass. That works too.
And now our finished product:

And for scale, a Salamanders sergeant leads his combat squad through the woods:
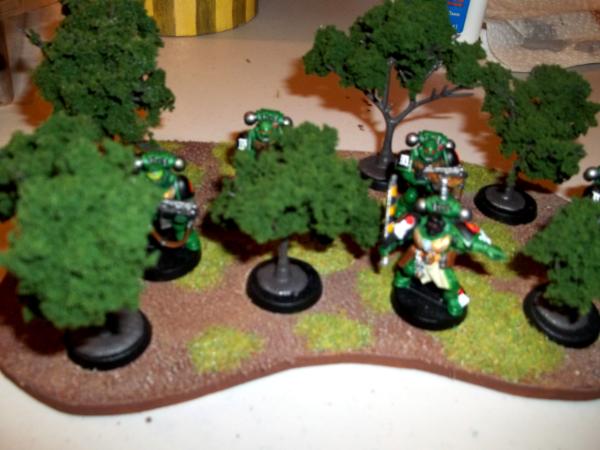
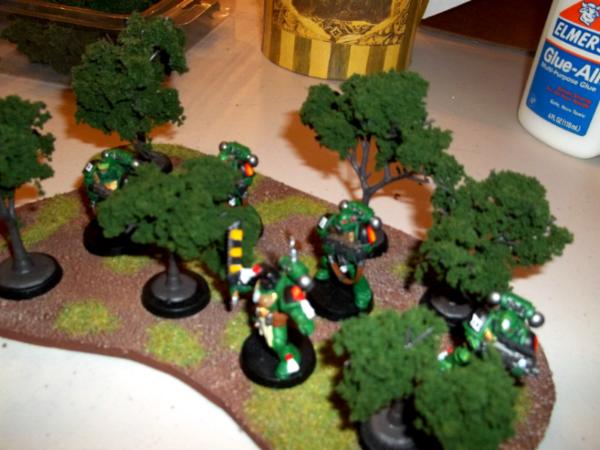
I'm going to go back and base the tree bases as well, but its the same technique as outlined above. I plan on doing about 2 more similar bases, which will give me plenty of terrain for my board. Whats great about these is that you can have as few or as many trees as you would like on them. And if a tree gets in the way, simply pop it off.
Well, hope you enjoyed my tutorial. This is my first tutorial, so C&C are welcome. Let me know if this gives any of you ideas, or ways to improve. Peace!