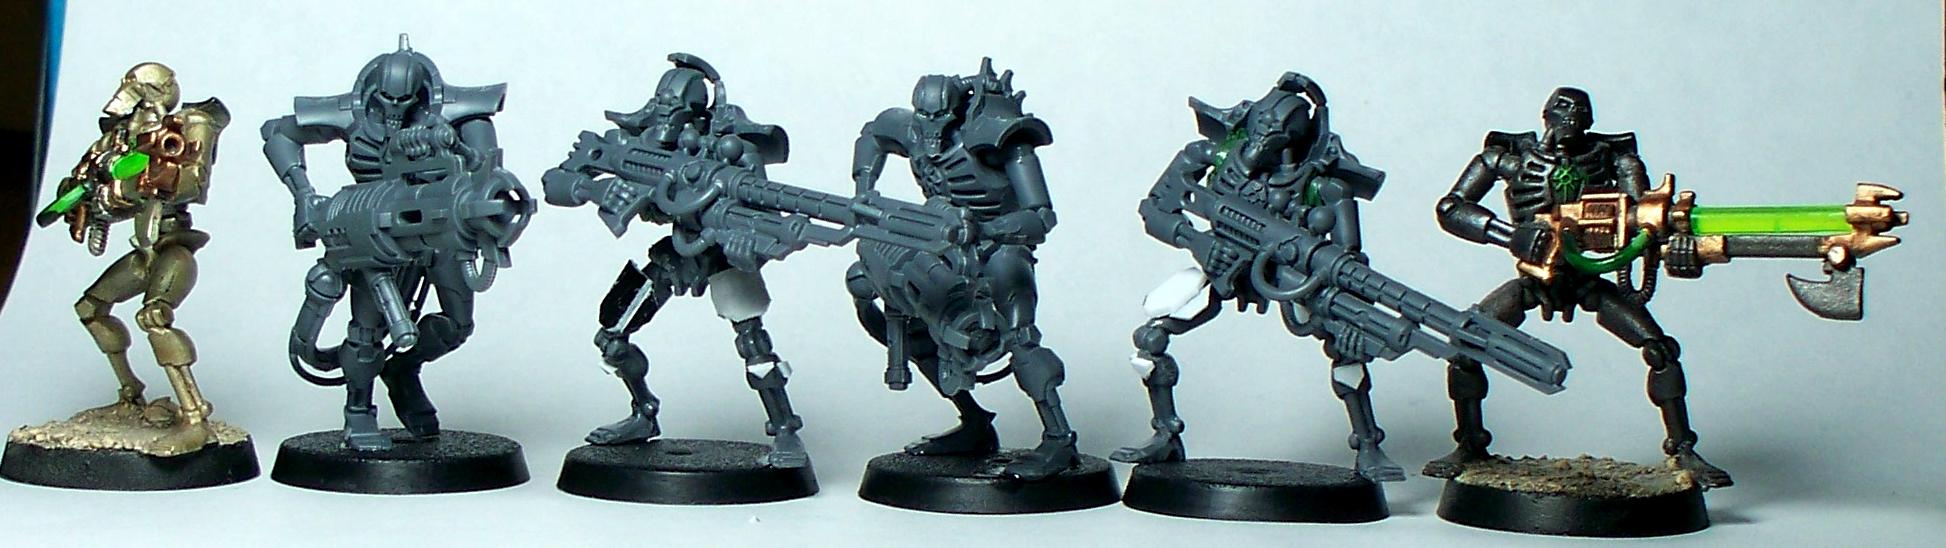
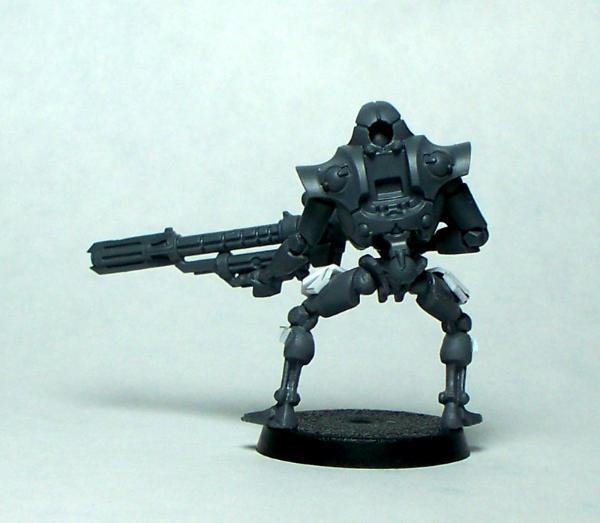
I'm all about making Necron models as cheap as you can get them, but the new Immortal/Deathmark kit is very, very nice and almost,
almost enough to make the
last installment of my tutorials obsolete. While I would normally just use Warriors and convert them into a close analog, there's so many bits leftover after assembling your 5 Immortal models that it's a crying shame not to use them not to mention easier than scratch building.
Now, at my son's behest I assembled the Immortals with Tesla Carbines because everyone knows new shiny = cool, awesome, and the absolute bestest just like 'ole uncle Geedub says. This leaves behind 5 Gauss Blaster arms - without the matching left arms that go with them - and 5 Synaptic Disintegrators, along with the Deathmark heads. I'm going to use the Blasters with my Warrior-to-Immortal conversion (link above) but I need to make sure the warrior's left arm is long enough to match up to the blaster's left hand. Otherwise, that's 5 Teslas and 5 Gauss' taken care of with a box of Immortals and a box of Warriors. That leaves the Deathmark guns, torsos, and heads.
Which brings us to the meat of the Tute! It bears saying that the tools used in the Immortal conversion are also used here, but mostly the sharp hobby knife, plastic cement, and greenstuff.
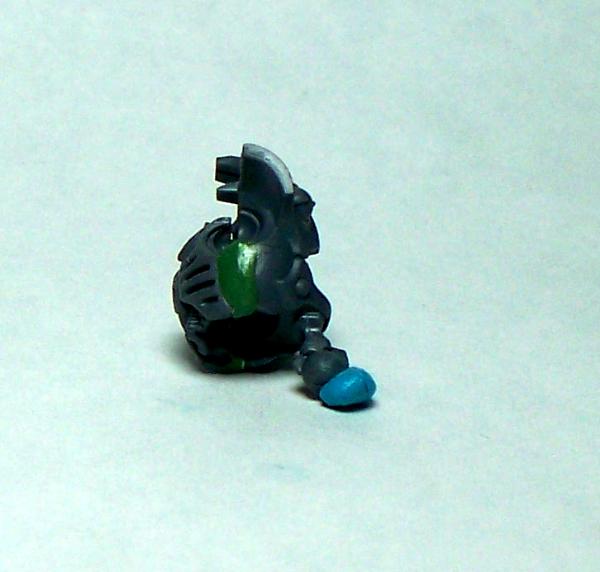
Armor Plate for the Legs
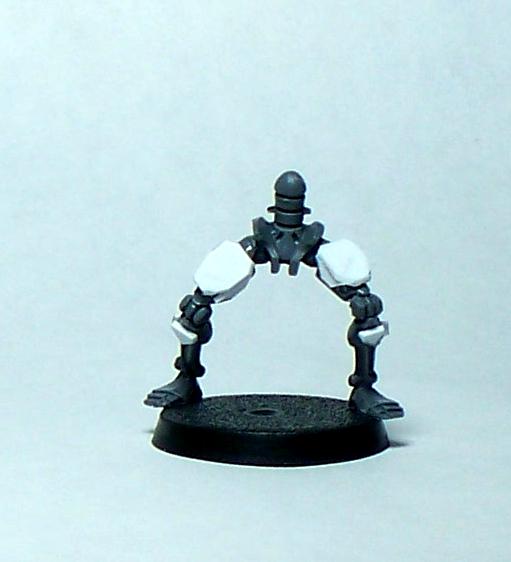
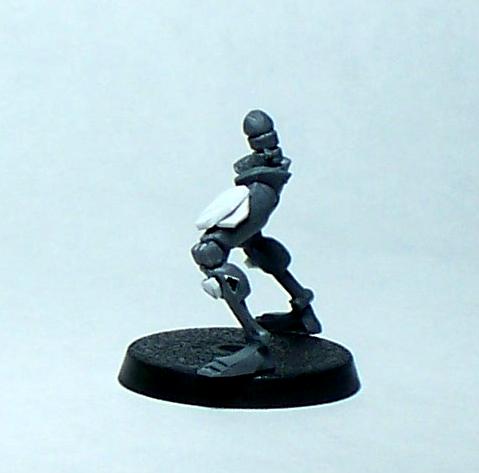
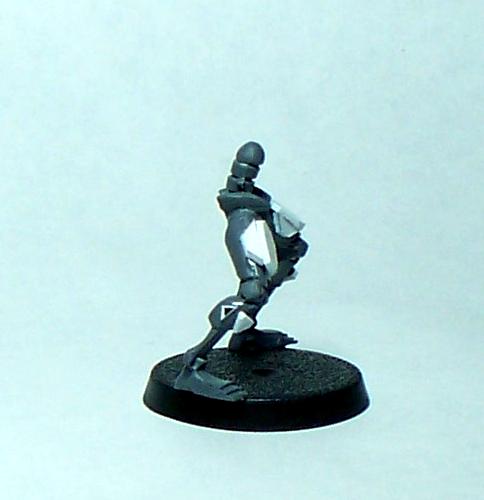
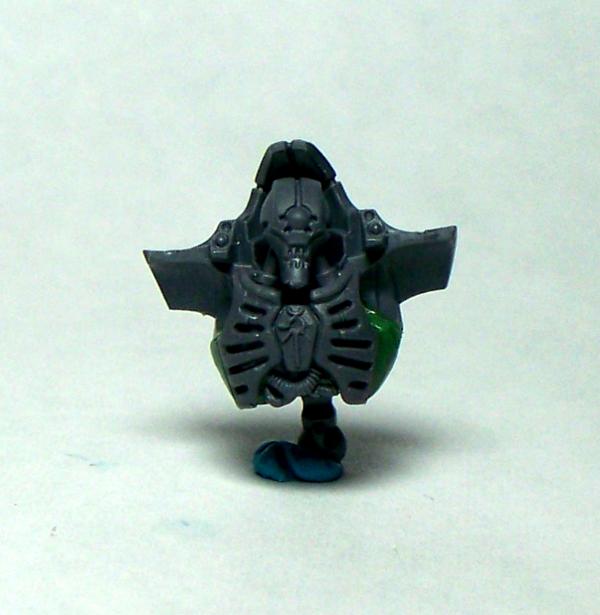
The Warrior's legs are a little weedy for Deathmarks, which use the Immortal "chassis". My first conversion left the legs un-plated and it looked a little wonky. I started with 1/4" square thin plasticard, probably 1mm thickness but it's hard to tell because I use For Sale signs instead of the expensive stuff. From the squares, I trimmed off three of the corners, sliced two of the corners off at the mid-point to the trimmed-off center corner, and squared off the larger center plate by cutting off the last corner. Here's a diagram:
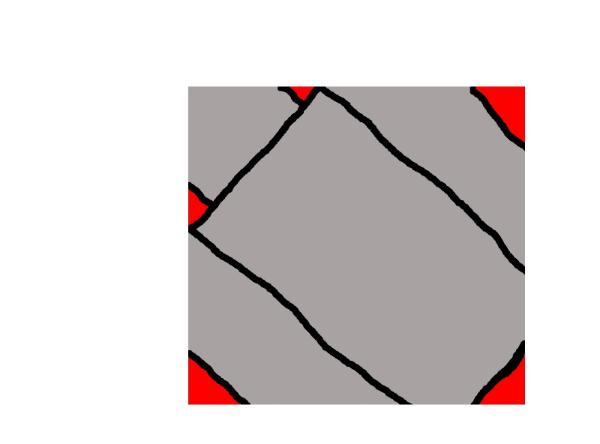
The grey bits are the plates, the red bits were trimmed away. The plates were then glued on the Deathmark legs as shown above. Don't like it? Make your plates any way you'd like.
Deathmark Torso Prep
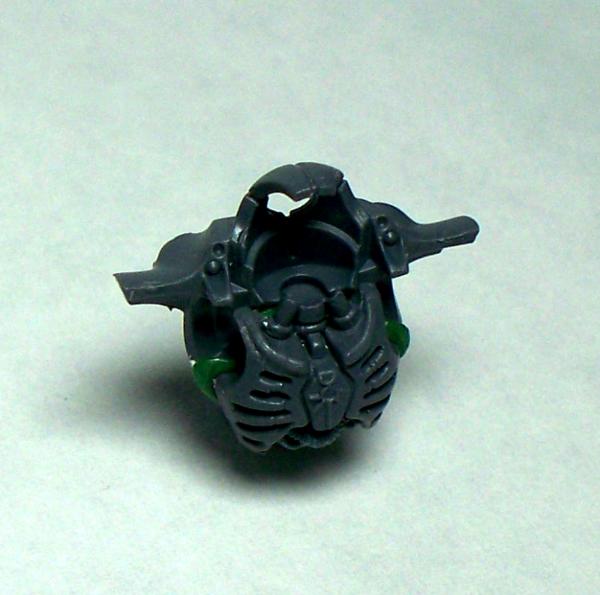
First, there's a tiny lip around the waist socket of the rear Deathmark torso that you'll need to shave off before gluing some plasticard where shown. If there's any card hanging over the edge of the torso, wait for the glue to completely set and use your knife to carefully trim the excess.
Warrior Torso Prep
Since we've got the Deathmark's rear torso bit, we only need the front Warrior torso bit. It's got a semi-cylindrical neck bit that helps it fit into the Warrior's rear torso bit that's just going to get in the way, so trim it off, but keep the top that supports the head! There's a tiny lip just under where the head sits and a sharp knife can make an incision perpendicular to front of the torso, then clippers can easily snip away the rest, making a clean, precise cut.
Add some Greenstuff
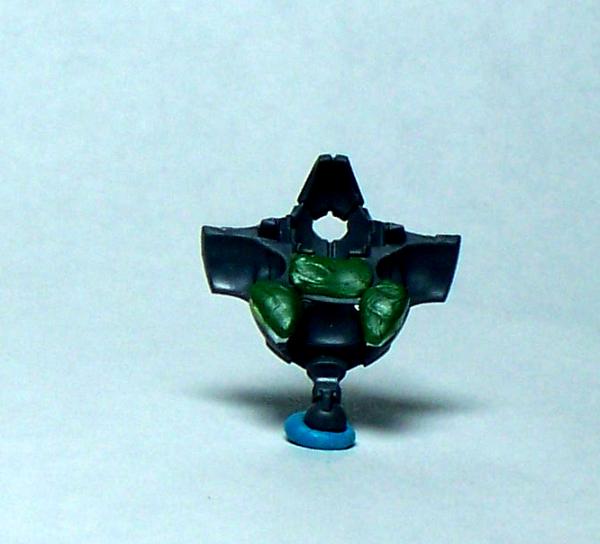
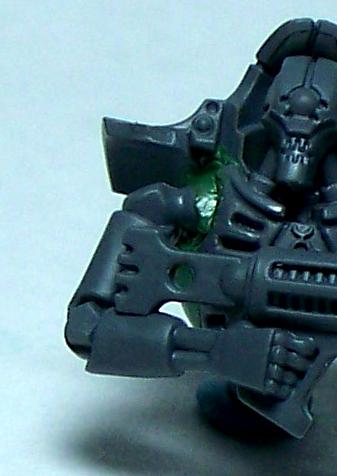
Mix up a small pea's worth of greenstuff and separate it into thirds. place one third on each of the two card plates on the sides and the last third in the center of the chest piece just below the neck socket. You'll want to flatten it some, but don't mush it too much! It's going to act as adhesive and gap-filler as well as cushion/buffer for the front chest bit, as shown in the next step.
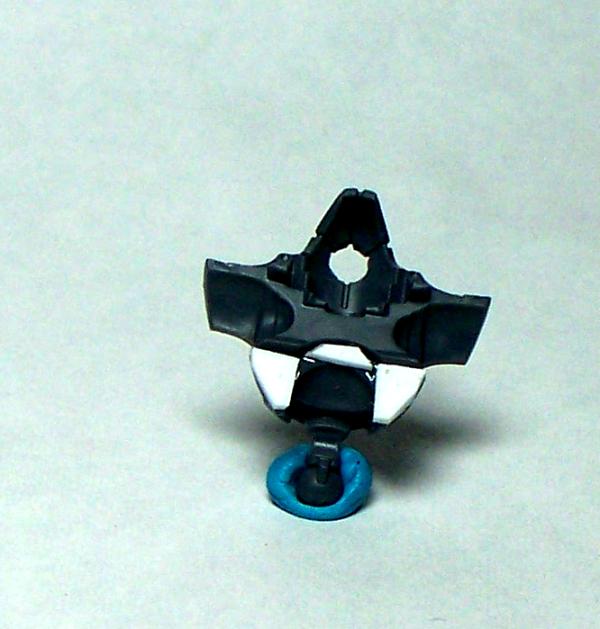
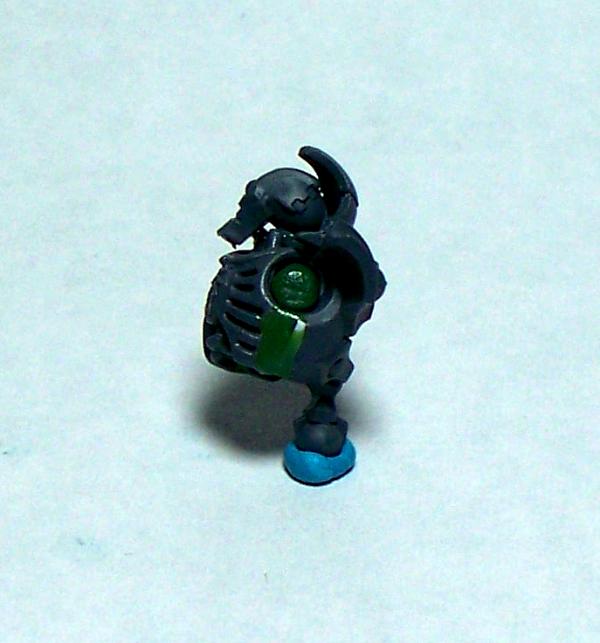
Front + Back
The Warrior neck bit should be your guide since it slides right into the neck socket on the Deathmark's chest bit. Also, keep in mind the chest bits need to be centered to one another - check the arm sockets to make sure they're lined up and look even to one another. Once you're there, press the bits together until the greenstuff squishes out just a little as shown in the second photo above.
Clean up your mess!
Since the Warrior's torso bit is a little smaller than the Deathmark's, we'll use the squished-out greenstuff to smooth the join. Simply use a lubricated tool, like a
Color Shaper (I used the round chisel, perfect for this job) or a sculpting tool and smooth the
GS towards the front of the torso to minimize the size difference. Make sure to smooth out the bottom as well, cleaning up any gap that may be left. Don't worry about the arm sockets yet, they're coming up.
At this point, it's a good idea to let the greenstuff cure completely so you don't get fingerprints on it, accidentally squeeze the pieces more, or slide the bits out of alignment. Go watch a movie. Or a few episodes of Big Bang Theory, Fringe, or Firefly. Work out. Paint some of that mountain of gray plastic waiting for you. Play a game. Just walk away from it!
Are you done waiting?
Has it been at least two hours?? If not, go set an egg timer or something, jeez.

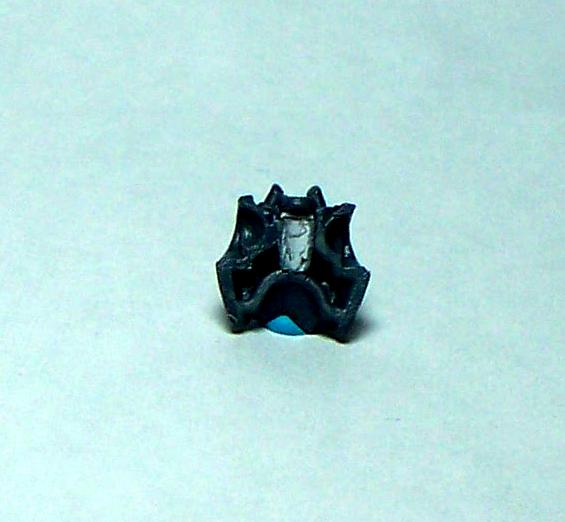
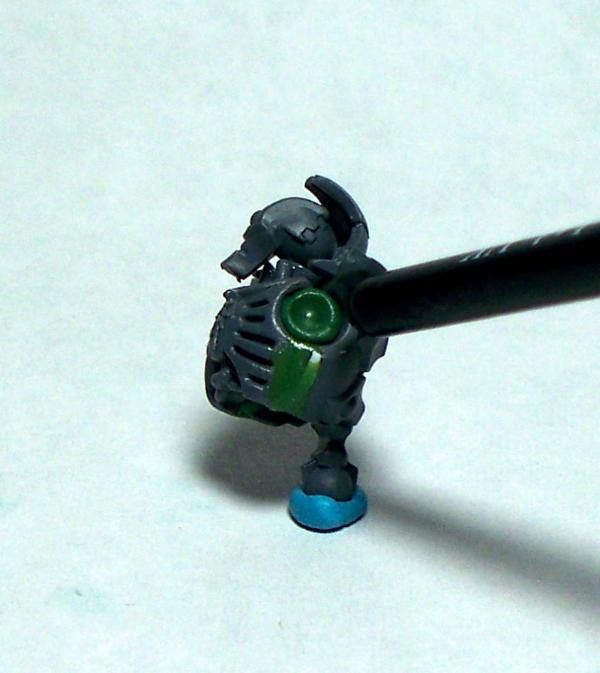
Oh, you say it's set? Okay then! The next step is making a neck. Immortals and Deathmarks were taught good posture at finishing school, but Warriors never went and as a result they are very slouchy, much like the cast of
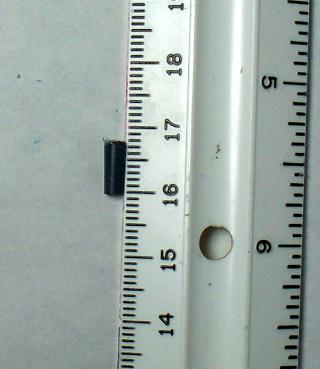
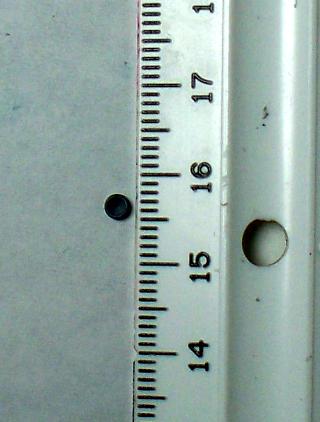
Caveman. Find one of the injection posts on a sprue, they're the round bits that stick up on flat edges, and cut it free. The one above came off the Immortals sprue.
Next, slice it as neatly as you can with your knife to about 1mm thickness. The one above is a little big at 3mm diameter and would probably fit better if it were 2mm. If you've got plastic rod, use that, or even better a leather punch on 1mm card. Finally, glue it right on top of the neck bit, making sure it's as level as you can get it.
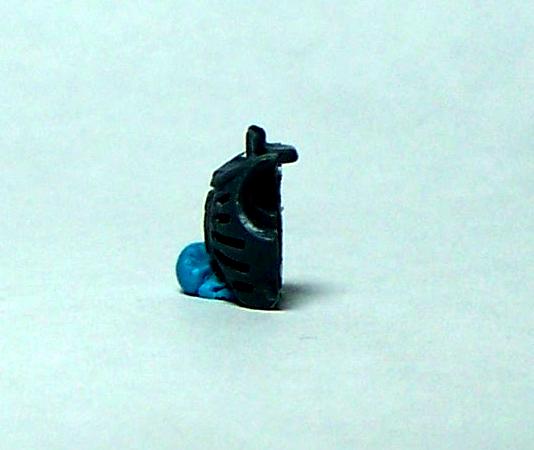
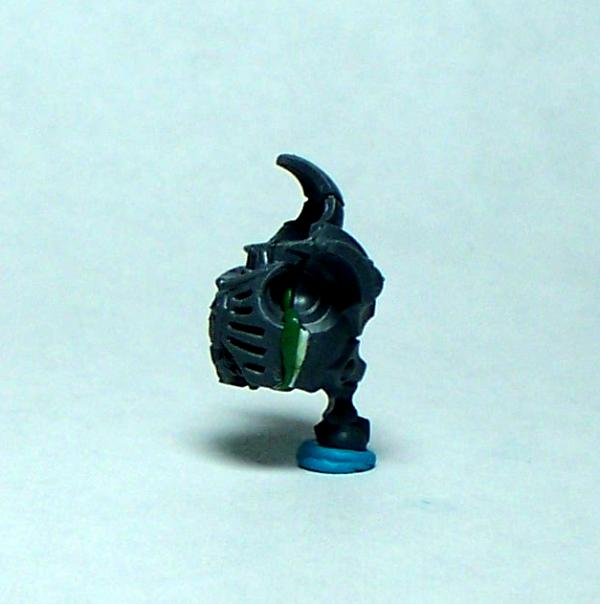
The Head
Glue on the head. Probably a good idea to make sure the neck is completely set before doing this.
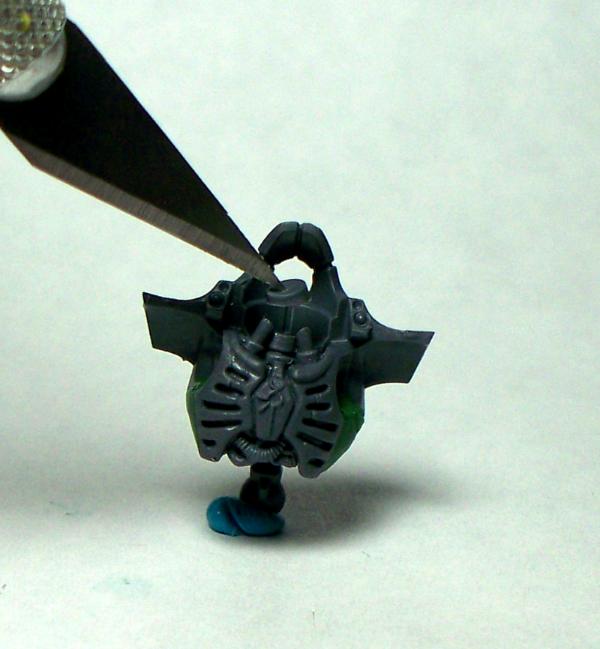
Greenstuffing the Arm Sockets
You'll need a little more greenstuff to fill the arm sockets so the Deathmark's arms will seat properly. You might be able to just glue the arms in if you're patient and have the manual dexterity of a master thief. I don't. Hence the putty. Use just enough to fit inside the socket, no more. You'll want to press the end of a paintbrush or color shaper (lubricated!) into the ball to spread it and make a sort of new socket for your arms.
Add the Arms
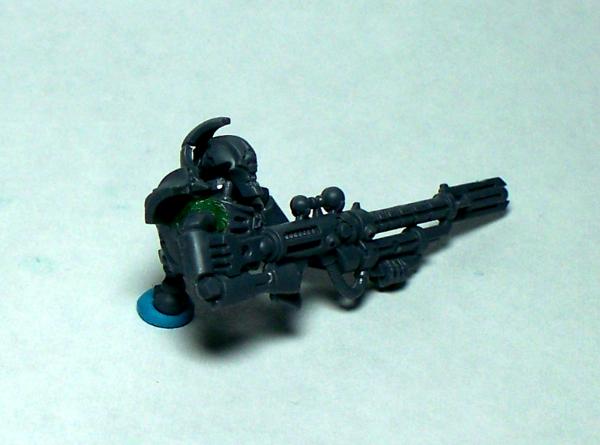
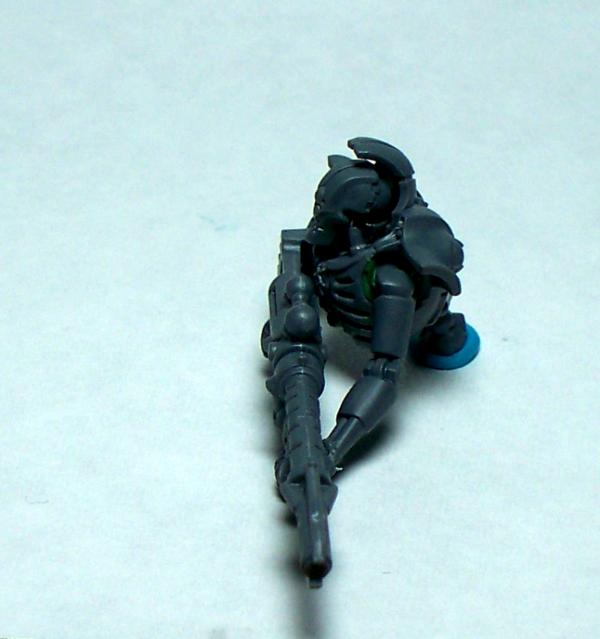
Add a dab of glue to the wrist of the left arm, then get them into position in the sockets while the greenstuff is still semi-soft and sticky. Things might mush up while getting them just so, which is okay because the next step is to clean up the socket.
Fixing the Arm Sockets
Going back to your color shaper or sculpting tool, press the greenstuff around the ball joint of the arm to clean things up and get a little better adhesion out of the putty. Make sure not to disposition the arms too much and if you do, carefully move them back into place. At this point, I stick the assembled torso on a bit of blu-tack and let the arms cure into place. Yup, another 2 hours of waiting.
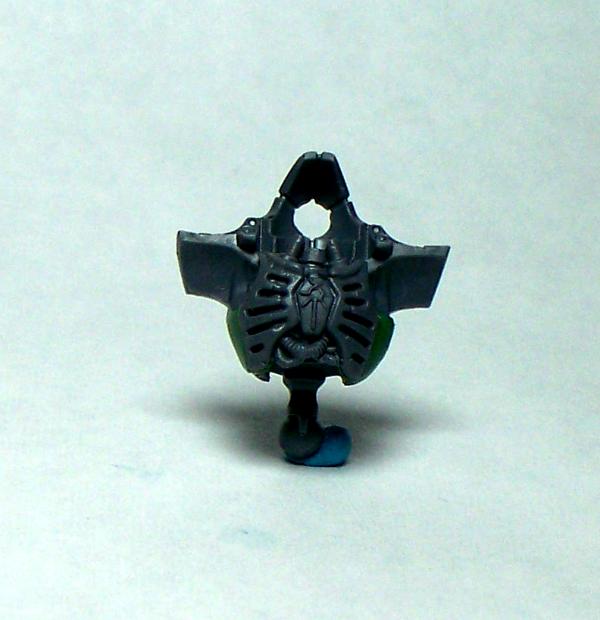
Tab "A" into Slot "B"
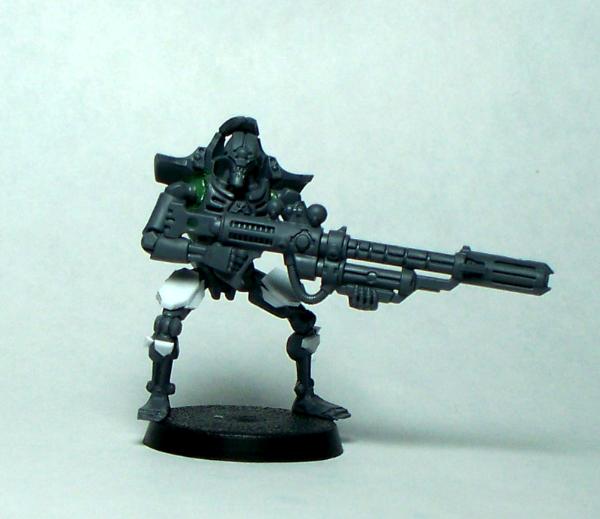
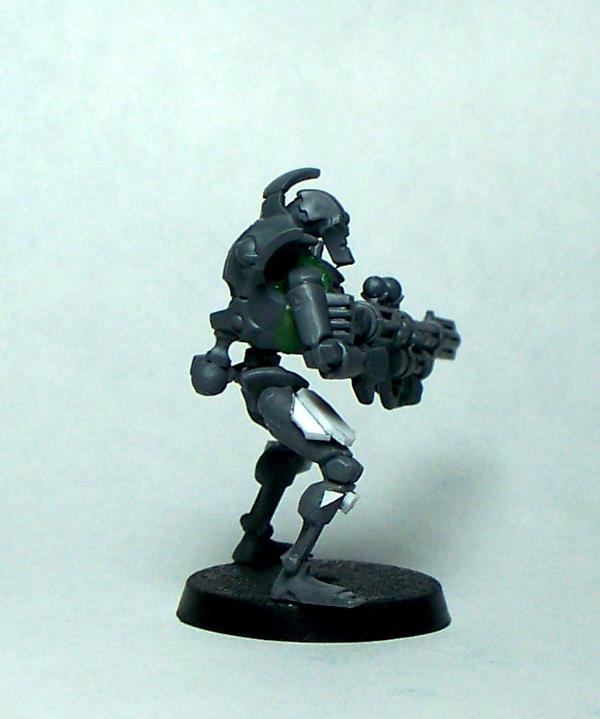
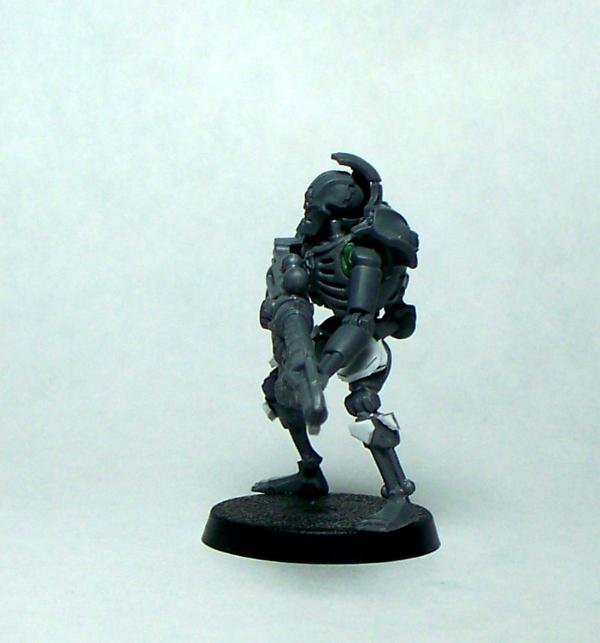
Glue the torso onto the legs. Additional greenstuff in the waist socket might help here, but glue was enough for me. Hold the torso in position on the spinal column longer than you think you need to because the torso is fairly heavy compared to the surface that's supporting it's weight. The final touch would be a bit of guitar wire to replace the spinal column-to-head bit, but I'm leaving that up to you guys. I might add it before these fellas see paint, but my son is happy with the conversion as it stands.
Scarabs aside, this leaves me with two complete Warriors, and five each of the rear torsos and heads, and 10 gauss flayers from the Warrior kit. If you've got some extra bases I'd say make them into Reanimation Protocol counters. As always, feedback and comments are appreciated, so let me know what you think!