Switch Theme:

How to paint ork-metal (rusty or just well used)  [RSS] Share on facebook Share on Twitter Submit to Reddit
»
Author Message
Advert


Forum adverts like this one are shown to any user who is not logged in. Join us by filling out a tiny 3 field form and you will get your own, free, dakka user account which gives a good range of benefits to you:
  • No adverts like this in the forums anymore.
  • Times and dates in your local timezone.
  • Full tracking of what you have read so you can skip to your first unread post, easily see what has changed since you last logged in, and easily see what is new at a glance.
  • Email notifications for threads you want to watch closely.
  • Being a part of the oldest wargaming community on the net.
If you are already a member then feel free to login now.


Made in de
Ragin' Ork Dreadnought


Ingelheim am Rhein, Germany

Hey all, this is my first tutorial!
I made it cause the only tutorials on metal I found told you to drybrush your models. That looks well and fine, but I do it differently soI thought I'd share my way of painting the metal bitz on my orks....

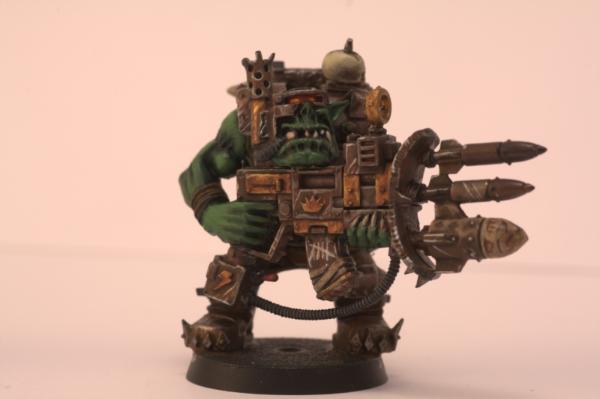
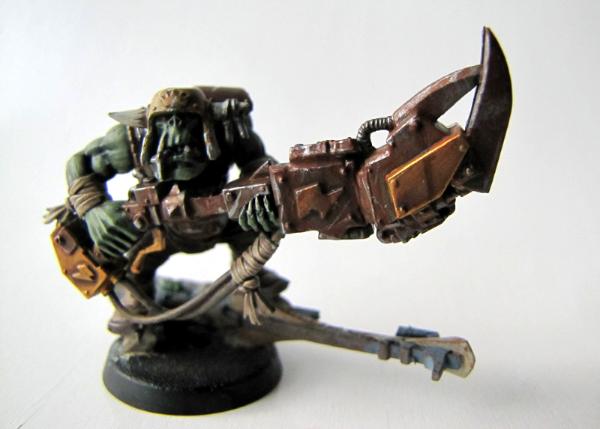
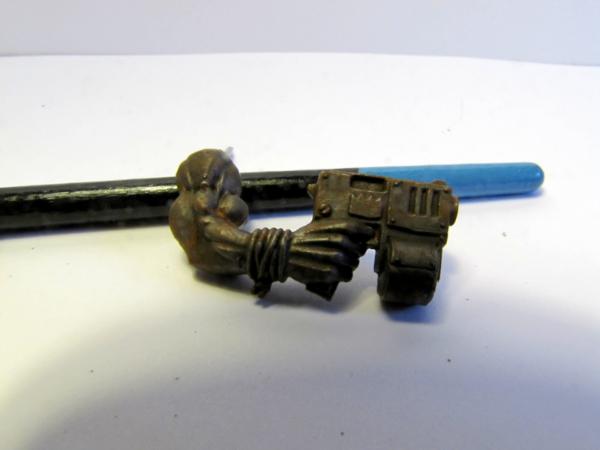
First, the rusty look. I used it on these two for example:
Spoiler:


First stage for that'd be a solid layer of a dark metal (I used GWs boltgun metal)


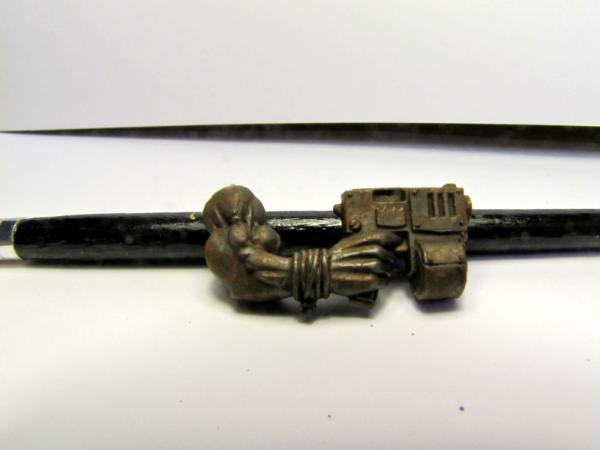
Then apply a black wash, badab black in my case:


Now you apply a homebrew "rust" wash. I mixed vermin brown with little bit of scorched brown (4-1) and thinned it down to a wash. If you dont have vomit brown, a 5-1 mix of bestial brown and blood red also works (wich you then mix with scorched brown)


After that you use a sponge (or in my case a piece of foam) and rip a chunk of it off. You need a rough edge. Use that to apply some vermin brown, with some scorched brown mixed into it.


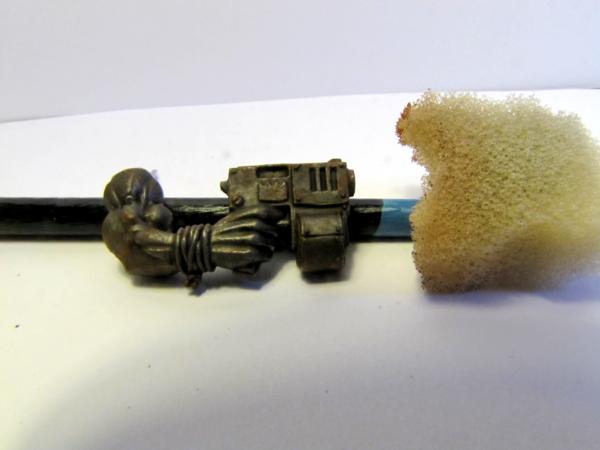
Followed by a wash of vermin brown:


Then, sponge on some more vermin brown, this time without any other colors mixed into it.


Here you go, sadly the cameras batteries died before I could take photos of the highlights I had done, but it looked like the tankbusta nob above.....

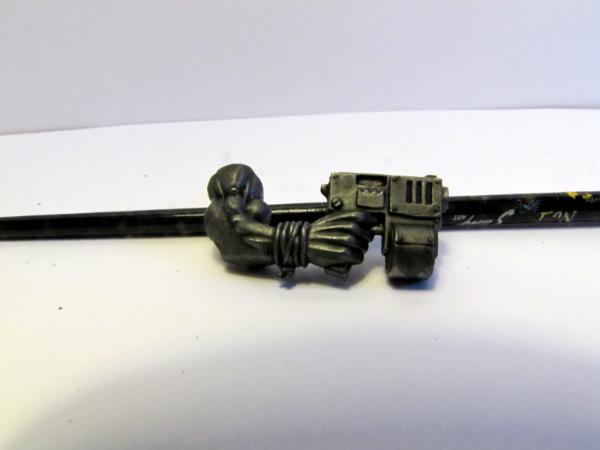
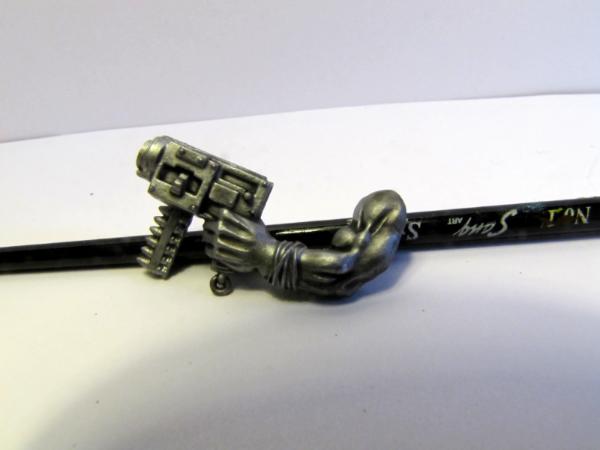
And here is the other method. It looks like old, worn metal.

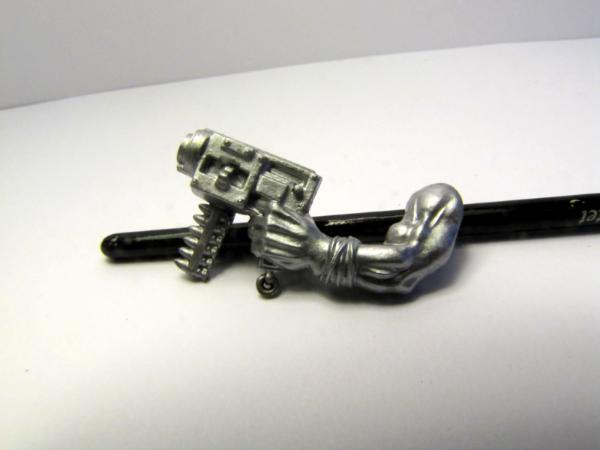
Start with a solid layer of a bright metal (yes, bright. The idea is to make it darker and darker using washes, and you stop when you have what you want)
I used mithril silver:


Then, apply some thinned down badab black:


and some devlan mud:
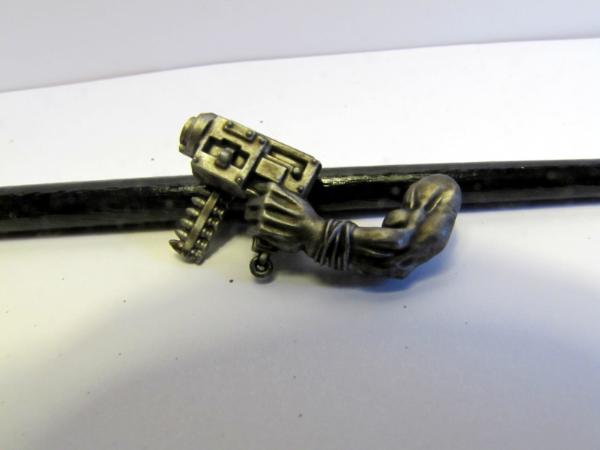

and some sepia:


more devlan (yeah, I moved the lamp coloser o it actually looks brighter.....):


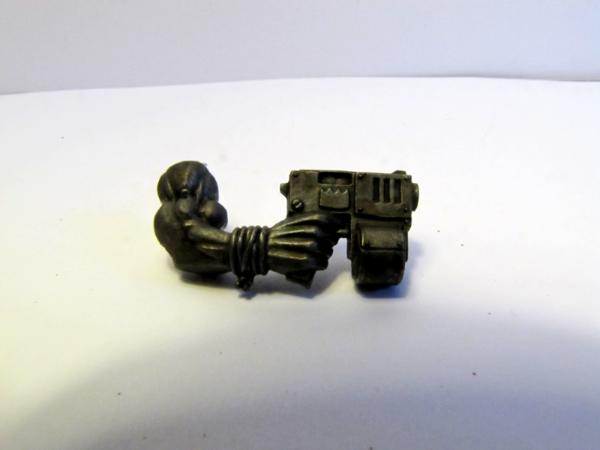
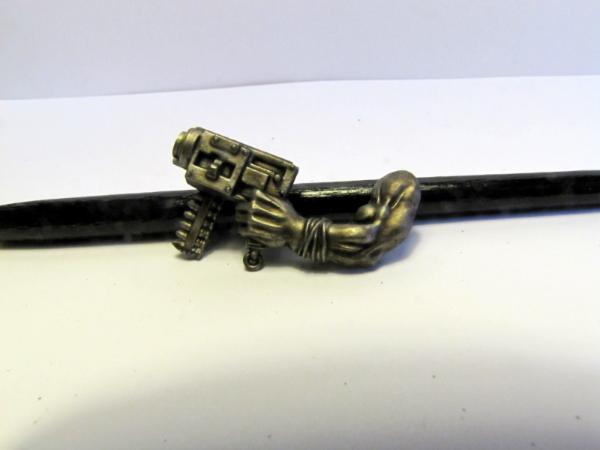
Then, I highlighted it with a mix of boltgun and mithril (wich should look look the chainmail I dont own )
the finished result:


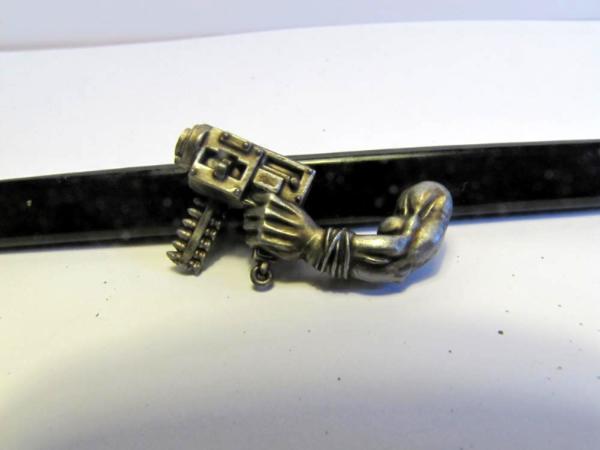
If you're wondering why the paint on the mithril basecoat pic looks a little thick; its because I had already done all of that once, but forgot to put a SD card into the camera I had to repaint both arms -_-

I hope this helps someone

LOOK!! a shameless self-promotion! (gasp!)
My ORK!-Blog here on dakka And if you need a good conversion or a paintjob... My commission blog

[

Looking for Painting & Modelling advice? Click here! 
   
Made in us
Battlefortress Driver with Krusha Wheel


Boulder, CO

Great step by step!
   
Made in us
Raging-on-the-Inside Blood Angel Sergeant


Alexandria, VA

Nice pics. I like how you can clearly see the outcomes of each step.
   
Made in us
Painting Within the Lines


portland oregon

Great work on this. Its easy to follow and has a good picture trail.

   
Made in us
Monstrous Master Moulder


Utah

Been using a variant on your first method and it is turning out quite nicely. Really nice Tutorial. Thanks!


Made in de
Ragin' Ork Dreadnought


Ingelheim am Rhein, Germany

Thats nice to hear! I'd be interested to see how you do it, did you upload any pics?

LOOK!! a shameless self-promotion! (gasp!)
My ORK!-Blog here on dakka And if you need a good conversion or a paintjob... My commission blog

[

Looking for Painting & Modelling advice? Click here! 
   
Made in us
Monstrous Master Moulder


Utah

I followed pretty much everything but with my homemade wash I used Secret Weapon Armor Wash and a drop of snakebite and scorched brown. I used a bit less on snikrot and his blades but I am pretty happy but may make a couple more changes.
[Thumb - a1.JPG]

[Thumb - a2.JPG]


Forum Index » Painting & Modeling Tutorials
Go to: