This is my first tutorial ever so any tips, comments and criticism welcome

But onto the good part.
So today i am going to show you have to build a piece of area terrain that can be used as dangerous terrain in you warhammer
40k games. So what you will need:
Tools
- A knife of some sort, preferably a heavy duty knife for cutting the
MDF board and perhaps another small hobby knife for later but that is not essential. For the project i used a 4' fixed blade knife
- A hot glue gun and some glue sticks for various parts of the construction.
- Sand paper
- Some brushes for painting and applying the PVA glue for basing.
- A pair of side cutters for clipping a few pieces of sprue.
- A screw driver with a plastic covering or something similar, you will see what you need it for later.
Materials
-
MDF board (
IIRC that means Medium Density Fibre board )
- Acrylic paint in the following colour Black, Brown and White.
- The following Citadel paints Scorched Brown, Graveyard Earth, Chaos Black and Skull White.
- Basing grit, I used just normal white beach sand, slate or rocks and some flock and other grass materials.
- Fencing wire, the wire I used has 1 inch by 1 inch squares.
- Left over srue frames.
- PVA glue
- Plastic glue
Making The Base
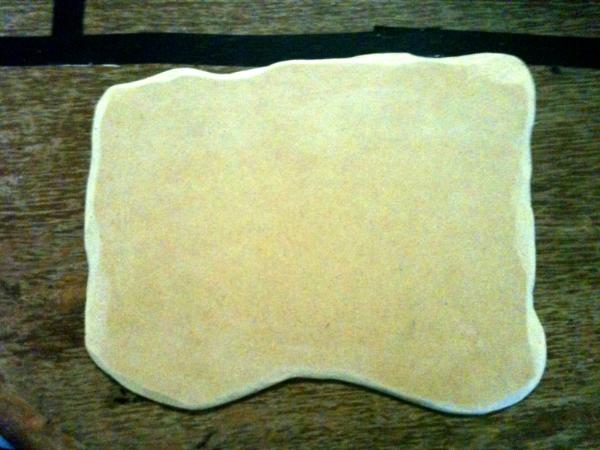
First of all you need to get the basic shape of your base. For this I just got the
MDF board and made it to size by breaking it. Once I got it to the size I wanted ( about 6 inches by 10 inches) I used my knife to shave the edges to get a random shape. When shaving the the
MDF board, I find it best to have the knife on an angle of about 45 degrees and push the knife away from your body ( also to ensure safety ). This allows you to cut the
MDF board rather easily and gives you a sloped edge. Don't push the knife the knife to deep into the
MDF because you will have to push harder to cut through it and risk slipping and cutting yourself. Once you have shaved the
MDF board into a random shape you like, using your sand paper sand the edges until they are smooth. You finished product should look similar to below.
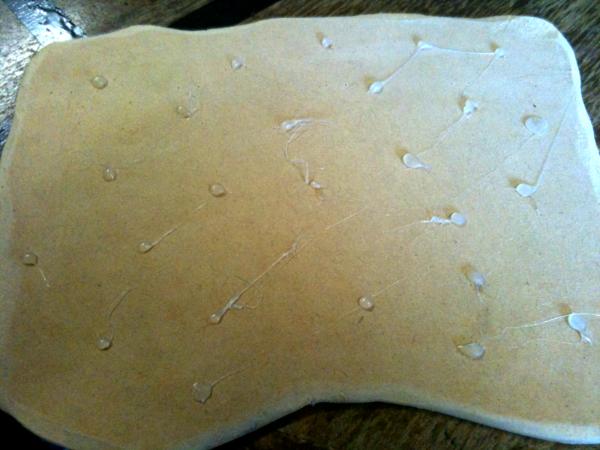
Next you want to turn on you hot glue gun and once it has heated up place random blobs of glue over the
MDF board base remembering to be careful as not to burn yourself. Once the glue has set trim any of the little string like pieces of them, when you has done this it should look similar to below just with out the stringy pieces on them
This will give the affect of mines underneath the surface when you base it.
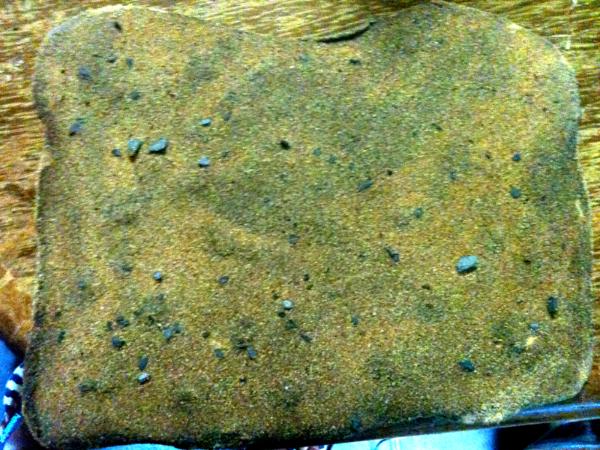
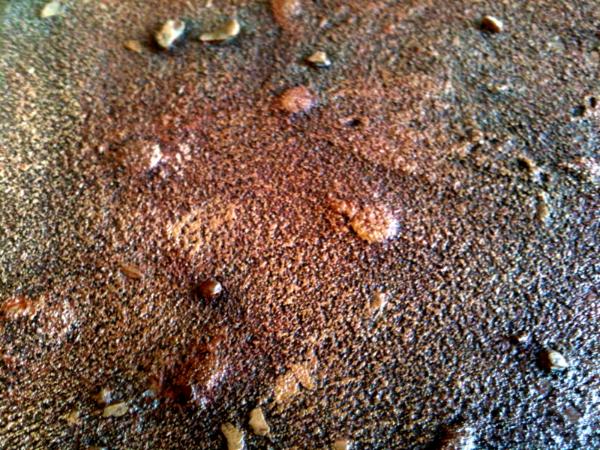
Now we have to start the basing process. First of all mix up some PVA glue and water in a 2 part glue 1 part water ratio. Cover the base in glue and then sprinkle a few pieces of slate from the
40k basing kit or rocks if you like and then cover it and sand. leave it for a minute or two and then tip off the excess. Leave it to dry for 24 hours and then you should end up with something like this.
Base coat it black, and wait for it to fry and then paint it brown almost completely.
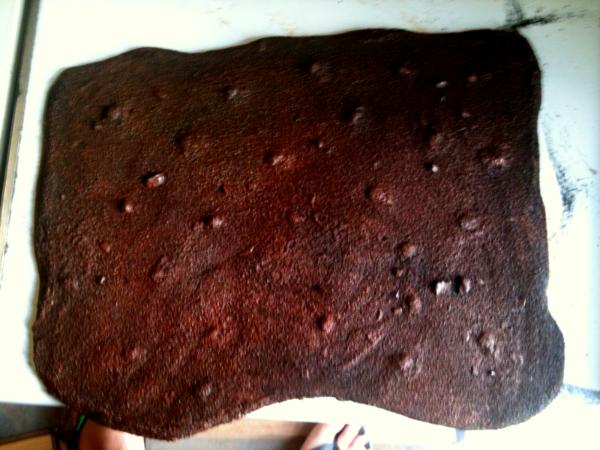
When the brown paint dries add some white paint to the brown to get a lighter colour. This should be done roughly 1 part brown 2 parts white, and then dry brush the base but still leaving some dark brown visible.
Then add another 2 parts white to the previous mixture and the dry brush more to high light the previous dry brush but don't cover that entire last dry brush.
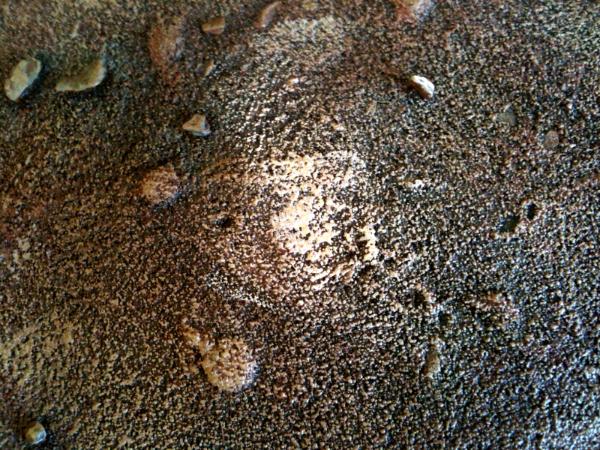
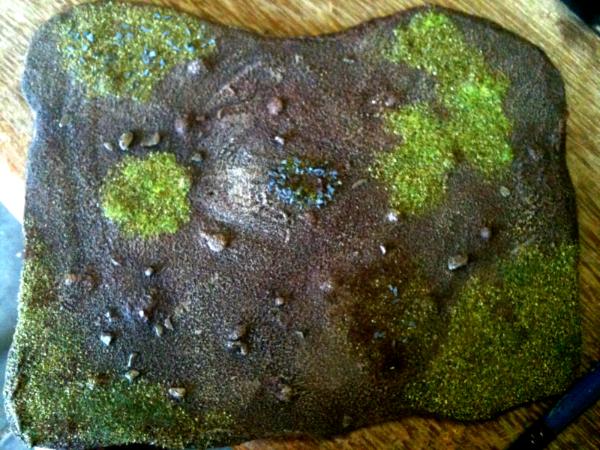
Giving it a while to ensure it dries completely. You can now base it with statics grasses and such as you like.
 Making The warning Sign
As always with mine fields there is a warning sign. For this project I went for a wooden plank look, and an Orky style skull (even though no one in my gaming group plays Orks), I'm not sure if I achieved the right level of Orkiness but meh you can do better
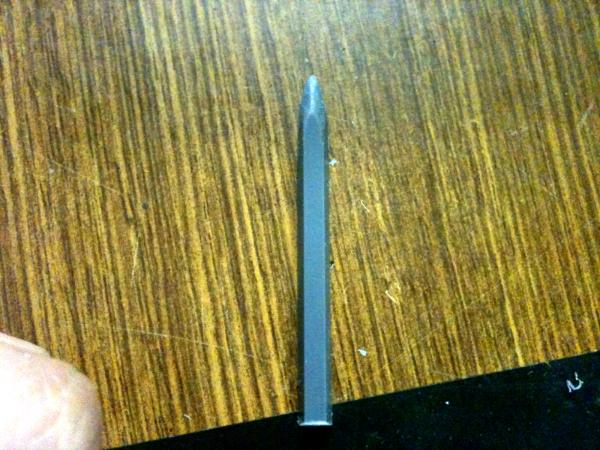
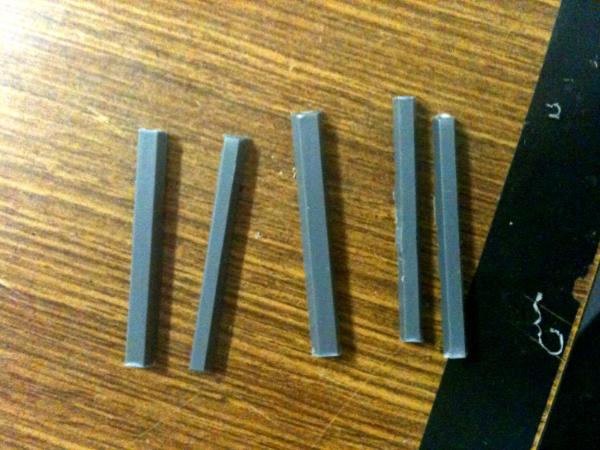
So first of all you will need to cut up some sprue.
The first piece about 3 inches long using the thickest part of the sprue of the outside of the sprue sheet. After cutting it out even out the bottom so it is flat and the sharpen the other end to a point with your knife.
Next you have to cut 4 more pieces of of the smaller sprue generally found in the centre of the sprue sheet and make sure they are all similar sizes. You can rough up the edges so they aren't all perfectly straight.
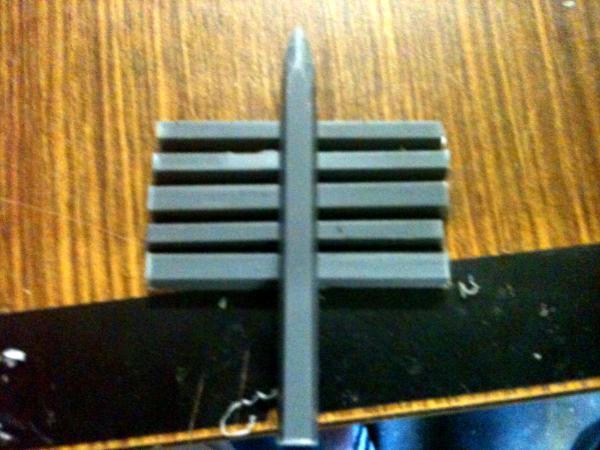
Line them up like so ...
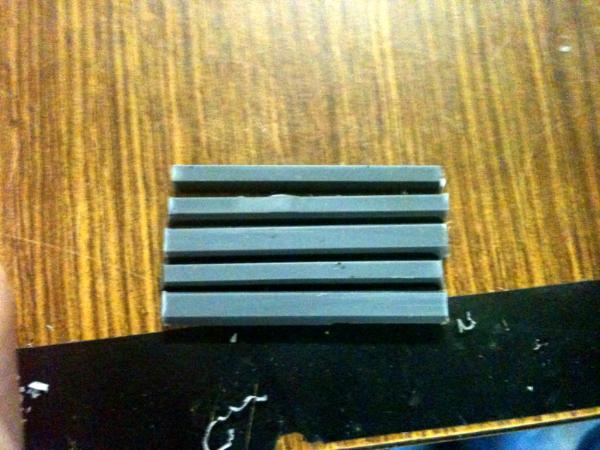
And then glue the largest one on the back to make the post for your sign.
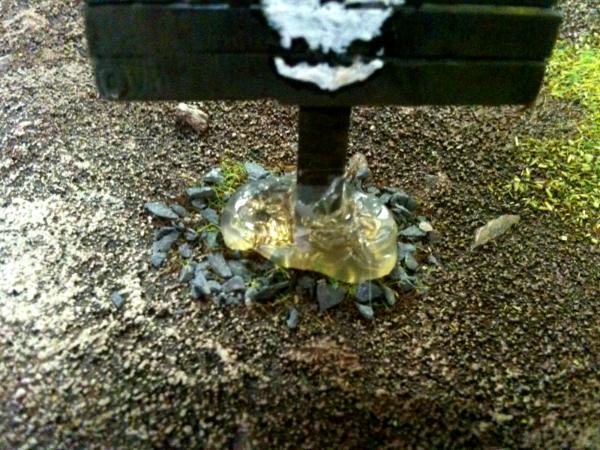
Wait for it to dry at least a few hours and then paint it up in any fashion you like. I painted this one to look like old and weathered timber.

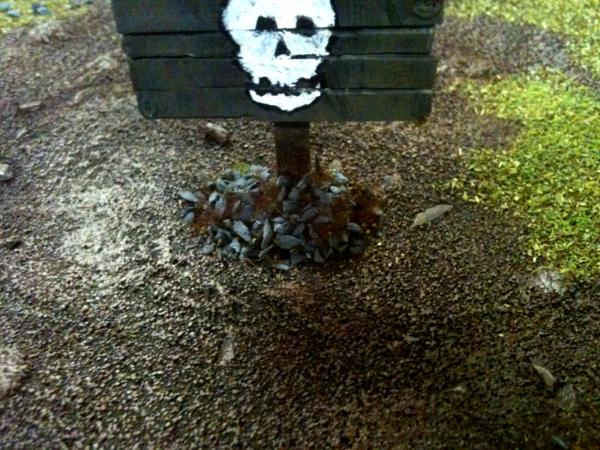
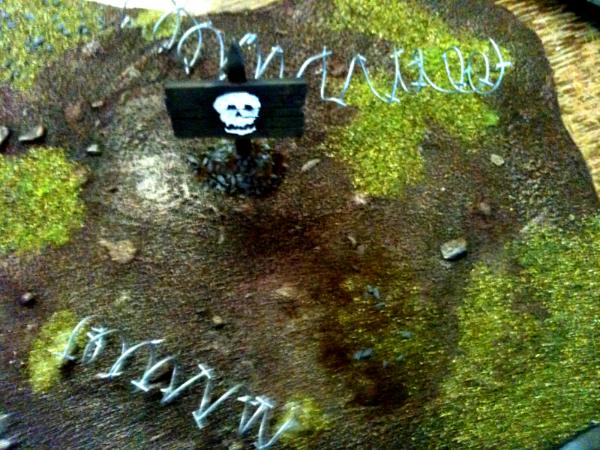
Now you want to get your hot glue gun back out and glue down your sign. I chose to make it look like it was shoved into a mound of rocks with some dead grass.
 Adding Some Razor Wire
Ok so we all know that there is generally razor wire in and around mine fields so lets make some. This razor wire is by no means the best but does the job for me.
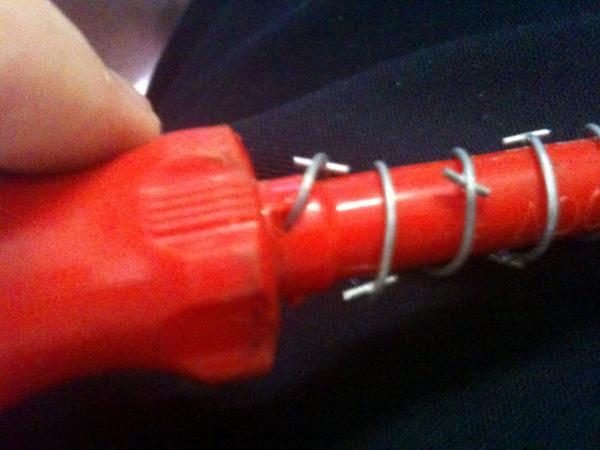
First of all you need something to wrap your wire around to just that round spring shape. To do this I used a screw driver an to anchor the wire I drilled a small hole it the plastic covering. For the wire I used this . . .
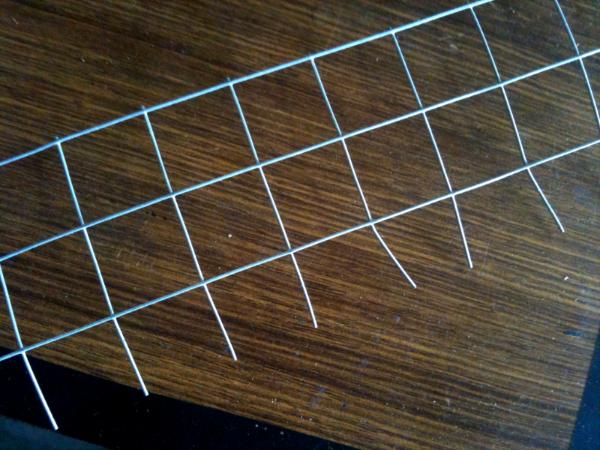
Then I trimmed along one of the rows leaving a small bit to represent the razor part of the wire
You can see what I done in this photo. It also shows the anchor hole I drilled in the screw driver casing.
Then you glue them down with your hot glue gun like so . .
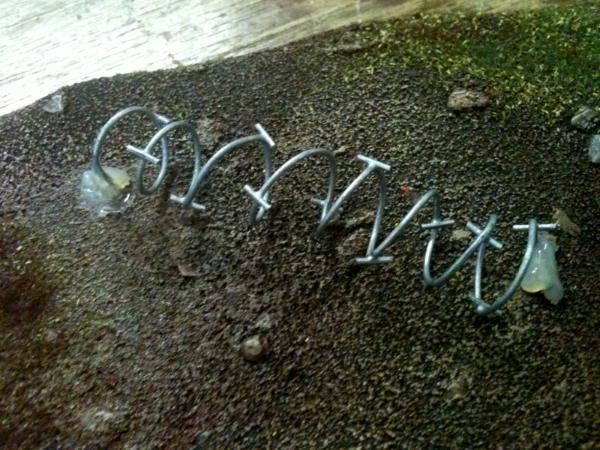
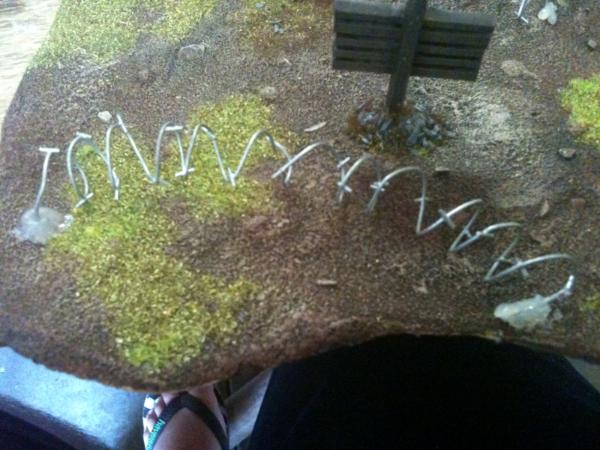
And then base the where you glued them down when it has set.
And there you have it
What did you guys think, any improvements ???


 Chaos Space Marines 4100 Points
 Tau Empire 3000 Points
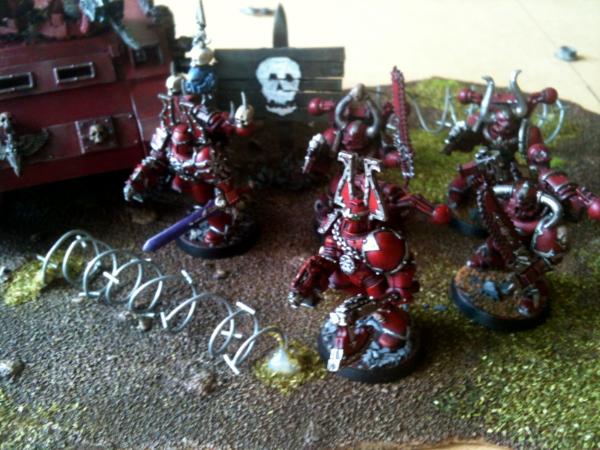
 Blood For The Blood God !!!

 My Chaos Space Marines showcase so far:
 _--_--_--_~1750pts
  _--_--_--_~1000pts
  _--_--_--_~1300pts
  _--_--_--_~750pts
  _--_--_--_~2000pts


