Hey guys. How are you all today? I'll safely assume most of you are from places that are a tad chillier this time of year. The leaves are all gone (or mostly gone), and the breeze has a sharp bite to it, where once used to be the gentle kiss of summer. So I went about preparing my home. Standard issue weather stripping for the doors/windows, shrink plastic for the windows, and expanding foam for the nooks and crannies that need filling.... Wait a sec.... expanding foam!
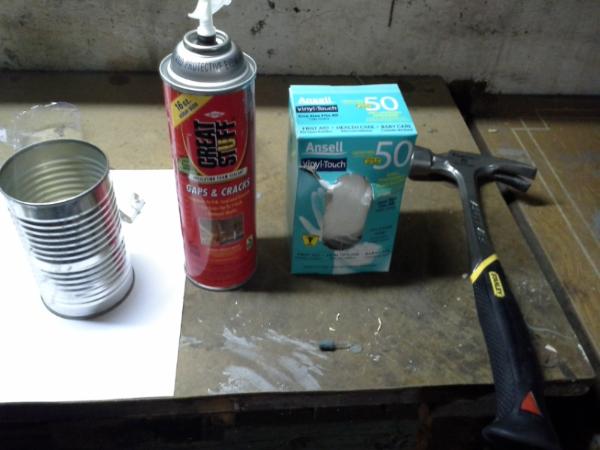
What you'll need:
Tin cans (soup cans, soda cans, etc.)
Hammer
Protective gloves
Eye protection (Not shown. Already on me

)
Expanding foam (Great Stuff!)
Paper (Newspaper, printer paper, etc.)
The Budget:
Hammer - shed (or cheap at the dollar store: $2)
Gloves - $3 (for this particular box)
Goggles - $3
Tin cans - go buy some Chef Boyardee. $1?
Expanding Foam - Home Depot has the normal foam for ~$5/can
Newspaper - $2
Total: ~$20 (includes lunch!)
The Process:
Alright. You've eaten your Spaghetti O's, washed your can, and ripped off the wrapper, right? Don't want your new Mycetic Spore molding and stinking up the gaming table xD
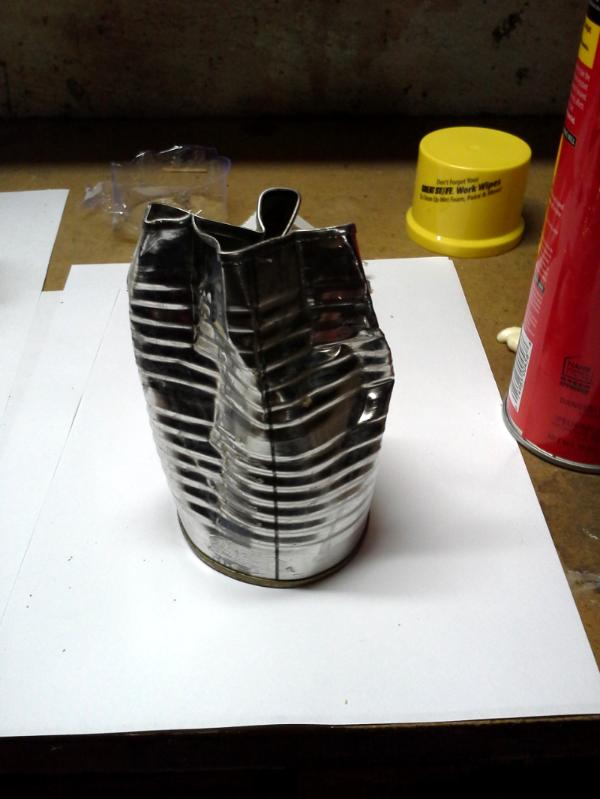
Put on your goggles. Take that can and introduce it to the hammer you've got. Bash it up. Make sure to close off the top of the can in some way (or if your can is only open on 1 side, keep the open end facing down.) Now, if you've got no hammer, this isn't really necessary I guess. I just found it therapeutic from the days commute.
Alright. The can is properly bashed. Now, put on your protective gloves. I've got rubber gloves. Put them on. Don't get this stuff on your skin, clothes, shoes, etc. It washes off of work surfaces and tools with Acetone (while still moist). Once it's set, only mechanical means will remove it. And it's STICKY. Keep away from open flames or heat sources, and use in a well ventilated place. You've been warned.
Take the beaten up can (poor guy) and set it on your paper. Gotta protect your work surface. Take your expanding foam and SLOWLY cover the can. A little bit goes a long way. A few little nooks and crannies won't matter much, but get 95% of it. Let it set away from kids/pets/bugs/etc. Surface set in 15 minutes, fully cured in 8
hrs. So, let it set overnight.
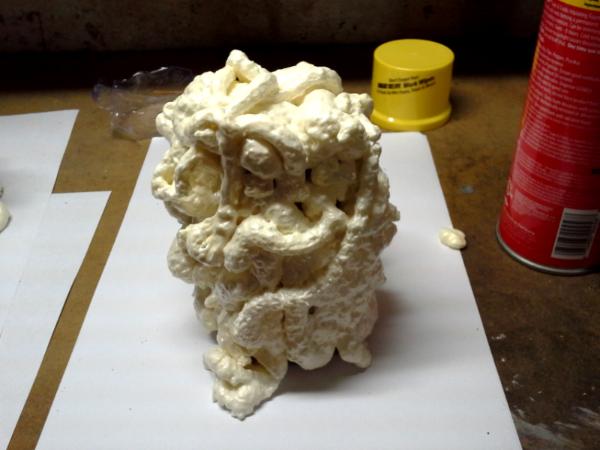
I made 2:
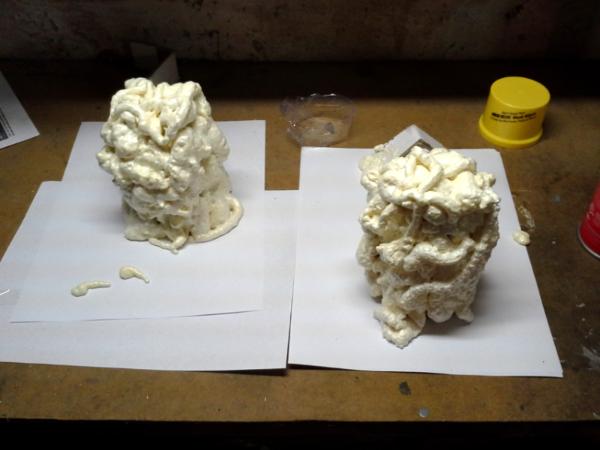
The expanding foam is machinable, paintable, whatever-able. It's tough, light, and looks quite organic for our needs. I'll be drilling holes near the top so that I can add some 12 gauge stainless wire for tentacles, but go ahead and nid it up as much as you want. Scything talons, chitin plates, claws, teeth, the list goes on. Use your imagination

I haven't painted them yet (I just wrote this tutorial while waiting for it to set) but there's many possibilities. Use a plastic coke bottle, nerf ball, tennis ball, etc. You won't see it after it's been coated in foam, so it doesn't really matter except that it's an appropriate size for a Mycetic Spore. I'll be mounting mine on old CDs for bases.
This would also work if you wanted Nid terrain as well. Take pieces of cardboard shaped into whatever you want, and coat it in foam!
Well, I hope it helped some of you guys, making your own custom Mycetic Spores. It's always nice to find uses for everyday things in our hobby.