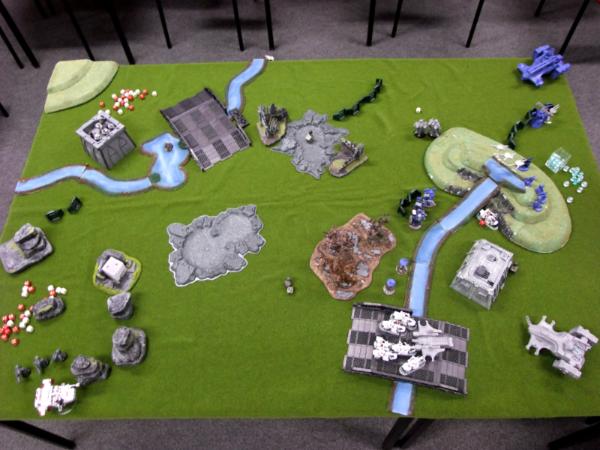
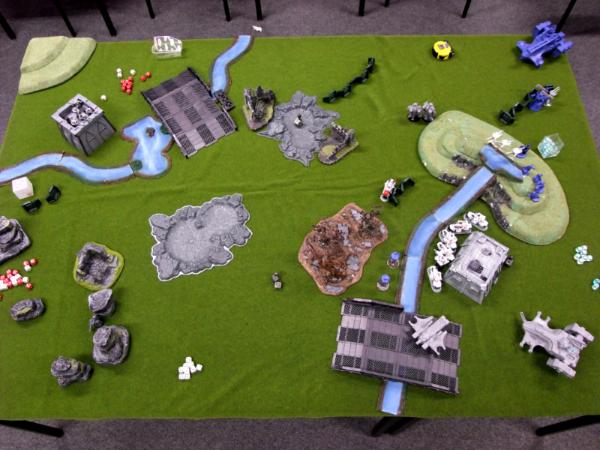
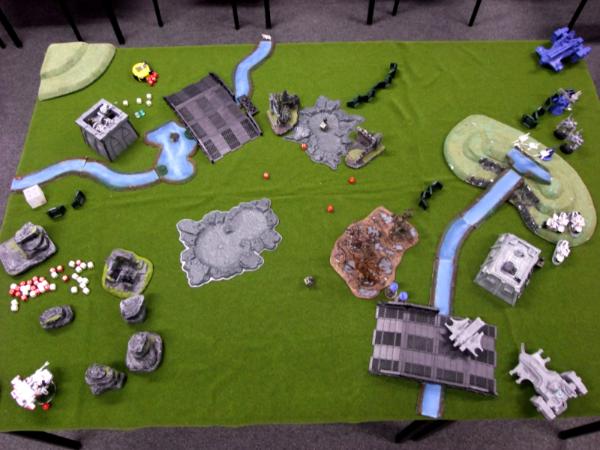
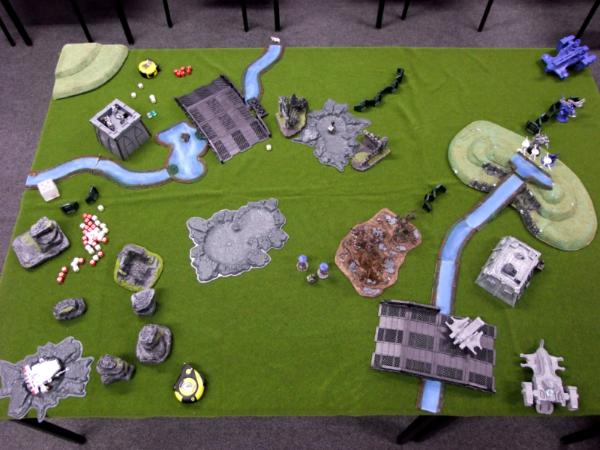
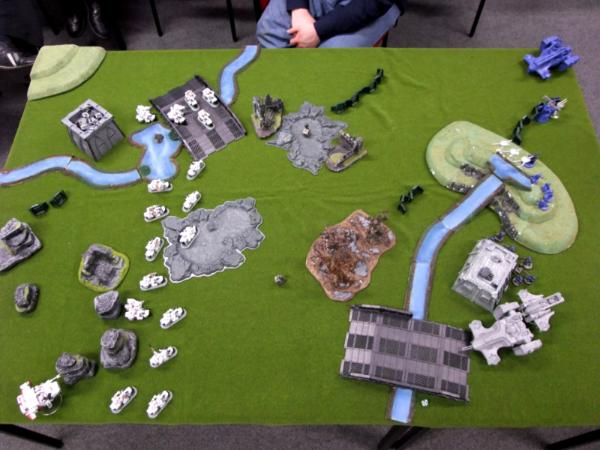
White Scars turn 1 Seizing the initiative was a significant advantage for me - it allowed me to get moving and so benefit from my cover saves, as well as getting me close to the Tau. Following my maxim of
Shoot the assaulters, assault the shooters, I would probably do the most damage once I reached close combat. I also decided to try something else new and go for a pincer assault, threatening both sides of the enemy deployment zone at once.
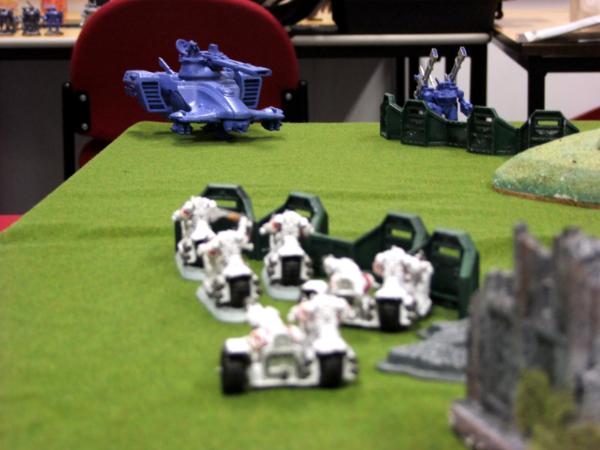
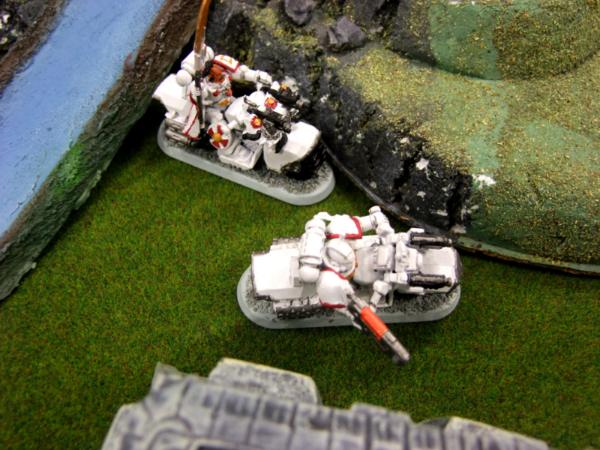
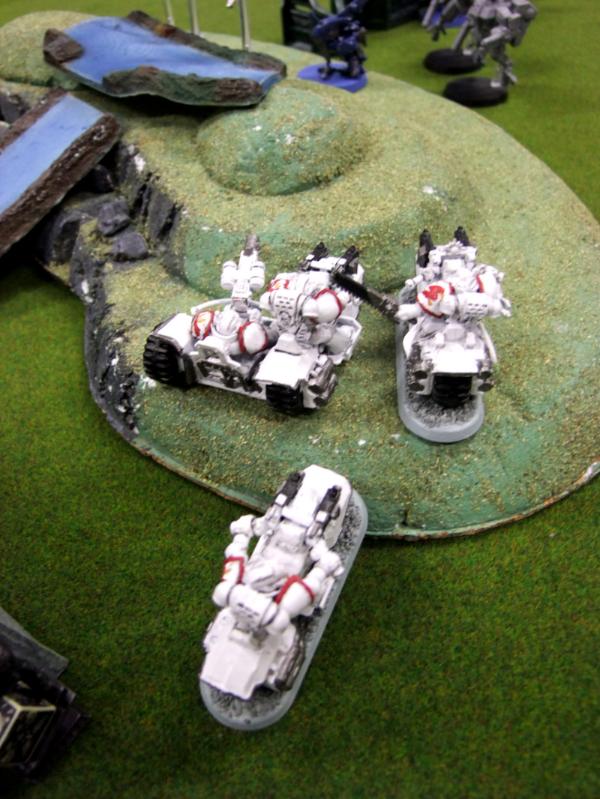
Therefore the four-man bike squad and lone attack bike in the north turbo-boosted as far as possible, to threaten the hammerhead and broadside.
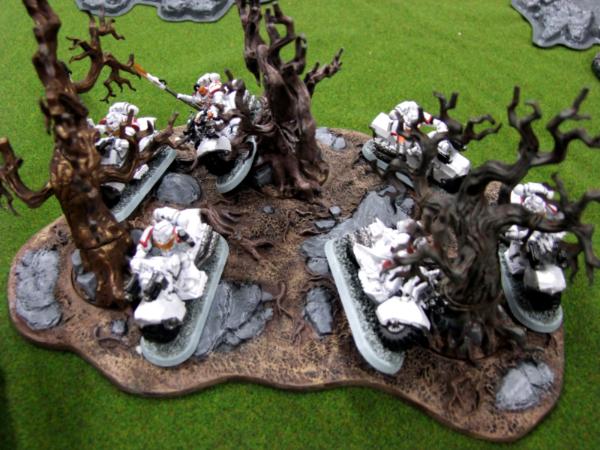
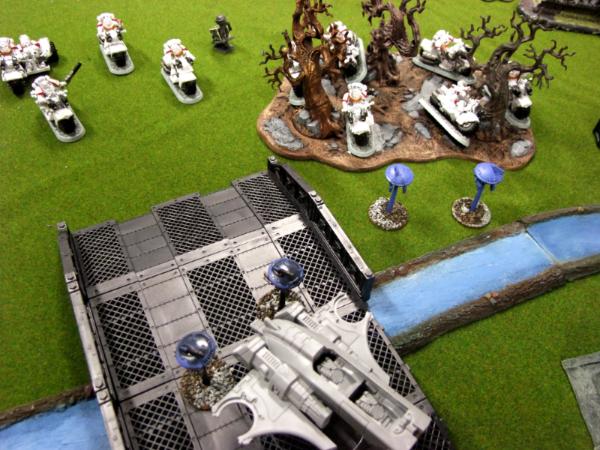
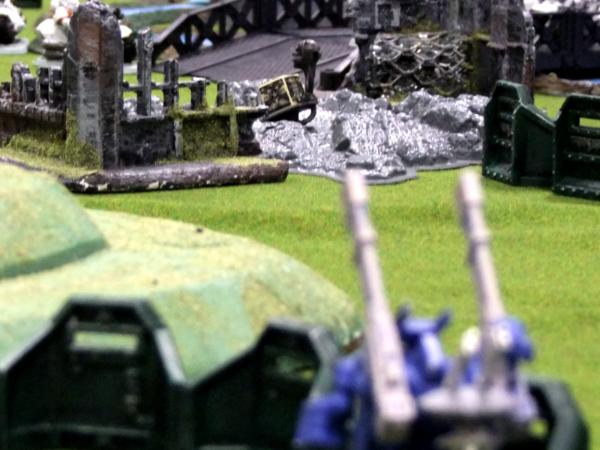
In the centre the 5-man squad and Konchi Khan moved into the woods - this put them in perfect position to hit the fire warriors holding the objective next turn.
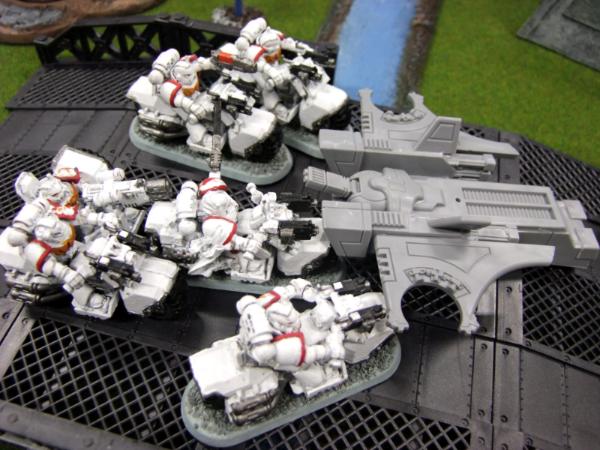
Finally my southern 6-man bike squad decided it was worth slowing down a little to take a shot at the Devilfish - unfortunately this didn't work as while they took off a hull point with a glancing shot, they failed to kill it. The typhoon also tried after moving forwards, but the darkness defeated its krak missiles.
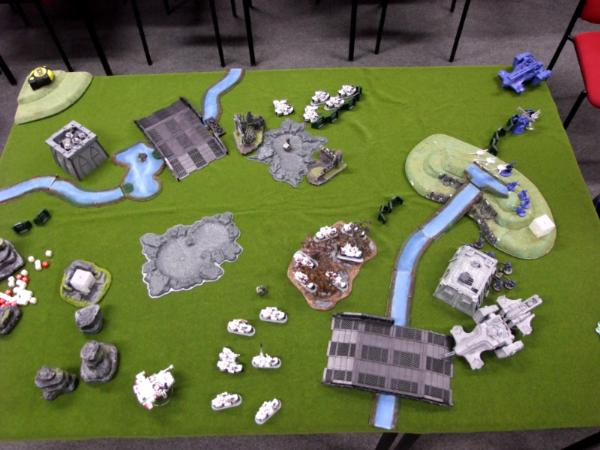
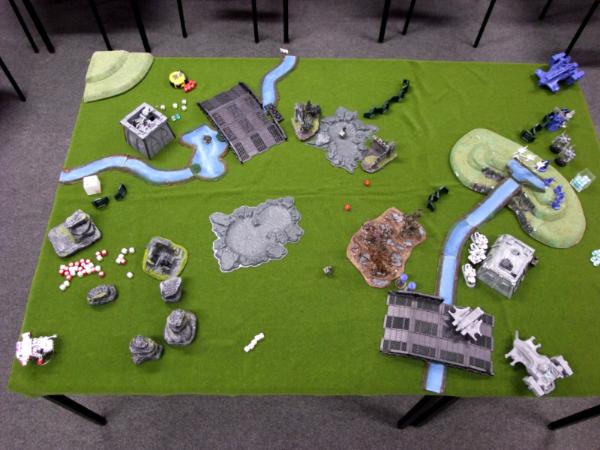
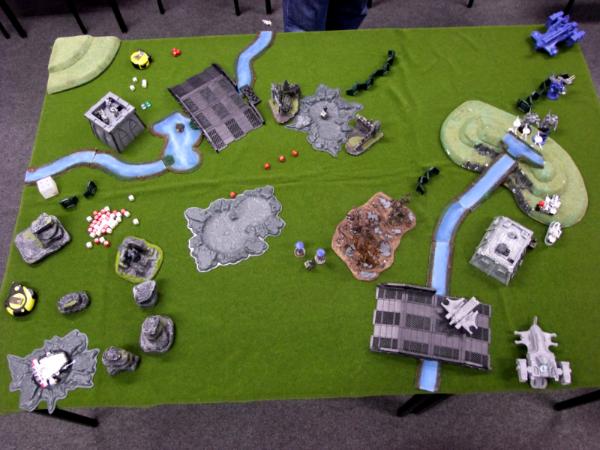
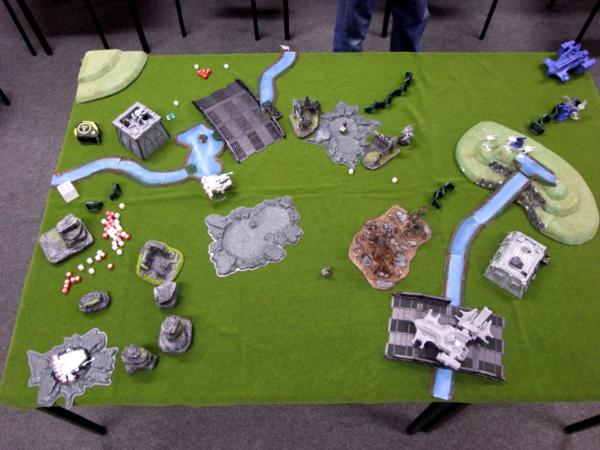
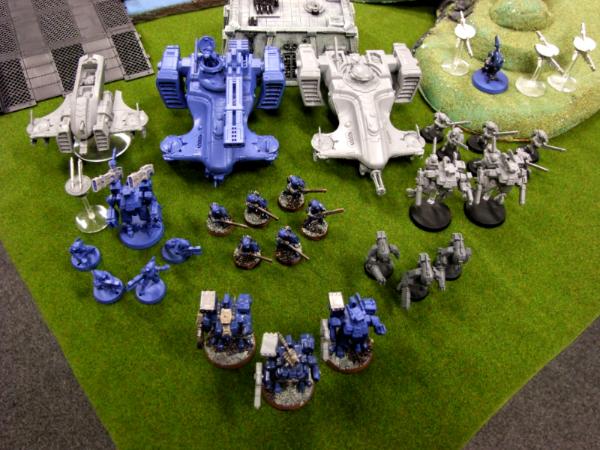
 Tau turn 1
 The Tau therefore faced a seriously fast enemy which was 12"-24" close than expected - not ideal!
However this was also the situation in which Tau should do the most damage, with exceptionally heavy firepower at their disposal.
Firstly the sniper drones, broadside, and hammerhead (submunition round) opened up on the units threatening them assisted by the pathfinders. Luck and night were on my side though, and in the event only one bike died.
In the south the fire warriors has a great view of the bikes, and two died under their pulse rifle shots:

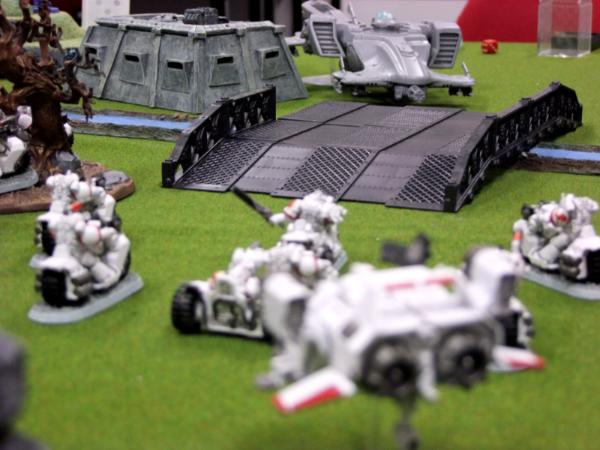
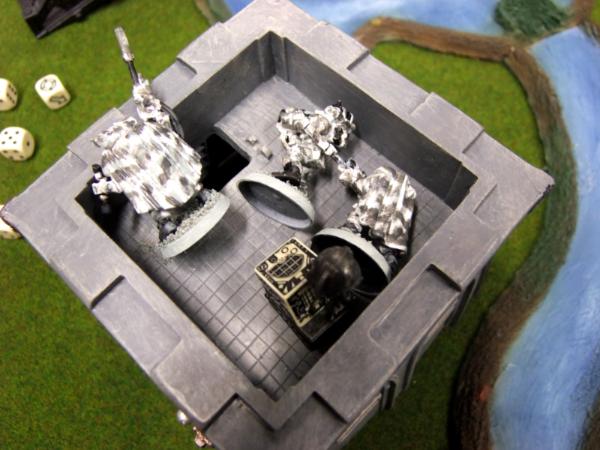
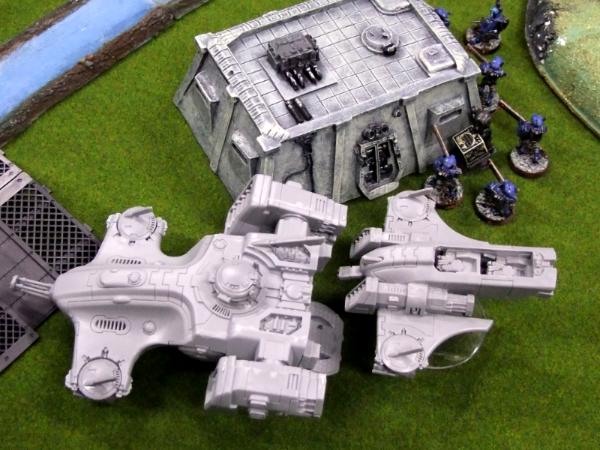
Meanwhile the piranha and devilfish detached their drones, which moved to form a screen in front of the threatening units. Behind this the piranha moved up to block the bridge, and the fire warriors in the devilfish disembarked into the bunker.
That was it though - amazingly, I had suffered only three casualties!
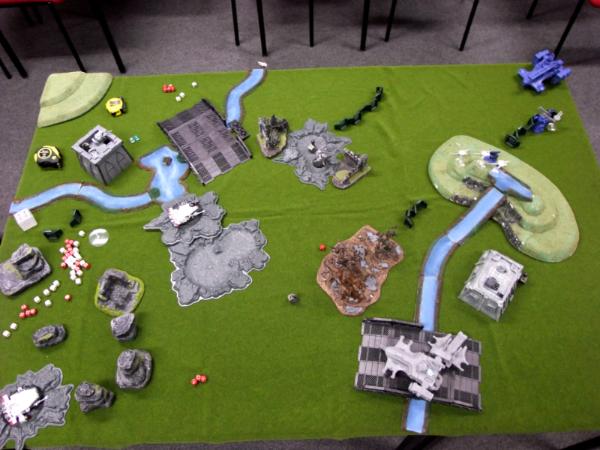
White Scars turn 2 Now I had the chance to do some damage:
The bikes in the north moved forward for a shot at the hammerhead - unfortunately neither was in short range with their multimeltas, and the tank was still alive. This was made worse when I failed the charge with my lead squad. Uh oh!
In the south things went a little better. The captain and his squad moved forwards to hit the fire warriors in the open - unfortunately two managed to kill themselves in the woods, and and the attack bike fell to supporting fire from the other nearby units.
However the Tau fire warriors stood no chance in close combat, and were wiped out to a man.
On the southern bridge I decided to use my typhoon to take out the covering drones - possibly a waste of firepower, but it enhanced my mobility by giving my bike squad (minus one self-immolating plasma gunner) a clear run into assault with the piranha. As you can see this was no problem for multiple krak grenades!
I had also tried to deep-strike my heavy flamer land speeder next to the units on the hill this turn - unfortunately a bad scatter saw it hit the fire warriors, so it would have to wait for another turn. Finally the typhoon failed to hurt the devilfish.
As a side note, I had had the same number of models kill themselves this turn as Jim had managed to cause in his turn!
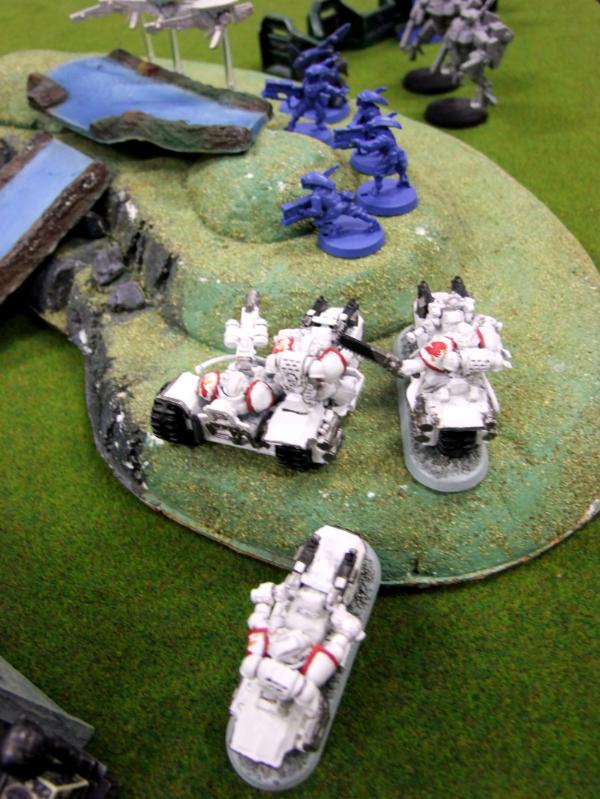
Tau turn 2 The Tau were down one fire warrior unit and the piranha, but otherwise were intact:

In addition all three reserve units arrived on schedule. The commander and bodyguard, knowing they would not scatter due to his warlord trait, positioned themselves to kill my commander.

Plasma fire poured into him, and the last biker accompanying him died, but his Iron Halo carried the Emperor's protection, and he survived with a single remaining wound!
The other crisis team came in in the north - this time, combined with the pathfinders removing cover, sniper drones, broadside and the hammerhead, managed to completely kill the three bikes and two attack bikes there. My northern pincer movement was no more, but it had certainly distracted the Tau heavy support. I would have to wait to see if the price was worth it...
Finally the stealth team out-flanked next to my typhoon, but failed to do any damage, leaving it fully functional.
White Scars turn 3 I was seriously hurt with two bike units and the lone attack bike down, but still had my scouts on one objective, my (wounded) commander, and (most importantly) a bike unit in range of the fire warriors in the bunker:
Firstly the typhoon, helped by the snipers, targeted the stealthsuits.
Two went down but the third was still alive and unbroken - this still potentially gave Jim linebreaker, as well as threatening my typhoon.
The last remaining bike unit shot and then assaulted the fire warriors in the bunker:
Despite their protection, they could not withstand the bikes and were wiped out in close combat. Jim now had no troops!
Finally, my Konchi Khan charged the Tau commander and his bodyguard - he sailed unscathed through the overwatch fire, and challenged T'Pau to personal combat:
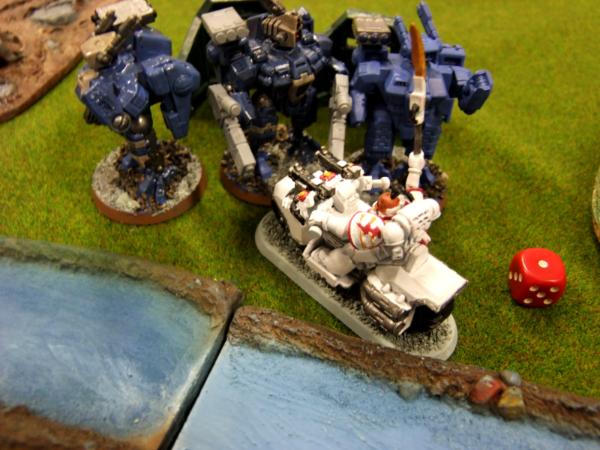
Unbeknownst to me, T'Pau had a close combat upgrade allowing him to swap his normal attacks for a single devastating attack. Jim therefore accepted, knowing that all he had to do was survive in return for this excellent chance to kill my warlord.
Konchi Khan's Hammer of Wrath attack failed to do anything, but then his relic blade swung - and in an amazing display of martial skill hit and wounded four times with four attacks! Commander T'Pau fell down stone dead, and his bodyguard fled in terror, only to be ground under the wheels of the victorious captain. Not only had I just slain Jim's warlord, I also had an extra
VP from my own Warlord trait.
 Tau turn 3
 At this point things were looking pretty bad for Jim - I was well ahead even on secondary victory points, and he had no troop units to claim any objectives of his own. However there was still once chance left - if he could wipe me out, he would win by default!
Firstly the lone stealthsuit fired, stripping a hull point off the typhoon but otherwise leaving it fully functional. Next, the units on the hill opened up on my last set of bikes, killing two.
More importantly, the plasma-armed crisis suits managed to take the last wound off my commander, granting Jim Slay the Warlord.
Finally the Hammerhead used its excellent range to good advantage, hitting my scouts in the bunker. They took cover as the round hit them, but still lost two members of the squad (two 1's on the dice).
 White Scars turn 4
 I was now running short of units (and my remaining land speeder also failed to arrive):
Figuring it was better to keep my bikes moving to distract the enemy units on the hill, I threatened the pathfinders:
They duly died under a hail of bolter fire, I didn't even need to charge them:
My pinned snipers and typhoon were not as lucky, failing to take out the last remaining pathfinder.
Tau turn 4 Jim had to do some damage, and do it fast - we might only have this turn and one more before game's end.
Firstly the last remaining stealthsuit fired - and sent my typhoon crashing to the ground.
On the hill the snipers, crisis suits, and broadside opened up, killing another biker and wounding my attack bike. As I had with every leadership test this game, they held with no problem.
Luckily this time the broadside had problems with its targeting system, and missed the scouts by miles.
White scars turn 5 I only have five models left on the field:
It also didn't help that I forgot to bring on my land-speeder! However my scouts, having recovered from pinning thanks to the hammerhead's terrible shot last turn, were free to kill the stealthsuit, who died with a krak missile to the torso.
My last two bikes killed one of the two crisis suits with their shooting, but were then gunned down in overwatch (the suits having an upgrade allowing them to fire at BS2). Now it was all down to my scouts...
Tau turn 5 The Tau had a lot more units than me, but most were badly out of position:
The two surviving gun drones from the devilfish moved up, aiming to get into firing range of the scouts next turn.
This turn though, only the very long-ranged sniper drones and the hammerhead could hurt my them. At least the hammerhead was more accurate with this shot, but by seeking cover I passed all of my saves. The scouts were still alive...
We rolled for the game end and... it would continue! Jim had another turn to try and wipe me out.
White Scars turn 6 I was really short of units:

However, this time I remembered my landspeeder - it deep-struck accurately now, and its flamers wiped out the two threatening drones.
 Tau turn 6
 The tau had another chance:
The last crisis suit had also been moving up, and the missile pods had no problem at all taking my land speeder down.
Once again the sniper drones and hammerhead targeted the scouts, and once again I took cover - successfully. They were still alive.
We rolled for game end again - and this time I breathed a sign of relief as a 4+ was rolled. I had survived!
 Result
 The final scores were:
White Scars (3) 1 x objective
(1) First Blood
(1) Slay the Warlord
(1) Legendary fighter
Total = 6
Tau (1) Slay the Warlord
Total = 1
White Scars 6 - 1 Tau - VICTORY FOR THE WHITE SCARS!
Conclusion Phew - though the final score was decisively in my favour, Jim gave me a few nasty moments there, and I thought for a while that he would table me and win by default!
The new Tau are pretty nasty when it comes to firepower, with nice 'force multiplier' options such as improved
BS, better overwatch fire and ignoring cover. They will be a handful to face again, and I can expect to take significant casualties. Both Jim and I made some mistakes here, but I feel that mine did not have as serious an effect on the mission. In addition I'll freely admit I was lucky when it counted - in particular seizing the initiative was very helpful, and so too was my commander surviving all that plasma fire!
For Jim, I think a key learn is that he needs more troops - two minimum sized fire warrior squads just doesn't cut it in any objective-based mission. While his firepower is truly impressive, it comes at the cost of those core units - and ultimately that's what will win the majority of games. Once the fire warriors are down, he's usually just left with the possibility of annihilating an opponent - and it's just that, a possibility.
I also think that he should have balanced his deployment a little more. As it was his key heavy hitters (broadside, hammerhead, one set of crisis suits) were on one side of the field, while the two key targets for me - the fire warriors - were both close to each other on the other flank. This was made worse because the central hill in his deployment zone prevented the hammerhead and broadside from providing covering fire to the fire warriors.
It's also arguable that he should have sent a crisis team against my scouts. While this would almost certainly have displaced them from the objective and got him linebreaker, it would also have meant leaving either my commander or my bikes threatening the hammerhead unengaged. This was a difficult call to make, and I'm not certain whether it was the right one or not!
For myself I should have kept my last bike unit alive behind the bunker once I took some casualties, instead of killing irrelevant units. This would've reduced the chances of Jim wiping me out, and then either given me a chance for Linebreaker, or forced him to divert attention from my scouts, increasing
their chance of survival.
While I was much more disciplined at staying on-mission in this game, I still tend to think in terms of my objectives first, and killing things second - denying the enemy victory points is often forgotten! I think I will have to try and tone down this very aggressive attitude in future...
I actually have two units of the match for the White Scars - Konchi Khan and my scouts. Konchi managed to wipe out a fire warrior unit, followed by taking down the Tau commander and his bodyguard in single combat, earning me two
VPs. The scouts also worked exceptionally well, not in terms of what they killed (one stealthsuit) but in terms of what they gave me - a safe objective in home territory, freeing up my bikes to concentrate on the assault. I will definitely be taking these guys in future!
Overall it was an excellent game against a good opponent, and it could so easily have swung the other way!


 blog!
blog! 1,500 Points II
  125
125


 Tzeentch Daemons 2000pts
  Kabal of the Sundering Strike 2500pts
 Eldar Corsairs 750pts
  400pts Corregidor/Nomads
 300pts Yu Jing
  7000pts
 (In Progress)
