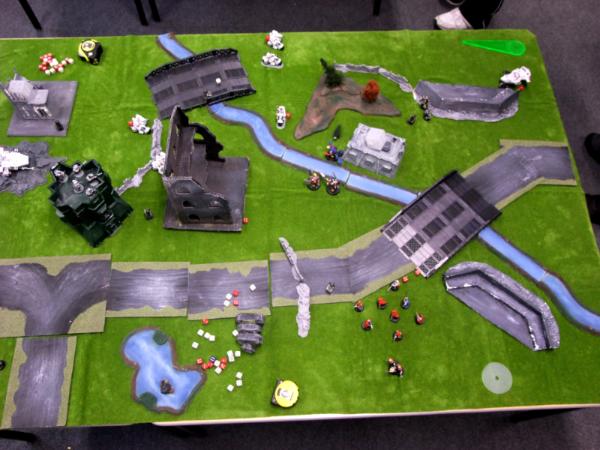
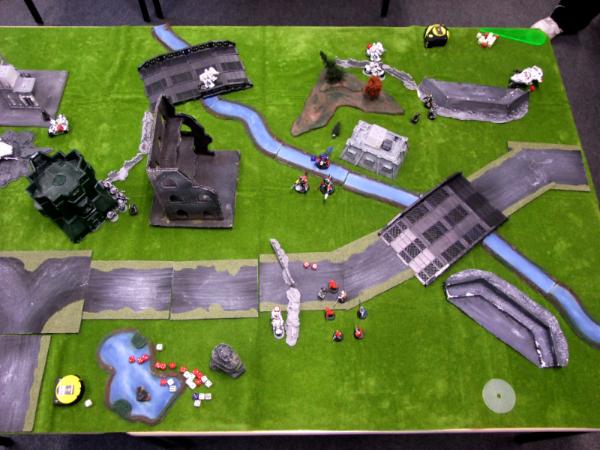
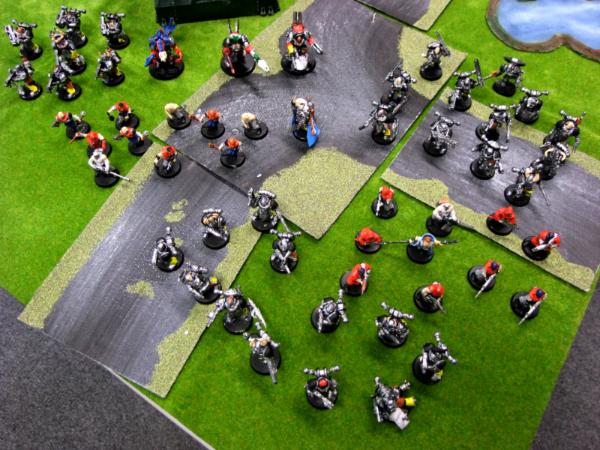
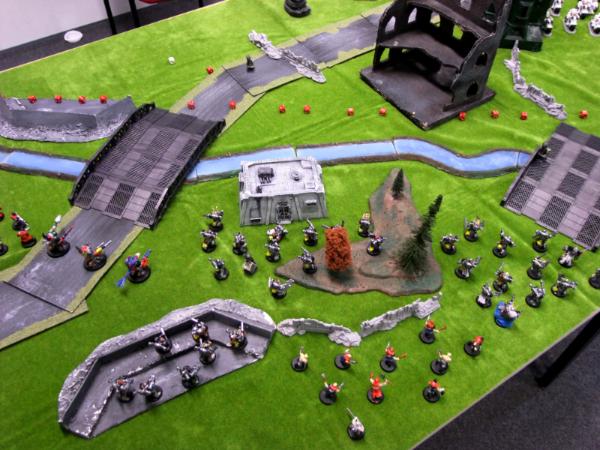
Iron Warriors turn 1 The terrain and night-fighting denied Michael any opportunity to shoot me. Instead, knowing he couldn't catch me anyway, he chose not to charge forward as much as possible
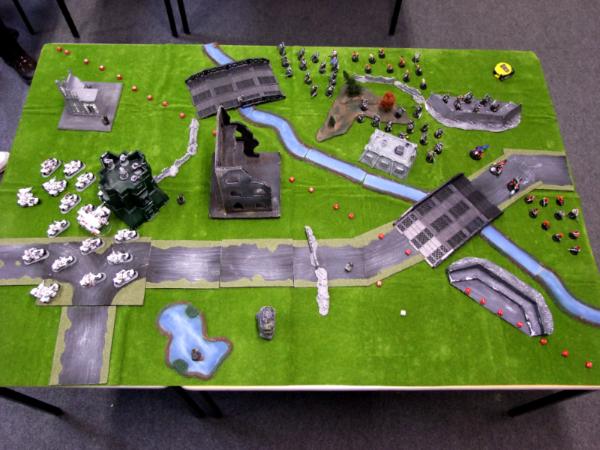
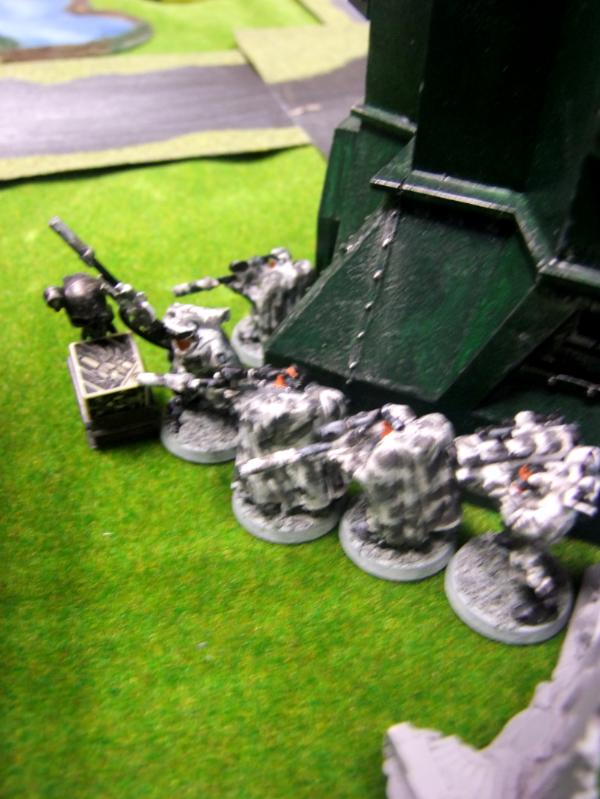
Michael's front line, consisting of the obilterators and nearby cultists, and the Khorne and Nurgle
CSMs, advanced at a walking pace towards the river.
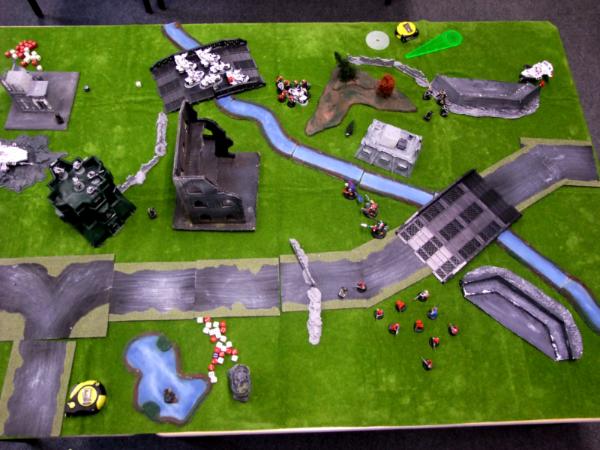
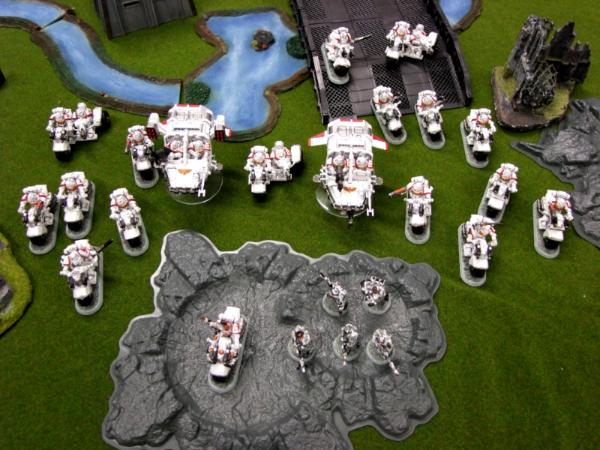
White Scars turn 1 I was still intact, and now had the choice of directions to go - left or right?

I decided that I neeeded to wear down the Iron Warriors' numbers while I still had my full firepower at my disposal, and therefore chose the left.
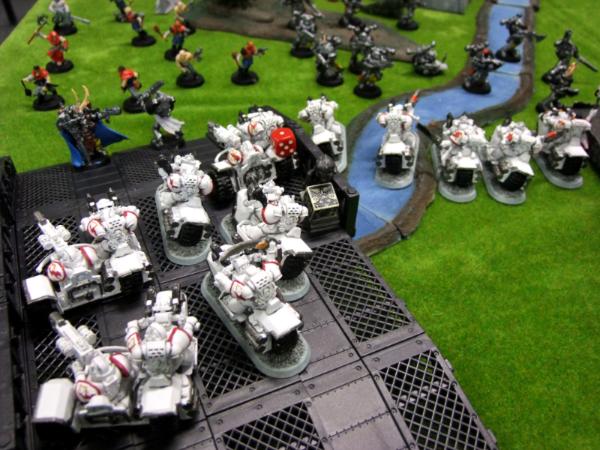
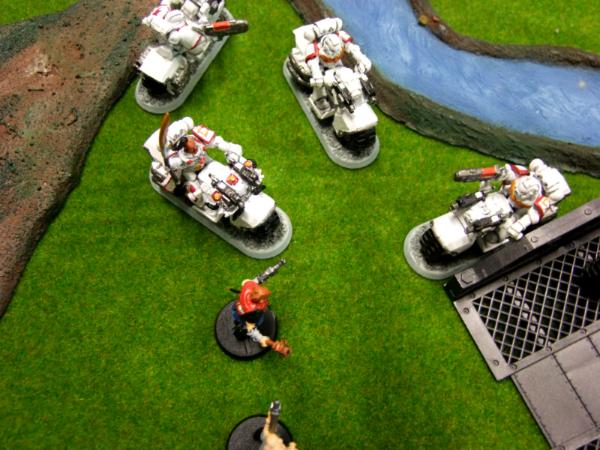
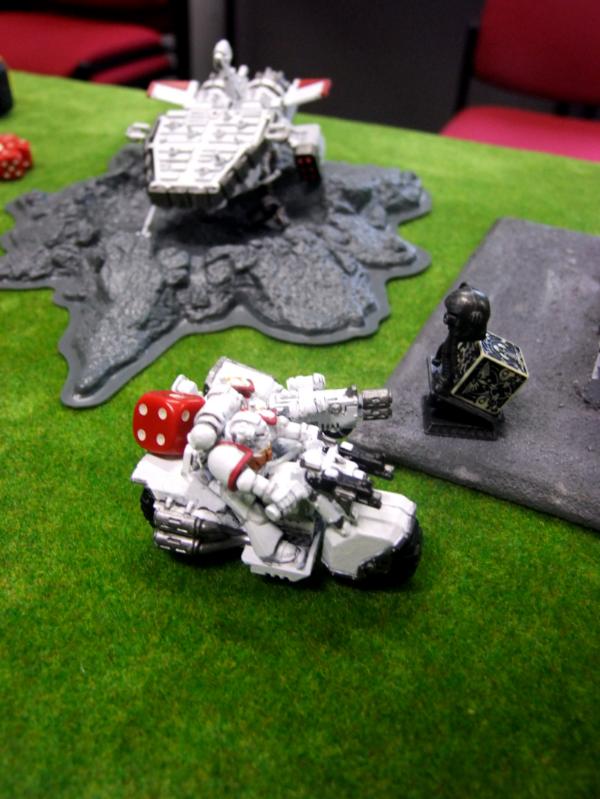
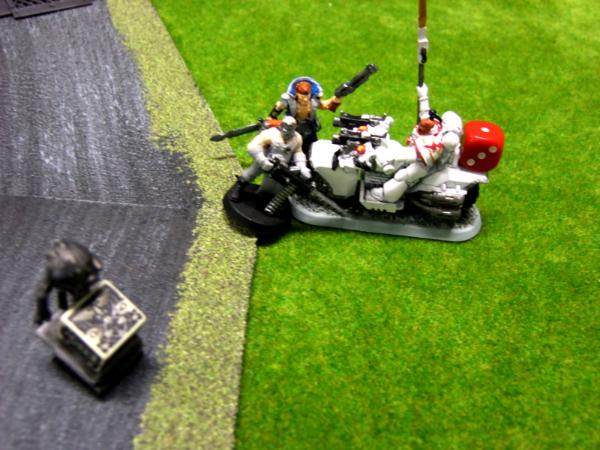
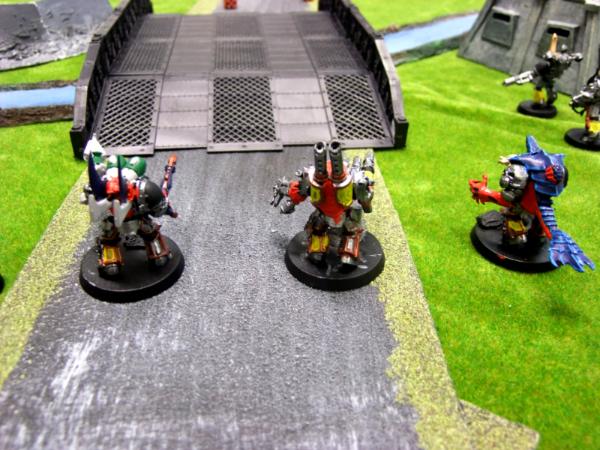
Bikers have a lot of firepower - in this case, 14 bikes with four plasma guns, three attack bikes, backed up by five scouts and a Typhoon land speeder opened up at varying ranges.
Definitely not a bad first turn - eight Khorne-marked Chaos Space Marines down!
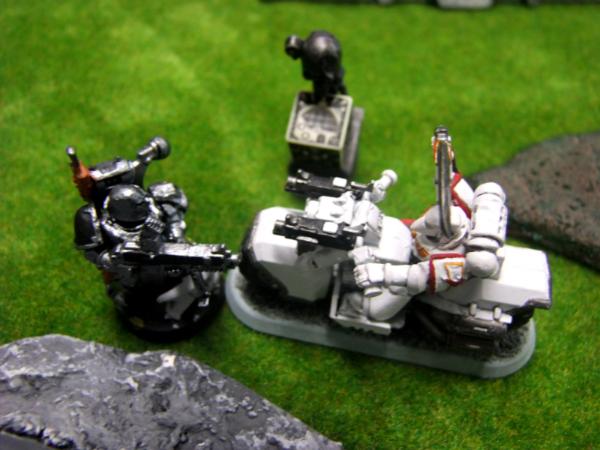
Iron Warriors turn 2 However, it was no longer dark - and I was in range of the Iron Warriors' big guns!
First of all, Michael had spotted an opportunity. By continuing to advance, his relentless Obliterators had a line of sight through the ruined building to my land speeder typhoon. The lascannons they morphed this turn were right on the edge of their maximum range - but it was enough:
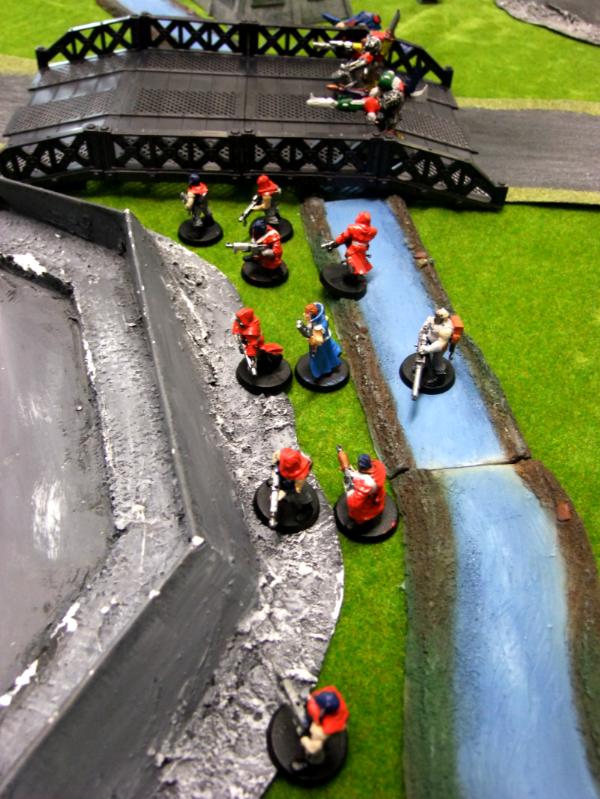
Accompanying the Obliterators, the cultists waded across the river:
The missile launchers didn't kill anything thanks to jink saves, so that was it for this turn - my previous turn's fire had denied the Khorne marines and Chaos Lord any chance at a charge at the nearest bikes.
White Scars turn 2 The loss of the typhoon was a blow, and had given Michael
First Blood, but the majority of my army was still intact.
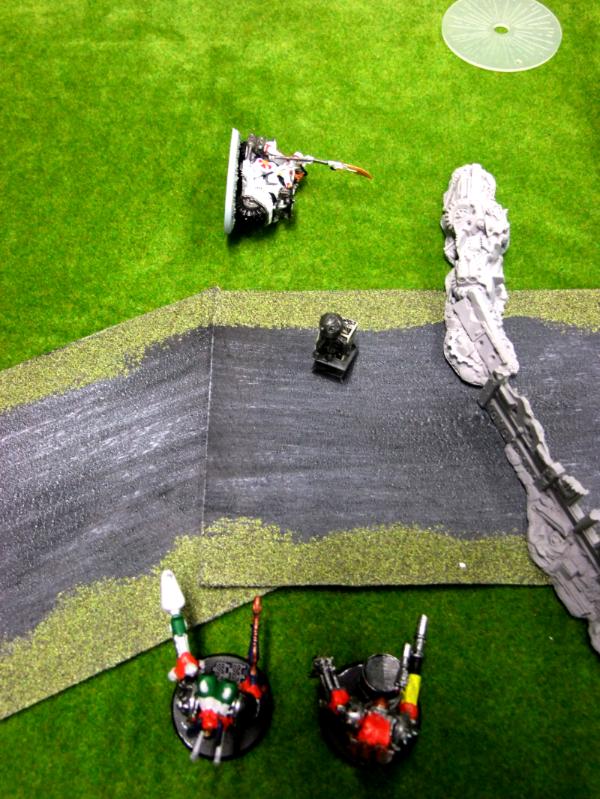
First though, my twin heavy flamer land speeder had arrived from reserve. I decided to try for the enemy Havocs - and got an accurate drop:

A wave of fire billowed out of the muzzles, and engulfed the Havocs - more particularly, the three havocs nearest the land speeder, who also happened to be carrying the squad missile launchers. The Iron Warriors had lost half of their heavy weapons.

Unfortunately for me, things were not as efficient on the other flank. Despite having almost as much firepower as in my previous turn, I only managed to kill three more Chaos Marines - The Untempered Legionnaire was still alive!
 Iron Warriors turn 3
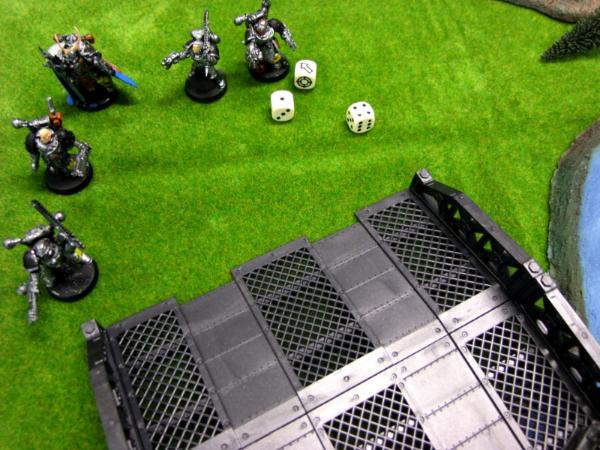
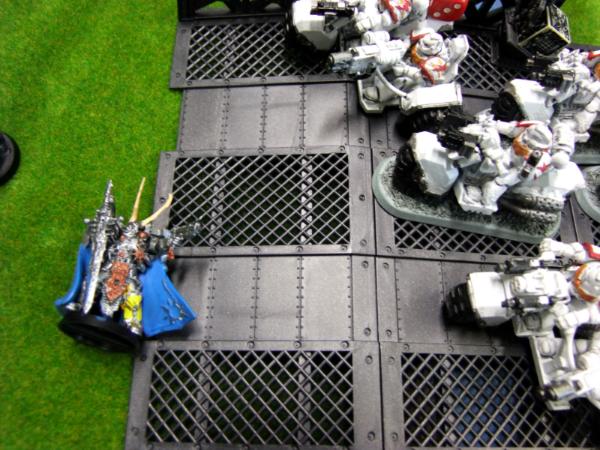
 My failure to kill Michael's Chaos Lord might have cost me dear - he was now potentially in charge range:
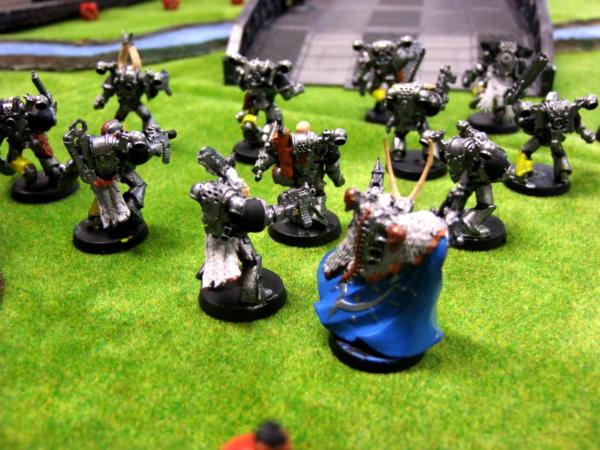
Firstly though the Obliterators and Nurgle
CSMs advanced towards me. I had dispersed my bikes, so the Obliterators' plasma cannon only managed to kill two of them - this was assisted by one of them overheating, although this failed to injure the mechanical monstrosity. I breathed a sigh of relief - after surviving plasma cannon fire, the Nurgle marines' bolters surely couldn't be a threat?
I couldn't have been more wrong - despite only having fifteen shots, the wound dice were rolled to reveal a sea of fives and sixes! Four failed armour saves later, and I was down to one injured attack bike. The only up-side was my ability to use Combat Tactics to take Kohchi Khan and the attack bike out of charge range of the Chaos Lord.

Up in the far corner, the Havocs also managed to immobilise the land speeder that had flamed them, but failed to destroy it.
White Scars turn 3 Almost losing a bike squad had set me back, but I certainly wasn't out of the game yet.
 ATSKNF
 allowed me to rally Konchi Khan without ill effect - I now decided that the Nugle marines and the Chaos Lord had to die this turn. My Captain and the plasma gun bike squad would therefore shoot and charge the Nurgle Marines, while the Chaos Lord would be hit by three multi-meltas, any one of which could auto-kill him.
First up was the Chaos Lord. It took me longer than expected, and denied me a chance to charge the cultists with any of the three units on the bridge, but the last meltagun managed to take him down -
Kill the Warlord was mine.
Now the plasma bikers opened fire. White-hot plasma bolts, backed up by the bolt shells, managed to kill five of Nurgle's followers, causing them to break and run back through the cultists.
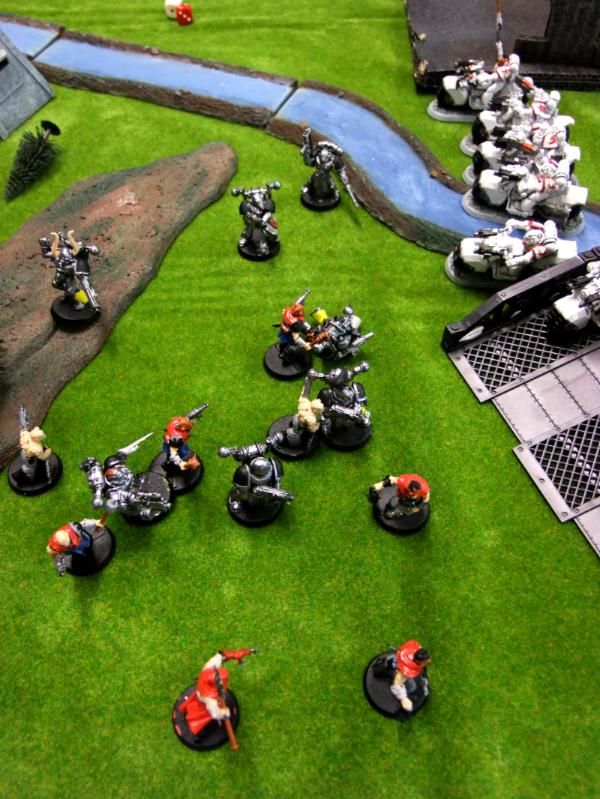
I wasn't satisfied though - I followed this up by charging them as they fled. Although they managed to rally, and even kill my biker sergeant, it wasn't enough to withstand my vengeful Khan, and they fled, only to be destroyed.
In the corner, the heavy flamer land speeder still had a shot despite being immobilised, and killed another couple of Havocs.
Iron Warriors turn 4 Michael had lost his lord and
CSM units, but still had the cultists, some havocs, and most importantly the Obliterators.
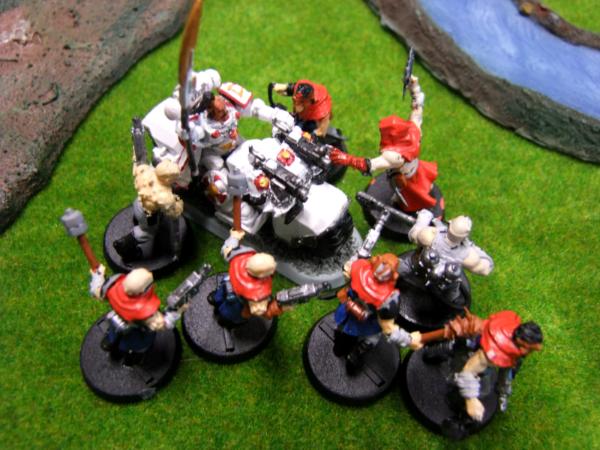
The remaining Havocs moved forward and onto the nearest objective, but were otherwise out of range. Somewhat more threateningly, the Obliterators lined up on my bikes once again, and managed to strip the lord of his retinue, although Konchi Khan himself survived unscathed.
The close combat cultists followed up by charging him - embarrassingly it was a draw, with one wound to each side!
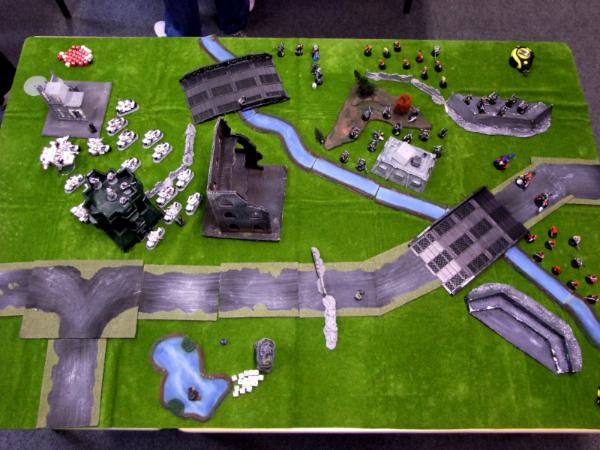
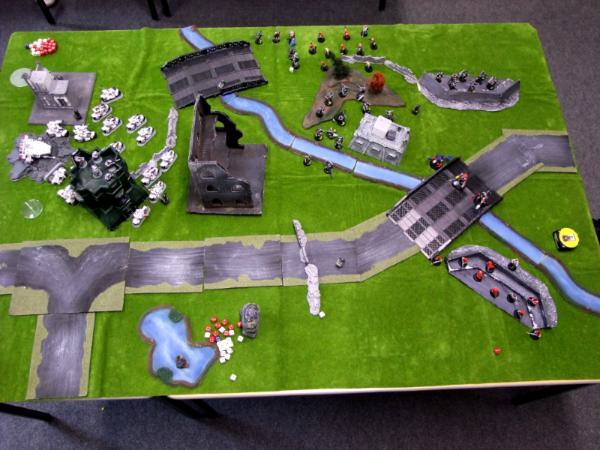
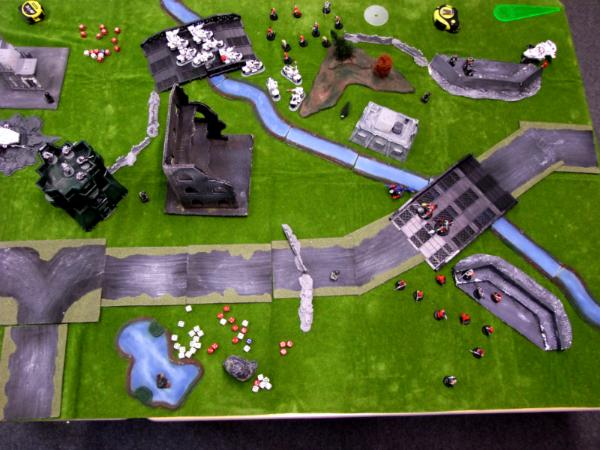
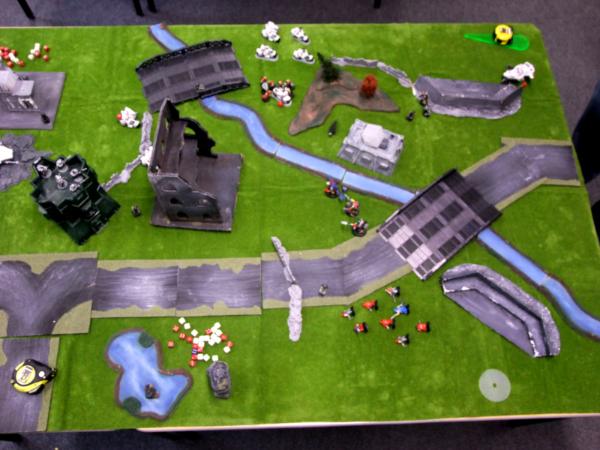
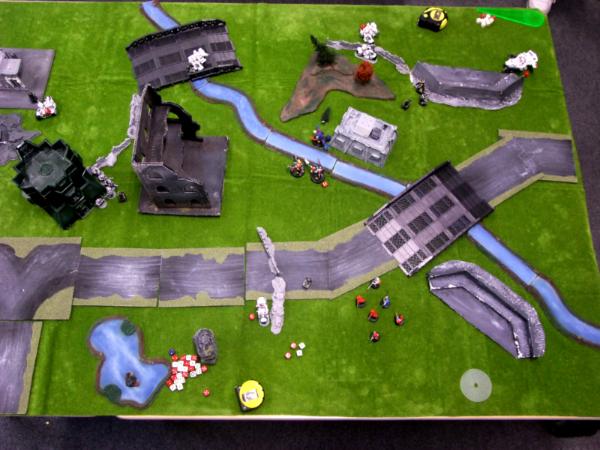
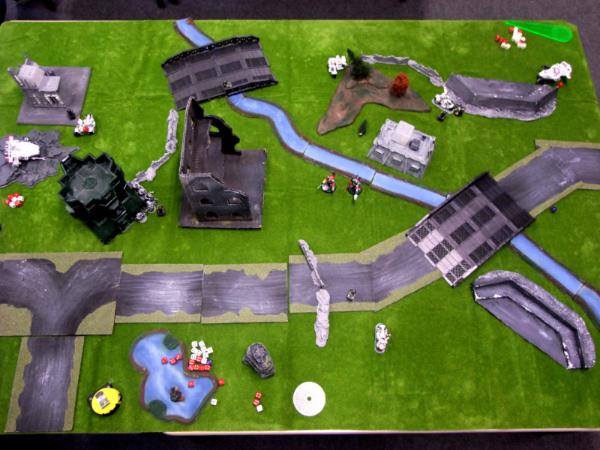
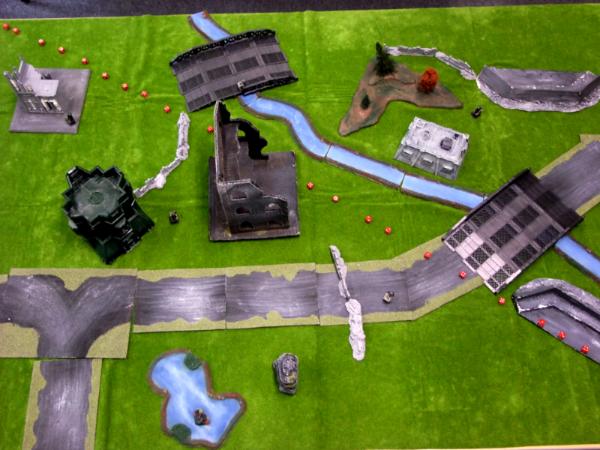
White Scars turn 4 The battlefield now looked like this:
Michael still had two uncontested objectives so I knew I had to do more damage to have a hope of winning - unfortunately I didn't have that many units to do it with!
Both lone attack bikes moved back behind the large ruin, and between them managed to put a wound on one Obliterator. The remaining squad of four moved forward towards the Havocs, and managed to kill one with long range fire. Next the scouts killed a couple of the cultists near the Obliterators, pinning them and coincidentally removing the models who were claiming the objective.
Finally, Konchi Khan continued fighting the cultists. Once again he only killed one, though at least they didn't wound him! They held and the fight would continue.
 Iron Warriors turn 5
 If I was running out of units, then so was Michael:
There were only two Havocs left - their fire was ineffective against the bikes threatening them. The Obliterators were only a little better, killing two bikes and wounding the attack bike, but leaving it alive with the squad's sergeant.
The other cultist squad was pinned, so the only other thing to resolve this turn was the ongoing close combat. At last, Konchi Khan found his form and killed three cultists for no damage, finally breaking them and running the survivors down.
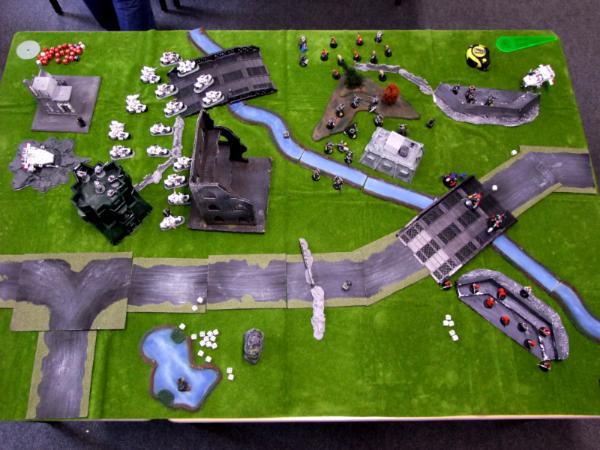
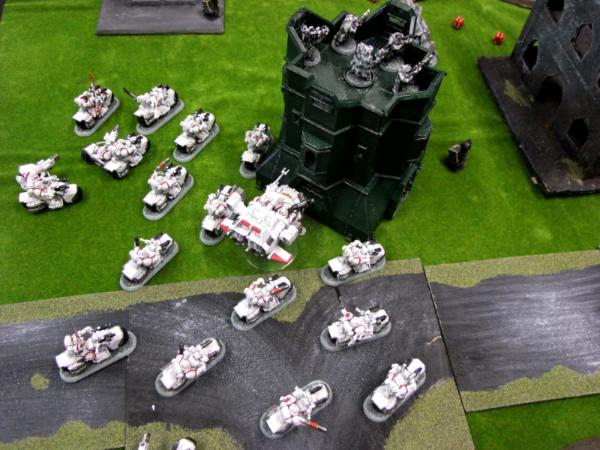
White Scars turn 5 Things were still very much in the balance - I knew I had to grab as many objectives as I could, while denying them to the enemy:
As this might be the last turn of the game, the scouts slipped out of the strongpoint, claiming the objective between it and the large ruin.
The wounded lone attack bike was also a troops choice, and it moved to the small ruin in the far-left corner.
That left three units - two bikes from one squad, a lone attack bike (who was a fast attack choice and therefore couldn't score), and my Captain. The bikes continued towards the Havocs, but failed to kill any more with shooting, and were too far away to charge. The attack bike managed to put another wound into the Obliterators, killing one, and my Captain turbo-boosted towards the cultists.
The game didn't end, so we would have a turn 6
Iron Warriors turn 6 Michael only had three units left himself now - the Obliterators, a squad of cultists, and two Havocs.
Neither the Havocs or cultists manage to do anything useful, but the Obliterators were still in good shape. Twin-linked plasma fire lanced out - luckily Konchi Khan's speed made him a difficult target, and they only caused a single wound, leaving him with one left.
White Scars turn 6 At this point the balance had tipped towards me:
My Captain was still alive, and had the cultists easily within charge range. Assisted by fire from the scouts, four of the cultists died - the remaining two were charged and quickly died to a single sweep of his relic blade.
Near the Havocs the attack bike managed to kill himself on the difficult terrain, but the Sargent was still alive, and took out one of the two havocs with his twin-linked bolters before charging. The close combat was a draw, with neither managing to hurt the other.
Once again the game didn't end, so we'd have a maximum length game.
Iron Warriors Turn 7 Michael only had one effective unit - the Obliterators.
He decided to get his own vengeance, and vaporised my Captain in short order:
The last havoc and the biker Sargent continued to fight, their power armour protecting each other from the opponent's blows.
White Scars turn 7 At this point there was little else for me to do:

The scouts and attack bike shot the obliterators, but to no effect, while the Havoc and Sargent continued to fight without resolution. The game was over!
Result I had two objectives:
A third was contested:
The final scores were therefore:
White Scars (6) 2 x objectives
(1) Slay the Warlord
(1) Linebreaker
Total = 8
Iron Warriors (1) First Blood
(1) Slay the Warlord
total = 2
White Scars 8 - 2 Iron Warriors - VICTORY FOR THE WHITE SCARS!
Conclusion This as another close fight - Michael's Obliterators in particular should be singled out as a highly effective unit! On my side I think a key moment was when my deep-striking land speeder managed to drop accurately and take out the missile launchers - I feel that if he had had these available I would have taken further casualties. Given that I had two units on a wound each, a couple of extra casualties from the Havocs over the course of the game could easily have swung things to the Iron Warriors!
Michael played it very cool - in particular recognising that he wasn't going to catch me anyway, his decision to stay in range of his fire support at the start was potentially game-winning - many would just have charged forward despite this not helping. Only losing the missile launchers to my land speeder prevented this decision from paying off.
As for myself I was pleased at how I was once again able to bring most of my force to bear on only a part of the enemy's, and follow this up by picking and choosing my combats almost all the time. Being more aggressive with the land-speeder also paid off big-time, and while risky, I feel the potential benefits make this a strategy worth continuing.
Michael was a great opponent to play against, and the final score doesn't reflect how much things swung to one side then the other throughout the battle!
Overall I think these first five games have succeeded in giving me a feel for how the White Scars play - I'm now in the process of expanding to 1,250 and we'll see if I can keep it up. At the same time my local gaming group now has a better idea of what the White Scars do - so I am expecting things to get harder!


 blog!
blog! 1,500 Points II
  125
125


 Tzeentch Daemons 2000pts
  Kabal of the Sundering Strike 2500pts
 Eldar Corsairs 750pts
  400pts Corregidor/Nomads
 300pts Yu Jing


