Played a VERY one sided match yesterday against the Brits. The dice just weren't with him, and I was rolling real hot. The dice gods giveth, and the dice gods taketh away! The belligerents were:
British Armoured (40 BR)
Forward Headquarters
Armoured Rifle Platoon
2 Cromwell/Firefly Platoons
Off-Table Light Mortars
Recon Platoon Command
Stuart Recce
Daimler
vs. the Panzer Division (44 BR)
Forward Headquarters
Armoured Panzergrenadiers (+2 Panzerfausts in command team)
Panzer IV Platoon
Panzer IV
Light Panzer Artillery Battery (2 Wespes)
Forward Observer Team
Recon Platoon Command
Mounted Panzergrenadier Patrol (+Panzerfaust)
Mounted Panzergrenadier Patrol (+Panzerfaust)
Supply Column (2 trucks)
Once again we played Nick's custom meeting engagement mission. Each side picks a corner for their deployment zone, with objectives and all recon for both sides in no-man's land. Half your other forces start on the board in your chosen corner, with reserves starting on turn 2. The board at deployment! (and a shot of my buddy Nick!)
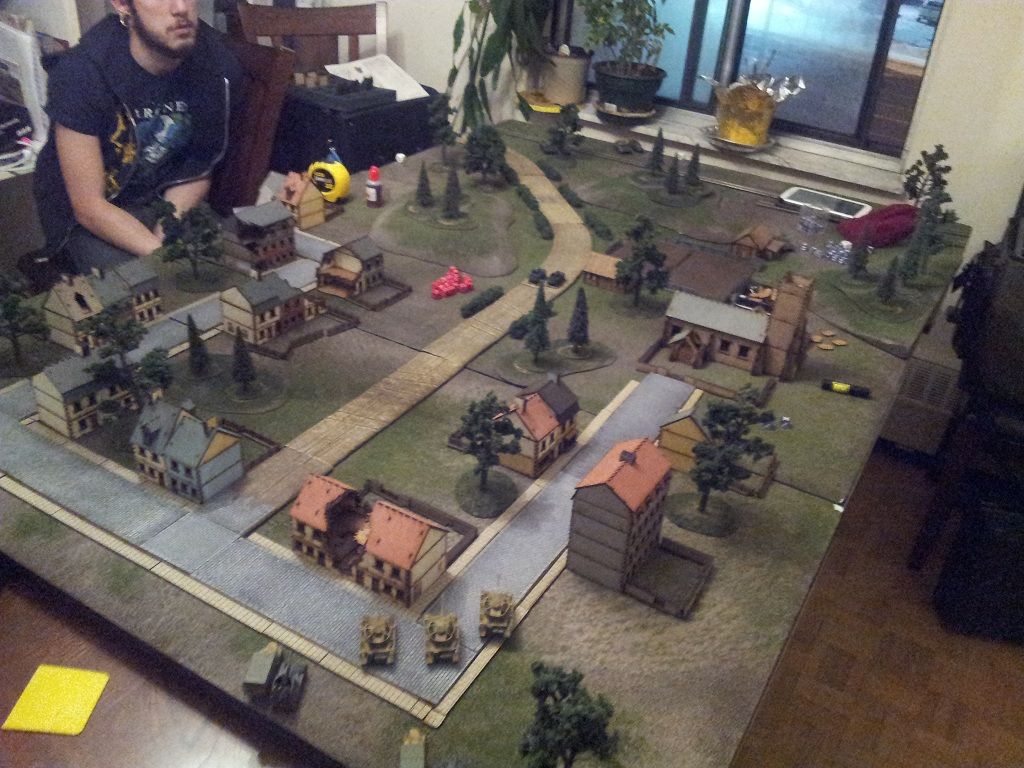
I chose the bottom left corner holding the town, with Nick's Brits starting at the end of the dirt road in the opposite corner. I started the game with 10 units on the board: all 3 of my recon units, 3 Panzer IVs, 2 supply trucks, and my 2 Wespes. You can see the 3 Panzer IVs in the bottom left. My 2 scout patrols started close to the middle of the board on the dirt road, which you can also see in the above photo. Nick started with all 3 of his recon units, one of his tank platoons, and his forward headquarters.
I started the game off with a bang. My recon platoon command failed his communications check for the artillery, but my patrols totally made up for this. Both of them disembarked right into the British objective: a small wooden cottage not far from their initial deployment. Nick had clustered his recon around the building, and I simply couldn't resist the temptation to fire off the Panzerfausts. 2 shots went off, blowing up a Stuart and a Daimler. I'd like to think his recon platoon command simply watched the carnage unfold before him.

This was a pretty big setback for the Brits. On his turn, his armour moved up onto a hill for some choice firing lanes and took shots at the now empty scout half tracks. Thankfully for the Germans, the shots went wide and my patrols survived their daring opening maneuver relatively unscathed (a single man was lost from
MG fire from the Dingo). On my own turn I mounted the men back up and took cover behind another wooden cottage close by.

After the tactical retreat I finally found the time to get my Panzer IVs into some good firing positions. 2 of my tanks got cozy in some area terrain with good lines of sight. Before long, they were trading shots with the British tanks. Nick's dice really let him down here. There was a morale check or 2 on my part, but no penetration.

On the third turn I finally managed a successful communications check, scoring a lucky hit on a Cromwell Nick was pushing into my left flank. My dice exploded. I rolled 11 on the penetration, blowing the vehicle away. On the same turn, one of my Panzer IVs knocked out a Firefly. It was a big swing.

In an attempt to wrestle the initiative back away from me, Nick decided it was time for some downright ballsy maneuvers. His armoured rifles made it on the board and fearlessly drove right into my lines. A PIAT team and the platoon command team disembarked right into the cottage my scout patrols were hiding behind. The PIAT team got an open fire order taking a shot at each vehicle. The first shot managed to crack open a half track, causing two casualties for the 4-man patrol inside. I rolled their morale test, getting a 6. For those unfamiliar with the game, rolling a 6 on morale lets you potentially act in your opponent's turn (beyond the call of duty) if the unit can pass an experience test; in this particular case I needed a 3+ to pass. I then rolled the experience test for beyond the call of duty. Another 6.
A more sane commander might have taken the opportunity to get his men out of there, but I boldly ordered the under strength squad to conduct an infantry assault. They passed their experience test, and I rolled a 5 for the additional shots from assaulting. With great zeal, they wiped out the PIAT team before they could take their second shot. In the crossfire, the squad took another casualty leaving just the NCO. Amazingly, he passed his morale test and fearlessly stood his ground. I absolutely have to promote him. You can see the assault here:

The light mortar in his platoon command team finished what the PIAT couldn't. He dinged my other half track, which had already been pinned, and I rolled a 1 for the morale test forcing the crew to abandon the vehicle. We didn't know what effect this would have on a unit being transported inside, so we removed them as casualties as well (we don't know if this was correct). Nick secured his ground with a rifle squad.

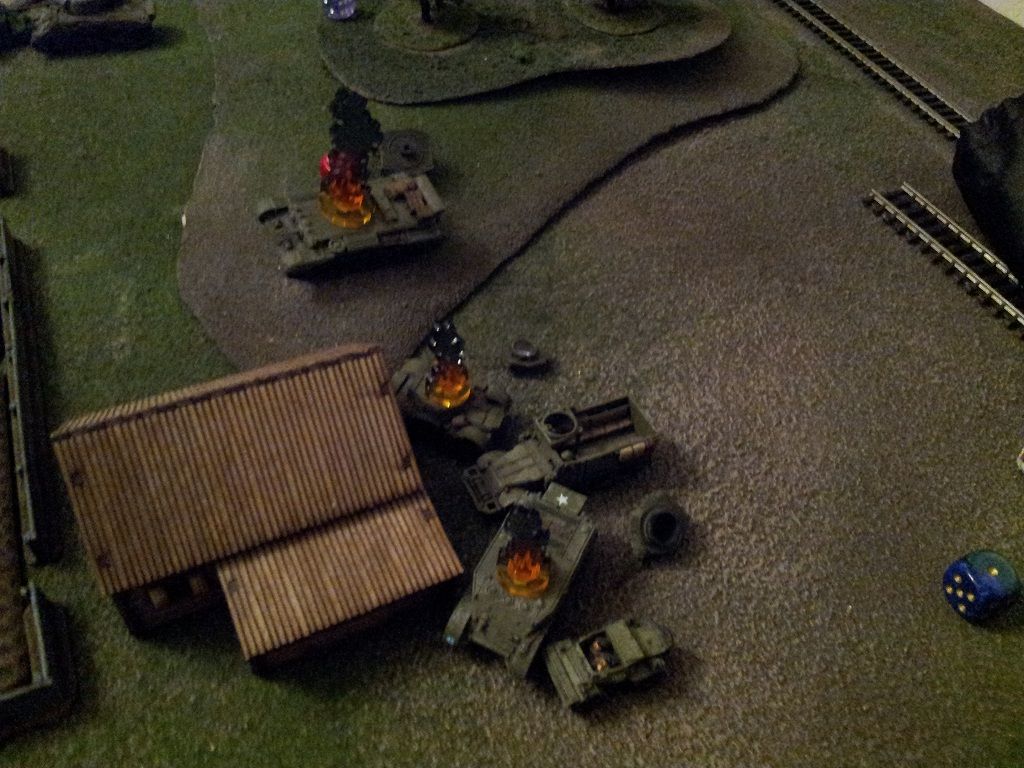
In the last couple of turns, more British armour bit the dust from my unbelievably accurate Panzer IV gunners. By the end of the game, a single Firefly and a single Cromwell were all that remained of the 2 armoured platoons. Some more shots of the carnage:

Final chits were 30 out of 40 for the British, 19 out of 44 for the Germans. It was a total blowout, and Nick had all of my sympathy for the poor dice. Hope you guys enjoyed reading.


