Switch Theme:

Battle Damage on Land Speeder (Pics)  [RSS] Share on facebook Share on Twitter Submit to Reddit
»
Author Message
Advert


Forum adverts like this one are shown to any user who is not logged in. Join us by filling out a tiny 3 field form and you will get your own, free, dakka user account which gives a good range of benefits to you:
  • No adverts like this in the forums anymore.
  • Times and dates in your local timezone.
  • Full tracking of what you have read so you can skip to your first unread post, easily see what has changed since you last logged in, and easily see what is new at a glance.
  • Email notifications for threads you want to watch closely.
  • Being a part of the oldest wargaming community on the net.
If you are already a member then feel free to login now.


Made in us
Death-Dealing Dark Angels Devastator


I recently built a land speeder that, admittedly, wasn't my best construction job. I had some trouble getting the top half of the frame to hold with the bottom half and was left with two marks on the front panels. In wanting to get rid of it I saw a chance to add some flavor to it by trying to paint on some battle damage. Here is what I've done so far:

First layer:
Spoiler:


Second layer:
Spoiler:


It looks better than before, sure, but any advice to make it look better is welcome. For the record, the paints I used for the damage are Mechanicus Gray and Abbadon Black. Thanks!

Sanguine Fist Lion's Claw

Gitsplitta wrote:Yes, please note that the arrival of the cat coincided with my complete failure militarily. Cats not only suck the breath out of little babies, they sucked the life out of my counter attack!
 
   
Made in se
Been Around the Block


For battle damage I usually just paint the "inside" of the hole/rip black and then dry brush around it to get a soot effect. Then I paint details with mithril silver for where I want the metal to shine through. Like the bullet hole in the helmet on my nob's banner.
[Thumb - IMG_4592.PNG]

   
Made in gb
Sneaky Sniper Drone


Cheltenham

Is that pure white or a light grey? Can't tell in the pictures.

What I usually do is grab a lighter colour of paint, and then whack that on the model where I want chips to be. After that, paint over the lighter colour with a suitable brown, leaving a really thin line of the lighter colour. This gives an amazing effect, here is my method.

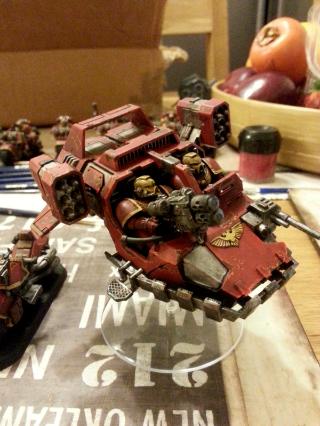
Mephiston red basecoat all highlighted and pained.
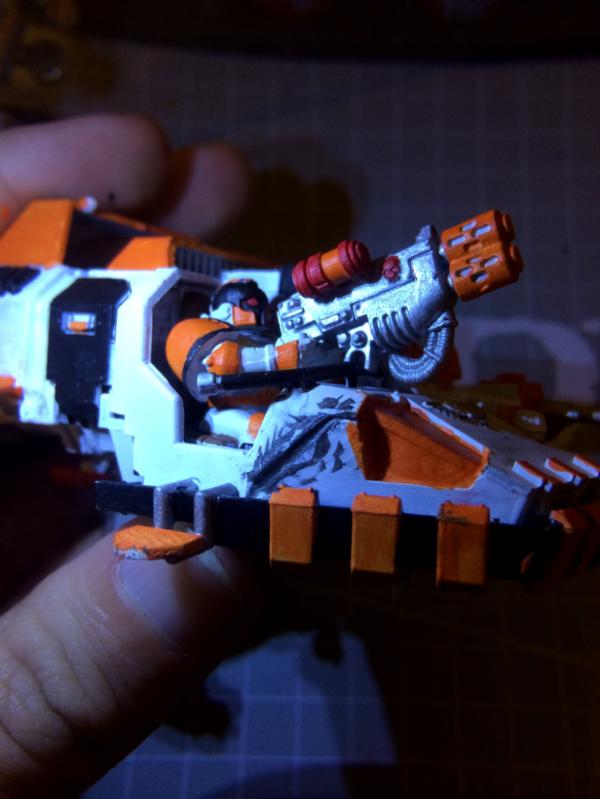
Paint Troll slayer orange (Blazing orange) where the scratches are to be.
Layer Mournfang brown (Calthan brown) over the orange in several very thin layers.
Very very very light drybrush of a dark metalic on the edges (If there are any) to represent fresher scratches.

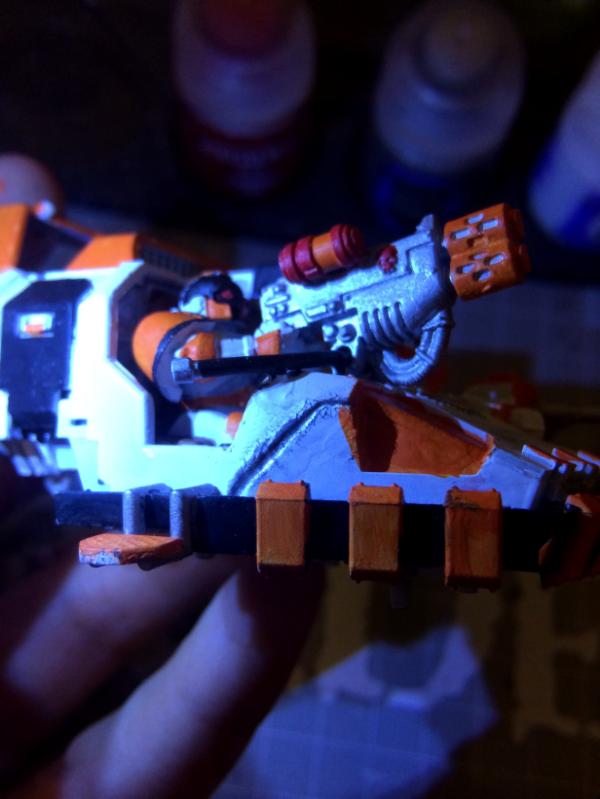
(Not the best quality image, sorry. But you can kind of see the effect)


But if your paint scheme is pure white, then replace the lighter colour with black/grey, should have a similar effect.

This message was edited 2 times. Last update was at 2014/04/14 10:50:40


"I hate 6th! Fix it GW!!!"
"Seventh edition? Feth that GW! I'm sticking with sixth to show you who is boss! Via la revolution!"
"I'm not buying anything from you no more! Apart from three riptides, new codex, starter set and rulebook... but that's it!"


And that is how I see Dakka ^_^ 
   
Made in au
Veteran Wolf Guard Squad Leader


If you are going for a kind of heat damaged deal, or just generally chips all over the model i'd suggest googling 'sponge weathering' you will come across numerous tutorials that will give you an easy and effective method to weather your vehicles and indeed the rest of your models.

Sponge around on that edge and it will come up a treat. At the moment it looks to uniform and obvious that you painted there. It can end up looking something like this quite easily:


If you are going for a damaged paint job down to the metal underneath I would also suggest that you change the paint, or at least the order in which you paint it on. You would consider the black a "primer coat" like on a car and the grey to be metal. Reaching the metal would be typically harder, so there would be less visible. If you take that into account paint the black first then the grey.


Made in us
Death-Dealing Dark Angels Devastator


Thanks for the feedback, guys. The main body is pure White Scar paint. I'm definitely going to consider the options and research the sponge weathering technique.

This message was edited 1 time. Last update was at 2014/04/14 22:18:22


Sanguine Fist Lion's Claw

Gitsplitta wrote:Yes, please note that the arrival of the cat coincided with my complete failure militarily. Cats not only suck the breath out of little babies, they sucked the life out of my counter attack!
 
   
Made in gb
Stalwart Veteran Guard Sergeant


UK

I started writing lengthy advice on how to achieve excellent weathering results for chips and scratches - but then remembered I literally just saw a few tuts yesterday.

I use both these methods and they work incredibly well. The first will be the cheapest (sponge method!) and the second requires you to purchase a little gem from AK Interactive (I just started using this instead of hairspray):

http://www.dakkadakka.com/dakkaforum/posts/list/587941.page

http://www.dakkadakka.com/dakkaforum/posts/list/572215.page

EDIT: 200th post. Woo!

This message was edited 1 time. Last update was at 2014/04/14 22:30:21


Forum Index » Painting & Modeling
Go to: