The Tallarn 22nd had been dropped at the wrong location, separated from their reserves and a long way from the front lines. Not only that they had been ambushed by some unknown legion of space marines and forced to take a round about way to the rendezvous with their reinforcements.
http://www.dakkadakka.com/dakkaforum/posts/list/592511.page Well things had actually gone from bad to worse. The very little communication that they had been receiving from the high command had ceased altogether, coinciding with a huge light show overhead in orbit that could have only been a space battle of same kind.
All this and 22nd didn't even know who the enemy was! The last transmission received before the silence was a garbled message about battle plans and maps being dropped at the rendezvous point. The 22nd were moving day and night to try get to the data drop as fast as possible and get some idea of what the hell was going on. There was the bad feeling that there survival may just depend on it.
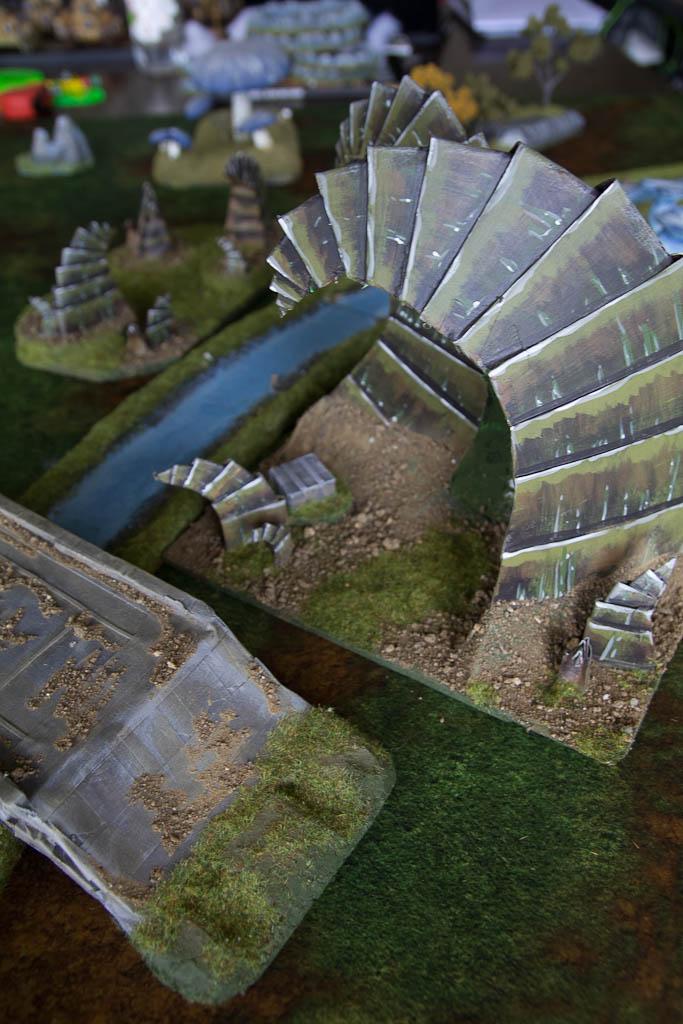
As the column moved forward the terrain around them began changing. Large spires began appearing along the chosen route with more and more regularity. These were strange organic layered constructs of some material very similar to ceramic. Nobody in the 22nd had seen anything like it, and they did nothing to re-assure the frayed nerves of the company command leading the way forward.
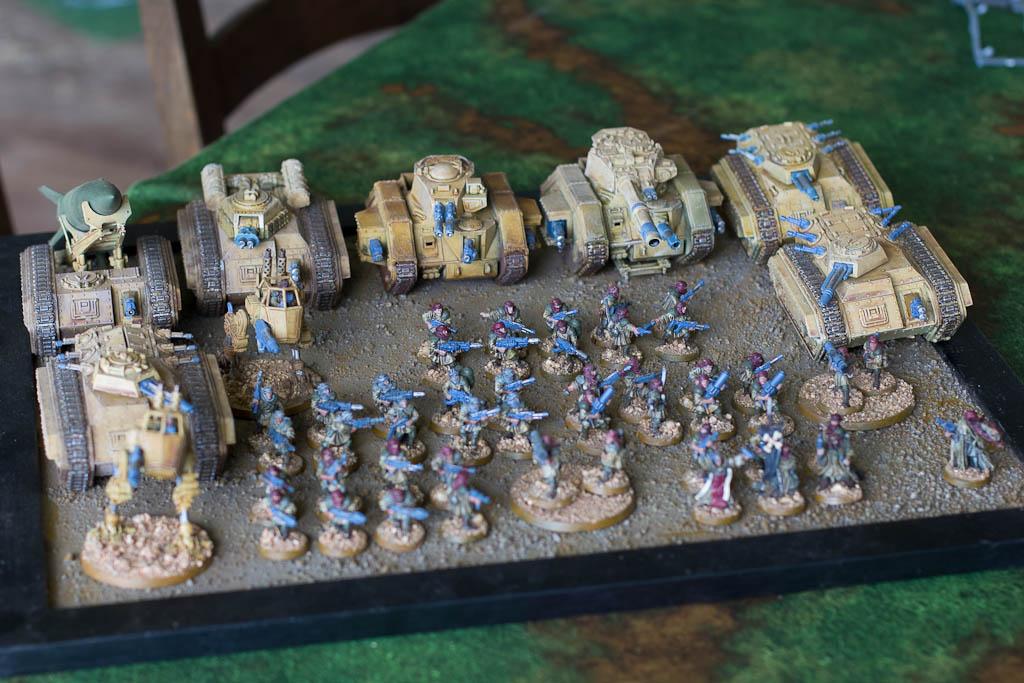
Imperial Guard – 1500pts
HQ Company Command – Master of Ordnance, Standard, Chimera - Hull Heavy Flamer
Primaris Psyker
TROOPS
Veteran Squad – Forward Sentries, 3 x Plasmagun, Missile Launcher - Flakk
Veteran Squad – Forward Sentries, 3 x Grenade Launcher, Missile Launcher - Flakk
Veteran Squad – Demolitions, 2 x Meltagun, Flamer, Chimera – Hull Heavy Flamer
Veteran Squad – Demolitions, 2 x Meltagun, Flamer, Chimera – Hull Heavy Flamer
FAST ATTACK
Scout Sentinel
Scout Sentinel
Hellhound - Hull Multi-Melta
HEAVY SUPPORT
Leman Russ Exterminator – 3 x Heavy Bolter
Leman Russ Vanquisher – Hull Lascannon, Sponson Multimeltas
Deathstrike
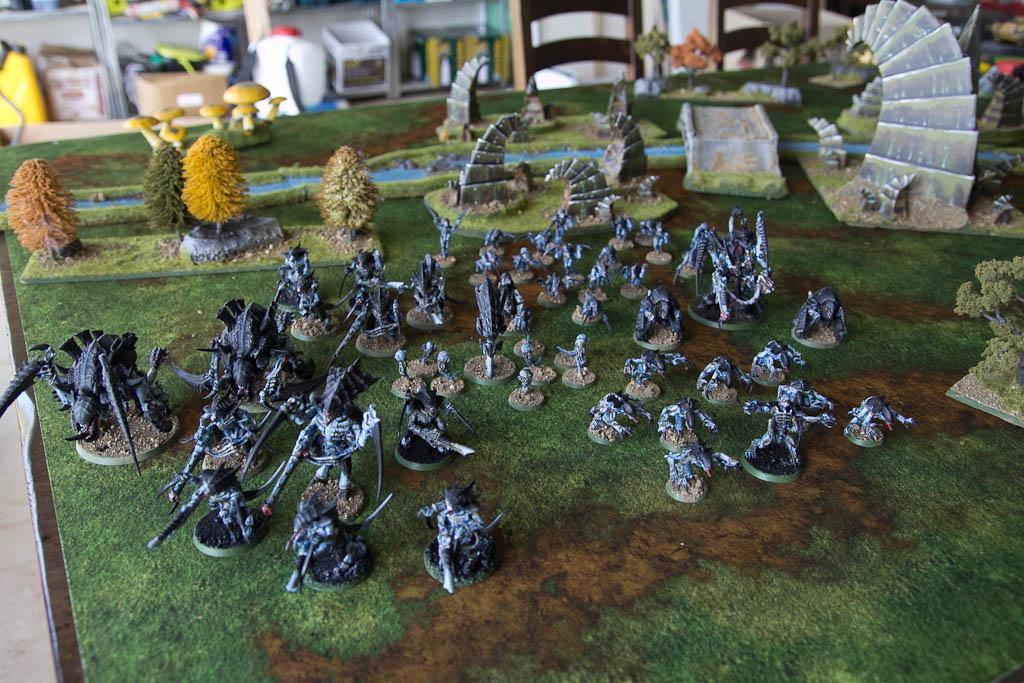
Tyranids - 1500pts
HQ Hive Tyrant - Heavy Venom Cannon, Ymgarl Factor (Psychic Scream, Onslaught)
Tyrant Guard x 2 - Toxin Sacks
Tyranid Prime - Miasma Cannon
TROOPS
Tyranid Warriors x 5 - 4 x Deathspitter, Venom Cannon
Tyranid Warriors x 5 - 4 x Deathspitter, Barbed Strangler
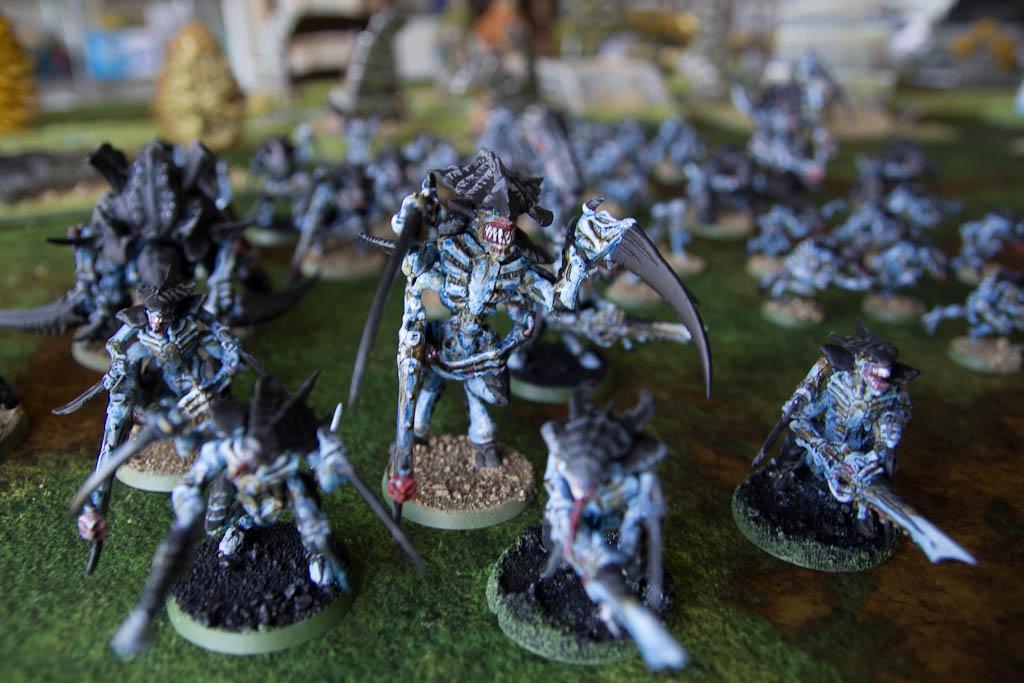
Genestealers x 8 - Toxin Sacks, Broodlord
Hormagaunts x 18 - Adrenal Glands
ELITES
Zoanthrope (The Horror, Warp Blast)
HEAVY SUPPORT
Carnifex x 2
Biovore
Game: The Relic
Deployment: Dawn of War (Imperial Choice)
Initiative: Imperial
Night Fight: No
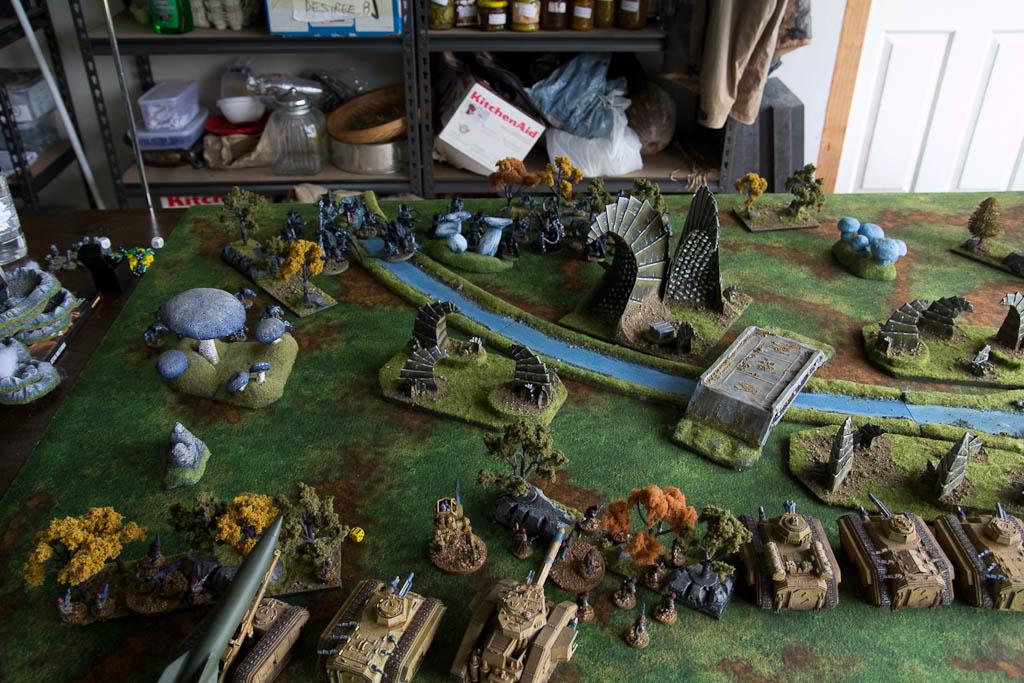
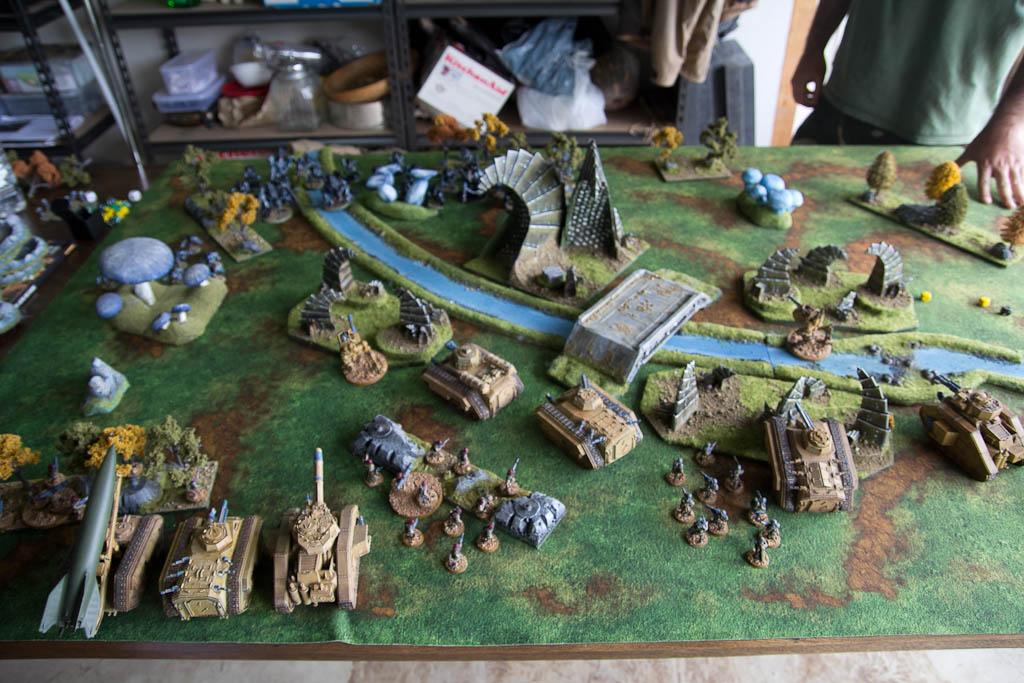
Battlefield:
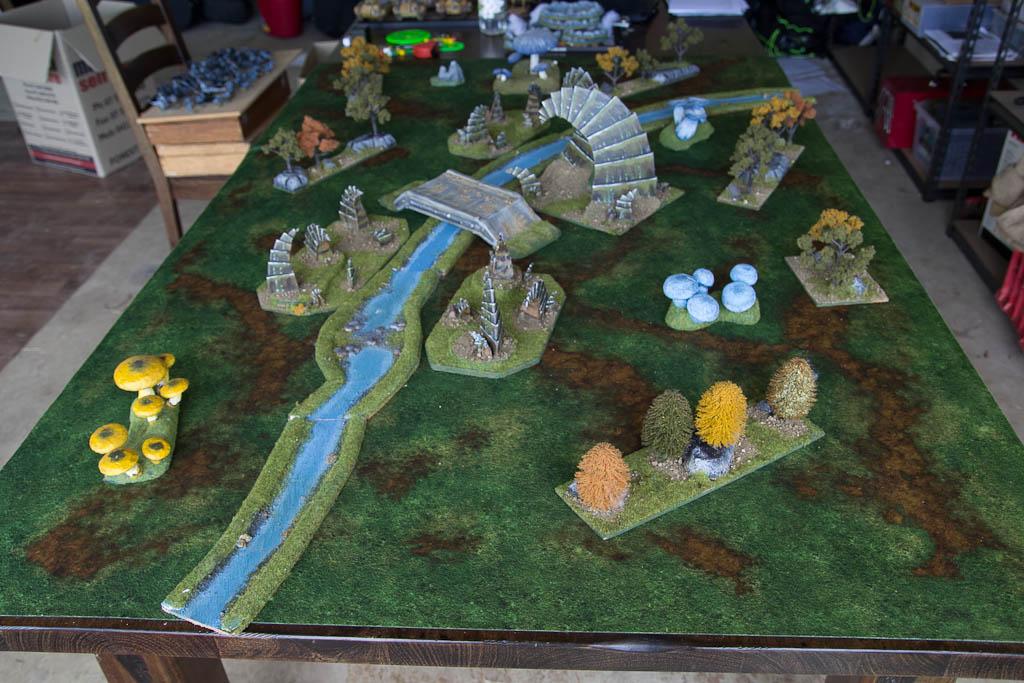
The Relic:
I got very lucky here winning the deployment zone roll-off. If tyranids had gotten that side they would have been able to infiltrate the genestealers onto the relic out and of line of sight.
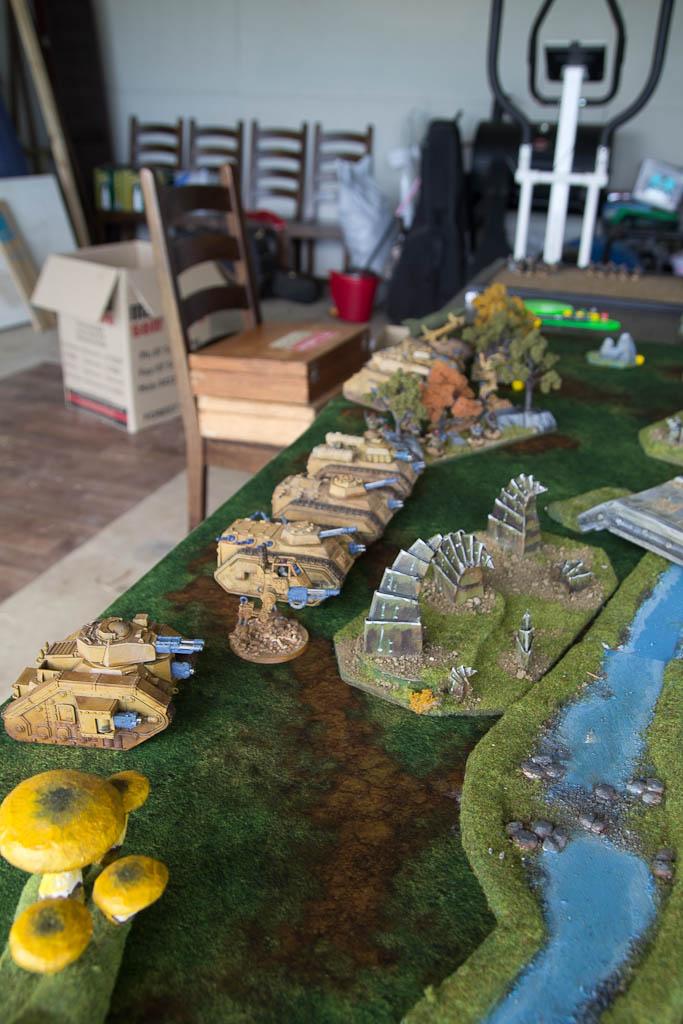
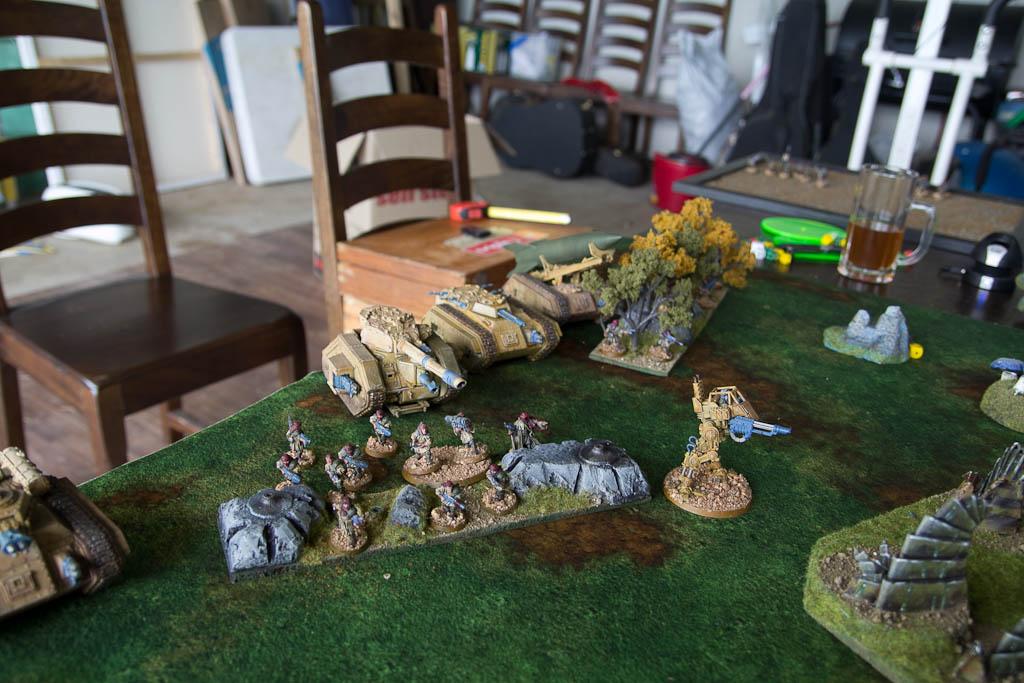
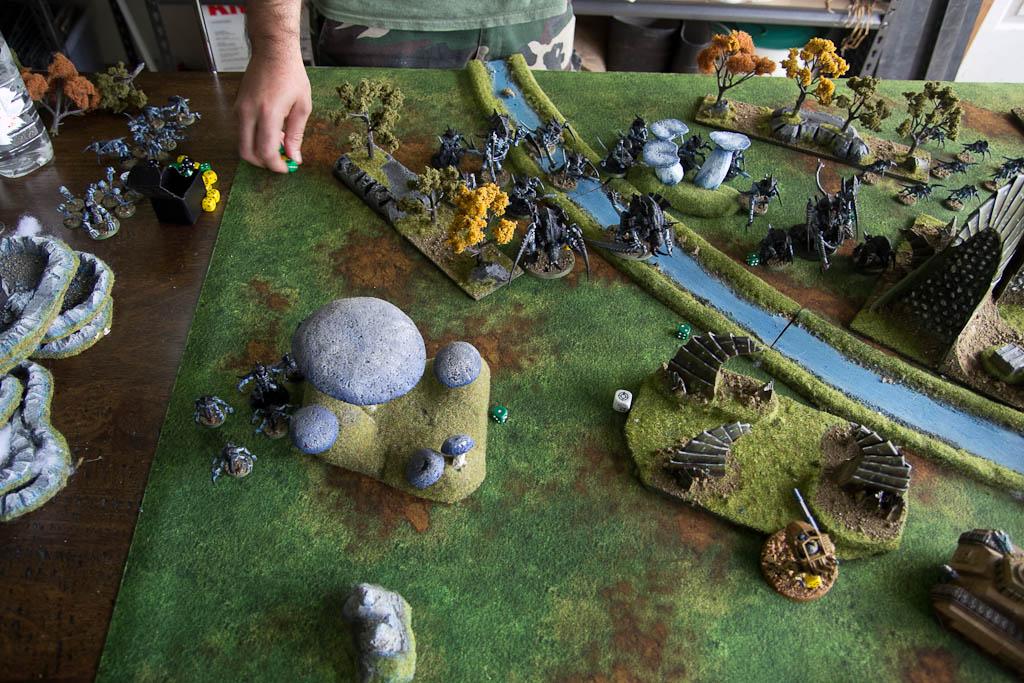
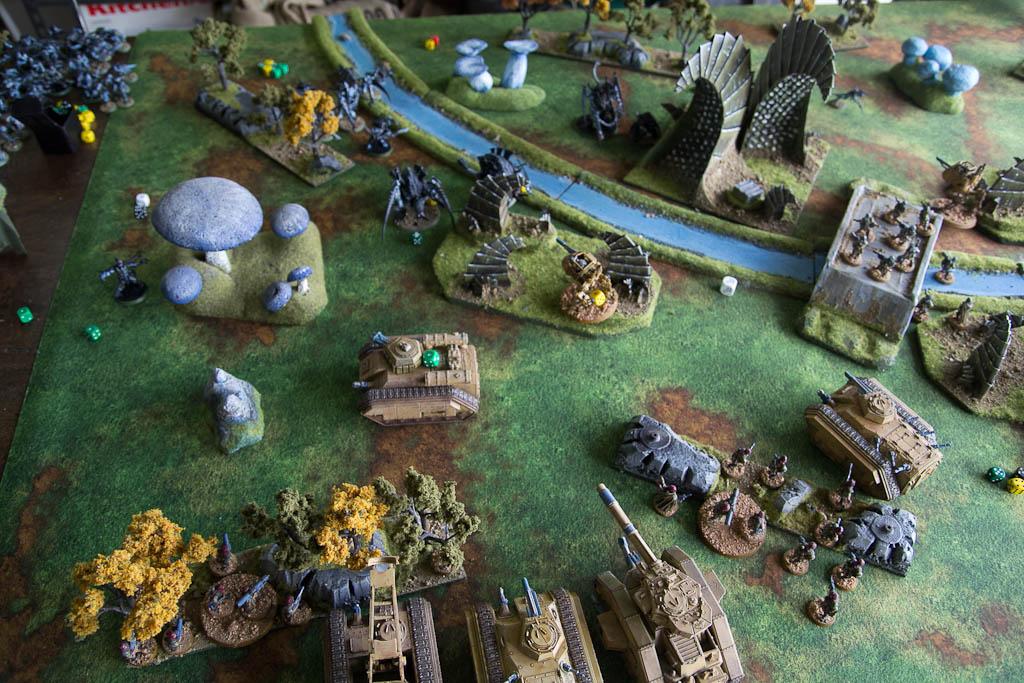
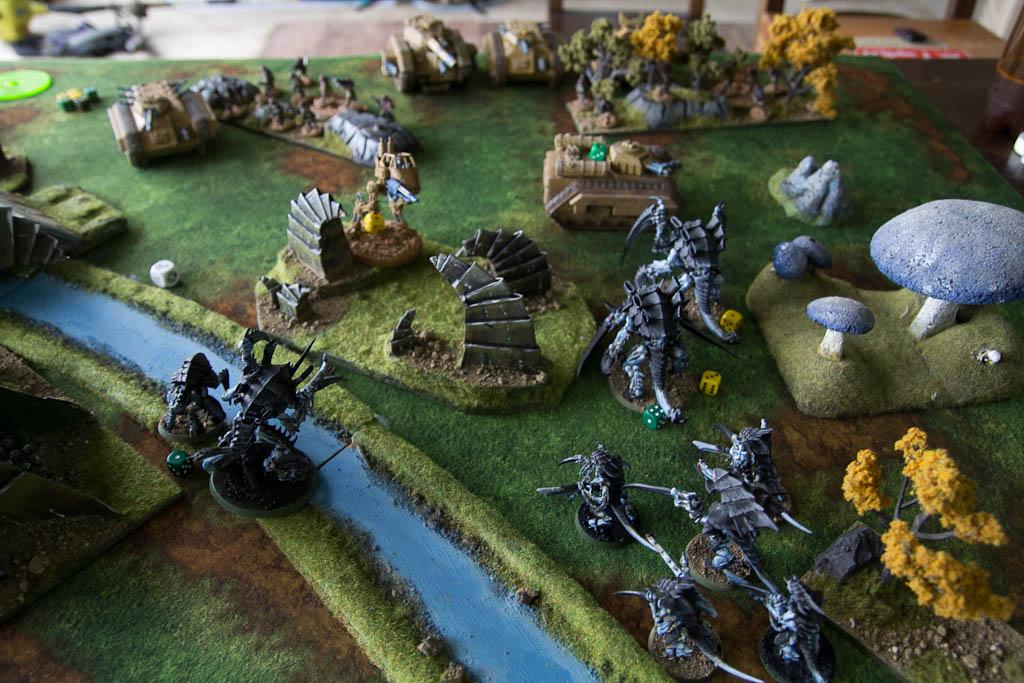
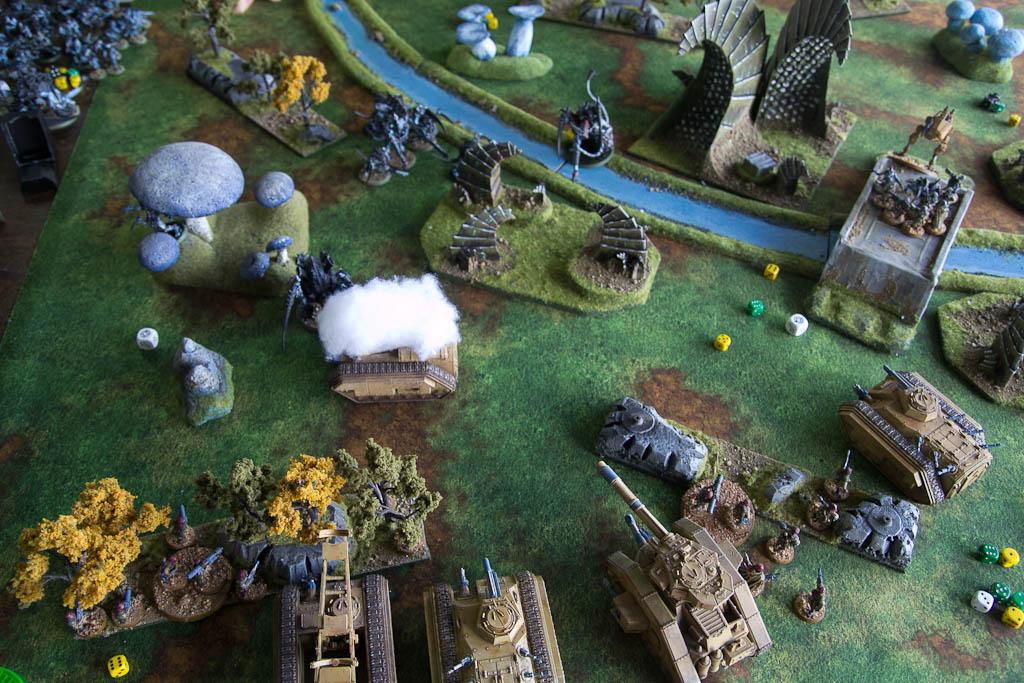
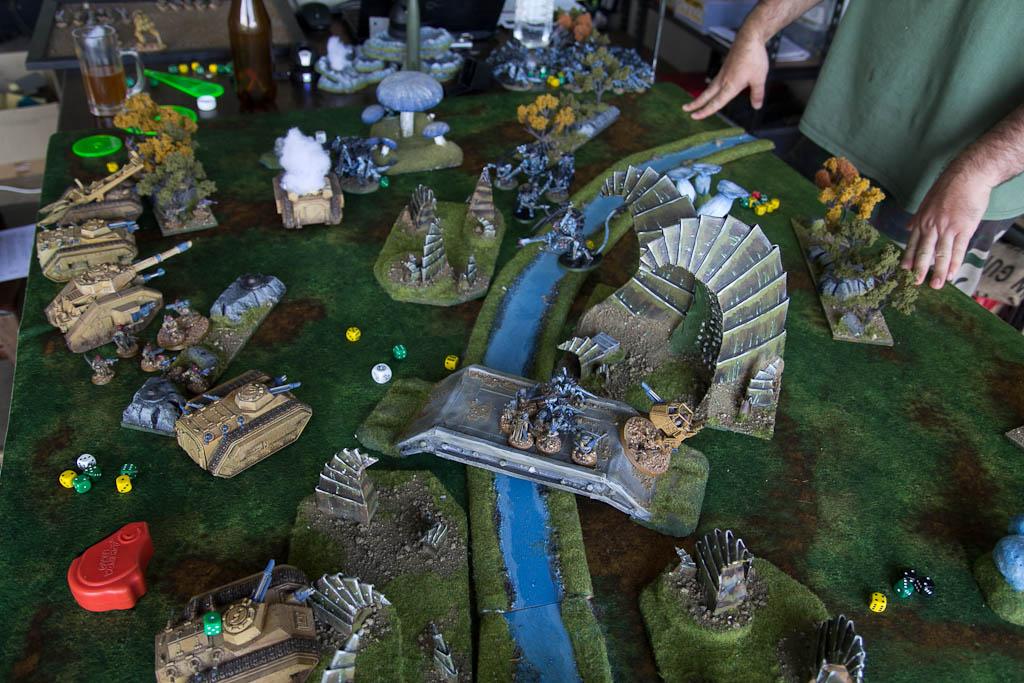
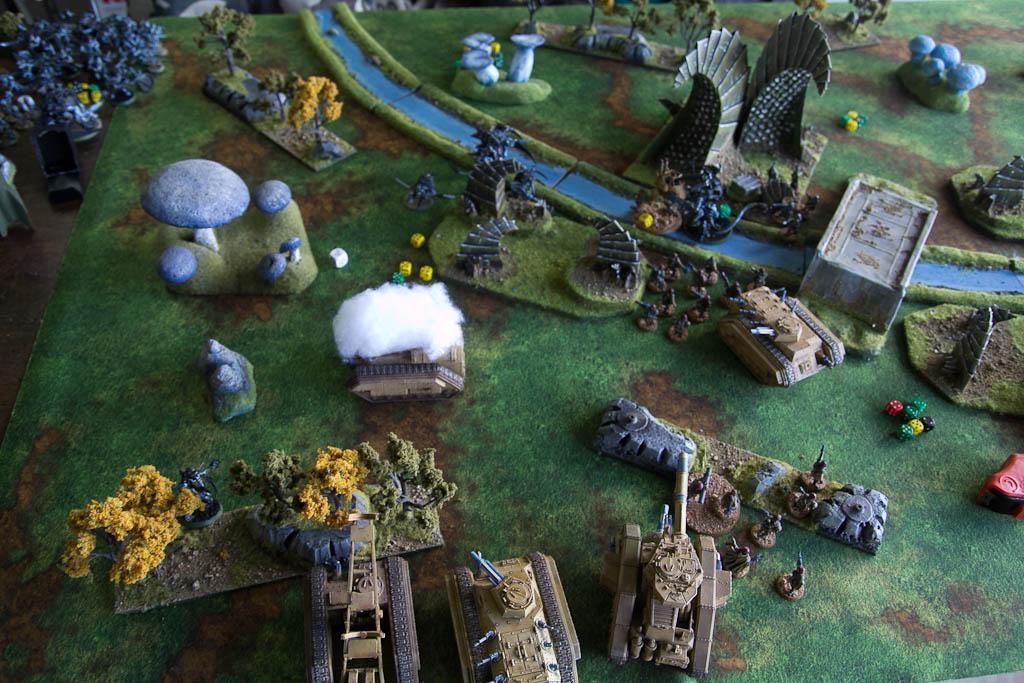
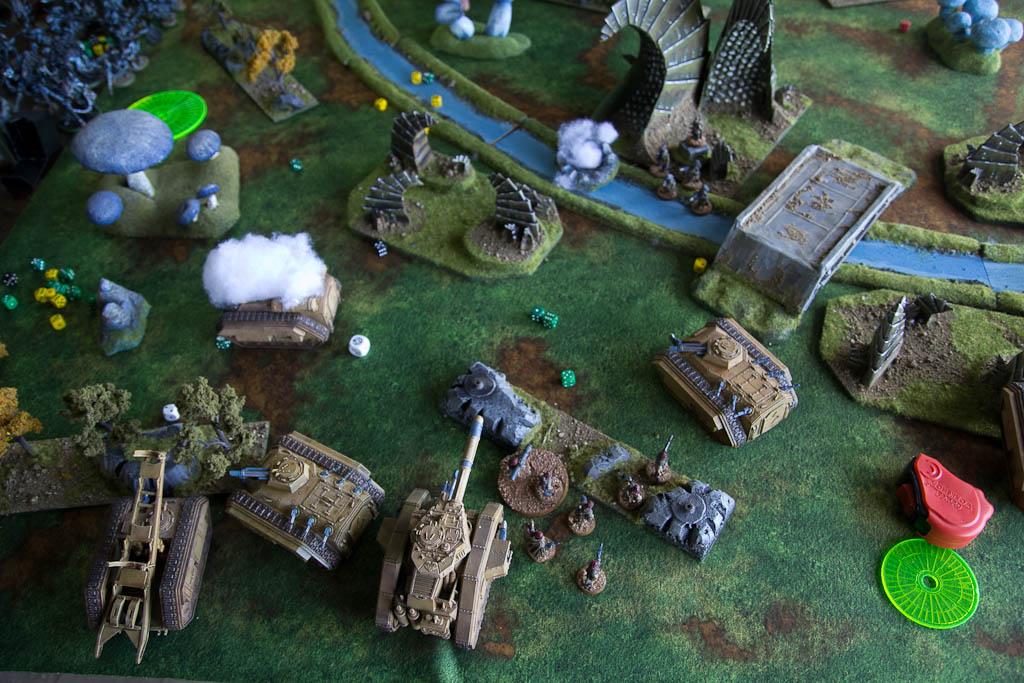
 Imperial Guard Deployment
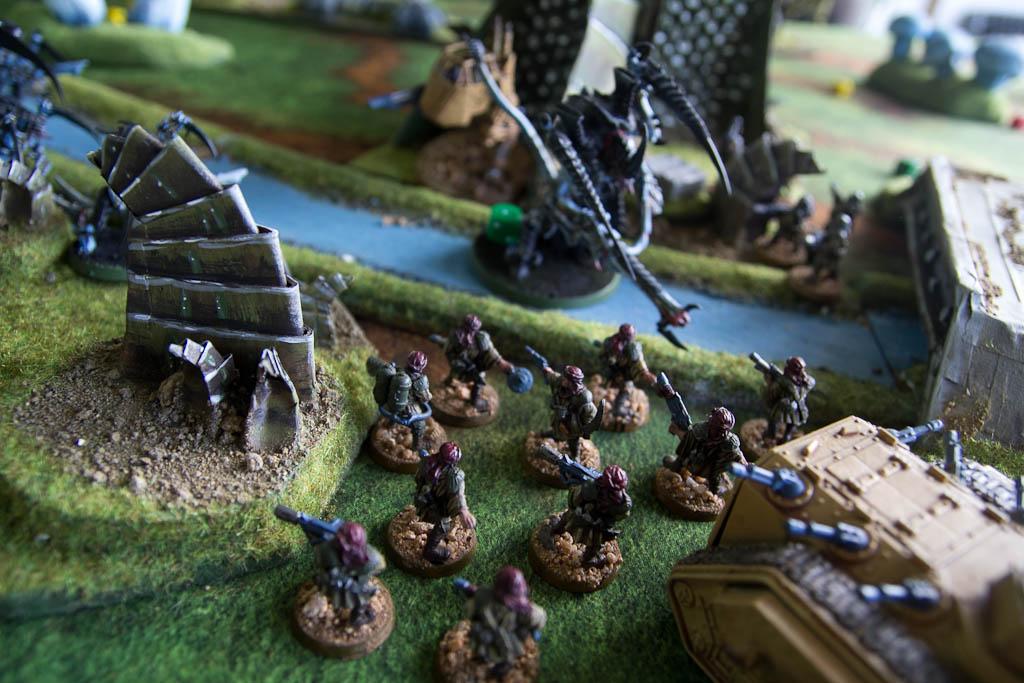
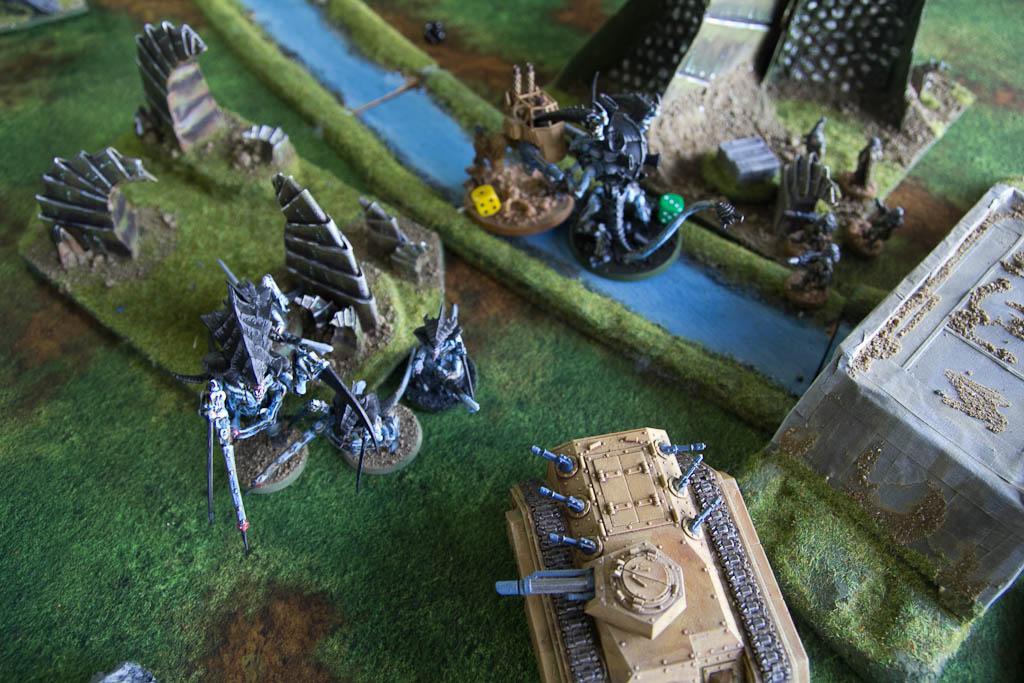
 The 22nd deployed fairly centrally with the hellhound and chimera veteran squads threating the relic to try frighten off the infiltrating genestealers.
The command chimera, deathstrike, vanquisher and camo veteran squads deployed as a firebase on the far side.
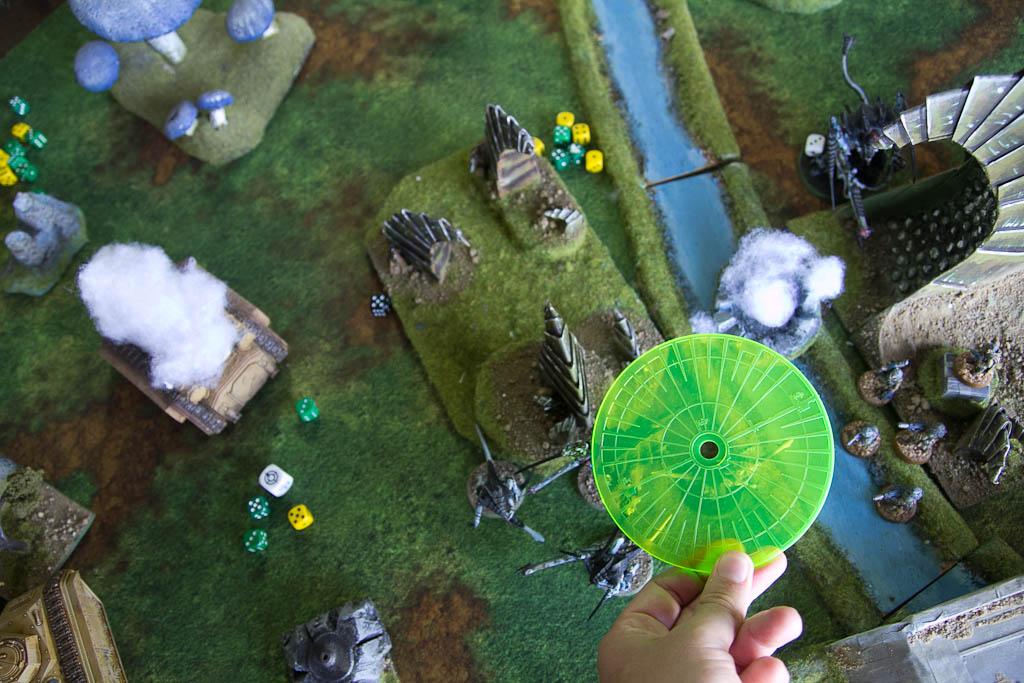
Note that the Tyranid warlord trait reduced the cover saves of the central vet squads terrain, this is marked by the removal of the trees as the tyranid obvoiously got a little hungry waiting for the tasty humans.
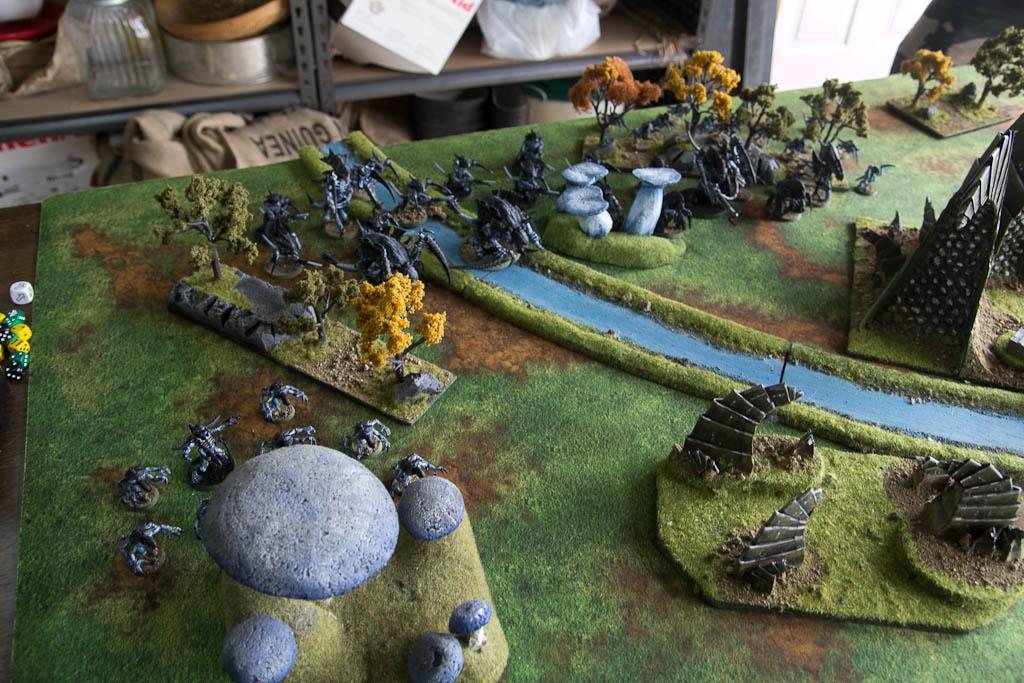
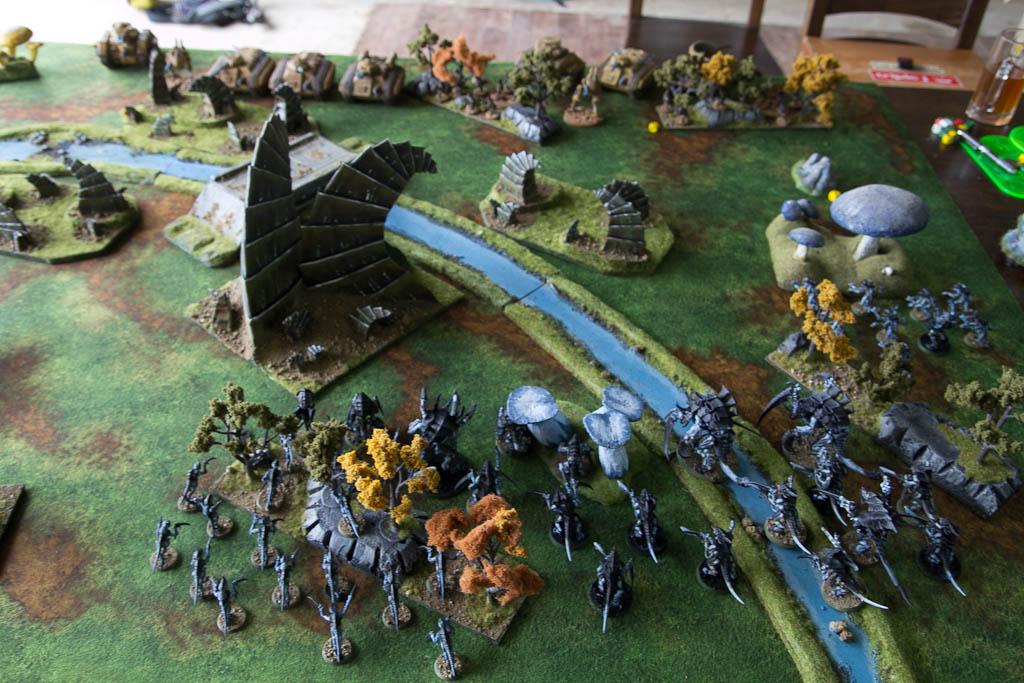
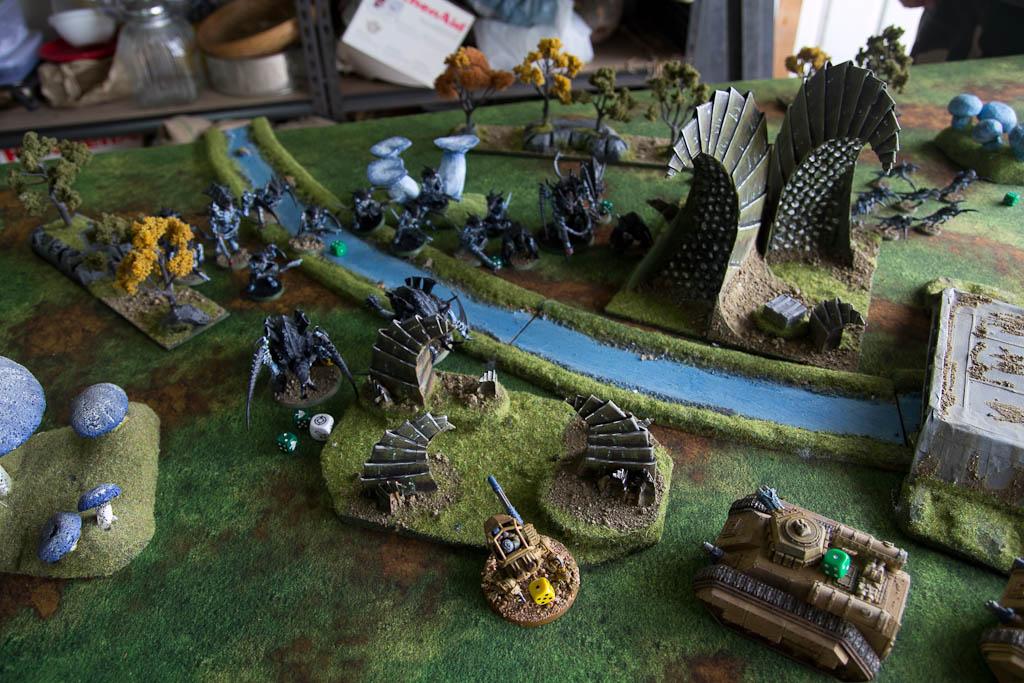
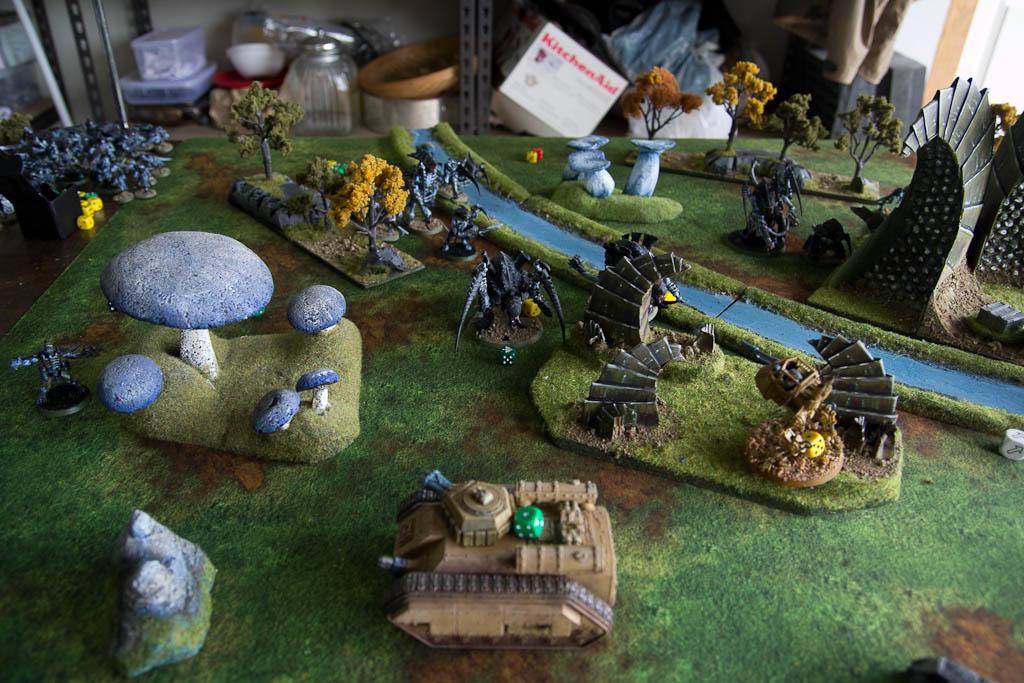
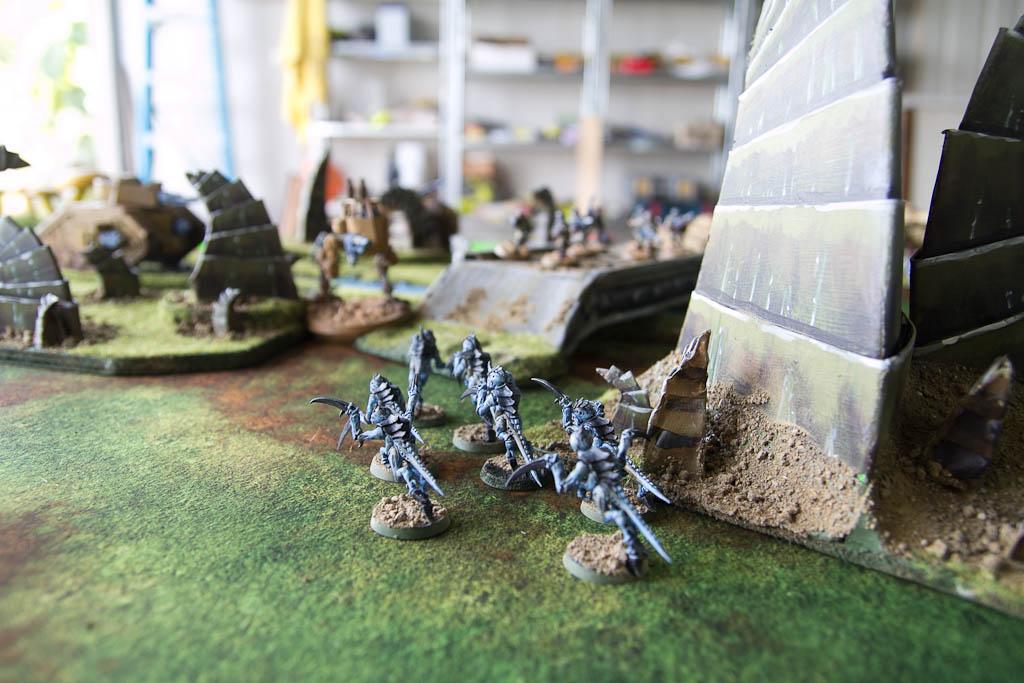
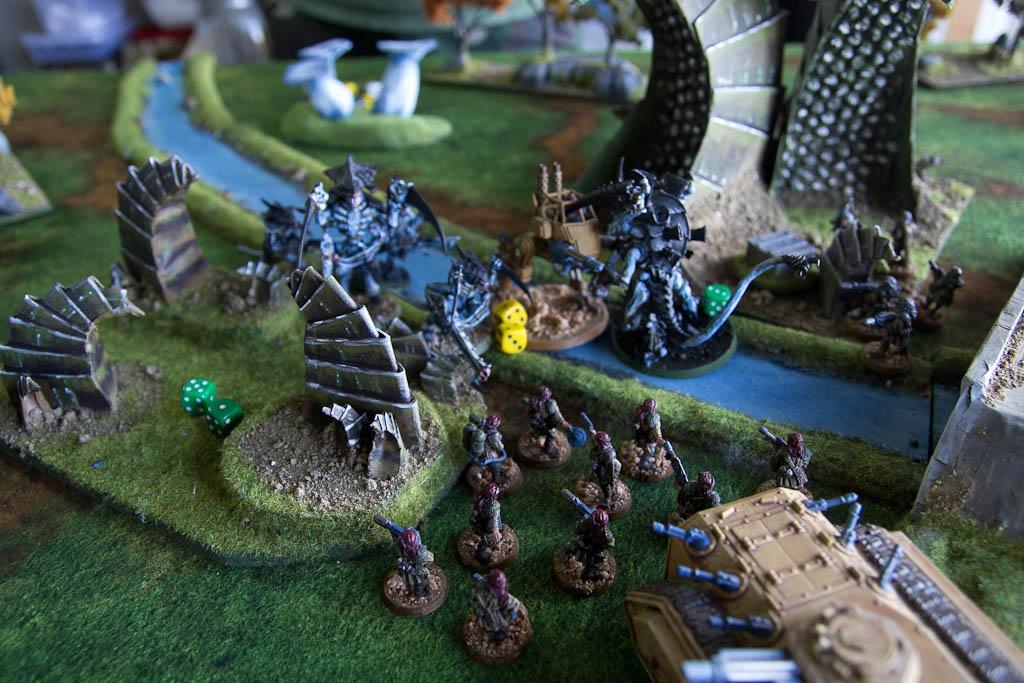
 Tyranid Deployment
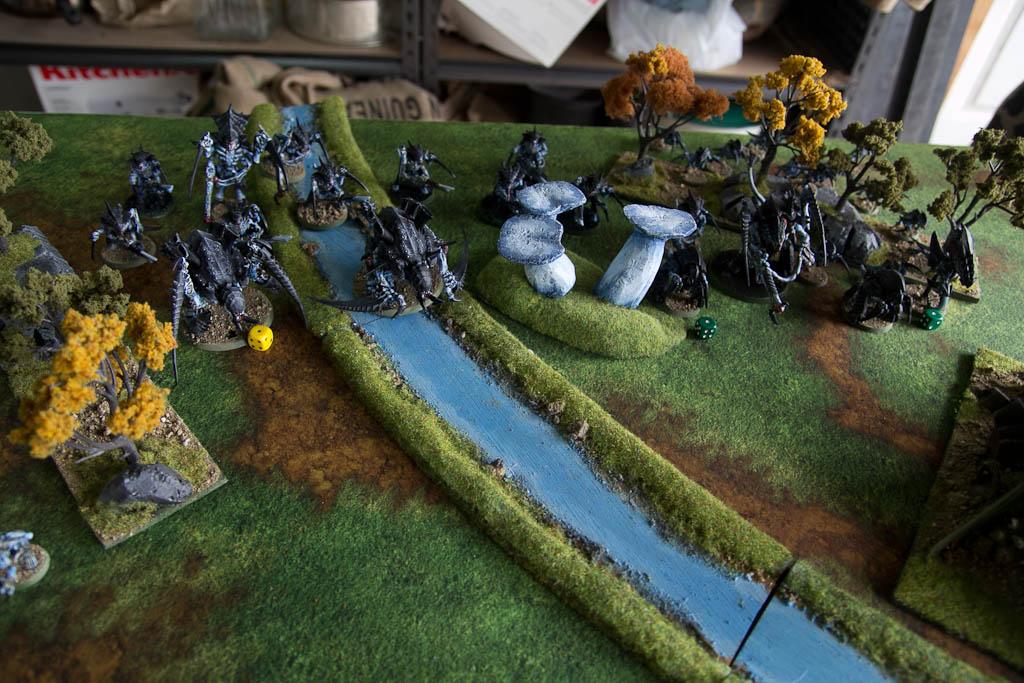
 The Tyranids deploy in a refused flank, away from the chimera veterans and exterminator. The genestealers infiltrate to support the refused flank as far forward as they can.
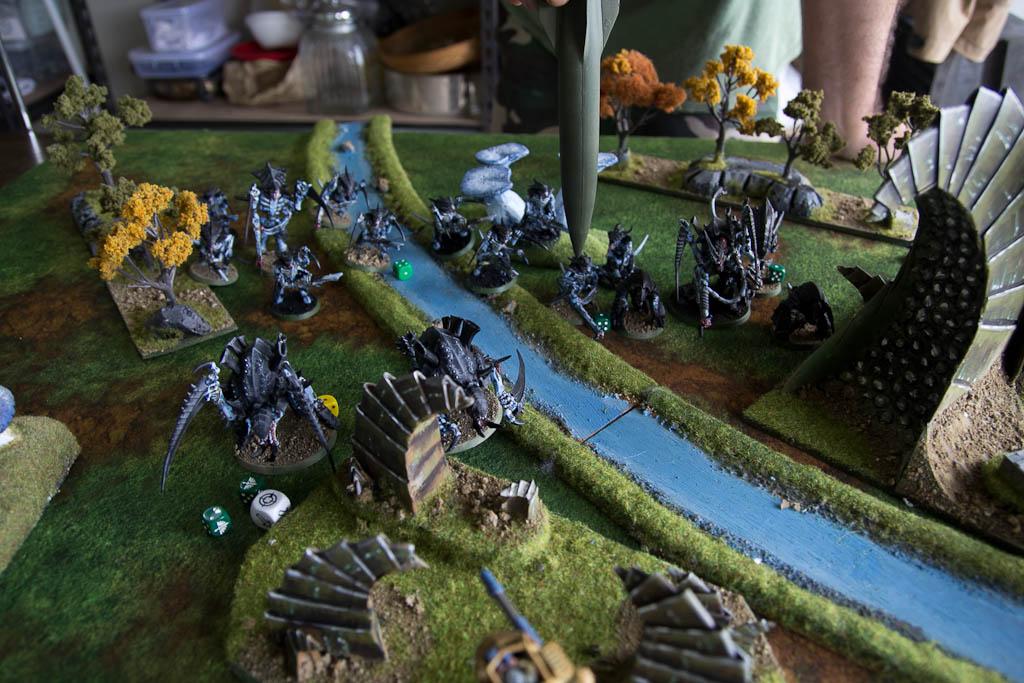
Sentinels Scout Forward
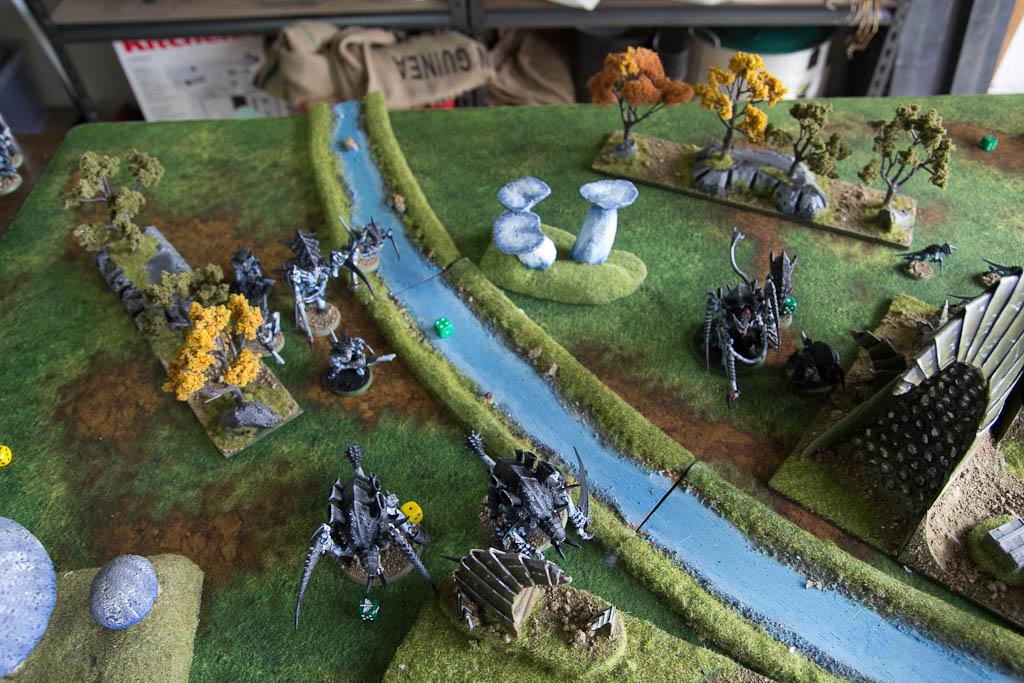
 Imperial Guard - Turn 1
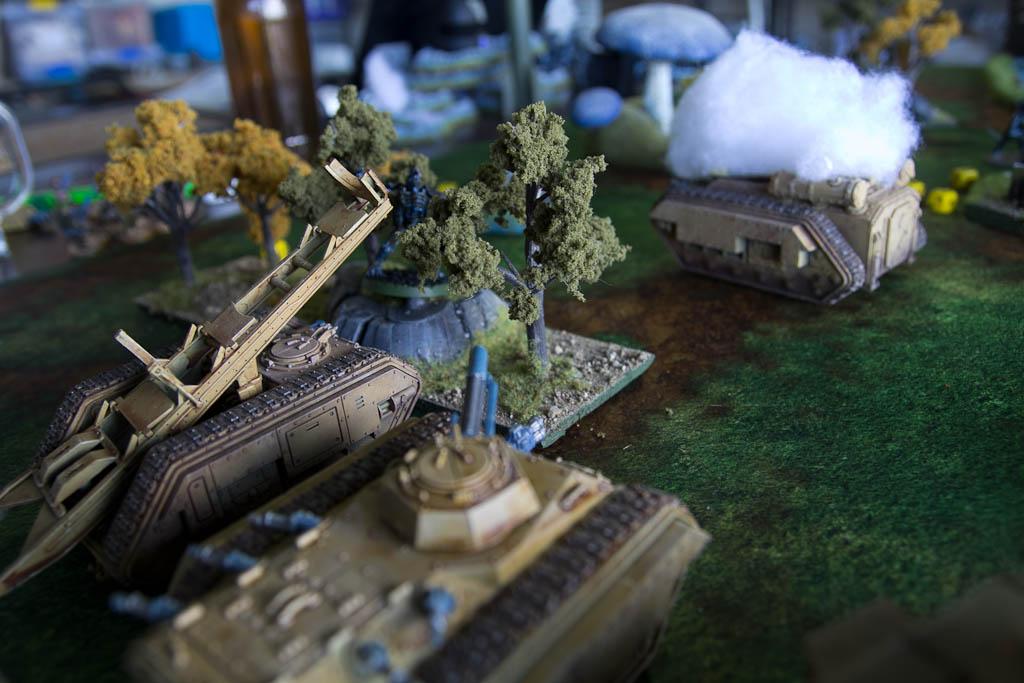
 Scout Sentinels and Hellhound move forward to be annoying. Primaris twinlinks the Vanquisher. One Chimera immobilises in terrain.
The other chimera follows the Hellhound. The Exterminator shuffles forward.
The veterans abandon their immobilised Chimera.
Shooting kills the Biovore for first blood (my opponent didn't know they could fire from out of line of sight... he does now).
Shooting also puts a wound on a carnifex, a wound on a tyrant guard and a wound on the Zoanthrope.
The Exterminator killed a few Hormagaunts.
 Tyranids - Turn 1
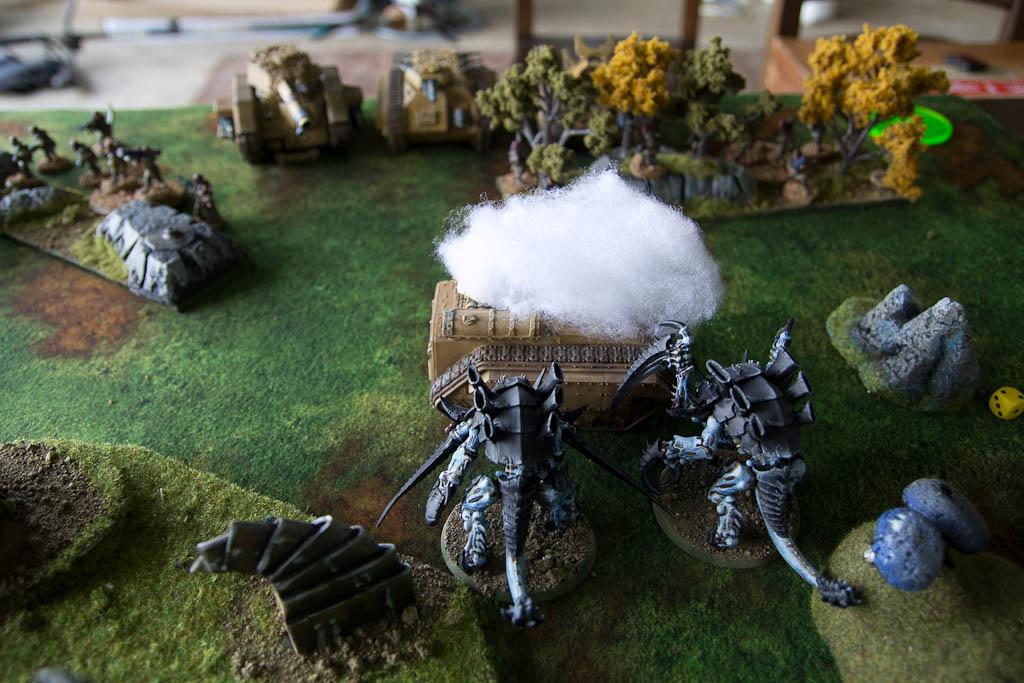
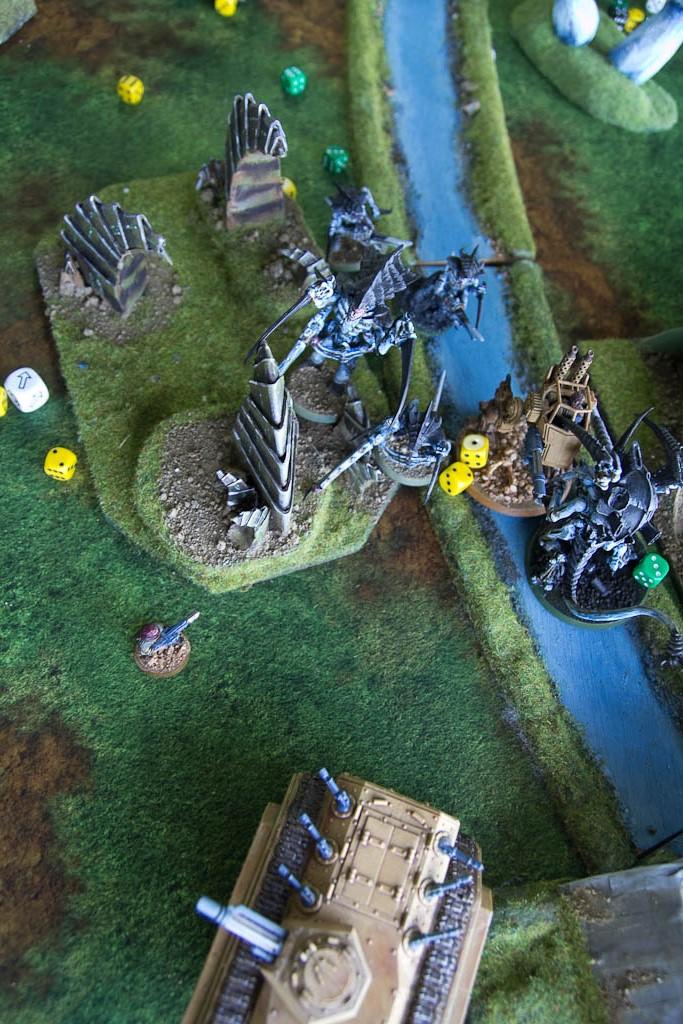
 Tyrant puts catalyst on the prime and his squad. All the tyranids move forward as fast as they can, except the Hormagaunts who play it cagey as they dont want to be charged by the sentinel.
Heavy Venom Cannon glances the Hellhound and the Warrior Venon Cannon shakes the Sentinel. Everything that can runs.
 Imperial Guard - Turn 2
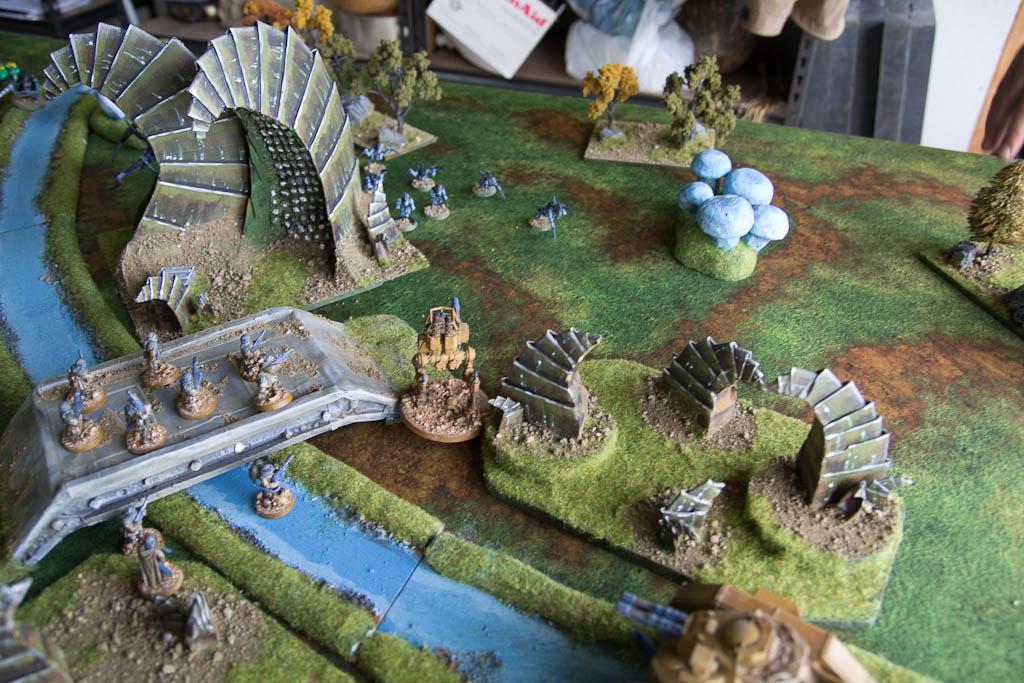
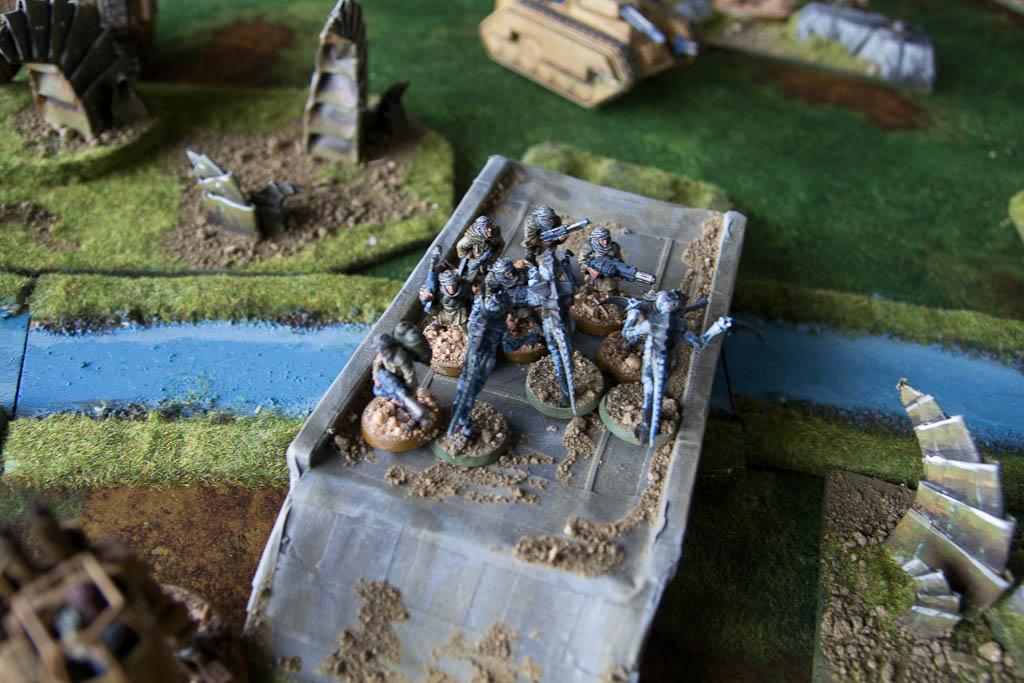
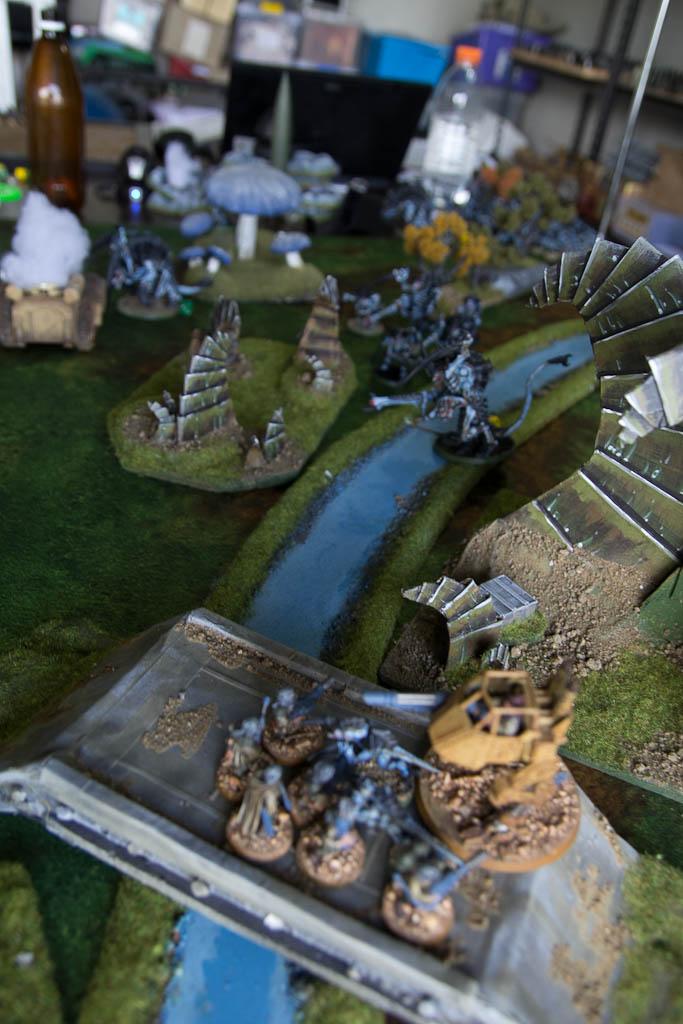
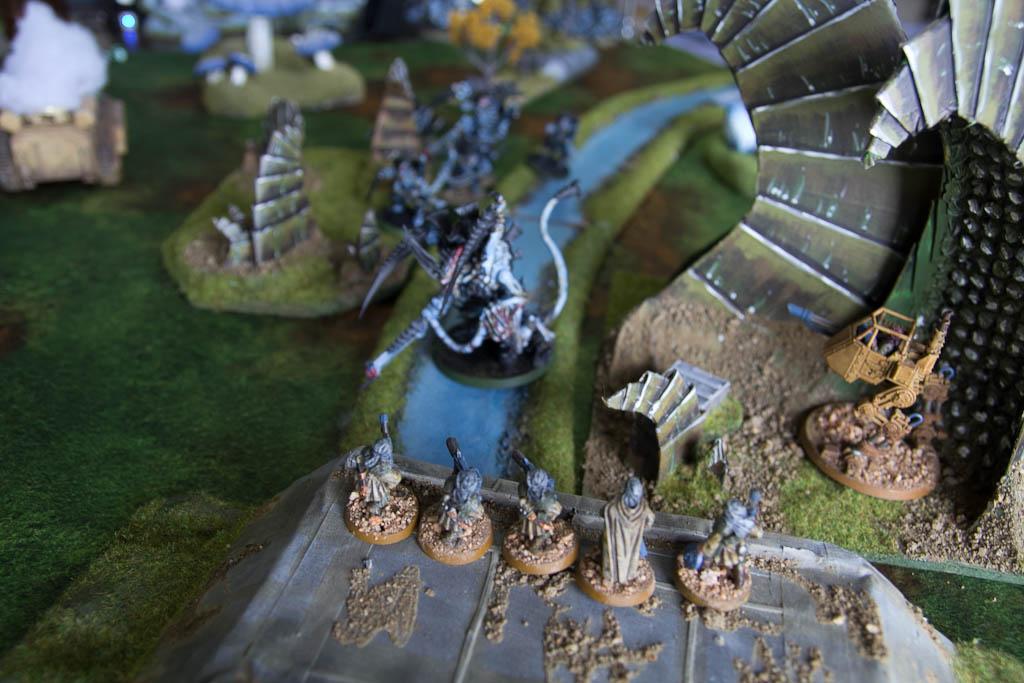
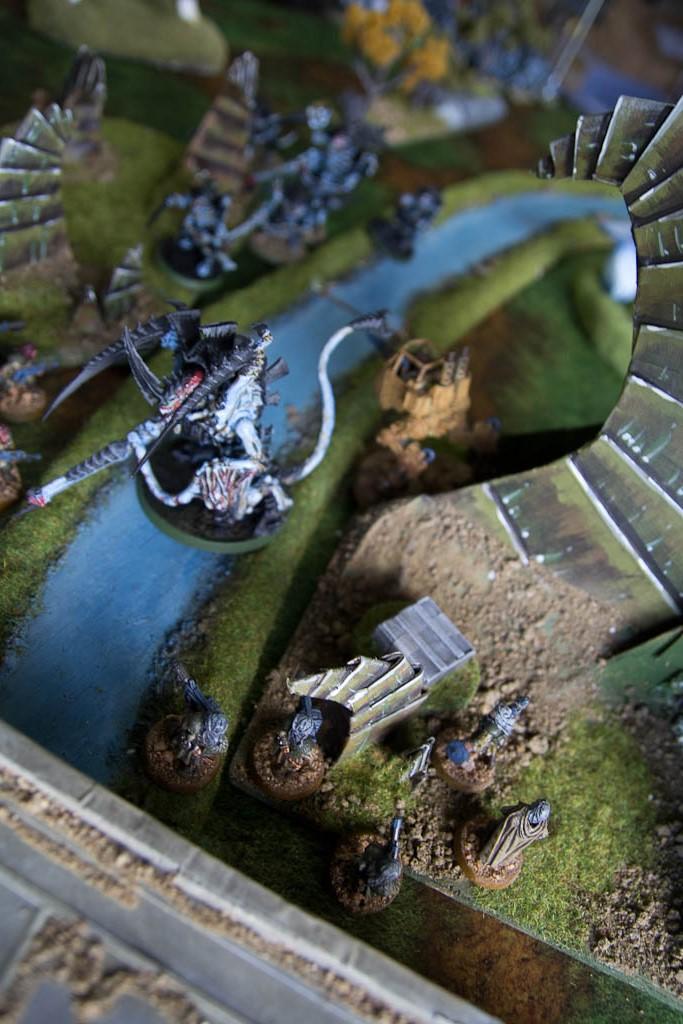
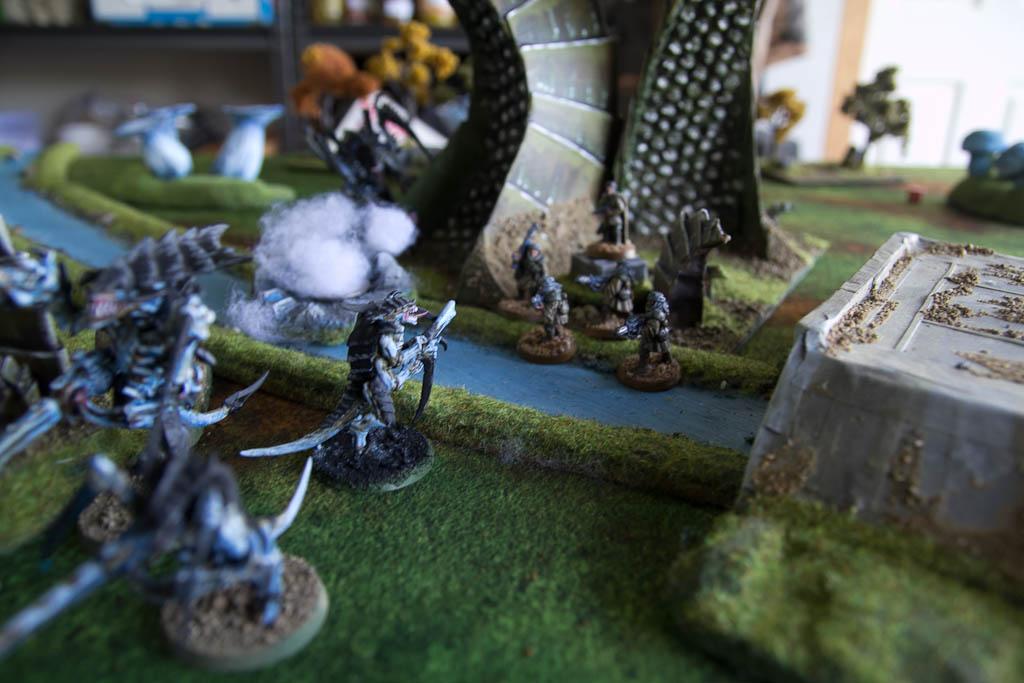
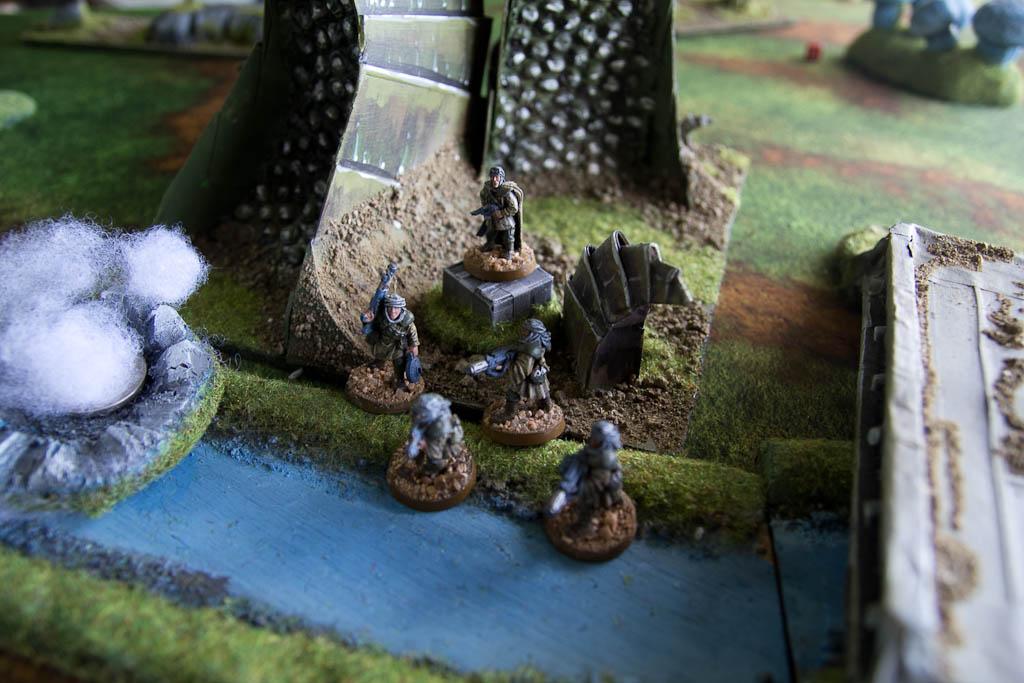
 The disembarked veteran squad moves onto the bridge, closing in on the relic. These were supported by a sentinel who had his eyes set on stomping some Hormagaunts in close combat.
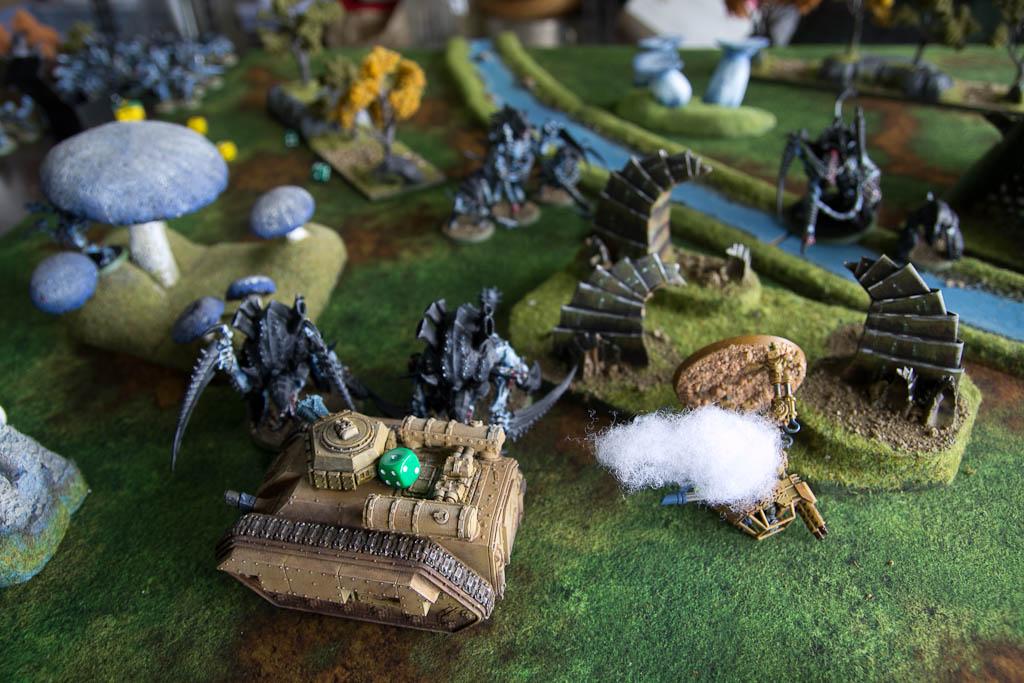
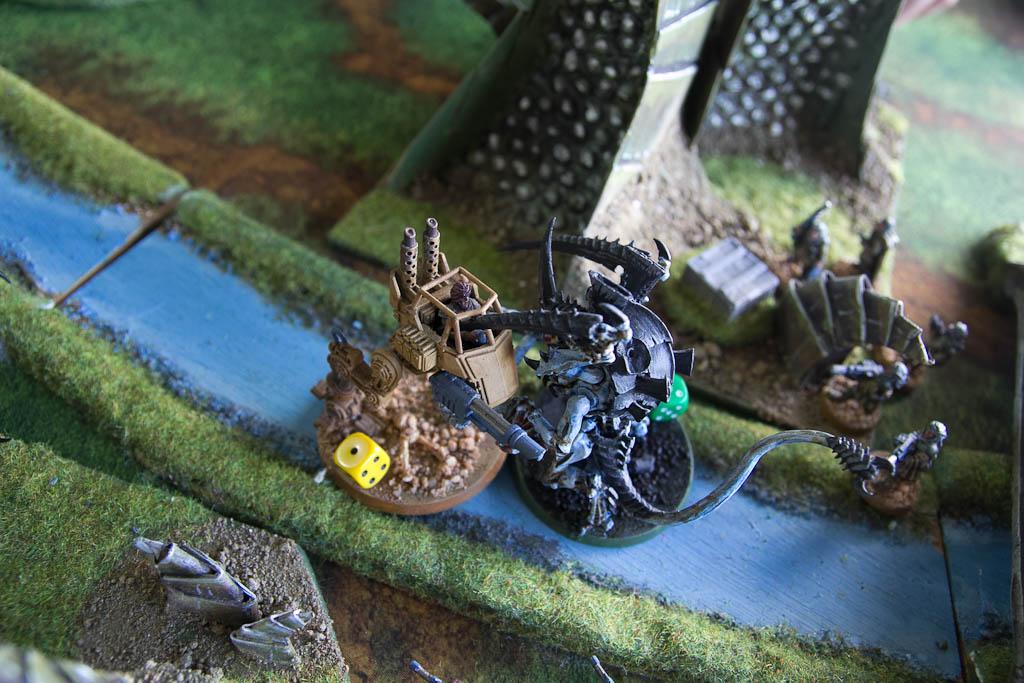
The Hellhound sped toward the advancing Genestealers. The primaris twin-links the Deathstrike.
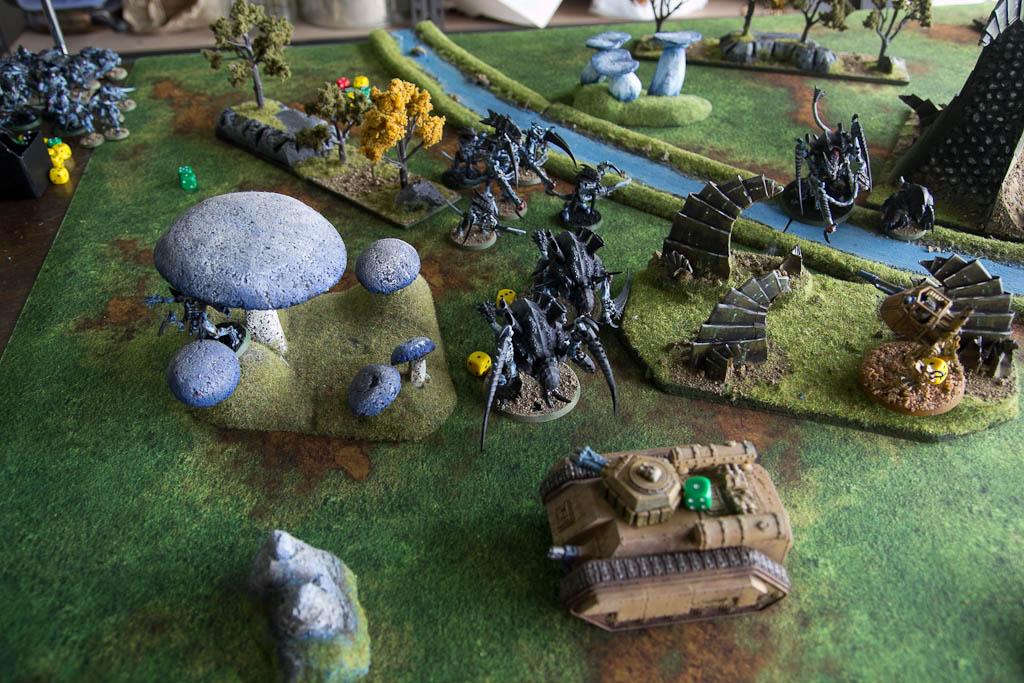
The Guard rush to their shooting phase to try use the deathstrike to wipe out the advancing monsters. They pull the leaver and to the shock of the vehicles operators, it actually fires!
It only scatters a short distance, a destroys one whole Warrior squad, as well as a Warrior from the other squad and put a couple more wounds on the tyrant guard, causing one to be removed from the table.
Mutilasers kills the Zoanthrope.
The Vanquisher, Exterminator and Vet Squads put a couple more wounds on the Carnifex's.
Master of Ordnance scatters his blast to nowhere.
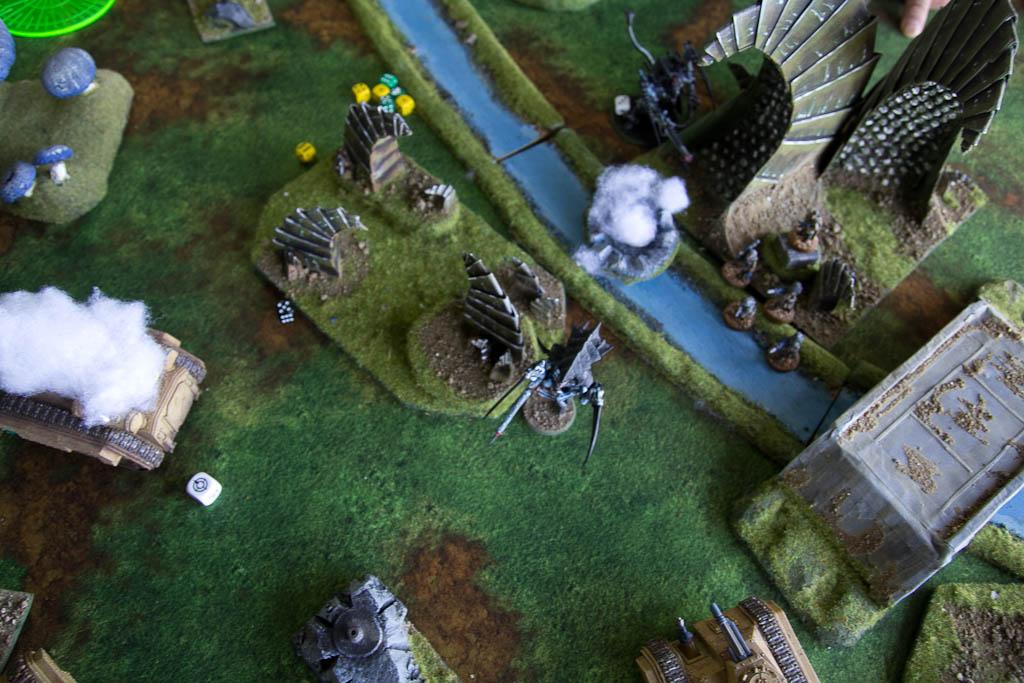
The Hellhound torches the Genestealers leaving just the Broodlord, who breaks and runs. (He looks angry!)
The other Veteran Squad and Sentinel kill a few Hormagaunts. The Sentinel then fails its charge.
 Tyranids - Turn 2
 The Tyranid monsters continue ther advance towards the imperial lines. The Broodlord gets into synapse and regroups.
Tha Hormagaunts move towards the veteran squad on the bridge.
The Tyrant shoots down the sentinel (maybe he shoud have just assaulted for the extra movement?) and the Carnifex assault the Hellhound.
Also the Broodlord tries Horrify the far veteran squad for a second time, but the regimental standard again comes to the rescue with its re-roll.
The Veterans in the Tyranid eaten terrain take casualties to the Tyranid Prime and his Warriors shooting.
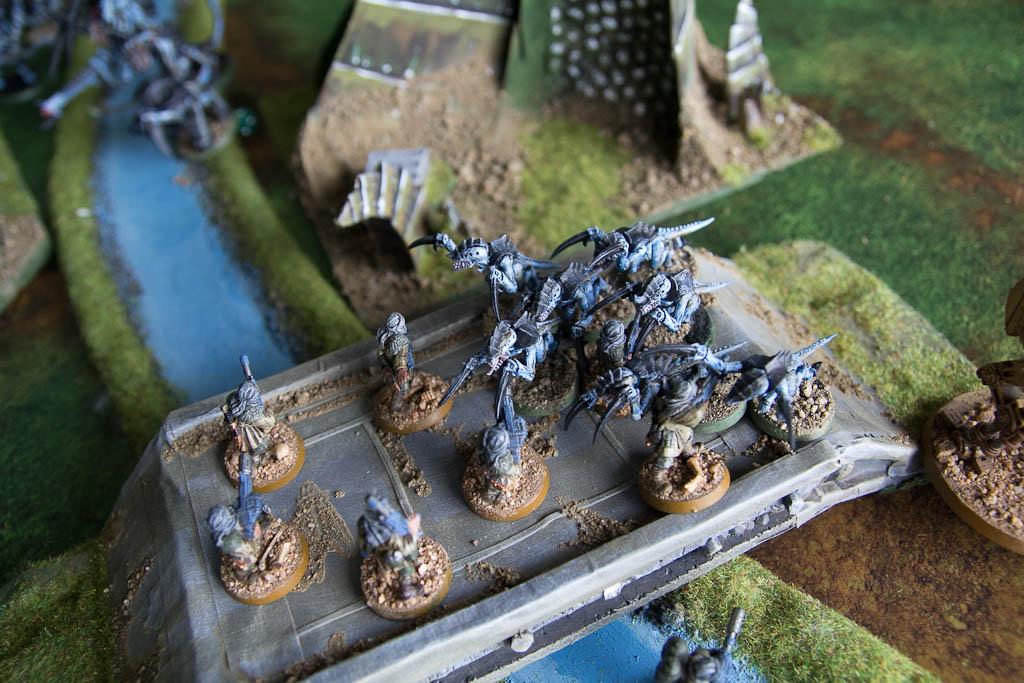
The Hormagaunts assault the Veteran squad on the bridge. Unfortunately the flamer veteran was hiding in the stream and couldn't see them coming.
The Carnifex's explode the Hellhound with their hammer of wrath hits.
The Hormagaunts and Veterans kill 3 models a piece and stick in combat. Not great rolling by the tyranid player there.
 Imperial Guard - Turn 3
 Imperial Guard movement is minimal with the Tyranids bearing down on them.
The Exterminator does immobilise itself in the stream!
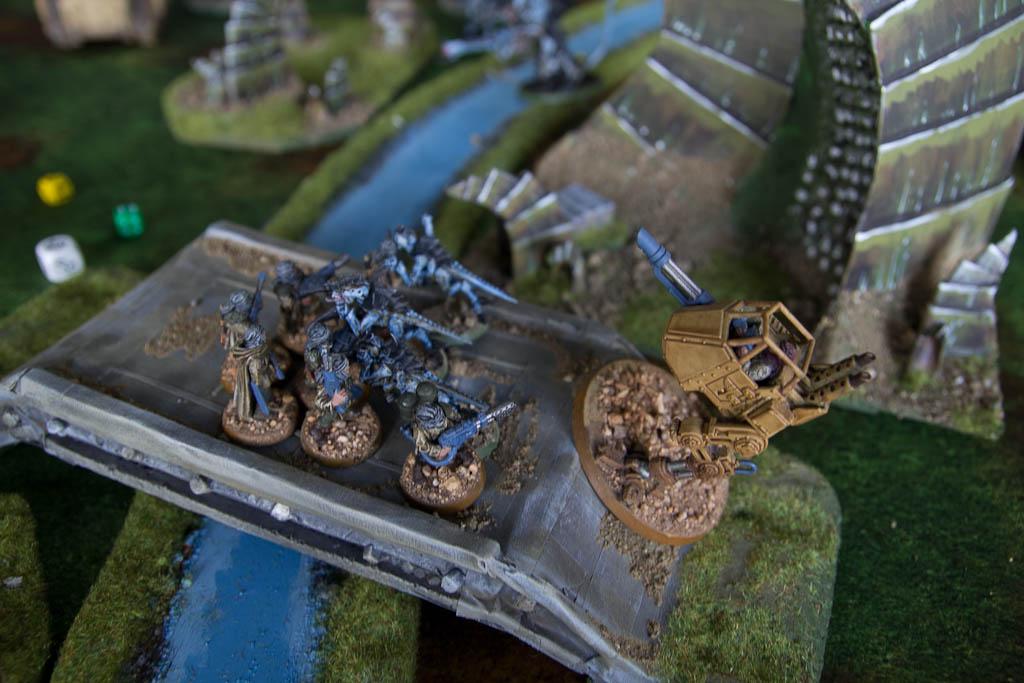
The Sentinel moves to help out the Veterans on the bridge by trying to stomp some spiky creatures with its feet in combat.
Shooting kills one Carnifex (loving the ignore cover order) and the last Tyrant Guard, as well as putting a wound through the Tyrants 2+ armour.
(Not that we are playing the Ymgarl Factor as giving a 2+ save in my shooting and +1 attack in his as you have to change it every assault phase, is that right?)
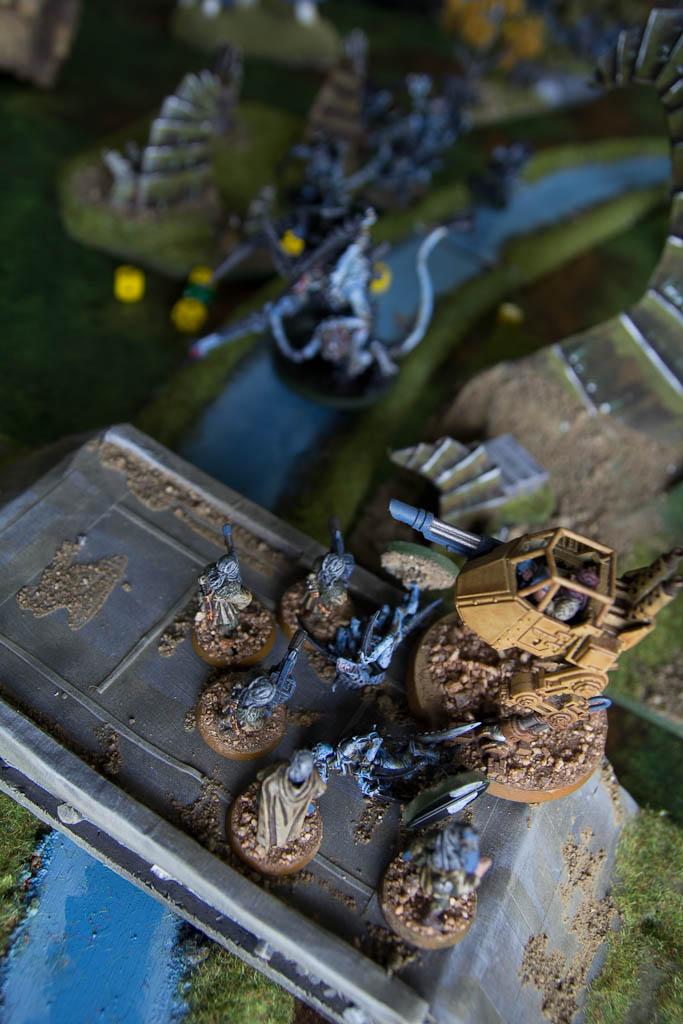
The Sentinel join the melee on the bridge. One guardsman and one Hormagaunt die.
 Tyranids - Turn 3
 The Broodlord and Carnifex advance on the Camo Vets in the far forest. The tyrant aims his heavy venom cannon at the veteran Chimera that is biding its time, but fail to hurt it.
The Warriors do a little damage to the central veterans.
The Canifex charges first and takes a couple of wounds to overwatch, but makes it in. The Broodlord joins in to help out. They wipe the unit out.
The Veterans and Sentinel on the bridge kill the two remaining Hormagaunts for the loss of a single guardsman.
They consolidate towards the relic.
 Imperial Guard - Turn 4
 The demolition veterans in the chimera disembark to target the Tyrant, or maybe the Warriors.
The bridge Veterans try get to the relic, but are an inch short this turn.
Shooting brings down the Carnfifex, but everybody else fires to try bring down the tyrant, ignoring the Warriors, but fail to bring it down leaving on one wound.

The bridge veterans attempt to assault and meltabomb the tyrant to death, but roll snake eyes on the charge. I only needed a 3!
The sentinel assault to try hold the tyrant up for a turn, and survives with a hull point to do just that.
 Tyranids - Turn 4
 The Broodlord advanced towards the command Chimera.
The Warriors advance on the Chimera Veterans.
The Warriors open fire and kill all but one Veteran. Who breaks and runs.
The warriors charge the last veteran, who fails to re-group and dies.
The Broodlord fails his charge through terrain. The tyrant destroys the sentinel and consolidates into cover.
Imperial Guard - Turn 5 The remaining bridge veterans move to pick up the relic and maneuver to throw their demolition charge at the Warriors.
And it hits!
The demolition charge and meltaguns leave only the Prime remaining.
The remaining guard firepower manages to just take the last wound on the Tyrant, kill the Prime and Broodlord, leaving the table completely void of Tyranids.
The veterans end the game with the vital battle plans and maps secure in their grasp.
 Imperial Guard Victory
 Post Game Thoughts:
That was a good one for the guard this time.
That said my opponent has only just got some Tyranids second hand and didn't have the most optimal choice of units to use by any means.
That said the luck was definitely going my way, with the Deathstrike firing turn 2 and doing huge damage. The Broodlord breaking after losing his squad. The veterans beating the Hormagaunts after getting charged. And the Scout Sentinel holding a Tyrant in combat for a turn.
As for my list, the Deathstrike was awesome, but I feel it is a little too lopsided for friendly games. The Scout Sentinels have been really good , shooting well and holding units in combat well when needed. The command squad probably doesn't need a Chimera, and the Master of Ordnance missed everything every turn this game. And the number of immobilised tanks I have head recently is forcing me to consider dozer blades, but we do use a lot of terrain in our games.
The 22nd having collected their battle planning package bunker down and wait for their reinforcements to arrive. In the meantime the company commanders sift through the retrieved documents to try determine what the hell is going on, how they are supposed to survive stranded out here, as well a determine who else may be stranded out here with them.
Please feel free to leave any thoughts, suggestions or other comments below. Hopefully the next report will include the awaited "reinforcements".


 I think a Venomthrope would help, but that Ignores Cover order is nasty!


 blog!
blog! 1,500 Points II
  125
125


