Game I here:
http://www.dakkadakka.com/dakkaforum/posts/list/593412.page
We wanted to get one last game in under sixth edition, so we agreed to meet at our
FLGS the Friday before Memorial Day weekend. Once again, we brought 500 point lists, though we had both tweaked them a bunch. I dropped my spawn in favor of another unit of Noise Marines, and added sonic blasters to each squad. I hoped that this would give me enough dakka to thin the numbers of the Tyranid swarm. My opponent’s list was vastly different this time around. Instead of the illegal Tervigon warlord, he had a Flyrant, three warriors and a pile of termigaunts. My forces were easily outnumbered but were ready to stand strong!
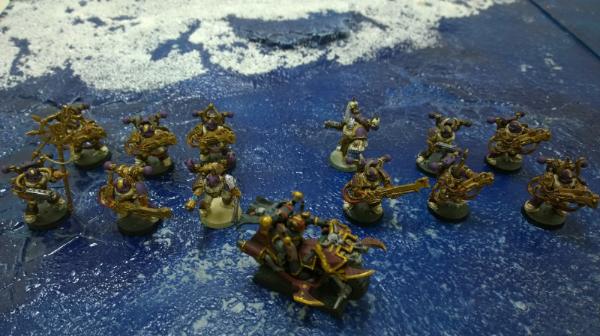 500 points - Angels of Ecstasy
Chaos Lord on Bike
-Mark of Slaanesh
-Sigil of Corruption
-Melta Bombs
-Relentless Blade
Noise Marine Squad (x2)
-5 Noise Marines
-4x Sonic Blasters
-1x Blastmaster
-Aspiring Champion
-Doom Siren
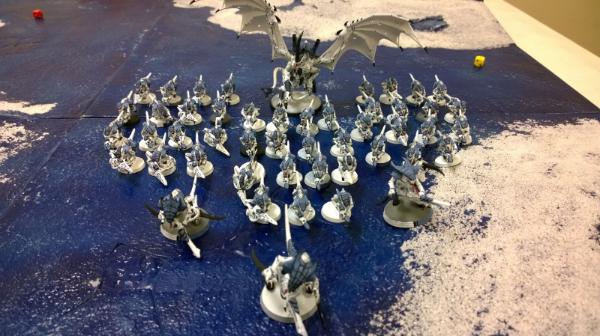 500 points - Hive Fleet Hibernis
Hive Tyrant
-Wings
-Heavy Venom Canon
Warriors
-1x Venom Canon
15 Termigaunts (x3)
MISSION:
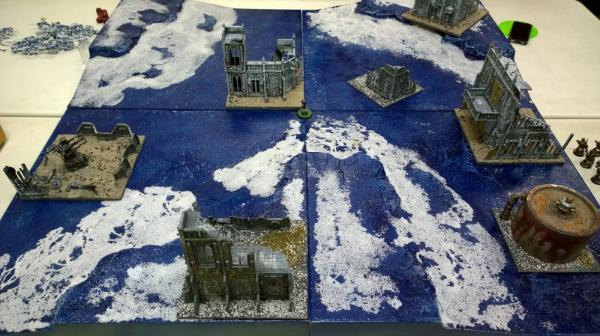
Relic with Dawn of War. No night fight turn 1.
Hive Tyrant got Mind Eater (+2
VP for each Independent Character killed) Warlord Trait and Onslaught. He did not know that Hive Tyrants were
ML 2 and did not roll for a second power.
Chaos Lord got Pall of Mist (Shrouded) Warlord Trait, which turned out to be useless this game, as the ‘Nids did not have any
AP 3 or better weapons. Oh well.
Terrain Setup (Relic is in the middle)
 PRE GAME THOUGHTS
I’m hoping to do better than last game. After getting swept by the ‘Nids, I made some important changes to my list and added a lot more shooting. Hopefully it’ll give me an edge over my opponent. My Warlord will hang back and pounce on any units that he can kill in a couple of rounds of assault, to charge up his sword. I’m planning on ignoring the Hive Tyrant for as long as possible, to focus on killing as many gribblies as I can.
DEPLOYMENT
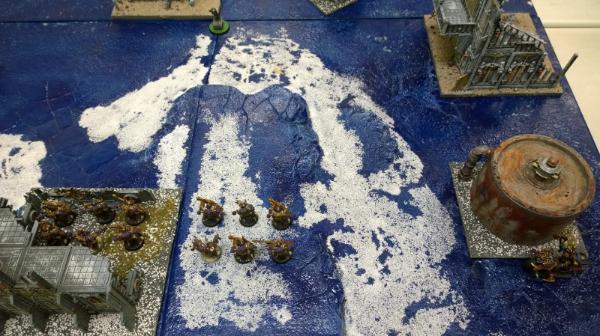
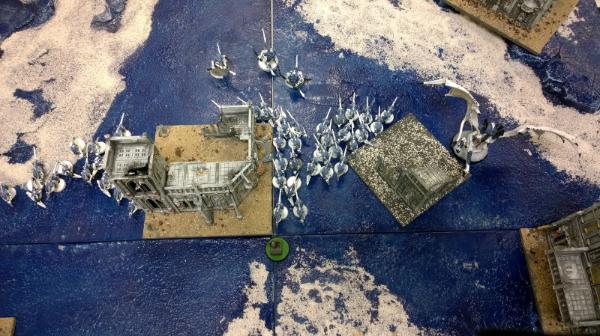
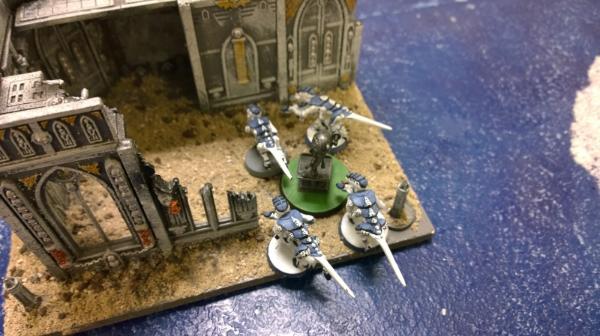
Nids win the roll-off and deploy. The gaunts set up in three large blocks with the Warriors providing Synapse. The Hive Tyrant sets up in a ruin to my right. I set up in the middle, far enough up that I will be able to shoot anything that moves up close enough to contest the Relic. Chaos elects not to seize and the game begins.
Tyranid Deployment
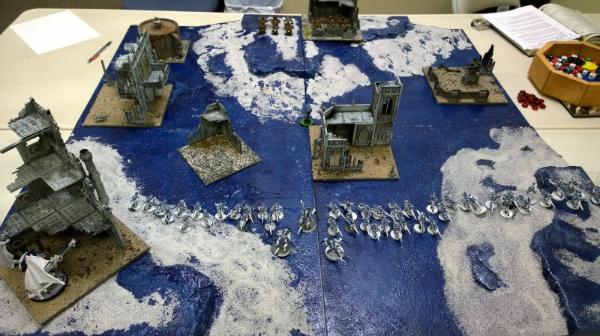 Chaos Deployment
 TURN 1 – Hive Fleet Hibernis
Turn 1 consisted of the Tyranids running straight for the Relic, though none of them were able to reach it at this point. The Warriors moved to maintain synapse and line up shots on one of my squads of Noise Marines. The Hive Tyrant swooped forward the minimum distance and the gaunts all ran. Both Venom Canons scatter off the Noise Marines and fail to cause any damage!
 TURN 1 - Angels of Ecstasy
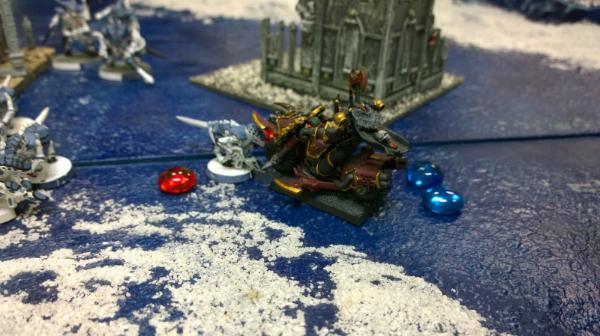
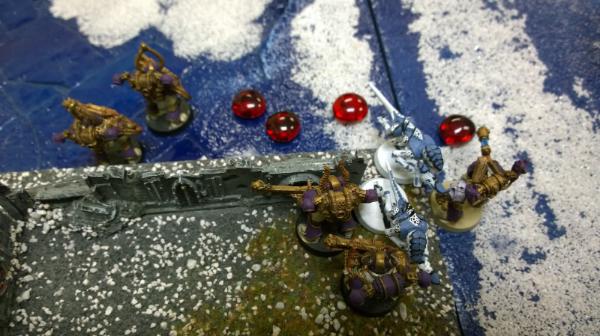
The Lord moved up just into
LOS with the Tyrant, hoping to graze it and force a grounding test. Unfortunately, even with twin-linked shots he fails to hit the Tyrant.
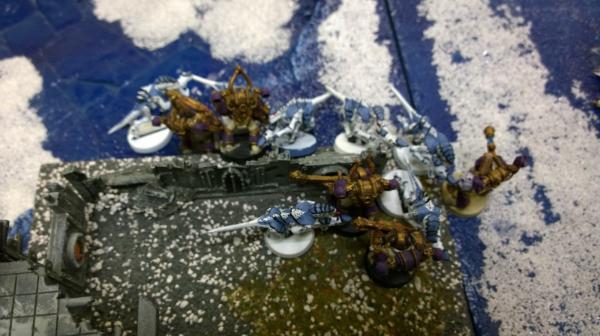
The Noise Marines sit tight and blast away into the gaunts. The middle group takes heavy casualties, and another squad takes some punishment as well. In total the Noise Marines cause 15 wounds!
 TURN 2 – Hive Fleet Hibernis
Last turn, the Hive Tyrant forgot to bless any units with Onslaught, so this turn he blessed the unit closest to the Lord. He then flies up another 12”. One depleted unit moves forward to contest the Relic, while the other moves to attack my Lord. The healthy squad moves up to challenge my Noise Marines.
The blessed gaunts shoot at my Warlord, manage a few hits but fail to cause any wounds. Once again, the Warriors and Tyrant shoot at my Noise Marines, and this time actually land some hits. However, I roll like a champ and take 0 wounds.
Somehow we forgot to take any pictures of the Tyranid's turn. Rookie mistake!
TURN 2 - Angels of Ecstasy
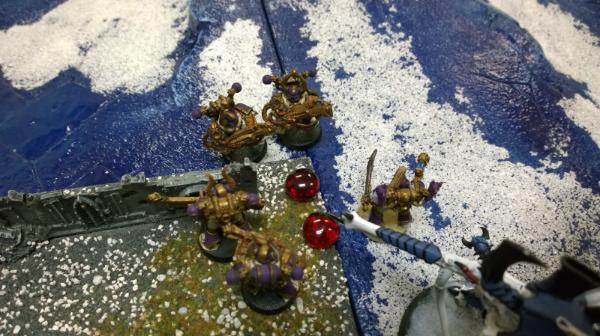
My Warlord moves up, to within 1” of the termigaunts that shot at him last turn. The Noise Marines sit put.
Shooting mows down a bunch more gaunts, a total of 14 this time. The squad in front of the Lord is looking mighty tasty!
In assault, my Lord faces a depleted gaunt brood. A couple of stray hits come in via Overwatch but the Lord saves the one wound he takes. Hammer of Wrath takes out one gaunt, and then the Lord whiffs his attacks and only causes one more wound.
 TURN 3 – Hive Fleet Hibernis
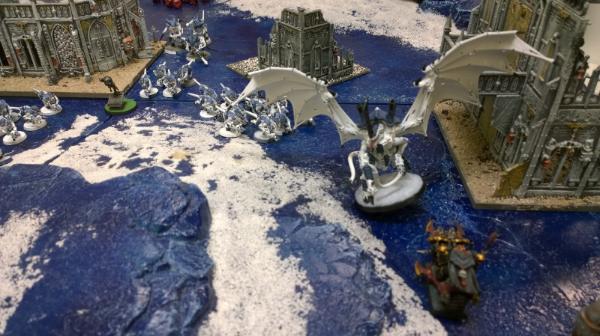
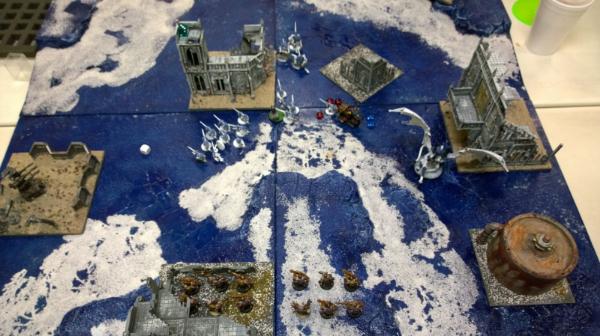
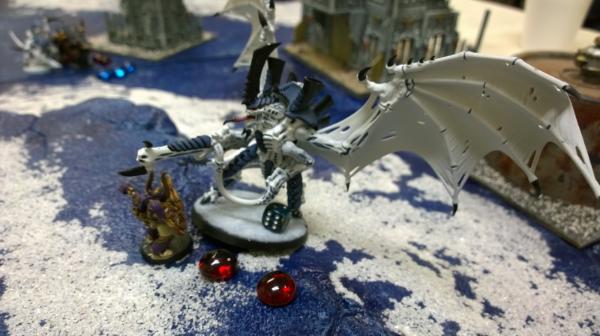
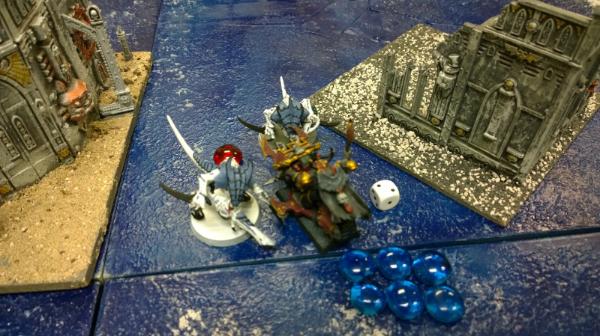
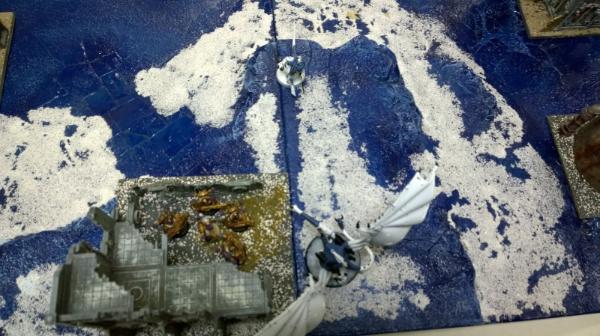
Overview at the start of Turn 3
TURN 3 – Hive Fleet Hibernis
Overview at the start of Turn 3
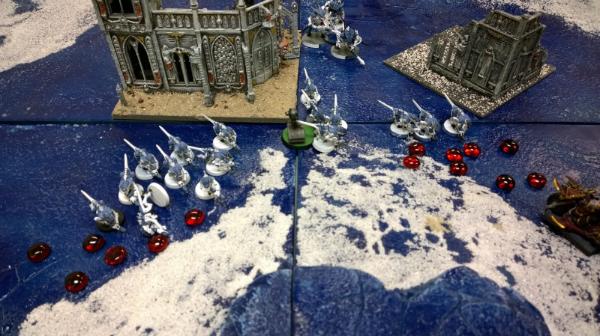
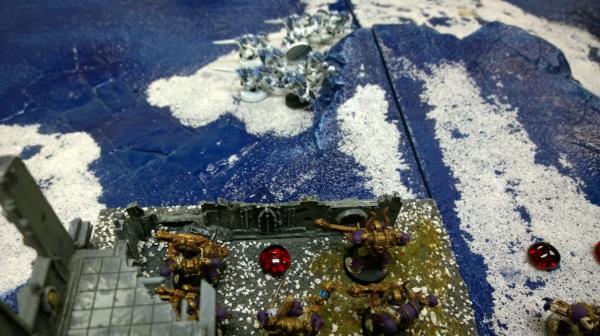
The Tyrant glides and prepares to assault a unit of Noise Marines. The gaunts with the Relic fall back and the Warriors shuffle to maintain Synapse. The stronger gaunt brood moves up to the Noise Marines on my left, within range of their weapons.
In the shooting phase, the gaunts put a single wound on the one squad of marines, and the Hive Tyrant scatter off, causing only one wound (which passes). The Warriors, however, manage a direct hit for four wounds, which I fail two.

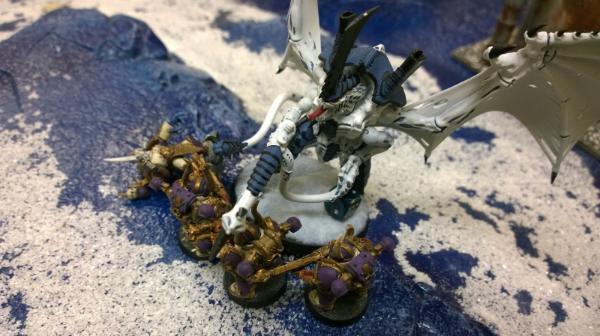
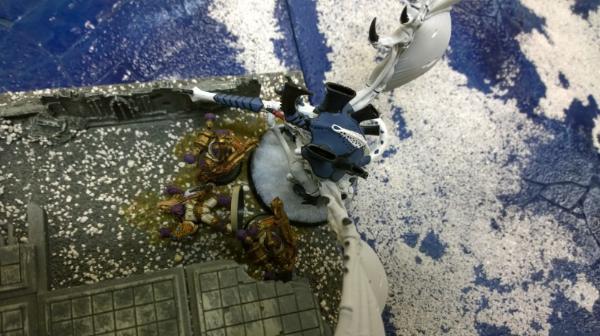
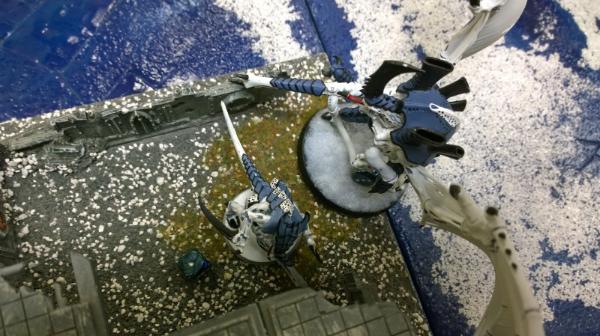
The Tyrant assaults my marines and takes one wound on Overwatch. My champion then challenges the Tyrant and is easily turned to paste.
The gaunts to my left have a long charge to make through difficult terrain, but the dice gods smile on their favor and they actually make it into combat! My doom siren kills two and another drops to Overwatch, but they make it in. Both sides completely forget how to fight and cause no wounds to each other!
In the other assault, however, my Lord redeems himself by killing off the rest of the gaunts and consolidating out of combat.
TURN 3 - Angels of Ecstasy
Things are looking rough, but not insurmountable. All of my units are tied up in combat, but my Lord is gaining steam and charging up his sword. At this point I think I made a tactical mistake by not attacking the gaunts with the Relic. I could have wiped them in one round, two at the most and had control of the Relic. However, my concern was the nearby Warriors. If I was left out in the open I’d face a lot of attacks, and I didn’t want them charging me. In the end, I attacked the Warriors, hoping to slingshot into the Relic-holders.
In assault with the Tyrant, my marines hit with three krak grenades, and wound three times! Unfortunately for me, he saves twice. Still, I’m slowly bringing him down! I get a little break when he flubs some attacks, and rolls a one to wound. Still he manages to kill two more marines.
The Noise Marines cause 4 wounds, but the gaunts catch a HUGE break and roll

for saves! The Noise Marines take no wounds in return.
Finally, with all my attacks as a Chaos Lord charging into combat, with Hammer of Wrath and bonuses to attacks and strength, I miss every single attack. Unbelievable. Worse, my Lord gets hit several times and is suddenly down two wounds!
 TURN 4 – Hive Fleet Hibernis
The gaunts holding onto the Relic hide in the nearby ruins.
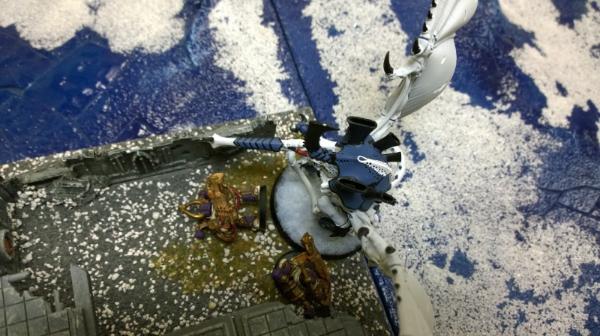
In assault, the Tyrant shakes off a krak grenade from a single marine, then kills him and consolidates towards my lone squad of Noise Marines. In that combat, the marines fare much better, killing off four gaunts while taking no wounds back.
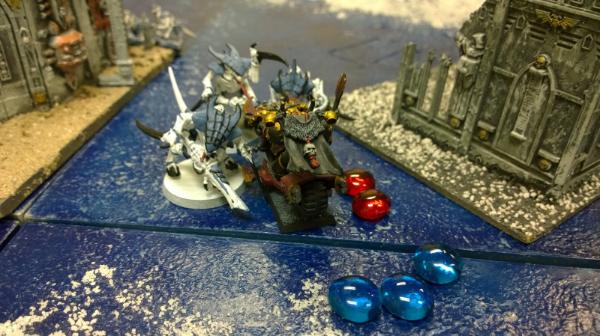
In the other assault, the Warlord redeems himself by causing three wounds and killing a Warrior. The warriors would cause no damage back!
 TURN 4 - Angels of Ecstasy
The Noise Marines in the ruins manage to kill off the last of theTermigaunts, and then consolidate deeper into the cover, to bear the weight of the Tyrant’s assault.
In the other combat, the Warlord kills off another Warrior, though he does take another hit and fails to save! The lone warrior consolidates towards my side of the table.
 TURN 5 – Hive Fleet Hibernis
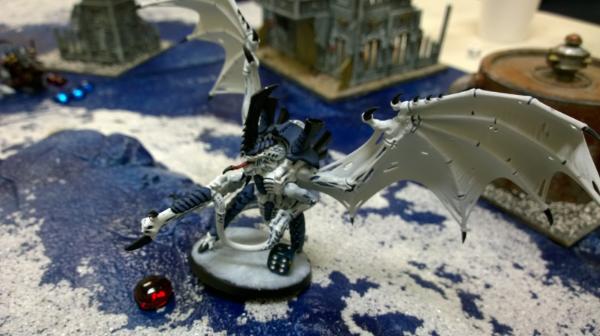
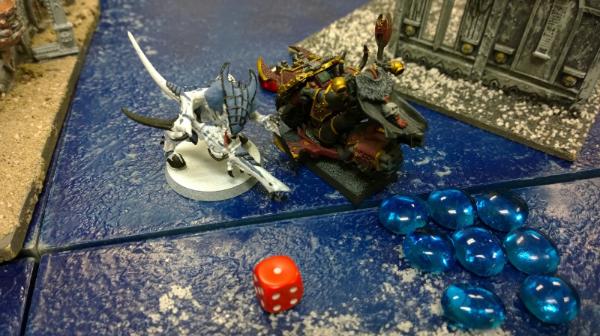
The Tyrant and Warrior move up to challenge the last remnants of my army. Unfortunately this puts his gaunts out of Synapse! Lucky for him, he manages his Leadership test and does not drop the Relic.
Both models fire at my marines, and though the Tyrant scatters off again, the Warrior puts a couple of wounds on them and I fail one.
In assault, the Warrior declares the charge and takes one wound to Overwatch. While the Warrior fails his charge, the Tyrant then crashes into cover and into combat. My champion challenges again, but fails to cause any wounds with his grenades. He is then easily killed off by the Tyrant.
 TURN 5 - Angels of Ecstasy
My marines pile on the krak grenades again but fail to cause any wounds. In return, the Tyrant rolls poorly and only causes one wound.
 TURN 5 – Hive Fleet Hibernis
Once again, the gaunts pass Leadership and hold onto the Relic. The Warrior moves up to guarantee that he can get into combat.
Once again, the Noise Marines hit with krak grenades, but fail to wound. In exchange, the Tyrant kills off the last Noise Marines for a Tyranid victory.
 TURN 4 - Angels of Ecstasy
TYRANID VICTORY!
FINAL SCORE
Angels of Ecstasy – 1 (First Blood)
Hive Fleet Hibernis – 5 (Relic, Warlord, Line Breaker)
FINAL SCORE
I feel better about this list and the way it performed. It’s hard to out melee ‘Nids when they just get so many attacks. I can also chock up part of the loss to a lack of knowledge about the bugs. If I had known that warriors got three attacks each, with three wounds, I would have probably done things different. A blastmaster could have theoretically taken out two of them, maybe even three if I rolled well. My warlord would probably have avoided the warriors completely to kill off the gaunts holding onto the Relic. I probably wouldn’t have taken the two wounds vs. gaunts, that’s for sure! Hopefully these are all lessons learned. The next few games will probably be seventh edition, though we might stick around in sixth for a while.
ESCALATION
I am currently working on getting my chaos spawn assembled and painted, and then I need to add some more Noise Marines to my list to get me up to 750 points. My opponent has a lot more free time then I do and is probably already up to 1000 points. I need to step up my game!


 !
!
 blog!
blog! 1,500 Points II
  125
125
