+++
Astropaths report a scrambled message from Sector 40-A.
"Hurry please! We've held on as long... too strong, too fast! The sheriff was... by his intestines from the village... our dreams are unsafe, the dreams... and listening and screaming!"
Transmission lost.
+++
Imperial Guard forces will commence deployment 1030 local time
Suffer not the unclean to live
Transmission ends
+++
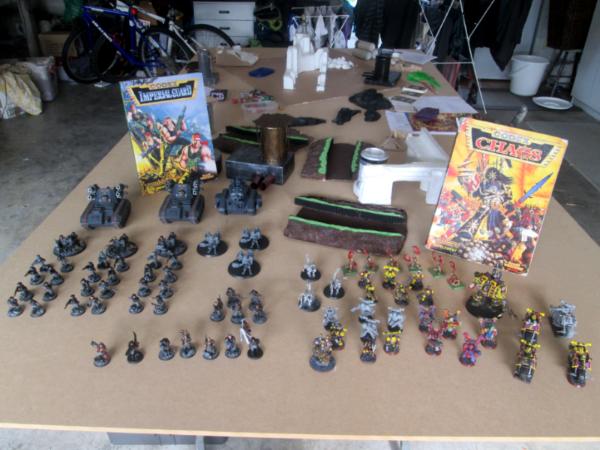
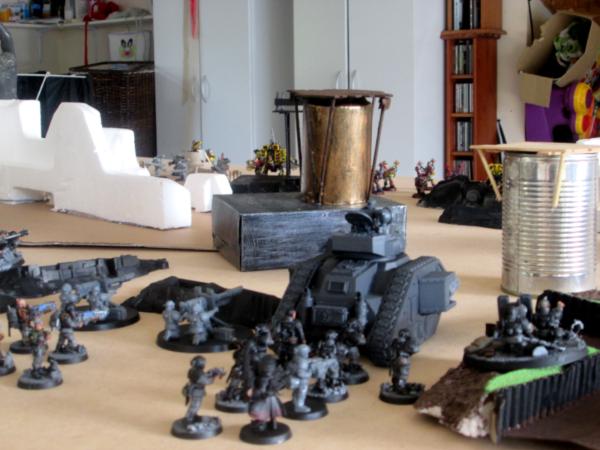
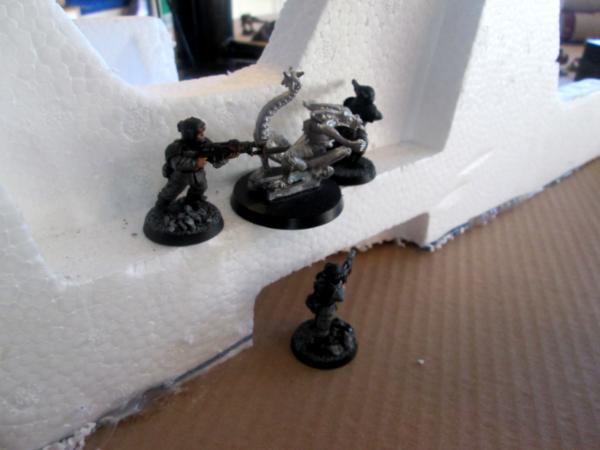
MarsNZ and I decided to have another 2nd Ed throwback game. 1500 points, pretty standard size.
Army Lists:
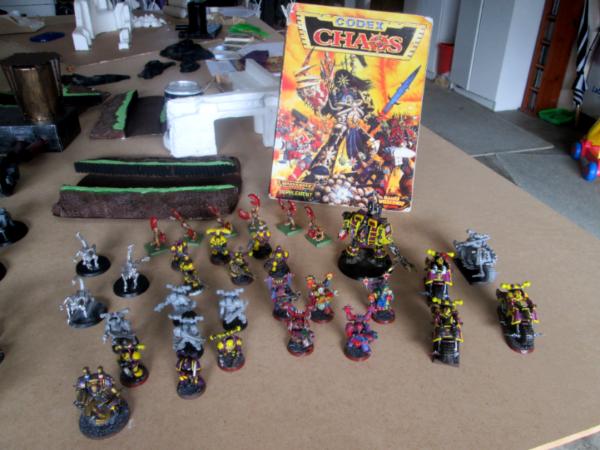
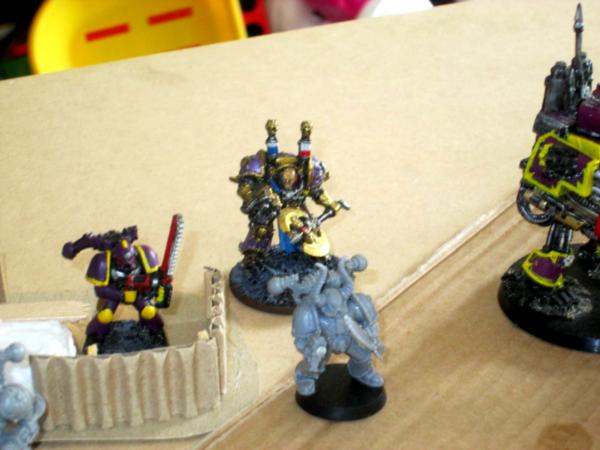
Chaos-
Slaaneshi Terminator Lord with the Allure of Slaanesh.
7 Chaos Marines. Aspiring Champion, Flamer and Chainswords.
6 Chaos Marines. 2 Lascannons, Bolters.
5 Noisemarines. Blastmaster, Sonicblasters.
4 Bikers. Meltagun, Chainsword.
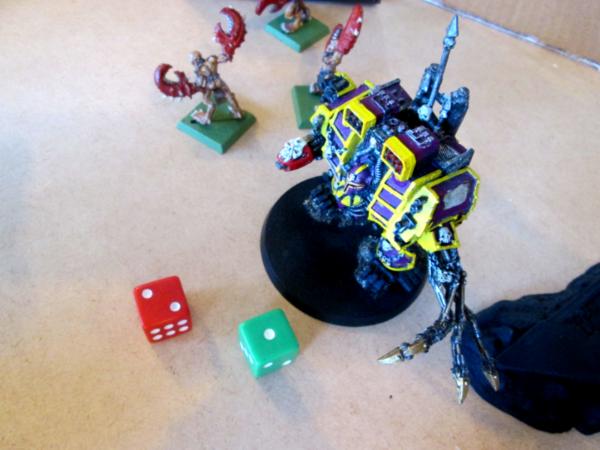
Dreadnought. Mk1 Plasmacannon, Power Scourge.
6 Daemonettes.
3 Fiends.
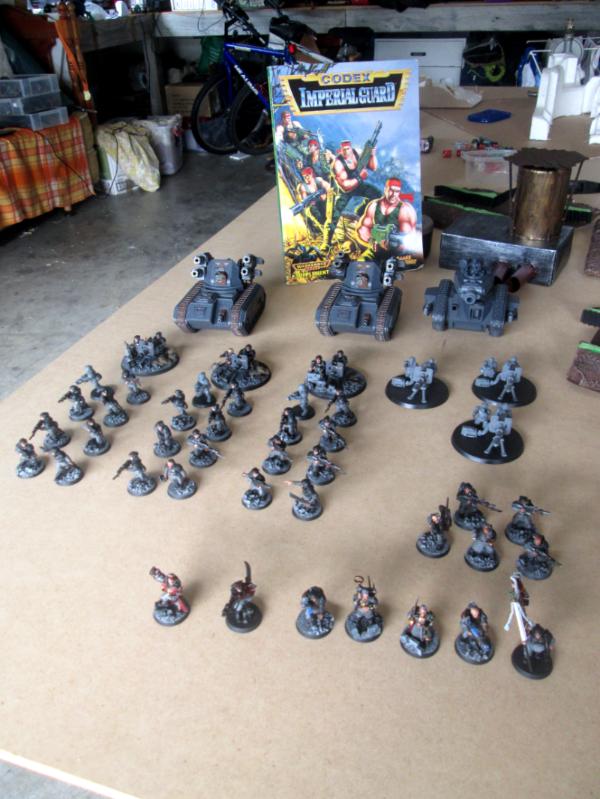
 Imperial Guard-
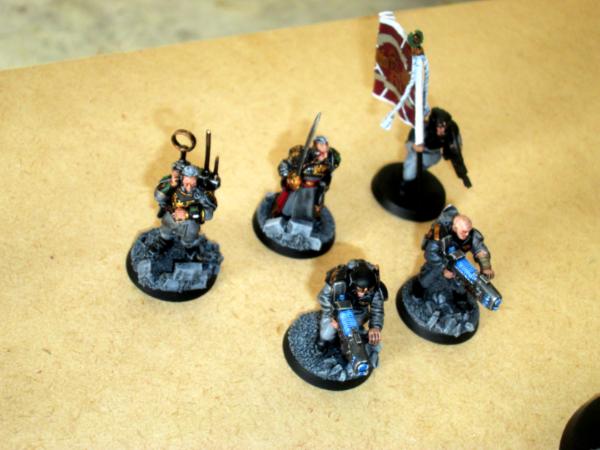
Colonel Command. Comlink, Battle Standard, 2 Plasmaguns.
2 Commisars. One with Powerfist.
Platoon Command. Comlink.
3 Guard Squads. All with Autocannon Team and Grenade Launchers. All Freedom Fighter Veterans (which means any terrain they occupy becomes booby trapped!)
Heavy Weapons Teams. 3 Lascannons. All Slick Crew Veterans (Giving them a single extra shot every time they successfully hit!)
2 Griffon Heavy Mortar Tanks.
1 Demolisher.
 Missions:
We both rolled Dawn Raid. Dawn Raid requires that we have a squad with less than 50% casualties or undamaged vehicle in the enemy deployment zone at the end of the game.
Strategy Cards:
Chaos- Flank March, Crack Shot. Flank March allowed me to reserve a unit and bring it on the side of the board at the beginning of one of my turns. Very handy for this mission! Crack Shot halved the
AV of a vehicle for one shot. Hugely effective against 2nd Ed armour values!
Imperial Guard- Divine Inspiration, Insane Courage. Inspiration adds 1 to his armies
Ld. Great for keeping him from breaking, but also great for my Slaaneshi summoning points! Insane Courage allows him to automatically rally a squad and give them an immediate turn. Clearly these Guardsmen were determined to hold this line!
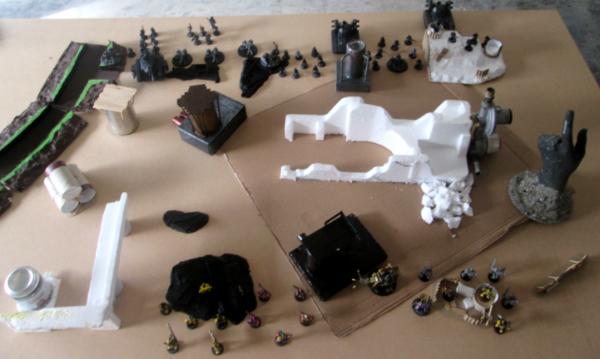
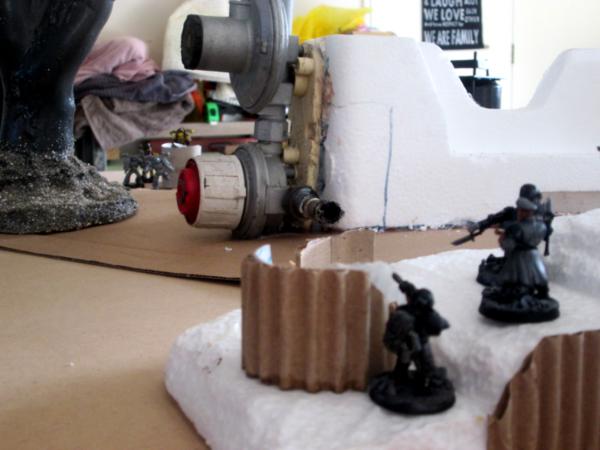
Deployment:
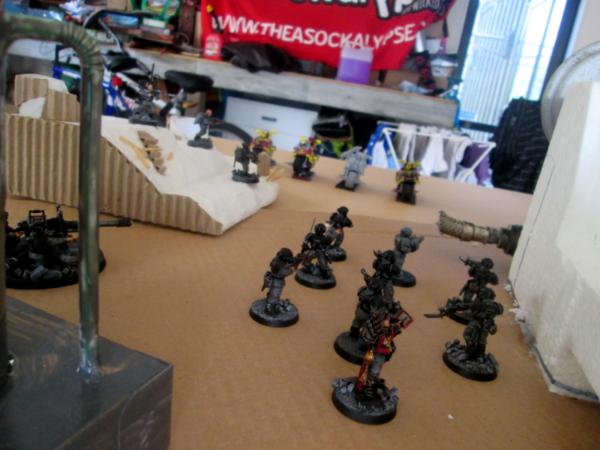
We had forgotten how important Strategy Ratings were for this! The Imperials had to set up first, and also lost the roll for first turn due to my Lord’s rating. He set up a wide line on his side of the board, keeping the Griffons back behind the large factory walls, and placing his terrifying Demolisher right next to the widest open space on the board, effectively guaranteeing I wouldn’t go anywhere near it.. He set the lascannons teams to Hidden.
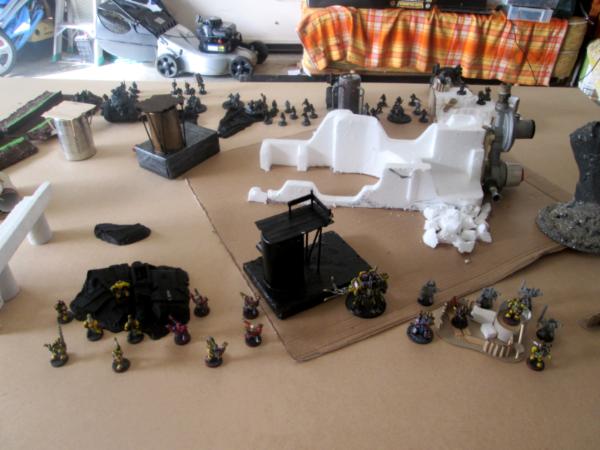
I prepared my Lord and the assault Marines to go around the side of the factory into the Guard guns, and my heavier weapons to face off with the Demolisher across the open plaza. I declared that I was keeping my bikes in reserve.
 Turn One:
Chaos-
Turn One:
Chaos-
Before I began, the initial softening bombardment form the Guard landed in my lines. Luckily it scattered away from my Dreadnought and Chaos Lord, but it killed two of my Chainsword wielding marines before I’d even begun. Luckily,
MarsNZ then rolled a 6 for battlefield interference, requiring him to roll a 6 to successfully use his comlinks to bring down further bombardments. Clearly my daemons were causing far too much disruption for his communications to work normally!
I managed to blast the Demolisher’s track, sending it out of control next turn and then leaving it unable to move further. At least that deadly cannon would be able to be avoided now!
My Noisemarines manage to slaughter half of the command squad they could see through the walls of the factory complex, heads popping and bones shattering beneath the sonic onslaught. Luckily for the Guard, the Colonel held the ranks in line. This also provided me with plenty of summoning points right off the bat!
MarsNZ was annoyed, as if he had not Hidden his Lascannon teams, I would have been forced to fire on them as the nearest man-sized targets.
To round out my turn, I summoned my three Fiends to run alongside the Lord and his entourage.
 Guard-
Both flanks began to move forward behind the cover of the buildings, heading for my deployment zone. The Demolisher was out of range, but one of its Multimelta sponsons managed to hit my Lascannon squad, scragging two of the bolter marines at once. The Griffons did little to no damage, though one of them scattered directly onto my Lord! Thankfully, Terminator Armour is quite useful against low modifier weapons in 2nd Ed. The hidden Lascannon teams went onto Overwatch.
 Turn Two:
Chaos-
Turn Two:
Chaos-
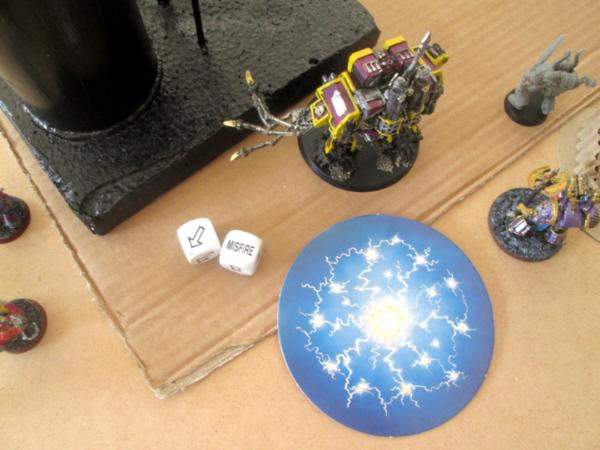
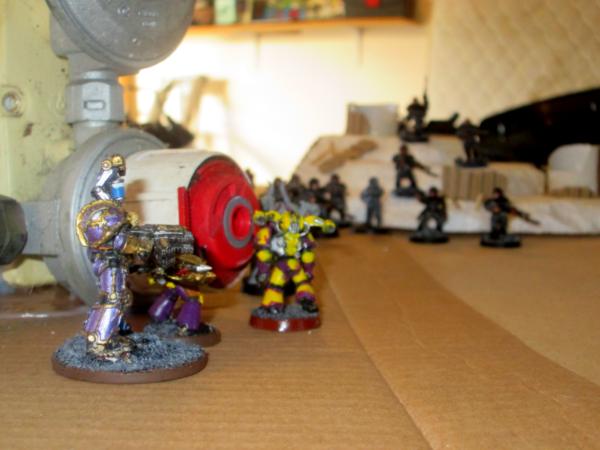
My Dreadnought began to move to the left, exposing itself to the overwatch fire of the Lascannon teams. Thankfully, the shots only manage to minorly damage the Power Scourge. The Fiends and the Lord’s squad ran through the rubble of the factory, trying to get around the corner and come to grips with the enemy.
The Noisemarines moved forward to try and find better targets, the fire of their Sonicblasters killing a Lascannon team. 32” range and 2 Sustained Fire dice each makes these guns much more effective! The Break test this caused was passed, but also gave me the summoning points I needed to summon all six of my Daemonettes at once!
I summoned them in front of the Noisemarines, as the Target Priority rules meant MarsNZ would have to fire at the Daemons before he could attempt firing at my Noisemarines with their lovely lovely guns.
Guard-
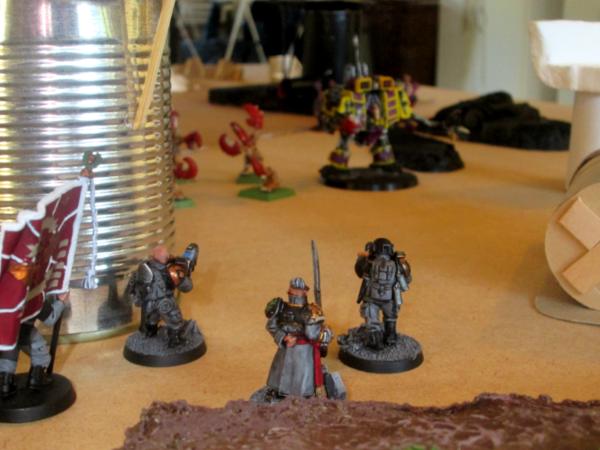
Interference meant he was unable to order any bombardments this turn. One squad of Guard moved into the factory, setting their traps through it. On his right flank one of the command squads run up past the demolisher, but staying tight to the walls. They were following the first squad that had been moving forward.
The Mortars landed amongst the ruins but didn’t manage to cause much damage. His heavy weapons teams managed long distance lucky shots to hit and kill two more of my lascannon squad. I was down to one bolter marine and one with a lascannon! The Demolisher Cannon killed two Daemonettes.
Turn Three:
Chaos-
Finally, I remembered my Crack Shot strategy card, and I used it with a Lascannon shot to the hull of the Demolisher. Explosions ripped through the cab and managed to kill every single one of the crew!
My Bikes came on to my right flank at Slow speed, keeping their guns aimed at the Guard squads on the hills. They didn’t manage to take many down though.
The Sonicblasters blew away the advance Guard squad on my left flank.
Guard-
The following squads moved up rapidly, crossing the gap to the stacked heavy pipes for cover.
Between heavy weapons teams and some lucky lasgun fire, three of my four bikes were killed!
Turn Four:
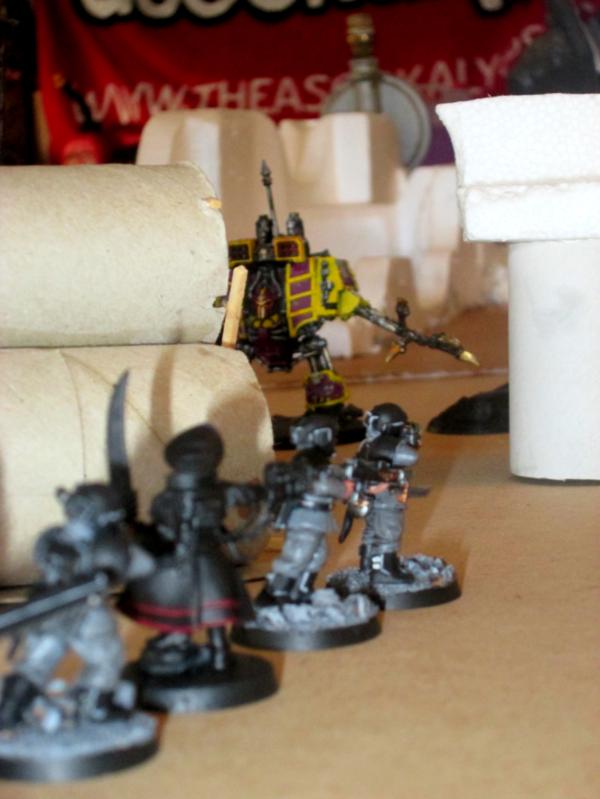
Chaos-
Well aware that I was running out of time, I declared a charge with my Fiends. However, two of them died as they clambered over the booby trapped rubble of the factory! The Dreadnought ran alongside the Daemonettes to threaten the Guard squads that were managing to close on the left of my deployment zone, only to face some withering overwatch from the heavy weapons teams. Two lascannons penetrated and severely hindered the functions of the semi-dead marine, halving all its characteristics, TWICE. This was something I should have remembered.
Some of my Chainsword marines managed to get around the factory, firing as they came, finally ready to get to grips with the foe.
 Guard-
The Guard ran further towards their objective, desperately hoping to stay out of sight of the sonic weapons that lingered all too close.
A blast of lasgun fire killed off most of my marines near the factory, ending any chance of assault.
In the assault phase, the last two guardsmen of their squad managed to kill the Fiend!
 Turn Five:
Chaos-
Turn Five:
Chaos-
Here, I made some reckless errors. I was shocked to find my Dreadnought passed his Frenzy check on a
Ld of 3 and in my excitement I threw him at the exposed guard squad (forgetting that his M value was quartered and that he should not have been able to make the charge. Also forgetting that his Power Scourge was semi-disabled and he would be less effective in combat).
I also threw my Lord and his Champion around the corner of the factory, completely ignoring that fact that 2nd Ed games end at Turn 5 regardless and he would be completely unable to engage the squads he found there.
Because the squad was already locked in combat, I used my Blastmaster on the Colonel’s Squad following behind, killing MarsNZ’s general.

In the Assault, my Dreadnought with dropped
Ws and A managed to do nothing to the Guardsmen he had charged.
Guard-
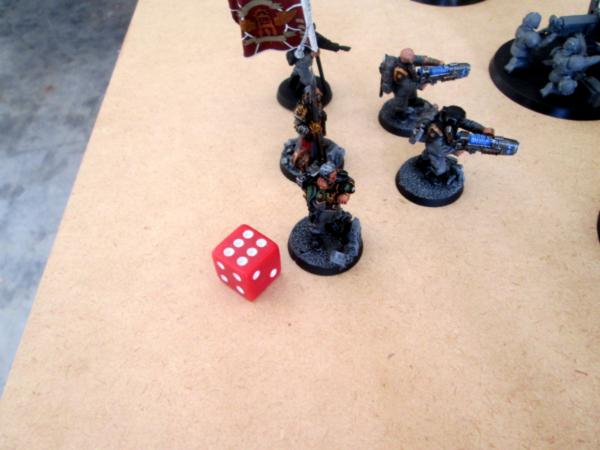
MarsNZ was tempted to charge my Lord with his Commissar, but eventually made the tactically sound decision to shoot copious lasguns at him instead. This killed the Champion, but wasn’t enough to get through the Terminator armour. Instead, a lucky 6 from the remaining LAscannon team at the other end of the field managed to hit, wound and kill the Lord in one fell swoop.

The Heavy Bolter mounted on the front of the Griffon killed my final Biker. And, bar a very simple and uneventful assault with the Dreadnought, that was it.
Victory Points:
Chaos - 6
Guard - 8
Final Thoughts:
If I had kept my Lord hidden, I would have retained the 2
VP he gave up when he died, giving a tie. Also, I probably should have just held the bikes until the very last turn and gone full speed into the middle of his line. Tactically it would have increased my chance of getting the +5
VP, but it felt a bit dirty to do. Altogether, we had both forgotten just how long it takes to move anywhere in 2nd Ed. Coupled with the set 5 turns, this made Dawn Raid really difficult to achieve!
We have decided that in future we might steal the Random Game Length mechanic from subsequent editions, allowing a little longer to achieve our goals.


 ).
).