Where the project is at Right Now:
***DONE!!!***
 Please see below as a step by step account of the build
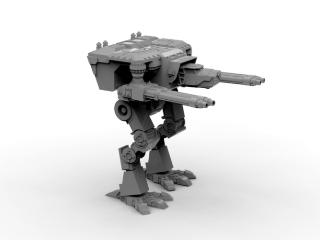
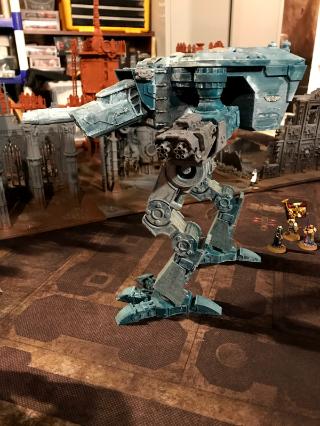
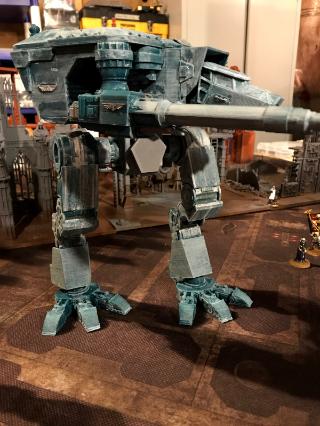
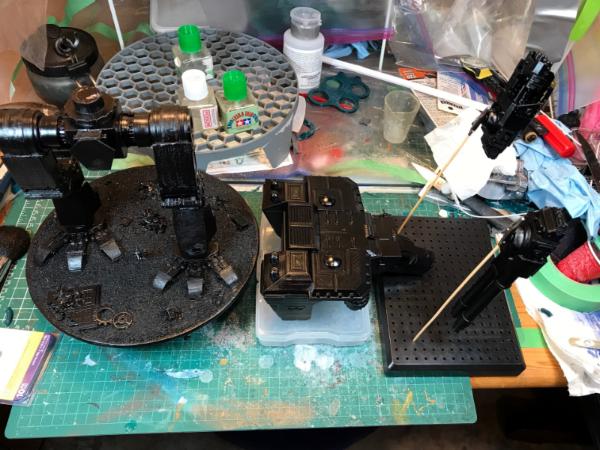
OK, I have a friend who has given me a very generous gift of a 3D printed proxy model of a "Wardog" Titan.
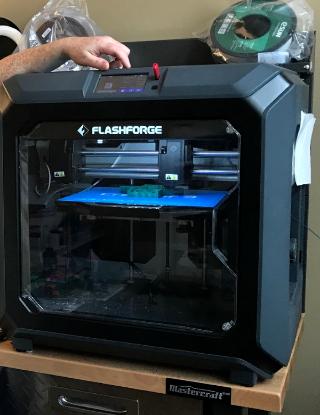
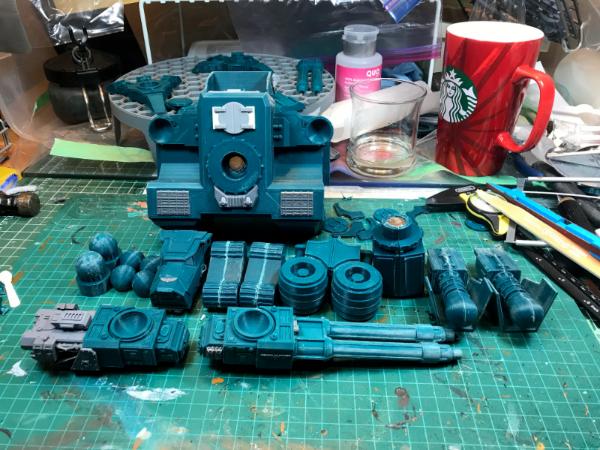
I got a large box of "desiccated" plastic (fan was a spare bit).
It is about 11" tall and he printed it on an Upgraded Printrbot Play, the turbolasers were printed on the Flashforge Creator 3 dual head printer, material is PLA+ "Green".

My hand model is printing the back plate for his next project, there is a door for a
40k miniature to fit through supposedly, be afraid.
He has worked very hard on getting insanely good at his printing and I am beginning to learn what I can from him BUT this is about putting together these larger projects, I am the guy who likes putting things together.
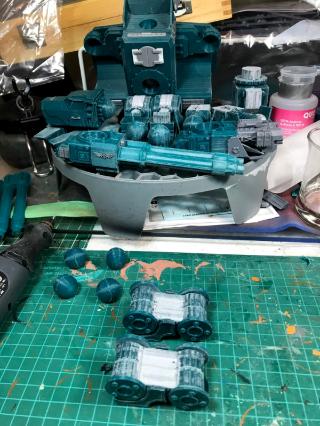
A fun surprise was getting a bunch of movement trays. He said he had some "issues with scaling" on some of them.
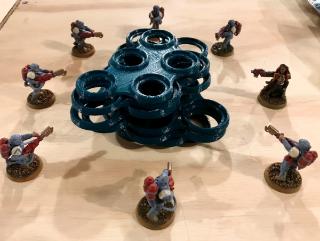 The bad fit ones were purged for heresy.
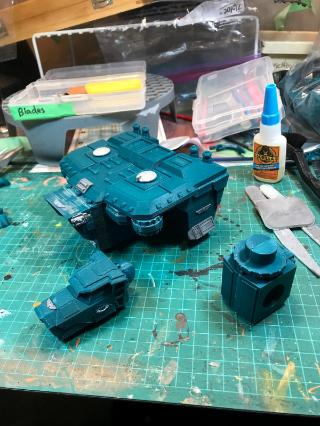
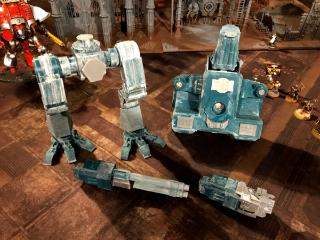
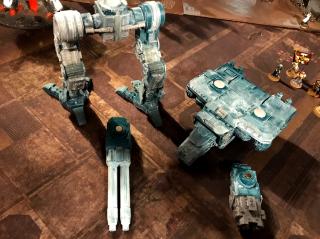
So the build begins here:
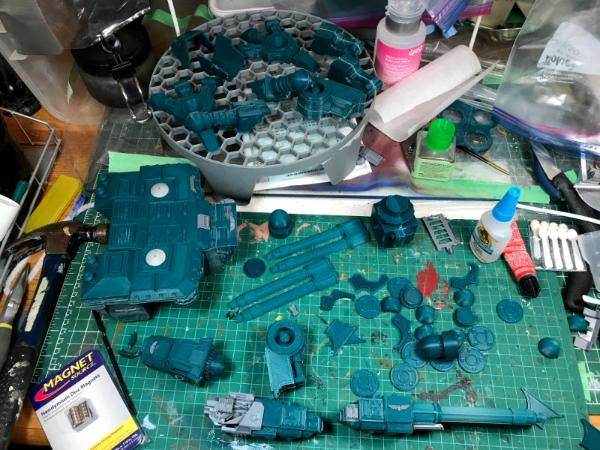
I started adding stuff from the extensive bits box, you can see them in grey.
A word on gluing: sand the surfaces on both pieces rather roughly.
My glue of choice for this is:
Why you ask? Because it bonds stronger than polystyrene:
Yeah, I got too fancy and the part I added looked like hot garbage so for "fun" I pried it off with channel-locks rather than a knife (the other side I did that properly).
So, failure within the material, not the bond = really good glue.
<edit> Found out for PLA can be bonded with "acetylene" works like superglue, very fast and would be a "proper" weld.
Will try this later for the big project coming up.
Friction weld works, print up some rods and spin them in a dremel tool.
A "Crafty Pen" could be used as a welder and/or filler.<edit-end>
Now, I used a couple fillers that are solvent based and they shrank, alot.
3D prints need some pretty big gaps filled so after much research and seeing the results of what my friend uses the best for 3D print (I think) is this:
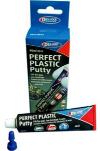
"Deluxe Perfect Plastic Putty"
It smooths on with a whetted finger and does not shrink and no nasty solvent smell, much win with that stuff.
I find it sands well too.
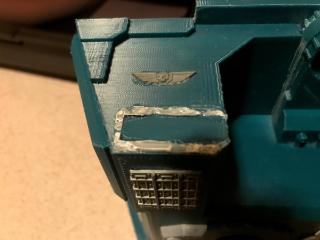
So you will see some horrific looking filling later-on, I just thought I would get this out now.
So, assembly, note the "hot garbage part"
A note on carving holes into PLA parts (for my magnets).
Ideally, model them in, the stuff is pretty darn hard and any high speed anything will melt the plastic (again) and make a real mess of things.
I used a dremel with a
cutting head (on the lowest speed!), it does a strange combination of removal and pushing the material around, you can easily cut it out later.
It appears my printing friend likes to run the wall thickness a bit thicker and go for less support inside, I was seeing around a 1/4" lattice inside.
I put in a fair bit of glue and the rare earth magnets are going nowhere.
I will stop here for a moment, I have progressed a fair bit further but it took me till now to take the time to get my stuff together.
I was posting progress to my friend as a way of thanks for the gift.
I searched Dakka and did not find much on 3D print builds, anyone with more experience I would be happy to hear from them here (this is my first 3D print build).
BUT I have built models for some 3 decades plus and I still keep finding all kinds of new ways of doing things... wonderful times we live in... other than that virus thing.
Automatically Appended Next Post:
Continuing on then:
So filling going on here, the solvent based stuff was not ideal but it did fill some "holes" here and there.
I find the "grain" with this material is hard to sand down and smoothing on a filler between the grains may be better.
<edit>NOTE: I would strongly recommend sanding ALL surfaces.
There are a multitude of strands/strings from any nozzle travel and it only helps with adhesion of parts (assembly) and paint (tooth / more surface area to bond to). <edit end>
This will not be pretty, but the beast then is assembled with an ill-conceived acetone paint-on: PLA+ does not respond at all to acetone, but my filler did to some degree.
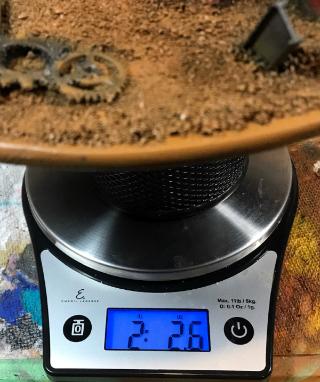
See the frist pic for scale:

 Automatically Appended Next Post:
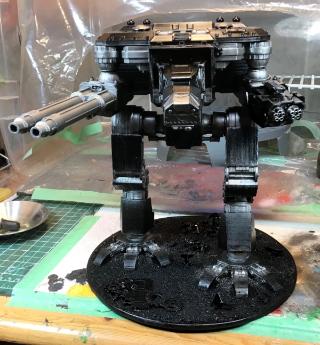
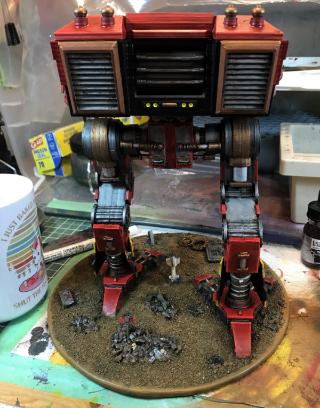
Now I figured the dog needed a base to rest on so I cut out a 9" disk from some old plastic ceiling tile I had got (my work replaced it since it was too sound reflective).
Scored multiple times with knife, dremel sand the circumference, hand sand the edge again for a more even circle.
Sand surfaces, sand bottom of titan's feet and glue down.
Add models and bits to surface and then completely glue and then gravel the base and let dry: ready to prime.
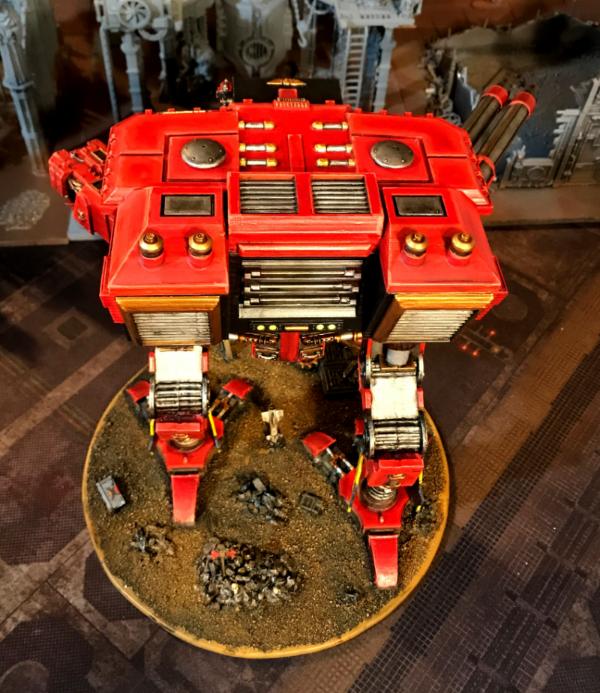
I probably should have used a Krylon Plastic specific "bonding" paint but I used Rustileum 2x Ultracover Canyon black satin:
So that worked out ok BUT, it really highlights the poor job of filling all the various grains on the part.
A more detail obscuring paint as filler would have actually helped this.
This is a perfect time to hunt for filament strands you missed and "lumpy bits", you will see them soon enough on this model.
Cut / shave / sand and then hit it with the primer again, it will not hurt anything.
Automatically Appended Next Post:
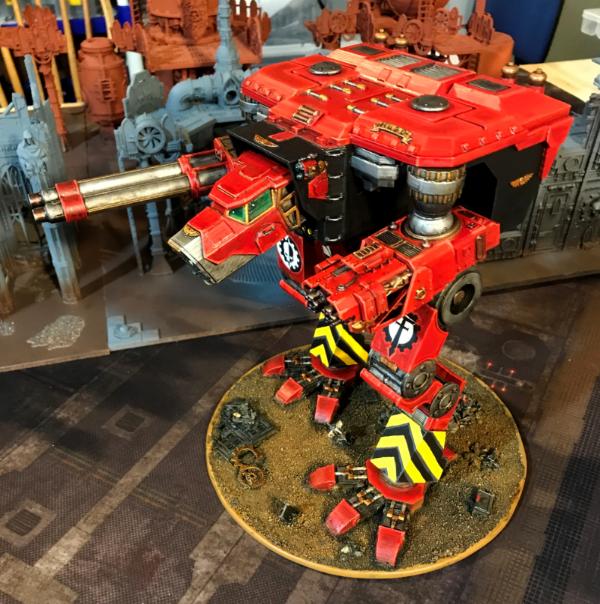
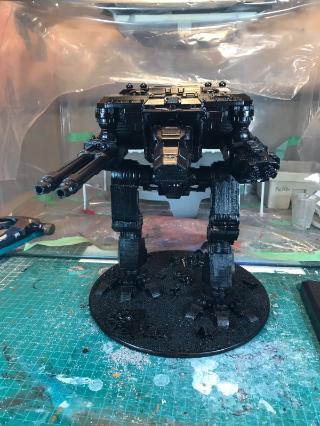
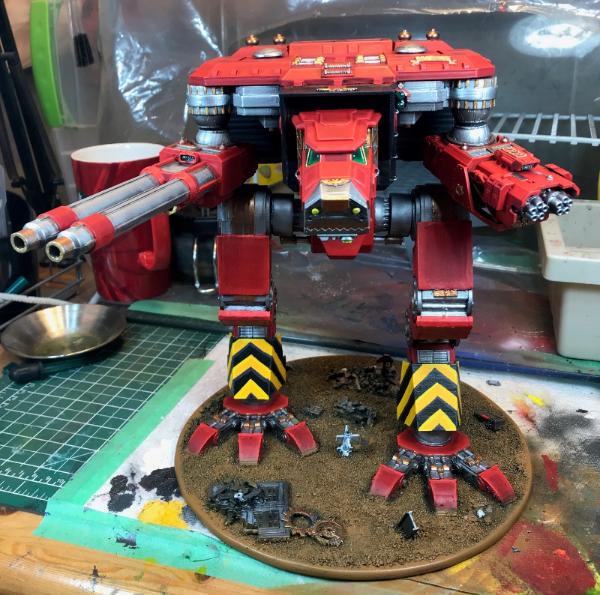
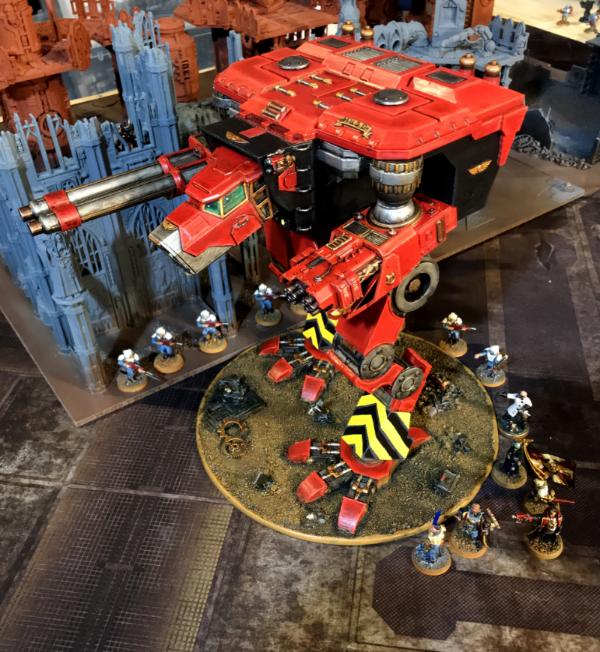
PAINT!!!
I could say what was used for colour, I was using
GW paint and Liquitex and adding Airbrush Medium so I could spray.
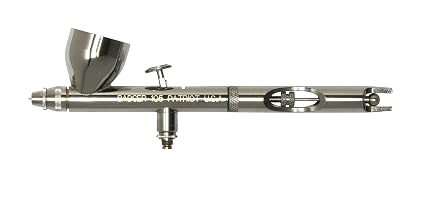

I use the Badger Patriot 105 and the Sotar 20/20... badly at that.
So, some 15psi and my paints mixed in dropper bottles, I start spraying:
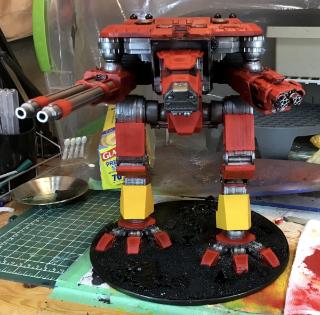
A ton of cleanup to do, I really must use masking much more than I do.
Automatically Appended Next Post:
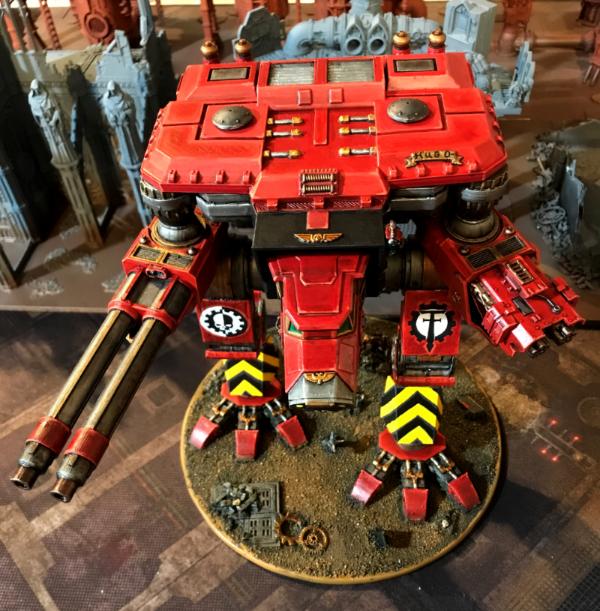
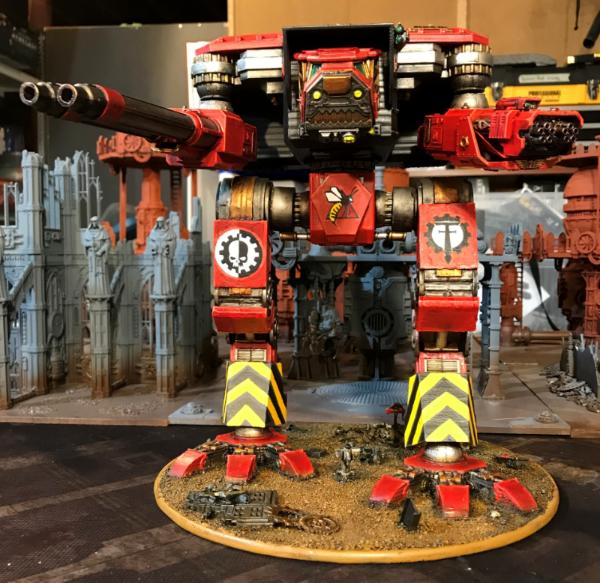
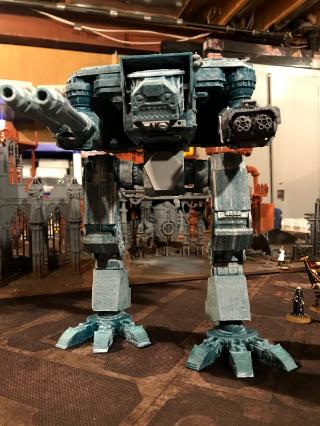
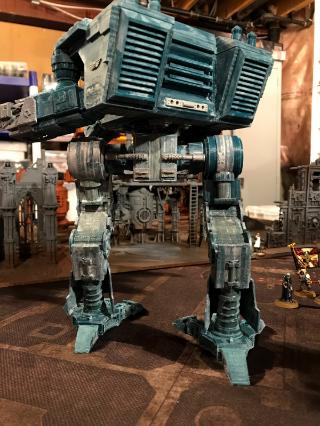
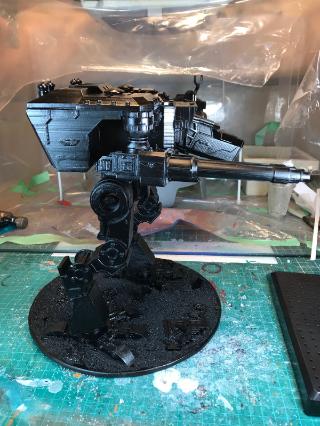
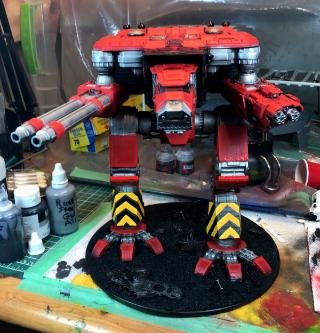
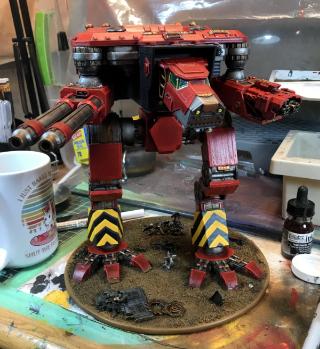
So this is where I am at now:
I have broken out the hairy brush (which I am much better with) and started fixing all kinds of things.
I may need quite a few days working on it.
This I would still consider largely "block painting" with a little bit of some highlights.
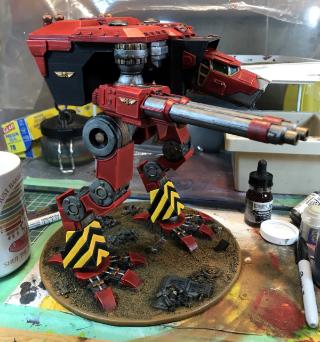
I will have to be VERY careful with shade paint since the grain is very much all over this part.
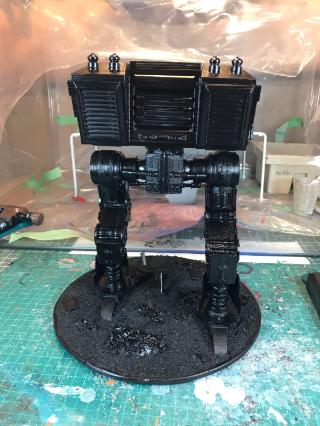
For a learning model it has done it's job.
I am/have suffered through my mistakes and I will still get a very good model out of this in the end, it will just take longer than if done correctly.
I did not initially like this iteration of this proxy Warhound BUT it has grown on me after hours (days / weeks??) of working on it.
It is also not an attempt at a full copy so it would not readily be confused for the real thing.
BTW my paint configuration is to be for the "Legio Ignatum" Titans.
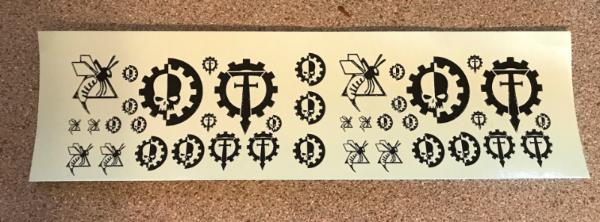
I will have to see what I can do for the various markings later.
 BTW
BTW at this point I decided to weigh it "2 lbs 2.6oz", I shudder to think what resin would weigh.


 Cadre Coronal Afterglow w1;d0;l0