First of all a disclaimer! The title is a bit misleading!
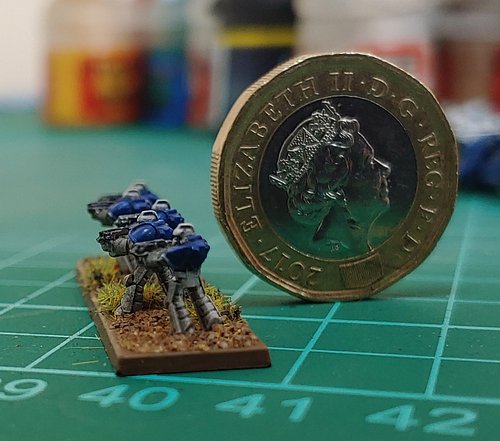
This is a guide to painting marines at 6-8mm scale for Epic and Adeptus Titanicus.
Objective of this guide: A quick process for painting the little guys. Don't be afraid!
Firstly, it's important to dispel one myth; that painting at this scale is more difficult than at 28mm. It's actually far easier for the most part, as the scale means that some of the more exotic techniques are not possible, it responds well to washes and drybrushing, and due to the limited power of our eyes mistakes are less noticeable! I'm by no means an expert but hopefully this guide should serve to show that it's possible to get reasonable results with relatively little time and effort.
STEP 1: Miniatures & equipment.
You will need the following:
-
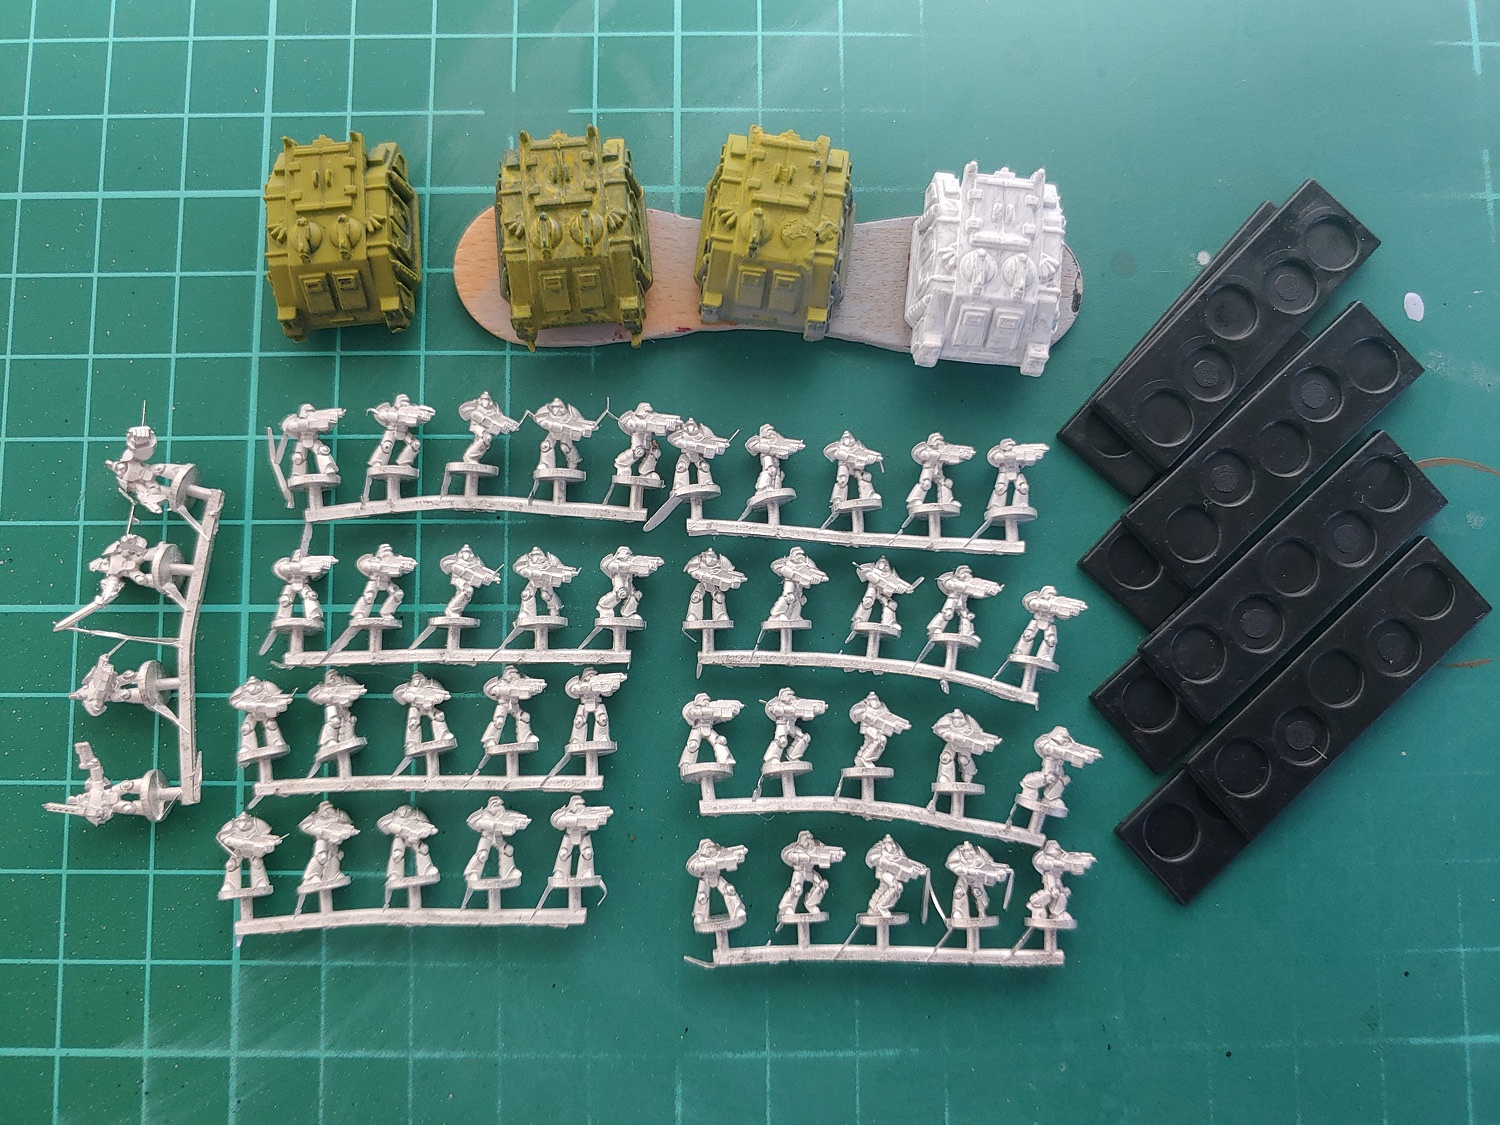
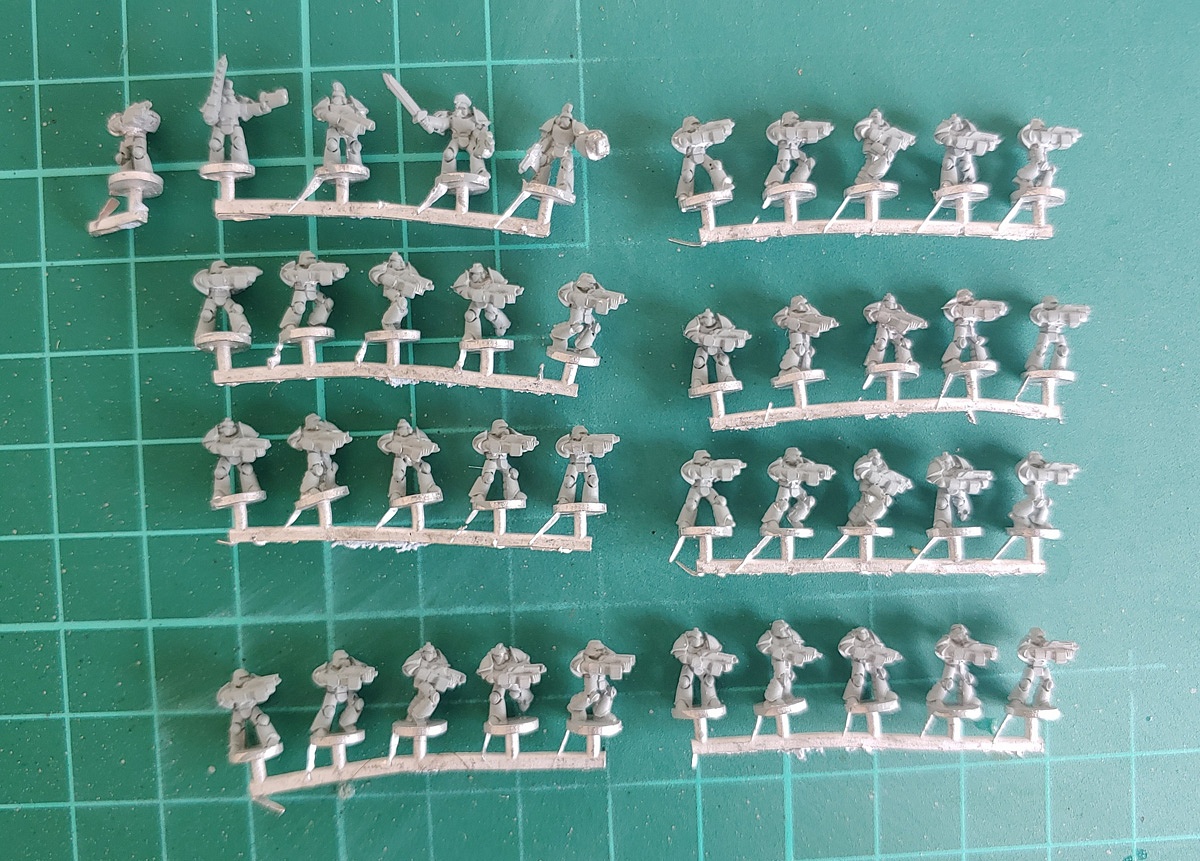
Miniatures! The important part. 6mm scale miniatures from the various iterations of Space Marine are available from eBay. There are also a wide range of smaller companies now producing 'Space Knight' type miniatures which can serve as excellent proxies. The infantry miniatures below are from Vanguard Miniatures, the tanks are classic
GW miniatures (and came 2nd hand in that green colour, it wasn't me! Just needed some purple and a Grief Bringers fan perhaps?). Follow this link for more info on what is available:
https://www.dakkadakka.com/dakkaforum/posts/list/751316.page
-
Usual hobby tools -There isn't really anything you should need at this scale beyond items that will already be in a miniature painters arsenal. A brush with a very fine head, otherwise the only other item (depending on your eyesight requirements) might be a modelling magnifying glass. These are available from most arts and crafts shops and can help if your eyes aren't as young as they used to be! (I find they help a little if your eyes are tired).
STEP 2: Preparation
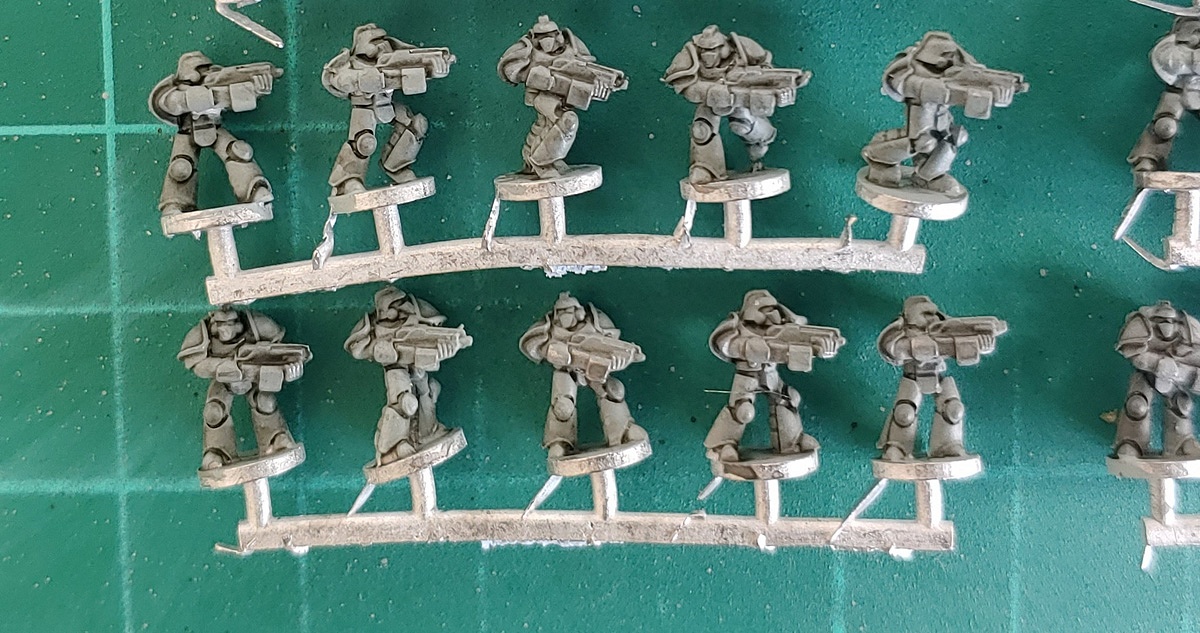
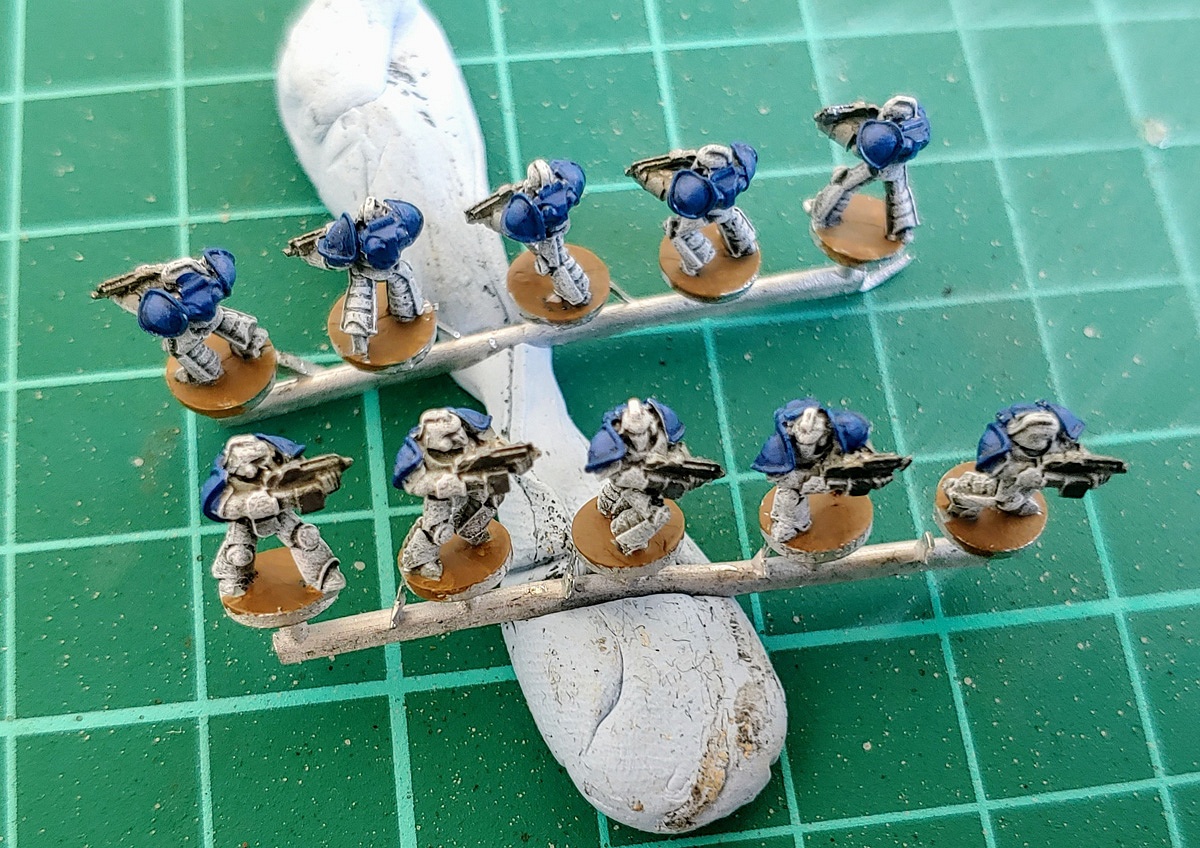
- Get everything out and ready. I find it easier to paint the miniatures still on their sprue, but you can take them off and mount them on cocktail sticks, or even paint them directly on the base.
- These miniatures did have a little flash, so clean that up with some clippers or a metal file.
 STEP 3: Undercoat
- As with all miniature painting, a base coat helps as a primer for subsequent layers. I have used a very little
GW Celestial Grey as a base, applied with a brush, because these guys will be Pre-Heresy World Eaters and have a very light finish. Other legions like Dark Angels, Raven Guard etc. would have had a black undercoat. You might also want to use a spray undercoat or airbrush, although I usually find this overkill unless you are painting vast quantities of miniatures at once.
 STEP 4: Wash
- A dark black or brown wash all over the miniatures. Don't worry about laying this on a little thick. I have used Army Painter dark wash, but you could equally use
GW Badad Black, Nuln Oil or Tamiya Smoke.
 STEP 5: Drybrush
- Apply a light drybrush of the final, predominant armour colour. Don't go to heavy, the previous wash should still be visible in the inset areas.
STEP 6: Apply any other further details
- This can include shoulder pads, backpack and weapons, depending on the Legion colour requirement. In the example below, I have picked out the shoulder pads with a Regal Blue/Ultramarine mix, the weapons with a silver metallic.
I've also painted the base area around the marines feet while they are still on the sprue, which I find easier to accomplish at this point of the process.
Additional step: You might also want to add a wash to any strong colours at this point (e.g. the shoulder pad) followed by a single highlight. This is optional, and probably only noticeable when zoomed in with a camera shot. If you're feeling really adventurous, details like shoulder pads markings, or picking out officers, can also be added!
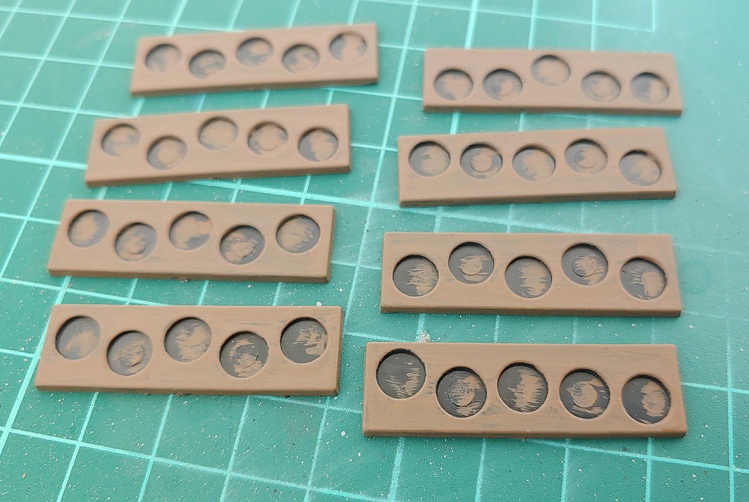
 STEP 7: Bases preparation
- Again, because it reduces the opportunity to destroy your hard work with a misplaced brush later on, I find it easier to apply a 'base' colour to the plastic bases.
 STEP 8: Varnish
- Because I have painted the miniatures on a sprue and now need to remove them (as well as them being metal) now is a good time to varnish. I use a Vallejo satin varnish, applied by brush, but this is entirely down to personal preference.
- Remove the miniatures from the sprue.
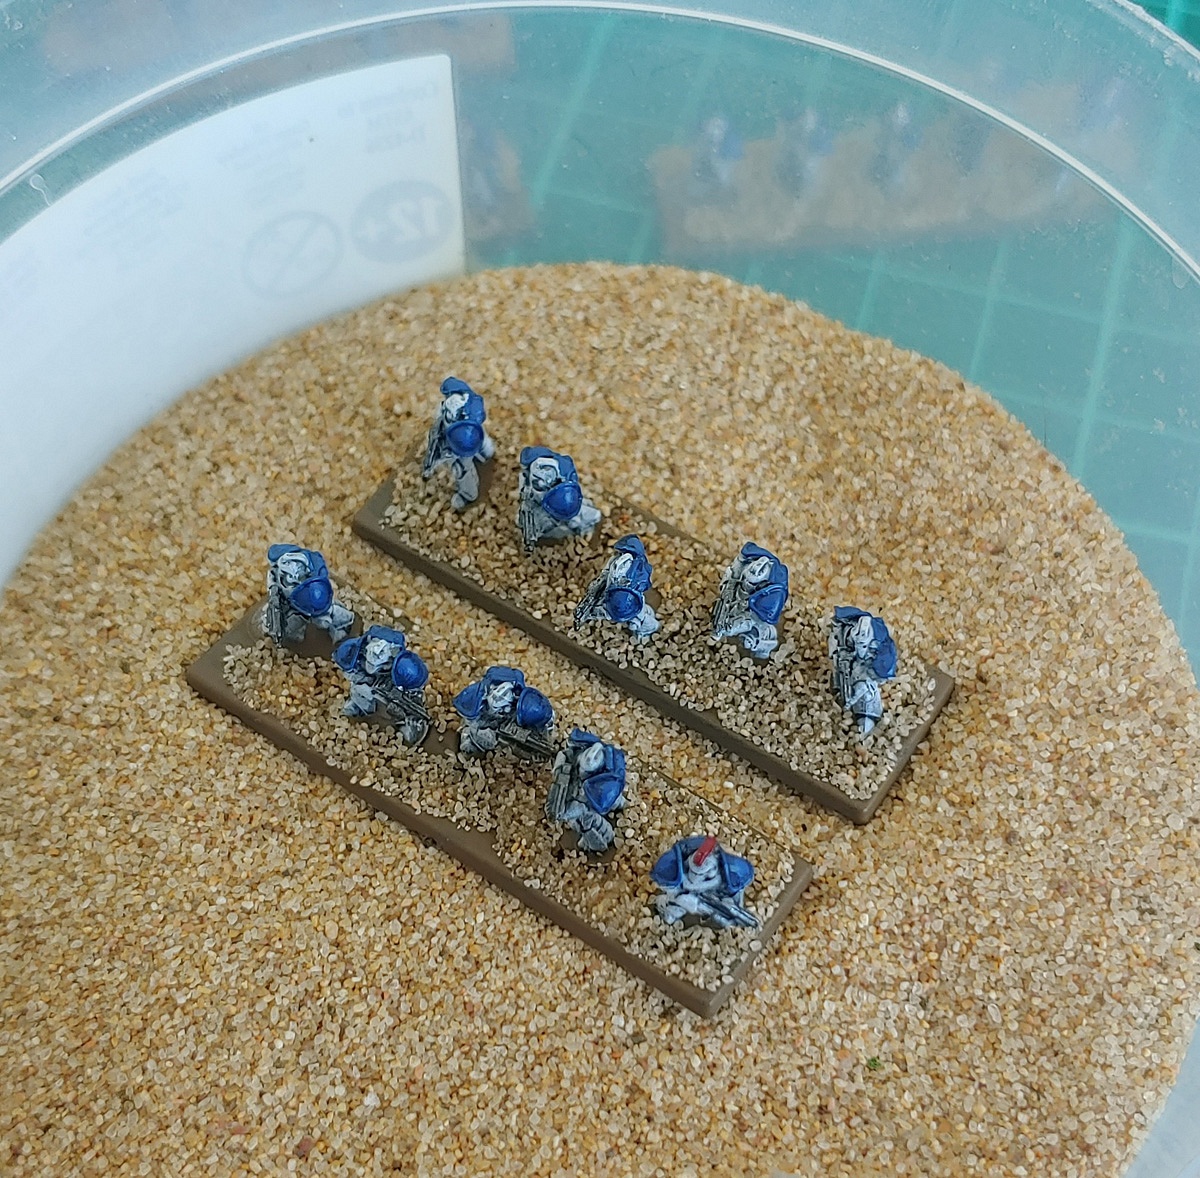
STEP 9: Miniature arrangement
- I've added this as an additional step, even though it isn't strictly necessary. As bases in Epic are almost a mini diorama (you have an entire squad on one plastic base) I usually array the miniatures next to the base and line them up in a 'dry run' before gluing them in place. As the miniatures in this example have different poses, this means I can have some bases that have running marines, others that are all firing, some advancing steadily etc.
STEP 10: Basing
- Again this can be done in a variety of different ways, but after gluing the miniatures in place on the base I usually cover the base in PVA and then put them in a pot of sand (see below).
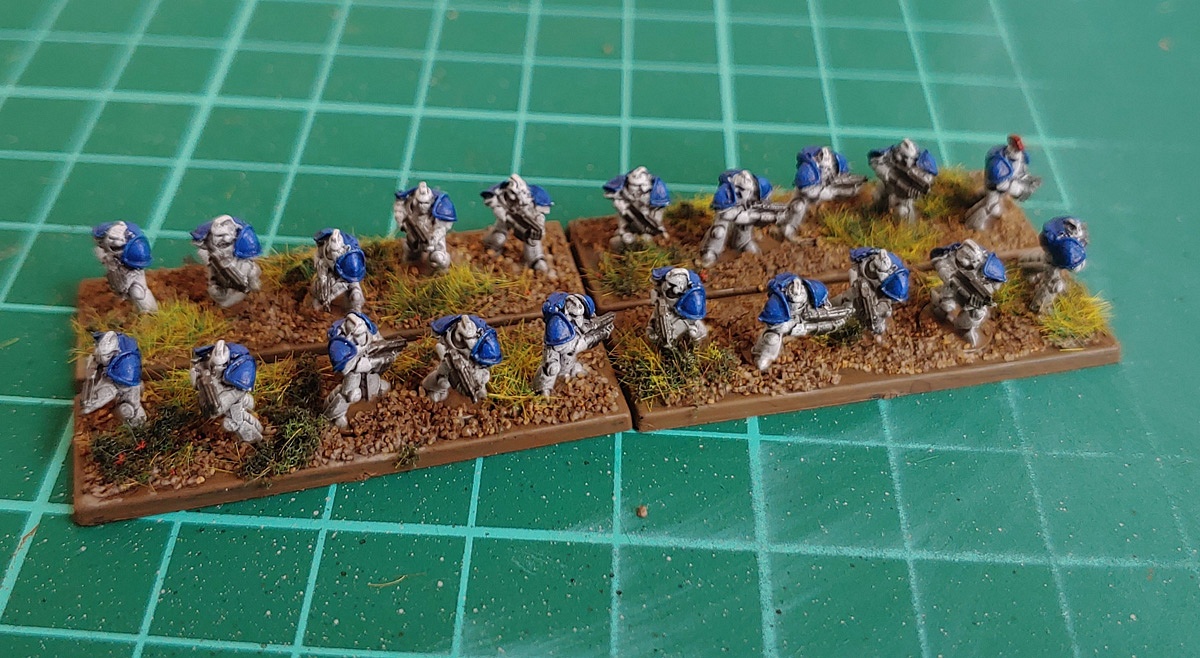
- After drying, shake off the excess and use a strong dark brown wash to go over the base. This will help to cement the sand in place and also add a bit of texture.
Additional: You can also add a quick drybrush of lighter browns to the bast as well as some flock (bearing in mind the scale, as small grass tufts can become large hedges for small 6mm guys!)
And finished!
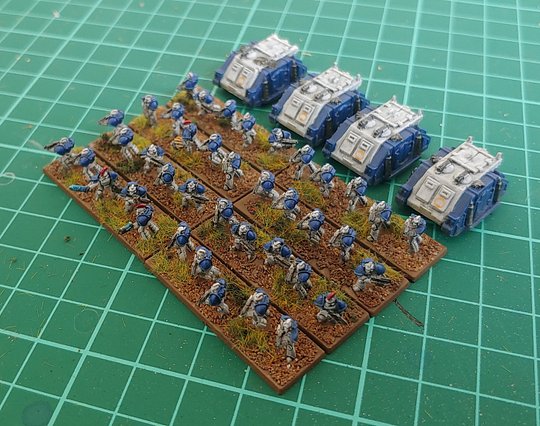
The miniatures below were created using these steps. Twenty of the Emperor's finest in a relatively short space of time!
And a full demi-company and their transports. I'll write a tutorial for the vehicles at some point, although those are much more straightforward than the infantry to paint.
Hopefully this guide was useful for anyone wanting to give Epic painting a go. Any questions, please let me know!


