Forum adverts like this one are shown to any user who is not logged in. Join us by filling out a tiny 3 field form and you will get your own, free, dakka user account which gives a good range of benefits to you:
No adverts like this in the forums anymore.
Times and dates in your local timezone.
Full tracking of what you have read so you can skip to your first unread post, easily see what has changed since you last logged in, and easily see what is new at a glance.
Email notifications for threads you want to watch closely.
Being a part of the oldest wargaming community on the net.
If you are already a member then feel free to login now.
On the one hand, if it’s hard to get a paint brush to, people aren’t going to see it so dont sweat it too much. On the other hand, if the base is getting in the way, then paint the model before gluing it down?
It means a slightly different workflow, and there is a small risk of getting basing materials over your paint job, if that can help embed the model in the scenic base as well
This message was edited 1 time. Last update was at 2026/05/07 06:49:19
Please excuse any spelling errors. I use a tablet frequently and software keyboards are a pain!
JoshInJapan wrote: It's kind of like cheating, but if you start with a very dark basecoat (I always prime in black), it's easier to hide those difficult to reach spots.
100% agree. Black primer hides a multitude of sins.
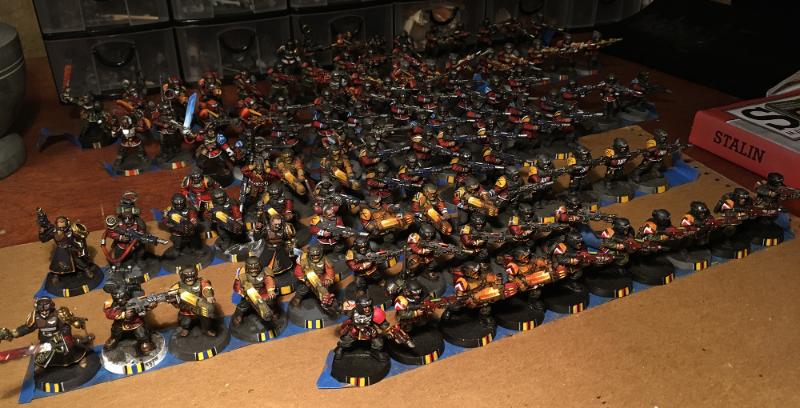
lord marshial thomas wrote: can i please get some tips on how to easily paint between the legs of imperial guardsmen like i can do it but it is very difficult
What techniques are you using? What's your process?
Is there a particular part of the process where you are having difficulty getting between the legs?
I usually find 'coarse work' like basecoating and washing is easy enough to get in between the legs. That's usually all you need for between the legs.
More advanced/careful techniques I might use on a miniature, such as edge highlighting you can just skip the legs and absolutely no one will ever notice, and fewer still will even care. Especially for mooks.
If you really want to get between the legs, such as for a character or they've got a cape or something that makes it especially difficult - then you can use sub assemblies (painting the cape and the body before gluing those pieces together), or leave the model off of the base whilst you paint it.
When I assemble a mini now I don't glue it directly to the base, instead I drill into the sole of their foot and glue in a short length of paperclip (called a 'pin'). I then drill a hole in their base, push the pin through and bend it over underneath. This holds your mini onto the base so you can use it in gaming unpainted. Then, when you get to paint it, you can simply unbend the pin and remove the mini for painting. The pin also gives you something to hold onto - I usually skip it into a cork for painting.
If the mini is rotating a bit, you can either put a second pin in the other foot (bit of a faff), or put a small bit of glue on either foot. Just enough to keep it from rotating but little enough you can easily break the connection later.
Even after finishing painting a model I keep this bend-over-pin method of securing them to the base, that way it would be easy to rebase them at some point in the future if I need to!
Positioning your hands stabled and anchored, that will help with the hard to reach places, the paintbrush hand should be grounded solid, and not moving but for the fingers that hold the brush, and the hand that holds the mini should position the mini for each brushstroke, give it try.
In the future try this, prime your project with the darker-version of the primary color of the uniform, it will save you time.
For example:
I picked a color scheme that would allow me not to waste time with the undercuts or in hard to reach places.
I primed the guard with dark gray (the color of the uniform) the boots are also gray and I do not have to paint them.
If I want the boots to be different, a quick brown or black wash over the dark gray and usually it is good enough.
You can see that everything below the belt is primer only.
So I am free to focus on the fun bits, the details of the shirt, cuffs, faces, and especially the shoulder pads.
This golden rule is of great value, and I am trying to keep it in mind: LESS IS MORE
I do not follow "miniature painting youtbers" and find most of them annoying, however there is wisdom here:


 Cadre Coronal Afterglow w1;d0;l0