Having found some awesome resin bases from back to base-ix for my Blood Angels, I was a bit cheesed off when
GW announced that
BA marines were now on 32mm bases a size largely unavailable from third party retailers. Rather than wait for back to base-ix to start producing 32mm ruin bases, I decided to take matters into my own hands and this is what I did.
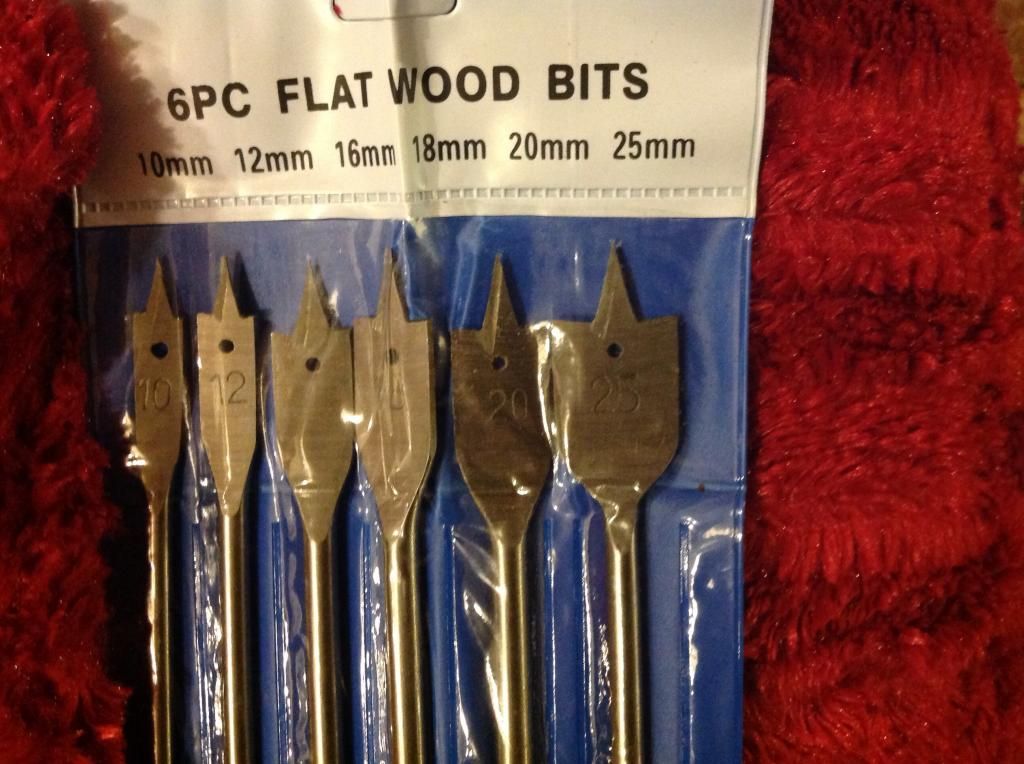
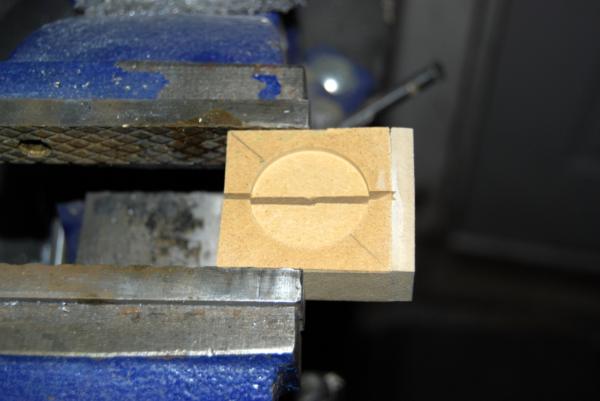
To do this conversion you will need a 32mm base, a 25mm flat wood drill bit (pictured below) with attached drill, some thin plasticard or similar.
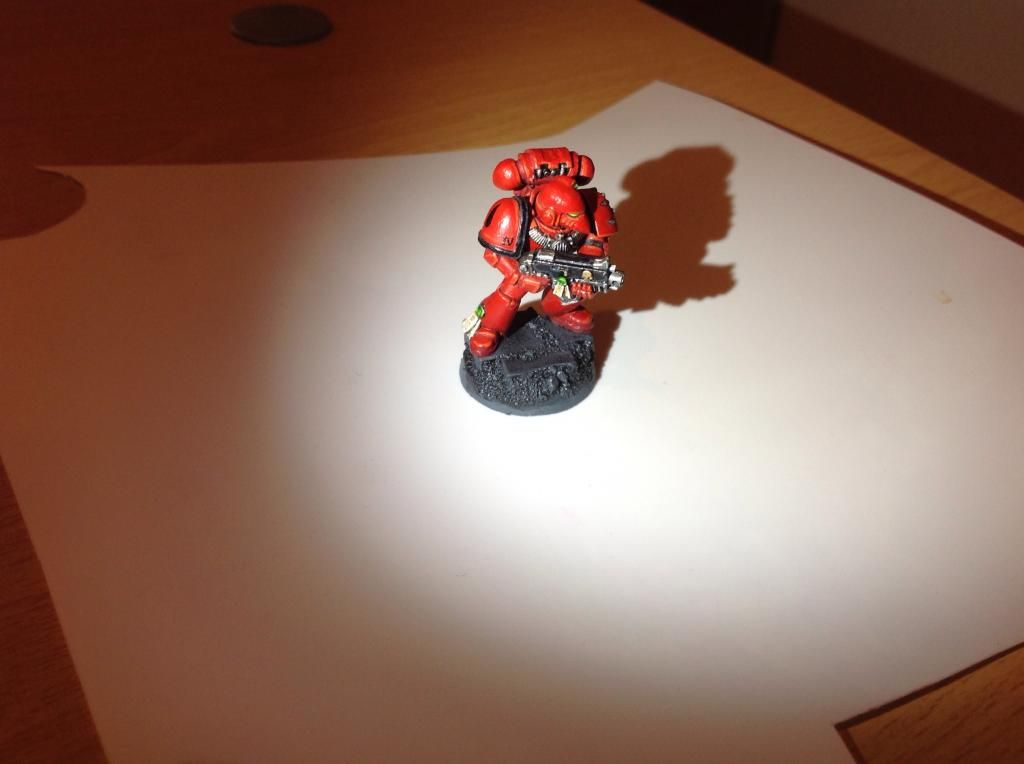
Okay so here you can see my current bases as attached to a marine:
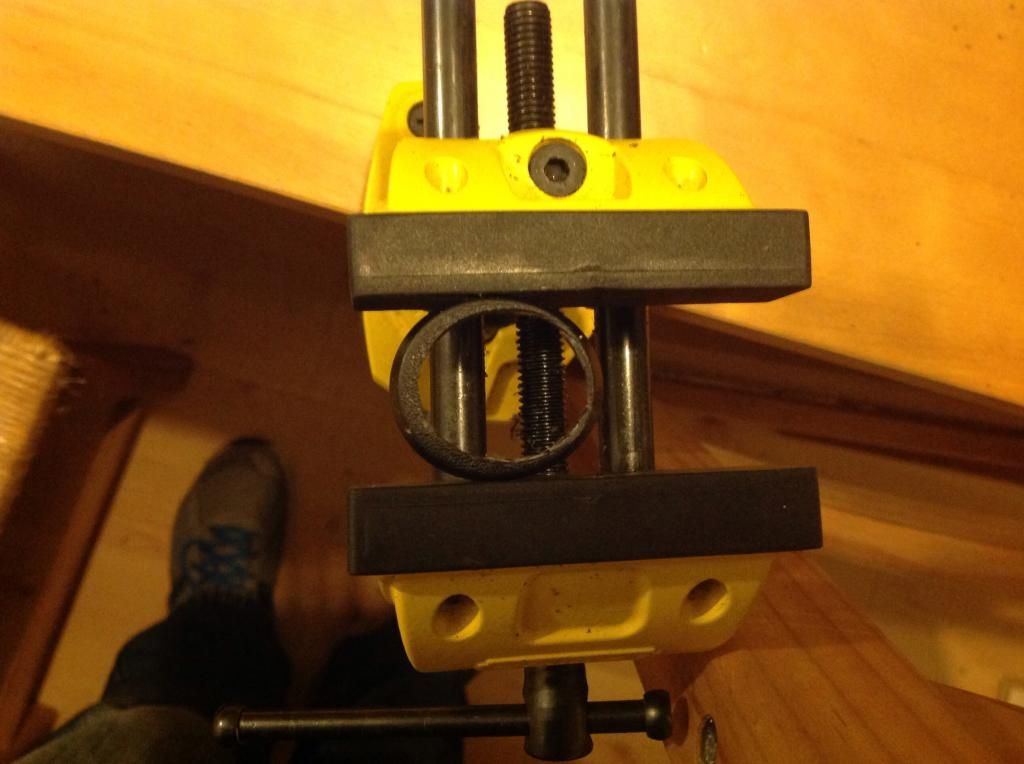
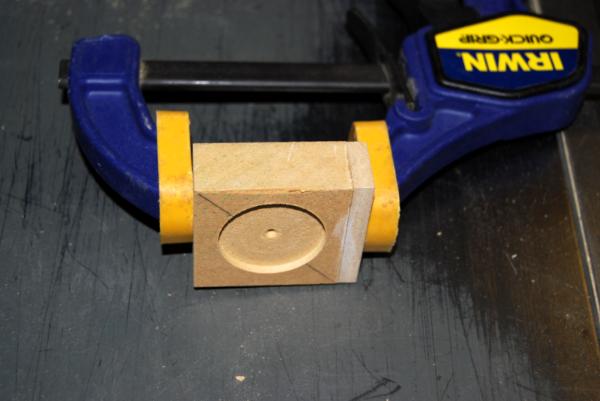
First of all you need to secure the 32mm base for drilling; I used my desk vice however I had to drill very slowly as it didn't hold the base too well.
if anyone comes up with a better way of securing the bases for drilling please feel free to let me know and I'll add it in here!
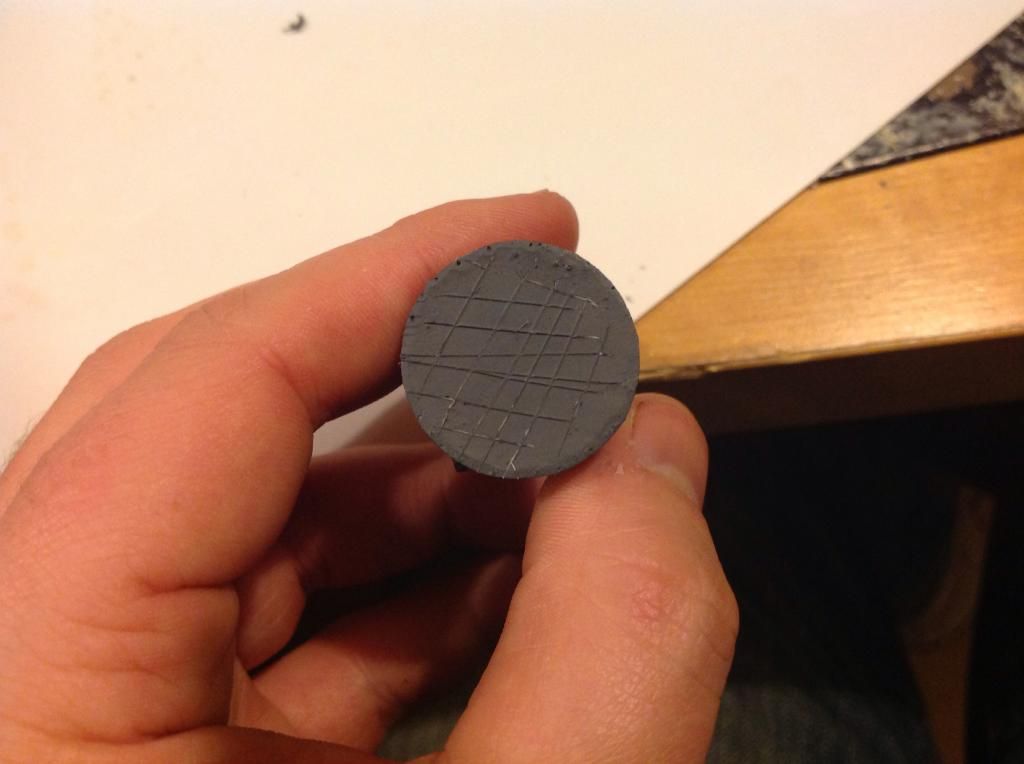
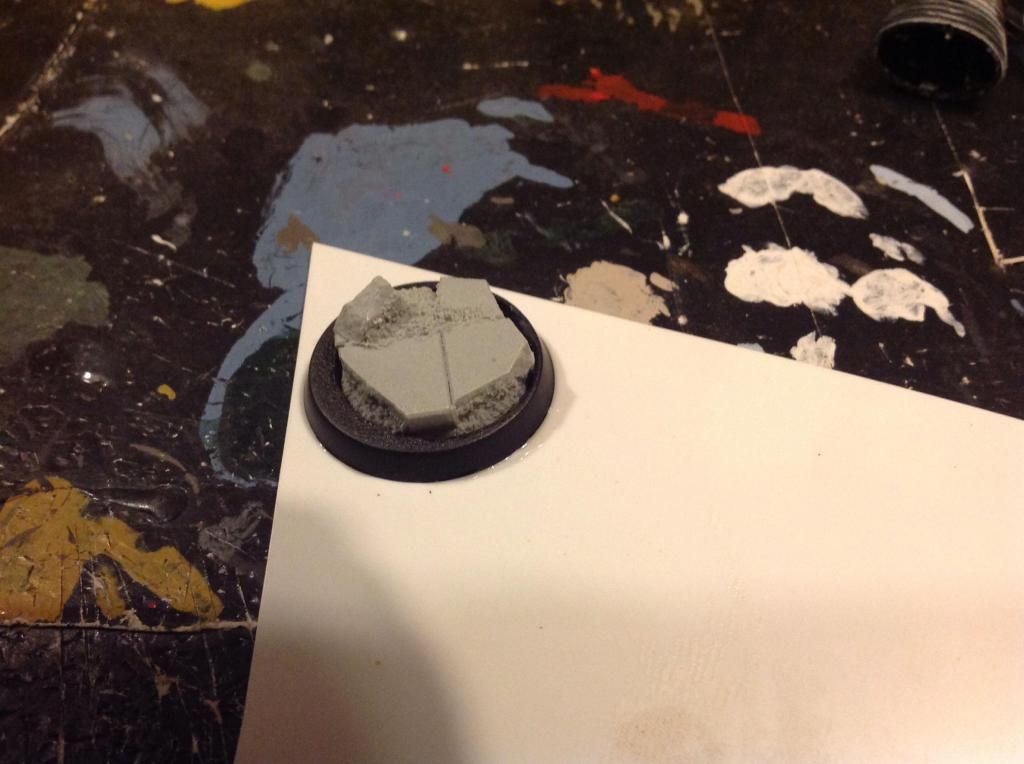
Note I have purposely left my hole off centre so that the ruin doesn't look too centred in the finished base as I don't want my ruins to look too precise, but you can position yours to taste.
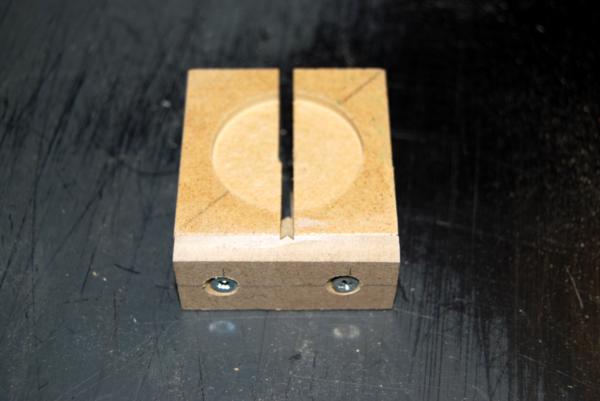
Next I have scored the underside of the resin base to assist sticking, these are often very smooth and shiny and resist glue.
I then stuck the resin scenic base down onto the thin plasticard with superglue and left it to dry. Once dry I tested the 32mm ring around it, once it fit I applied glue to the bottom of the 32mm ring and also to the rim of the drilled hole then pushed it down firmly and left it to dry once more.
Then all you need to do is cut it out around the base and green stuff around the gaps between the two bases, before covering the edges in sand.
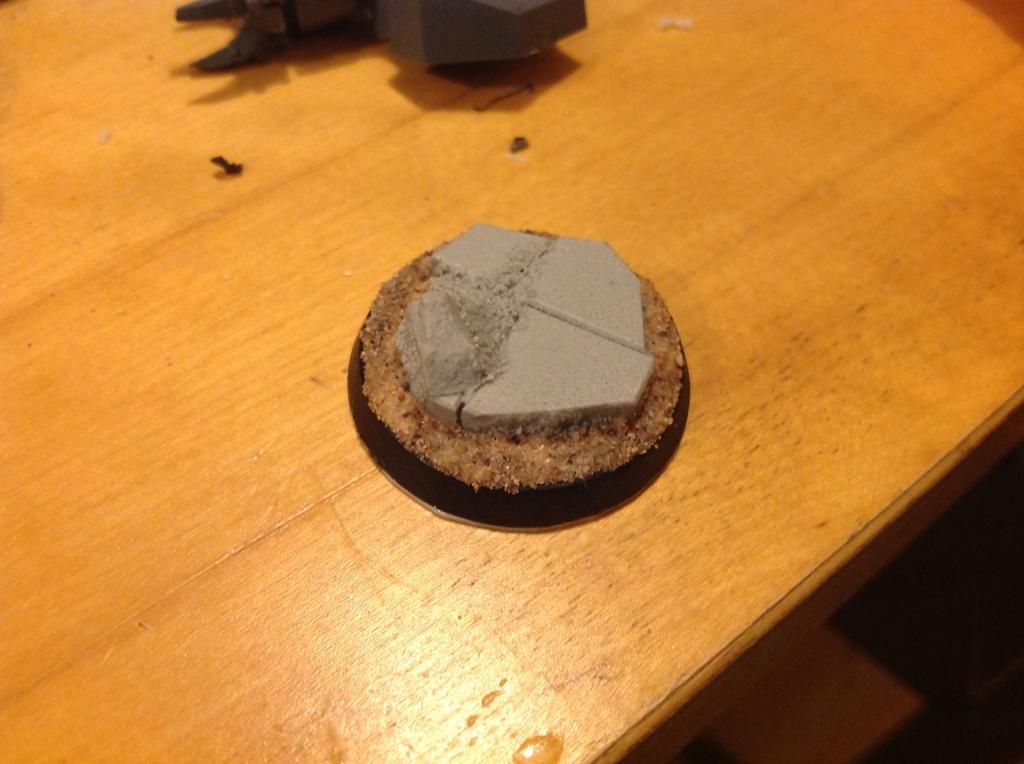
There you go, your 25mm resin scenic base is now 32mm.


 Corbulo is practicaly Jesus with a chainsword

 ~2800 points