| Author |
Message |
 |
|
|
|
|
Advert
|
Forum adverts like this one are shown to any user who is not logged in. Join us by filling out a tiny 3 field form and you will get your own, free, dakka user account which gives a good range of benefits to you:
- No adverts like this in the forums anymore.
- Times and dates in your local timezone.
- Full tracking of what you have read so you can skip to your first unread post, easily see what has changed since you last logged in, and easily see what is new at a glance.
- Email notifications for threads you want to watch closely.
- Being a part of the oldest wargaming community on the net.
If you are already a member then feel free to login now. |
|
 |
2011/01/10 01:42:12
Subject: ORC BOY PAINTING! Table top Quality orcs step by step guide!
|
|

Chosen Baal Sec Youngblood
|
Heya guys n girls, hope you all find something out of this guide if you spend the time to read it, be you a novice or veteran at painting!
All C&C&C welcome! After all it's what allows us to grow as painters knowing where to improve 
Here is my step by step (apologies if i have a million steps!!!) walk through on painting a table top Orc!!!  at least i hope you agree with me that it is table top quality!!
On a quick side note before i get started here, i dont actually paint Orcs as my army, my army is currently being planned out with a colour scheme for my own successor chapter of the Blood Angels.
OK!!! LETS BEGIN 
=========================================================
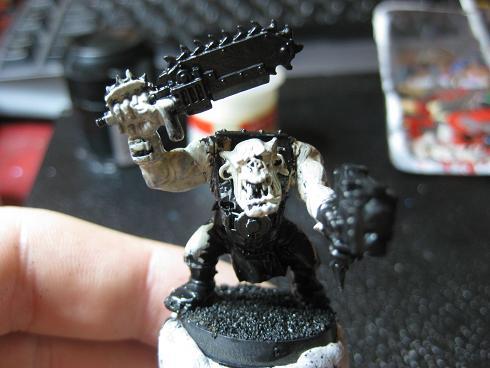
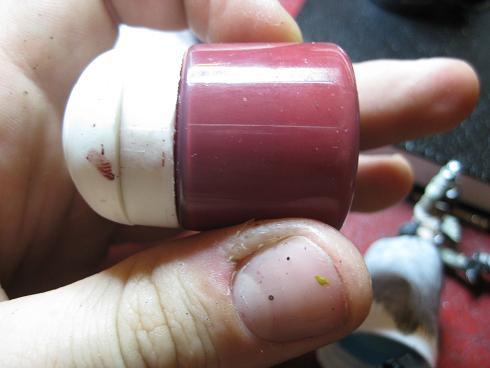
When i paint a single model rather then batch paint, i find i normally have the model mounted on an old soft drink lid or a paint pot.
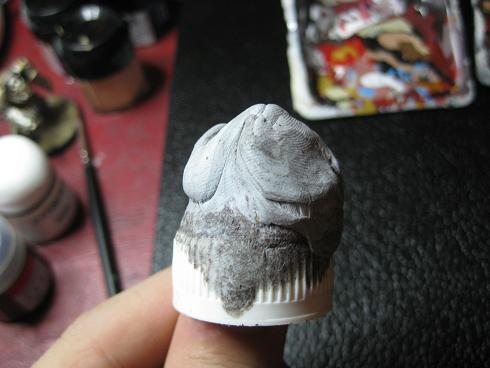
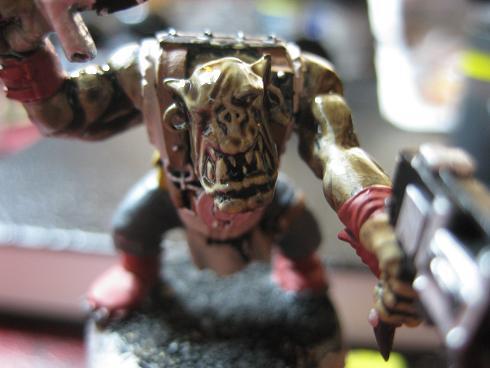
This is the orc that we will be working with 
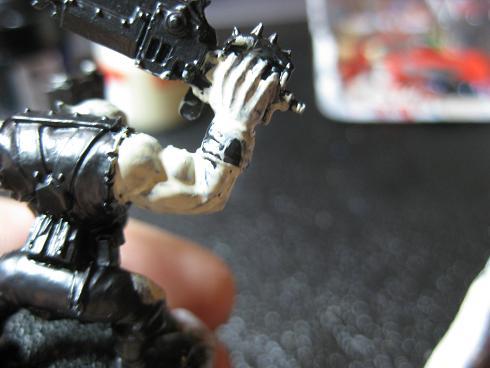
Get your miniature and try to remove all of its mold lines you can get a blade / file to, this will help you apply the paint easily onto the model and will remove the shading from washes pooling around these thin lines on the model where there is supposed to be no shade or highlight!
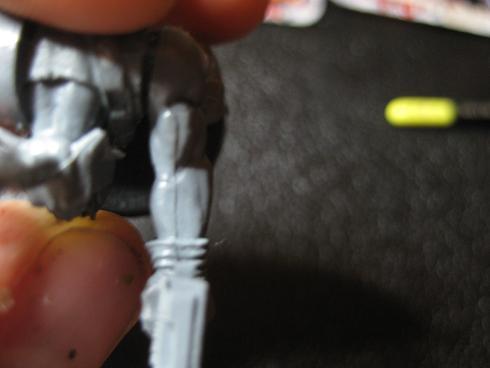 orc with mold lines!
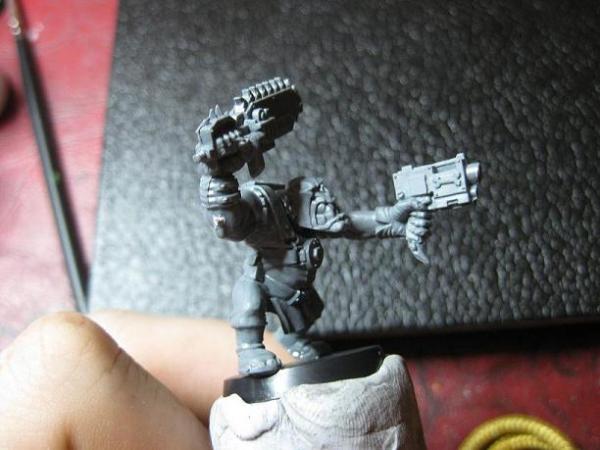
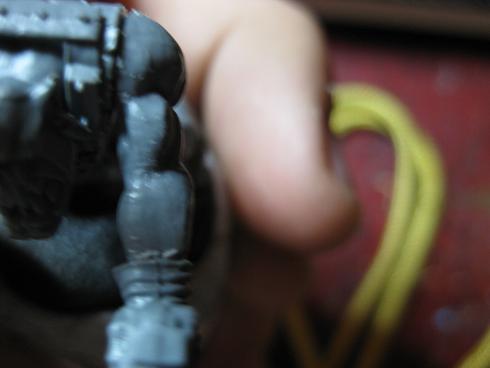 our orc with none!
Ok so now the mold lines are off the arms, the shoulders, the legs and the inner thigh lets base our model!
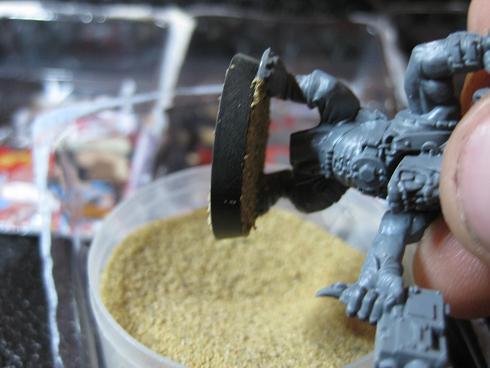
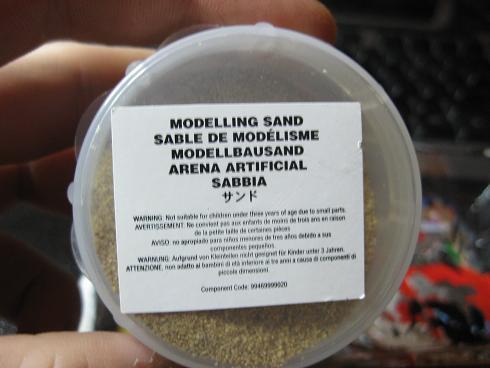 Using the sand i have from the tool kit from GW
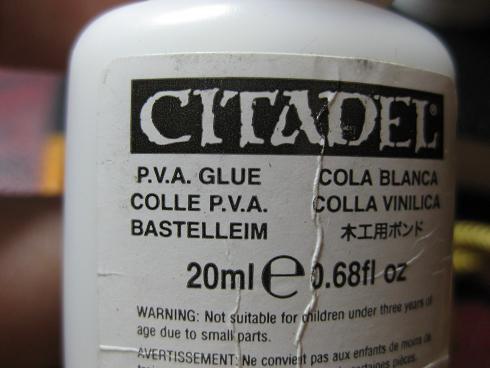 also the PVA glue, any glue is fine
Now you don't have to water your glue down but i like to because i feel it allows me to apply it where i want with more ease.
Next dump the base in the sand tub!!

Now to prevent a mess turn it on its side and tap the excess sand back into the tub.
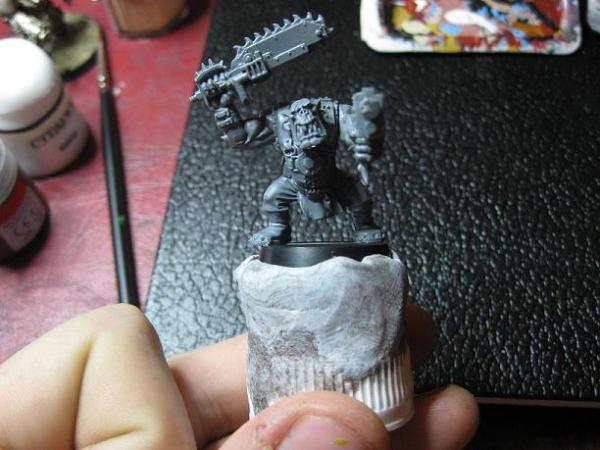
LETS UNDERCOAT OUR MODEL!!!!!
You can use either paint from the pot or use a spray can for the undercoat, i would spray the model however it is late and i dont want to go outside at 3am it will be fine for demonstration purposes to pot paint this.
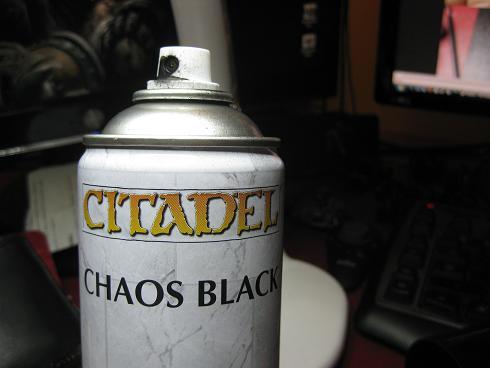 Invest in one of these cans
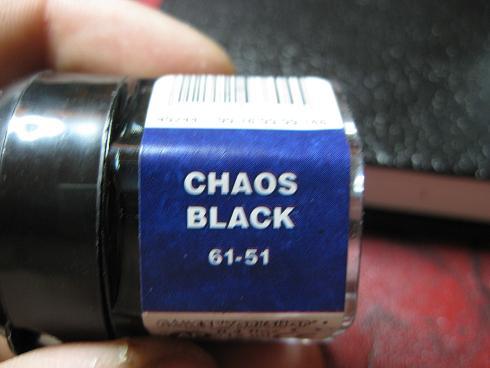 Just using Chaos Black from GW, all of my paints are GW.
 The Basecoat GW brush, again all my brushes are from GW.
When i undercoat i thin the paint down a fair amount more then i normally do with water, dont make the paint too thin or else it wont coat the model!!!
You will know if it's too thin because it will look like this...
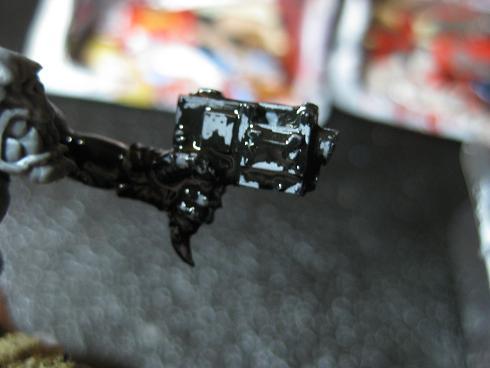 As you can see, the paint isn't sticking to the model where applied, the water in the paint is making it pool to the side and pulling the paint into clumps rather then a consistent surface.
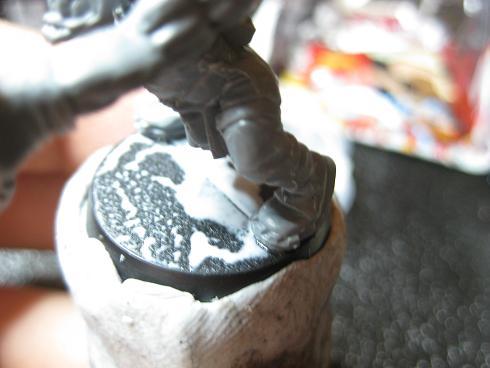
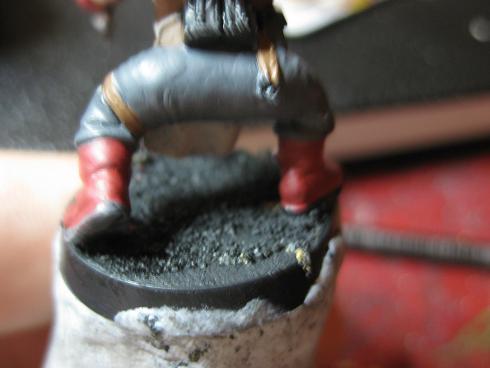
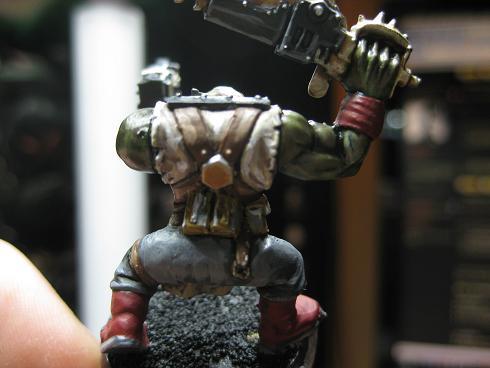
After base coating your model and painting the sand too it will look something like this!
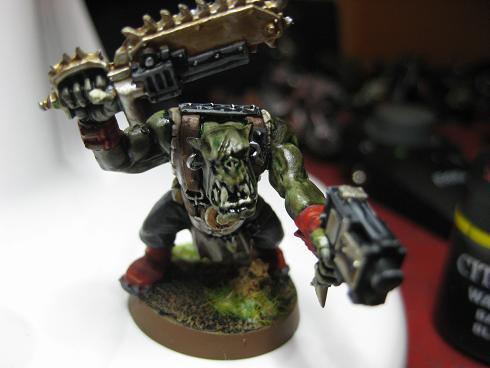
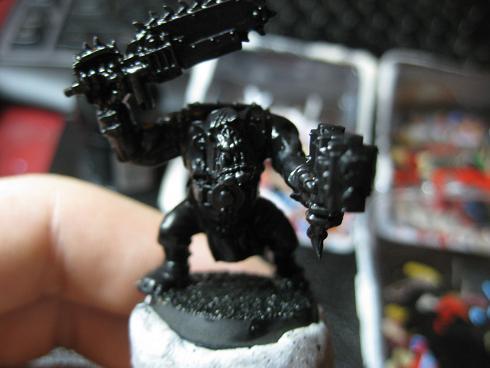 Front on.
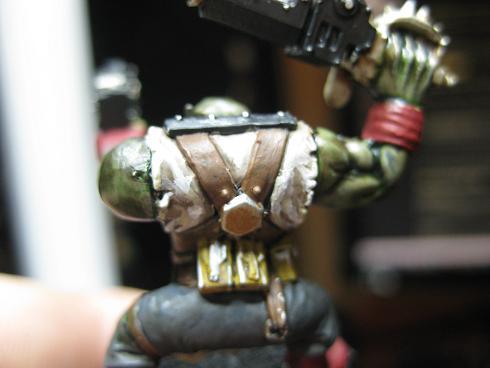
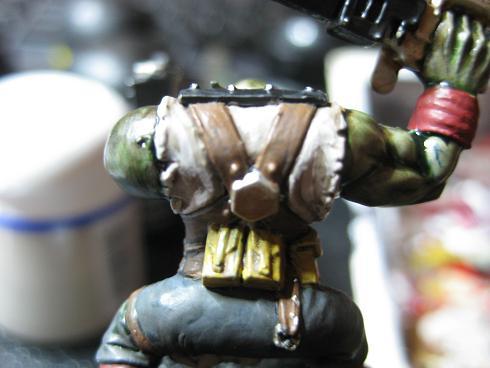
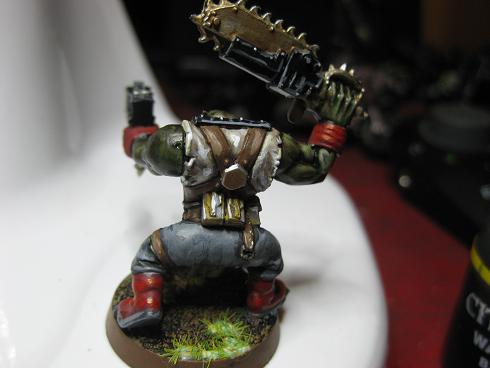
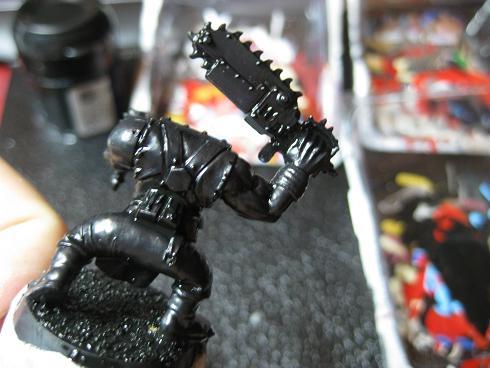 Rear view.
Alrightio! Now we are going to do the base coat of the skin!
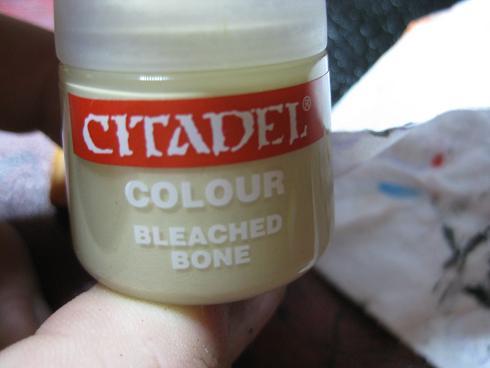 Using bleached bone just over all of the skin areas of the model, dont need to be too precise as its only the first colour and we can fix up anything else along the way or just paint over it with the other bases.
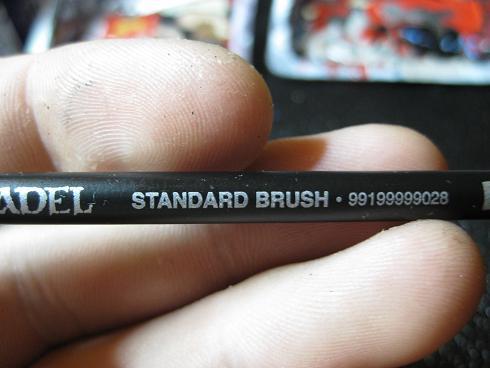 now using just the standard brush from GW
There we have it, our orc's flesh has its base done

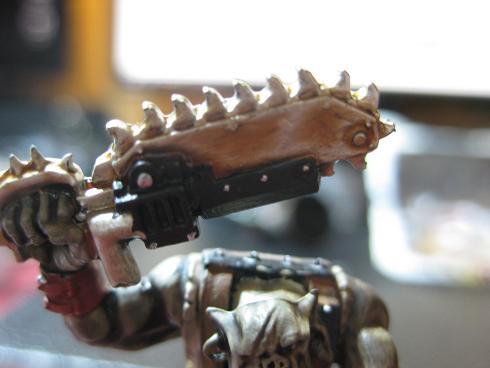
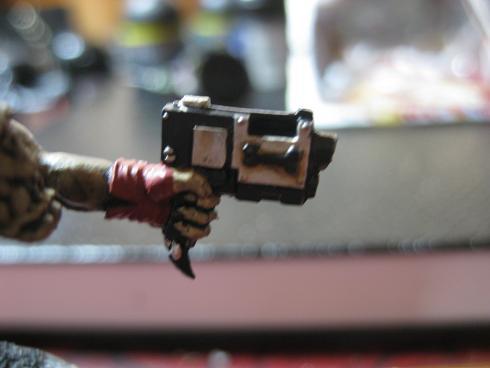
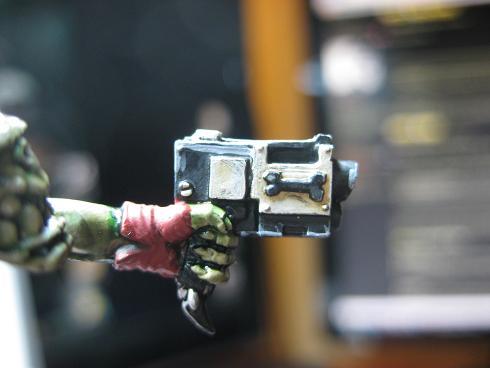
Lets grab our Mithril Silver and apply it to all the areas we want to have metallic.
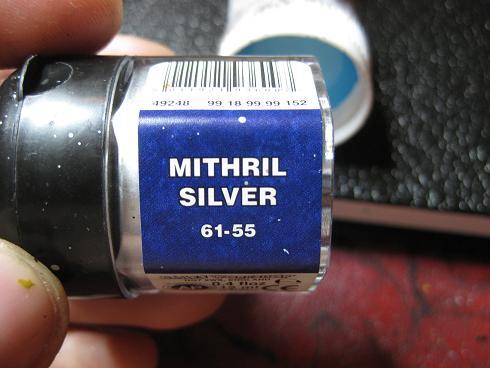
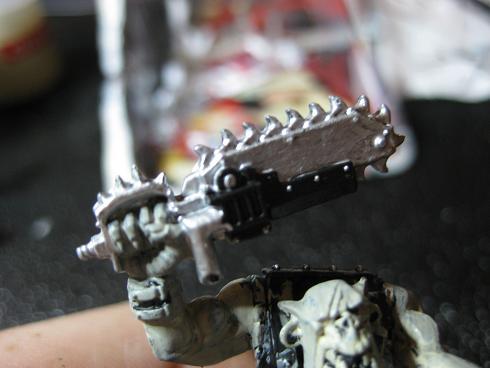 I decided to leave some black areas of the swords casing
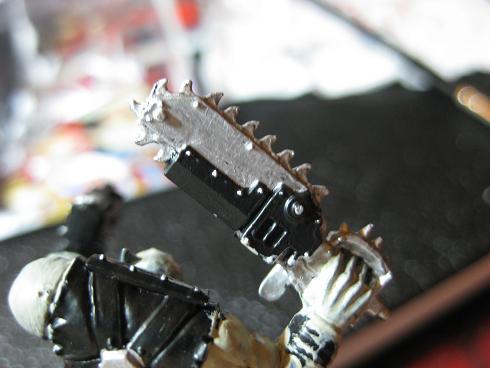
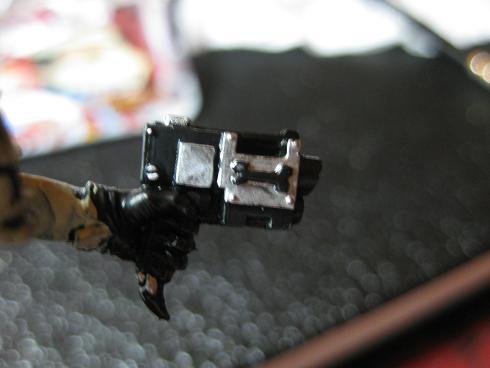 I only painted a few of the casings of the pistol
Now we are going to paint the shirt of our model, we will be using Dheneb Stone for this step.
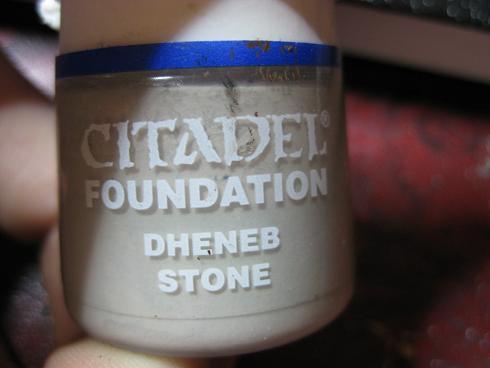
 Still using a standard brush for this, you can always switch to a size that you feel more comfortable with
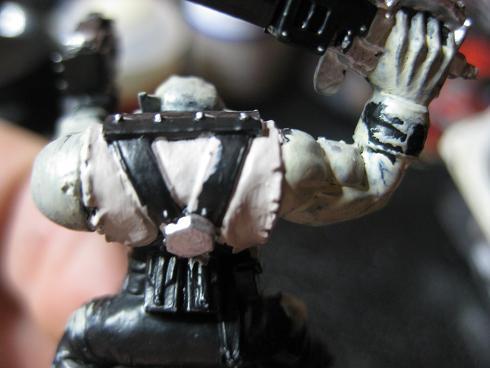
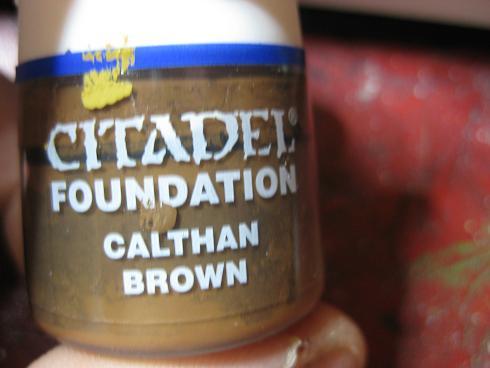
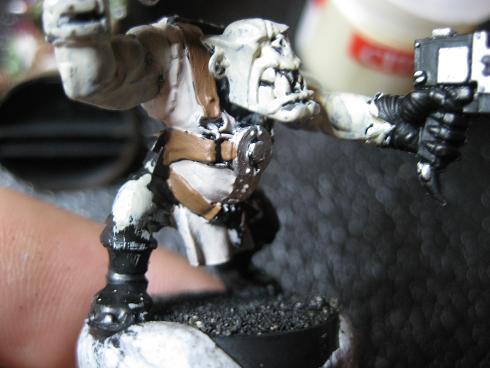
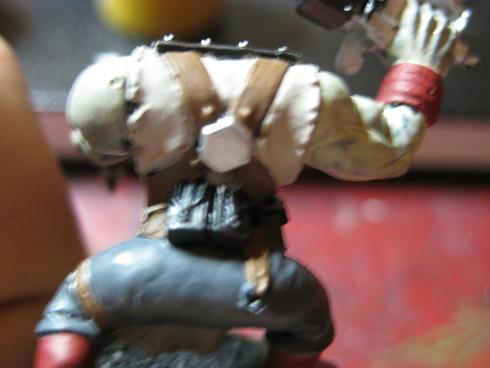
The straps and belts on the model are all going to be painted Calthan Brown.
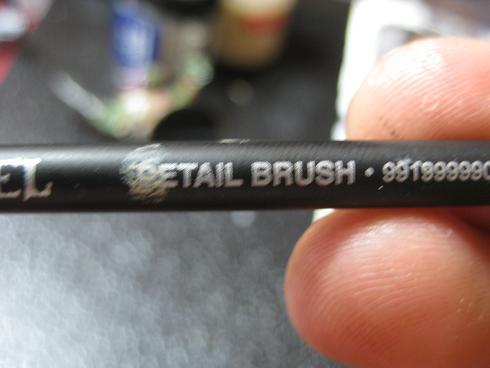 There are some small areas with the belt that you will need to use a finer brush, either the detail
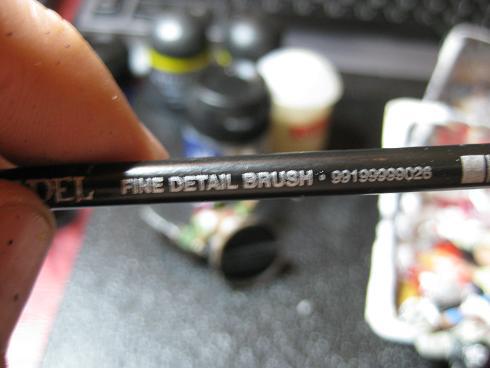 or the fine detail brush.

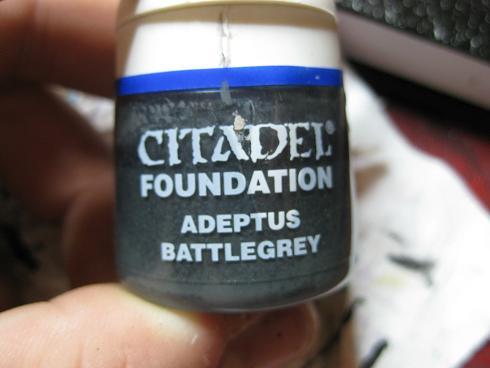
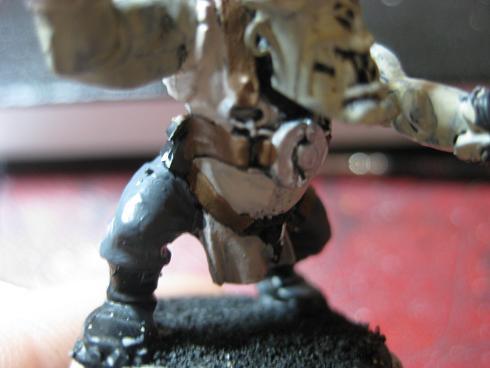
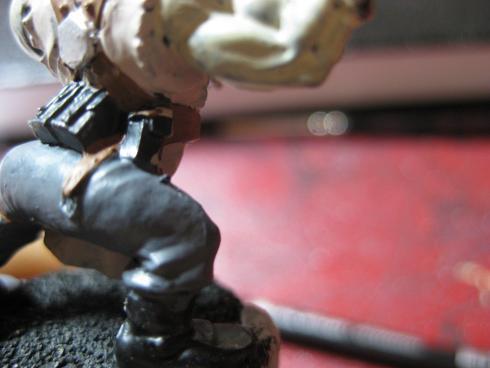
Once the belts and straps have been painted we are going to paint the pants next, using Adeptus Battlegrey
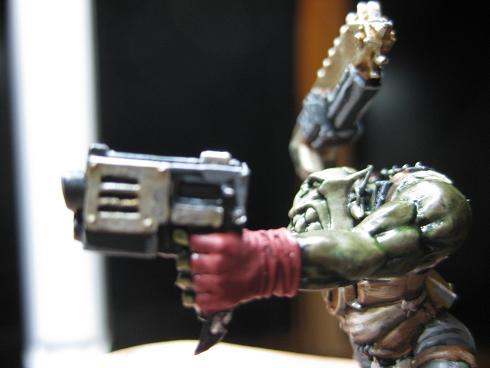
Now we are going to paint our models boots, wristband and glove on the left hand. We will be basing this with Mechrite red, my pot however has no sticker on it anymore.
 Mechrite Red
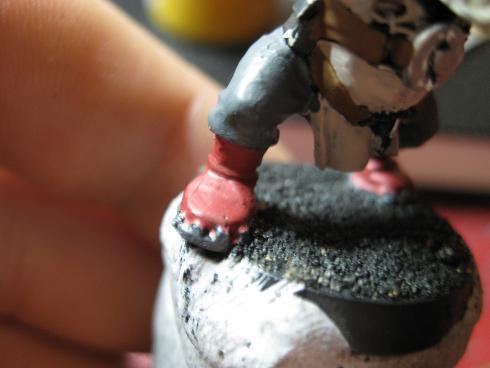 Boots
 Glove
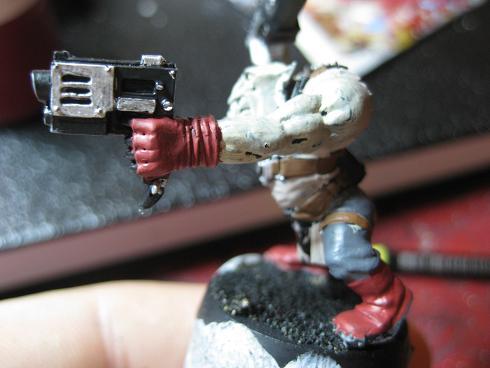
 Wristband
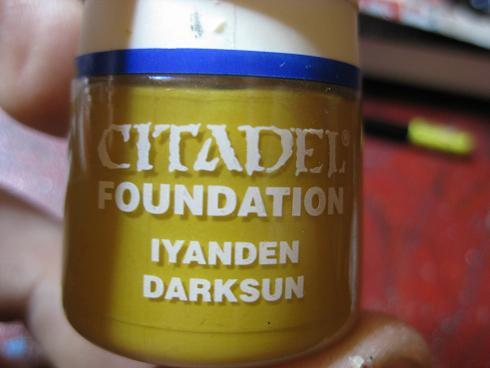
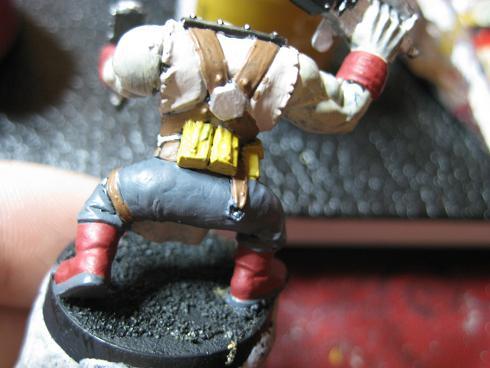
Alright, now lets paint those little pouches on this fella! Grab Iyanden Darksun and this is the base colour
Ok, now lets start applying some washes since we have our base colours all applied to our lovely miniature
Lets start with the first wash, Devlan Mud. If your new to painting you will soon learn that Devlan Mud other washes are a god send! They make painting table top quality a lot less of a pain then going through stage by stage of dark recesses to highlighting around them.
THIS ISN'T TO SAY THAT WASHES = YOU NEVER HAVE TO PAINT!!!!!!!
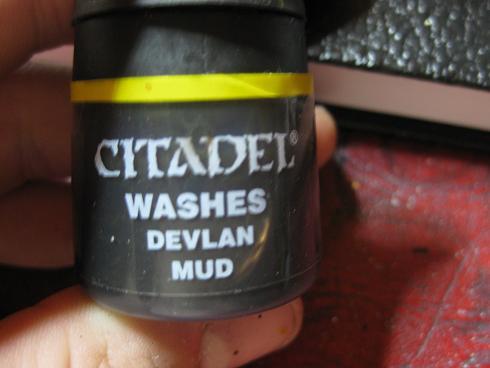 Devlan Mud
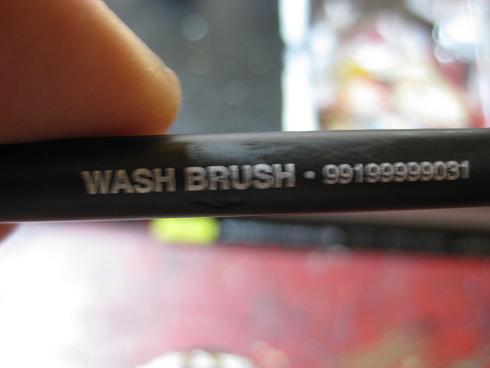 Now we will be using the Wash Brush for this, some people are unsure why to use the wash brush opposed to any other brushes. The wash brush can hold a lot of the wash it self inside the bristles, this is great because it allows your brush more time on the miniature rather then in the pot!
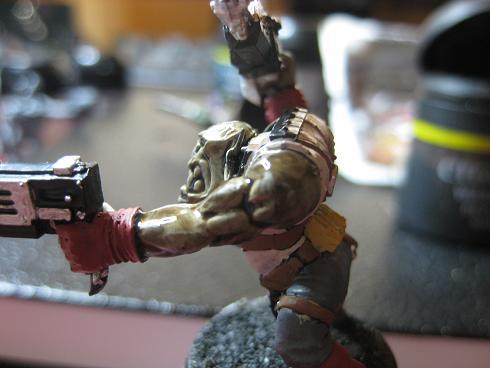
Ok so apply Devlan Mud to the flesh of our model, apply it thick and spread it around into the recesses, this will start to 'muddy' our flesh on the orc.
Also apply to all of the straps and the pants aswell!
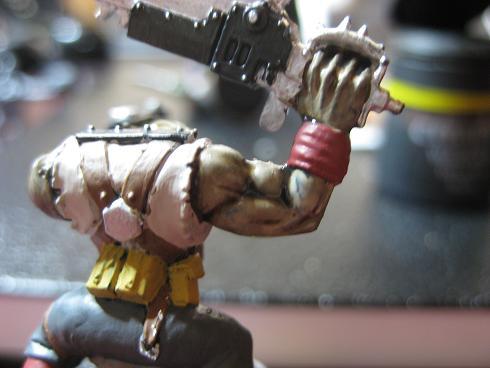
 Apply Devlan Mud to the shirt as well, this will darken it up.
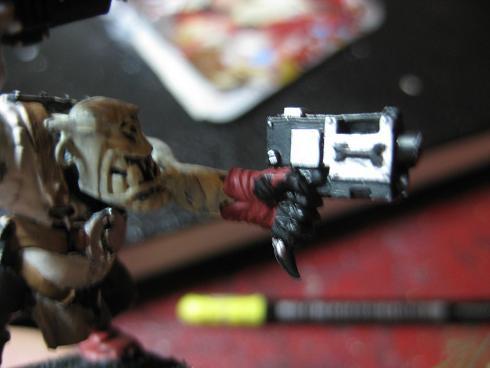
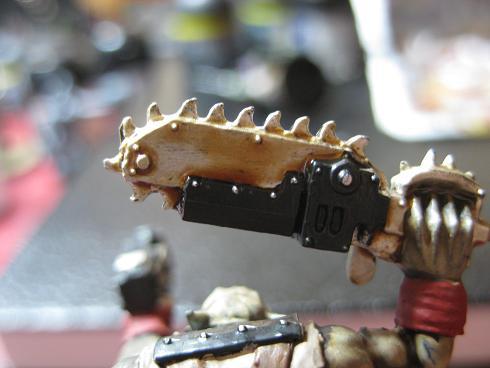
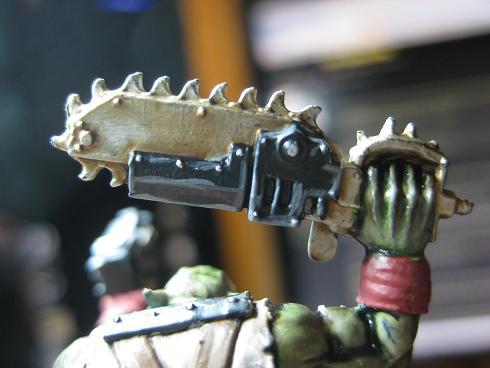
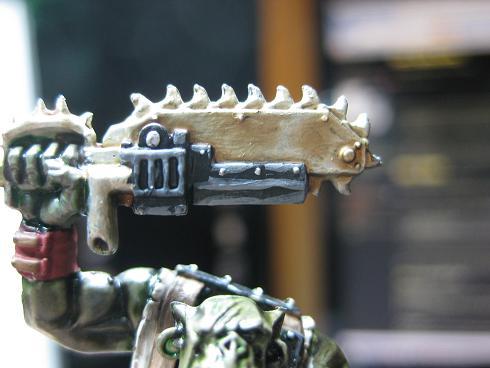
Now apply another wash, Gryphonne Sepia. This wash will be applied to most of our metallic areas we covered earlier.
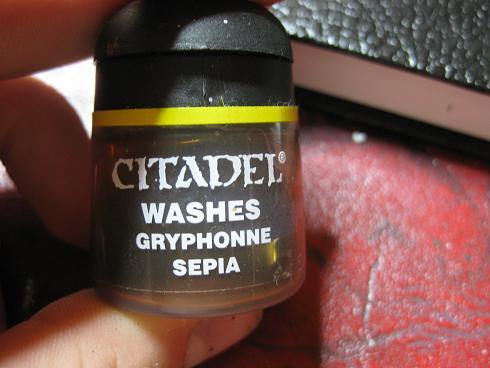
 This gives the effect that the sword is rusted and tarnished
 The gun has some tarnished areas around the welding and fixtures
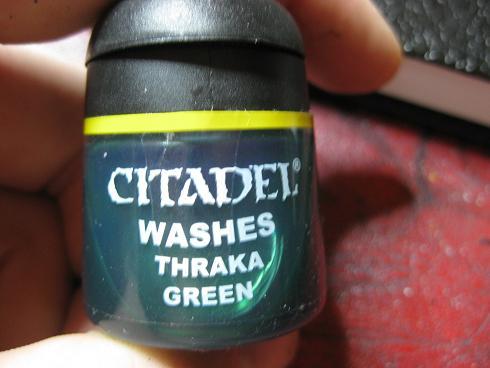
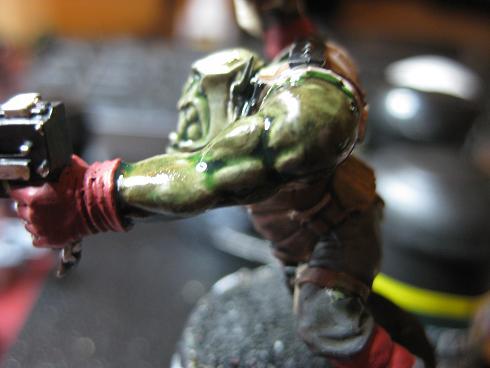
Now apply the wash Thraka Green the all of the skin on our model!!!
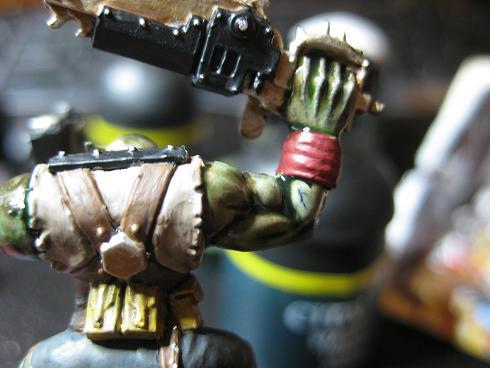
After wash paint more Dheneb Stone onto the shirt, around the middle and raised areas. Try to stay away from where the wash has formed pools of shadow in the recesses or curves.
The cloth and shirt also have some further highlights of Bleached Bone and a few areas have Pure Skull White too.
In a few of these pictures the straps have also had some highlights done to them, with straight calthan and some calthan mixed with bleaced bone.
Lets do the pants highlighting! grab your adeptus battlegrey and paint around and away from all of the recesses, next get Codex grey and highlight all of the raised kinks in the pants.
With the two greys also do highlights on those areas left black on the sword and the pistol.
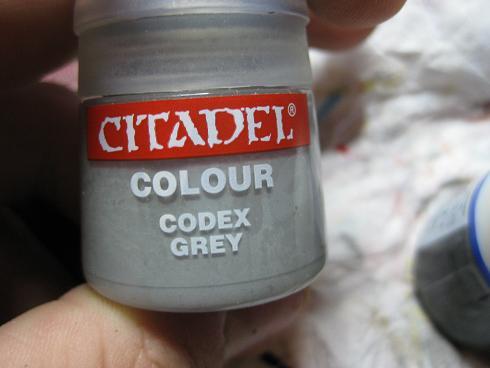
 pants are codex grey highlighted and sword has line lights.
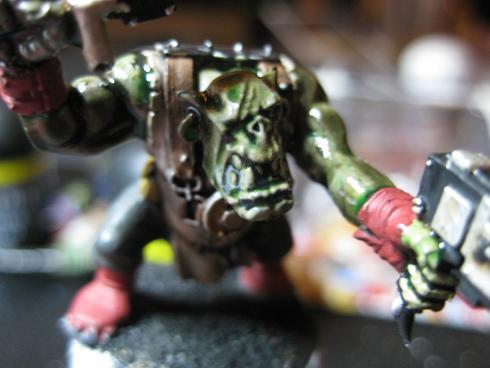
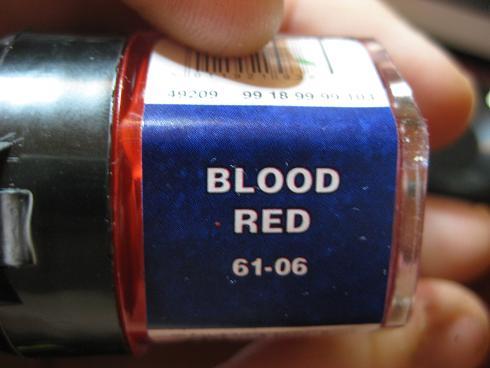
Lets paint our characters eye, he only has a single eye due to his scars across the face. I will be using blood red as well as a fine detail brush.
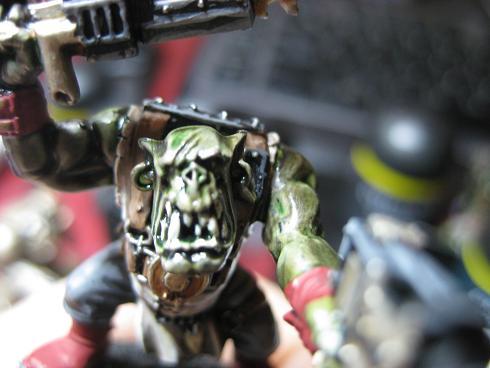 Before
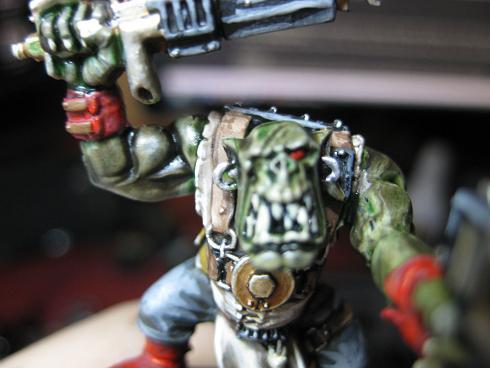 After
How about we lighten up those red items of clothing of his, using blood red paint around the recesses, we are not using a wash here.

WERE ALMOST DONE!!!!!
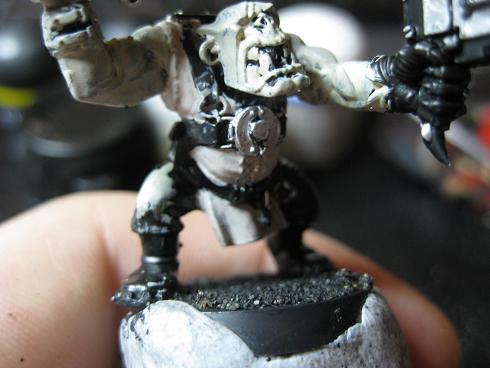
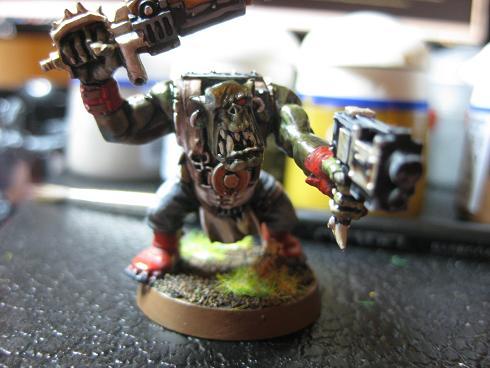
Unfourtuantly i got too carried away in drybrushing the sand on the base that i was unable to take shots during the stages, however the layers of the drybrush are adept battlegrey, iyanden darksun, iyanden mixed with calthan.
Then i have used some PVA and glued a small rock of cork from a cork tile (maybe this could be a good thing to do a tutorial on next...) and glued some static grass on and around it.
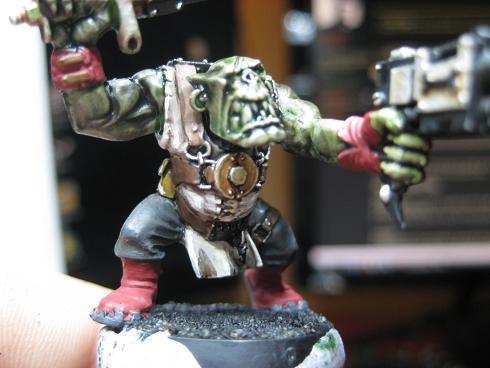
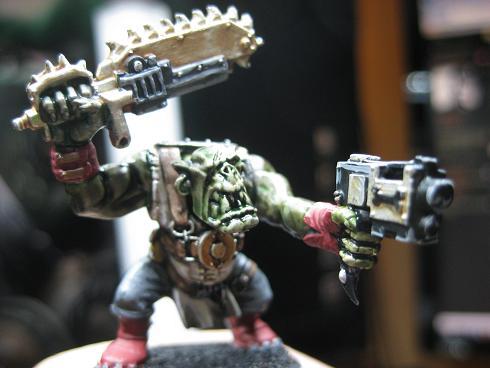
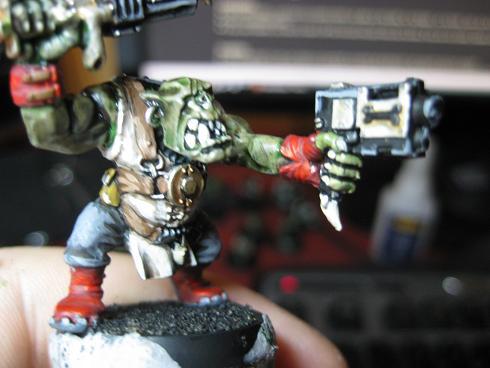
HERE ARE THE FINAL PICTURES OF OUR TABLE TOP QUALITY ORC!!!!!
===============================================
This whole tutorial took me one night in total, painting took longer then usual due to taking shoots in between stages.
I really hope that you guys enjoyed this as much as i found it an amazing and creative experience for myself, this is my first how to paint tutorial and i hope you all and found it had some useful information in it
I know there are a lot of pictures but i feel it helps a lot more then trying to explain typing out huge paragraphs about whats going on! Must be why i like picture books instead of novels
Also all feedback is welcome and wanted!!
Any suggestions on what i should possibly do next? if anything
Brother Tobias.
|
|
This message was edited 1 time. Last update was at 2011/01/11 07:52:44
|
|
|
 |
|
2011/01/10 01:45:34
Subject: ORC BOY PAINTING! Table top Quality orcs step by step guide!
|
|

Swift Swooping Hawk
|
|
"If you are not naughty you get a cookie. If you are naked, you get a cookie." - Insaniak, Dakka Mod
|
|
|
|
|
2011/01/10 10:25:59
Subject: Re:ORC BOY PAINTING! Table top Quality orcs step by step guide!
|
|
Chosen Baal Sec Youngblood
|
Cheers mate, i personally prefer dark orcs compared to your brighter ones, but you have some good stuff in there. Your basing seems to take a while to dry :( 4 hours :(
I think ill stick to cork tiles and cork pieces for my bases hehe
I have never thought to draw on the models either, i find that the brush is fine for me.
Cheers for your link though
|
|
|
|
|
|
2011/01/10 14:12:28
Subject: Re:ORC BOY PAINTING! Table top Quality orcs step by step guide!
|
|

Regular Dakkanaut
|
Really nice tutorial Brother Tobias, good clear photos, and very interesting to see your painting method, I'm painting orks at the moment too. There's probably as many ways to paint orks as or ork players themselves, but very nice work (thanks for your link too gregor_xenos)
|
|
|
|
|
|
2011/01/10 15:20:51
Subject: ORC BOY PAINTING! Table top Quality orcs step by step guide!
|
|
Angry Blood Angel Assault marine
|
Jesus, Prime your minatures.
|
|
|
|
|
|
2011/01/10 15:22:06
Subject: ORC BOY PAINTING! Table top Quality orcs step by step guide!
|
|
Nasty Nob
|
I am surprised that you (or anyone) primes with anything but spraypaint. I can't argue with the results, though. But tell me, why don't you use spray?
Thanks for the fine tutorial!
|
|
This message was edited 1 time. Last update was at 2011/01/10 15:22:26
|
|
|
|
|
2011/01/10 15:28:15
Subject: ORC BOY PAINTING! Table top Quality orcs step by step guide!
|
|
Chosen Baal Sec Youngblood
|
Solorg wrote:I am surprised that you (or anyone) primes with anything but spraypaint. I can't argue with the results, though. But tell me, why don't you use spray?
Thanks for the fine tutorial!
Only reason i didnt spray was because i did this in one night, it was about 3 am in the morning and i didnt want to go outside
i have only based a few by brush and this just happens to be one of them. The rest of the orcs though will ALL be sprayed. this was just a one off.
And thanks for the feedback guys Automatically Appended Next Post: Stubby wrote:Jesus, Prime your minatures.
My miniature was primed.... except through the pot. The definition of priming is to get something ready, to prepare it also to apply a coat of paint (in no special form or way just applying paint by brush or spray) to the surface. just because i didn't spray that one miniature and used from the pot, the paint job wasn't effected at all, the detail wasn't taken away.
Spraying is my preferred although like i mentioned it was late when i did this and couldn't be bothered going outside to spray at 3am in the morning.
If you have any useful feedback for me rather then one sentence "your doin it wrong" remarks, it would be appreciated
|
|
This message was edited 1 time. Last update was at 2011/01/10 15:33:55
|
|
|
|
|
2011/01/10 16:30:02
Subject: ORC BOY PAINTING! Table top Quality orcs step by step guide!
|
|
Tower of Power
|
I've got to say the skin turned out a lot better than I thought, though any need for bleached bone? The dhenb stone goes right over it and is a darker colour and a foundation paint so I'm not sure why bone is needed?
|
warhammer 40,000 tactica and hobby blog - www.imperiusdominatus.com
Want list feedback and advice? e-mail imperiusdominatus@live.co.uk
 Blood Angels - 2000 Blood Angels - 2000  Iron Warriors - 2000 Iron Warriors - 2000  Orks -2000 Orks -2000  Imperial Guard - 2000 Imperial Guard - 2000
 Eldar - 2000 Eldar - 2000  Hive Fleet Krakken - 2000 Hive Fleet Krakken - 2000  Dark Eldar - 2000 Dark Eldar - 2000  Necrons - 2000 Necrons - 2000  Grey Knights - 2000 Grey Knights - 2000  Daemons - 2000 Daemons - 2000  Ravenwing - 2000 Ravenwing - 2000 |
|
|
|
|
2011/01/10 21:39:37
Subject: Re:ORC BOY PAINTING! Table top Quality orcs step by step guide!
|
|

Mekboy Hammerin' Somethin'
|
@ OP: While you're right about the act of priming, done properly it requires an actual primer rather than just paint. That said, I've "primed" tonnes of models in just the same way.  It's not optimal, but it's not necessarily "wrong."
The biggest problem is that the regular paint will peel from the plastic more easily than a primer. I've never had a problem with losing detail though, as you said, because I take care to make sure I don't. Also, I put several coats of sealer on all my models to help protect the paint from chipping, as I hate repainting, and once you've done that, you're in pretty good shape.
As for the rest of the tutorial, I've gotta say that your Ork turned out way better than I expected. At first the paint looked sloppy, and the colours poorly chosen, but I guess it's amazing what washes can do. Good work!
|
|
|
|
|
|
2011/01/10 22:03:58
Subject: ORC BOY PAINTING! Table top Quality orcs step by step guide!
|
|
Crafty Bray Shaman
|
Excellent tutorial.
1000th post!
|
|
|
|
|
|
2011/01/10 22:18:38
Subject: ORC BOY PAINTING! Table top Quality orcs step by step guide!
|
|
Fixture of Dakka
|
Nifty technique. I wondered where you were going with bleached bone skin, but it worked out very well.
Only thing I'd say is that GW modelling sand isn't very fine and bases end up looking rocky. This is fine if that's the effect you're going for, but if you want a more even base, look for some fine model railyway sand.
EDIT - That said, your sand looks quite fine. Maybe I got a duff tub.
|
|
This message was edited 1 time. Last update was at 2011/01/10 22:19:24
|
|
|
|
|
2011/01/10 22:40:50
Subject: ORC BOY PAINTING! Table top Quality orcs step by step guide!
|
|
Sneaky Kommando
|
How long would you say it takes you to do these models if you were to assembly line them?
|
|
|
|
|
2011/01/11 02:33:24
Subject: ORC BOY PAINTING! Table top Quality orcs step by step guide!
|
|
Angry Blood Angel Assault marine
|
Brother Tobias wrote:
If you have any useful feedback for me rather then one sentence "your doin it wrong" remarks, it would be appreciated
Well, I've seen people do this before - the paints practically falls off the model later. I dont see why you would suggest doing that. If you're going to take the time to write a otherwise helpful tutorial why not go the whole nine yards and get your models primed correctly so newer people who are just starting wargaming dont see this guide and start painting in that fashion.
Also, I was always brought up to think the smallest amount of words to convey a message was the best way to phrase anything - so exuse me if i offended you by only using a single sentence to portray my single objection to your tutorial.
|
|
|
|
|
|
2011/01/11 07:33:13
Subject: ORC BOY PAINTING! Table top Quality orcs step by step guide!
|
|
Chosen Baal Sec Youngblood
|
Stubby wrote:Brother Tobias wrote:
If you have any useful feedback for me rather then one sentence "your doin it wrong" remarks, it would be appreciated
Well, I've seen people do this before - the paints practically falls off the model later. I dont see why you would suggest doing that. If you're going to take the time to write a otherwise helpful tutorial why not go the whole nine yards and get your models primed correctly so newer people who are just starting wargaming dont see this guide and start painting in that fashion.
Also, I was always brought up to think the smallest amount of words to convey a message was the best way to phrase anything - so exuse me if i offended you by only using a single sentence to portray my single objection to your tutorial.
Thanks for your input and your views on this, i have been thinking about it while i was at work today and now that im home i will be taking a snap of the spray and editing the tutorial and explaining in it why i based it with the pot. I know ideally spray is the way to go
I have done a small handful of other models from the pot and so far they haven't chipped or flaked, possible the way the people store their miniatures as well?
Thanks Stubby Automatically Appended Next Post: Taoofss wrote:How long would you say it takes you to do these models if you were to assembly line them?
Depends how long it takes you to lay all of your base coats down obviously basing them black would be a lot faster because ideally using spray.
Batch painting the flesh would be fast, the only time i would see it getting a little slowed down in pace is maybe taking a little more care with the belts and straps, but even still that can be done quickly, so probably depends if you even want to highlight anything or just leave the model washed devlan and flesh thrakka
The model wouldn't stand out as much because the pants would be darker and the shirt, so really up to you!!!
Im planning on doing a few more tonight, basing them all and batch painting them too Automatically Appended Next Post: Flashman wrote:Nifty technique. I wondered where you were going with bleached bone skin, but it worked out very well.
Only thing I'd say is that GW modelling sand isn't very fine and bases end up looking rocky. This is fine if that's the effect you're going for, but if you want a more even base, look for some fine model railyway sand.
EDIT - That said, your sand looks quite fine. Maybe I got a duff tub.
Hehe yea its fairly easy and the skin IMHO looks really good, sure it can only get better from there if your willing to put the time in and further highlight and define the muscle tone. However this is just a fast and efficient table top model
mm railway sand hey, my sand isn't too bad. Im going to use it all first anyways, only a small tub so ill see from there what i decide to do for the bases, might start using more cork. Automatically Appended Next Post: mercer wrote:I've got to say the skin turned out a lot better than I thought, though any need for bleached bone? The dhenb stone goes right over it and is a darker colour and a foundation paint so I'm not sure why bone is needed?
Hey, i think you got some of the steps mixed up, the shirt is dheneb stone and the flesh is bleached bone i use bleached bone on the black undercoat because i like how it turns out in the final product. Bleached bone doesn't have the best of coverage over black so there are a few areas that are transparent and once washed over a light coat of dheneb with the mud and green it looks like an area of darkened flesh which i love
Only the shirt gets the dheneb treatment, dheneb - devlan wash - dheneb highlight. you can leave it at that or you can use bleached bone to bring out more highlights and then some areas use pure white too.
Hope this clears that up and helps out Automatically Appended Next Post: hungryp wrote:@ OP: While you're right about the act of priming, done properly it requires an actual primer rather than just paint. That said, I've "primed" tonnes of models in just the same way. It's not optimal, but it's not necessarily "wrong."
The biggest problem is that the regular paint will peel from the plastic more easily than a primer. I've never had a problem with losing detail though, as you said, because I take care to make sure I don't. Also, I put several coats of sealer on all my models to help protect the paint from chipping, as I hate repainting, and once you've done that, you're in pretty good shape.
As for the rest of the tutorial, I've gotta say that your Ork turned out way better than I expected. At first the paint looked sloppy, and the colours poorly chosen, but I guess it's amazing what washes can do. Good work!
I agree with you there hungryp and with the orks early stages it does look very very plain! i hate it when im painting a model and have to finish the session for the time being if the model is in its base coat stage, i would rather it black!!!
|
|
This message was edited 4 times. Last update was at 2011/01/11 07:45:52
|
|
|
|
|
2011/01/11 07:52:50
Subject: Re:ORC BOY PAINTING! Table top Quality orcs step by step guide!
|
|

Regular Dakkanaut
|
Very bad painjob and skills. If you CAN'T painting well, do NOT make tutorials. For me it is Under Table level. Get some skills and come back.
|
|
|
|
|
|
2011/01/11 08:07:23
Subject: Re:ORC BOY PAINTING! Table top Quality orcs step by step guide!
|
|
Chosen Baal Sec Youngblood
|
m.ike wrote:Very bad painjob and skills. If you CAN'T painting well, do NOT make tutorials. For me it is Under Table level. Get some skills and come back.
So far it seems your the only person to disagree with this and the paint job. I know it isn't anything special and its a BASIC level of painting, yet it still does the job and it looks good on the table. Its easy effective and most of all a fast way to paint orks.
Not only is it FAST but since its the BASIC level of painting that means that you can start to highlight up more and define certain areas of the model and make it look more like a competition standard if thats the quality of table top armies you play.
Rather then telling me that i can't paint well and telling me to not make tutorials. How about you give me some tips since you do tutorials as well...
|
|
|
|
|
|
2011/01/11 08:20:57
Subject: Re:ORC BOY PAINTING! Table top Quality orcs step by step guide!
|
|
Regular Dakkanaut
|
its a BASIC level of painting,
What? Bad paintjob = basic? I can't paint better = TT? You are kidding, aren't you?
Its easy effective and most of all a fast way to paint orks.
No? This is fast, easy, good looking way: http://www.games-workshop.com/gws/content/article.jsp?catId=&pageMode=multi&categoryId=cat440175a§ion=&pIndex=4&aId=10700002&start=5
How about you give me some tips
You want to make more of this gakky lessons? Learn how to paint first, then try to be a teacher.
But, I give you some tips:
- make better photos. If you don't have appropriate camera, just don't make poor quality tutorials.
- use background, your desk or hands are not good one.
So far it seems your the only person to disagree with this and the paint job.
I think it is somrthing like that : "I can't paint better, so it is good". In my country critique is a normal thing, and nobody is scared about it.
|
|
This message was edited 1 time. Last update was at 2011/01/11 08:24:25
|
|
|
|
|
2011/01/11 08:52:09
Subject: Re:ORC BOY PAINTING! Table top Quality orcs step by step guide!
|
|
Chosen Baal Sec Youngblood
|
m.ike wrote:What? Bad paintjob = basic? I can't paint better = TT? You are kidding, aren't you?
A bad paintjob usually has no highlights or definition and is full of flat colours, or could be painted up but done extremely poorly. A basic paintjob doesn't = bad and i fail to see how you don't see that. If i had of painted on the pants when i was painting the belt, if i had half the face painted when i did the eye, if i threw a tub of paint at him and left him in the sun to dry then that would be a bad paint job.
Yes that is fast and a good looking way, i didnt say mine was the FASTEST way to paint orks. I would also say that model is above the average table top standard since it is for display purposes.
m.ike wrote:You want to make more of this gakky lessons? Learn how to paint first, then try to be a teacher.
But, I give you some tips:
- make better photos. If you don't have appropriate camera, just don't make poor quality tutorials.
- use background, your desk or hands are not good one.
Still taking stabs at this tutorial? good for you
- the quality of most of these shots are actually fairly good, they show the detail
- im sure that is good information, that might be one useful thing you have said.
m.ike wrote:I think it is somrthing like that : "I can't paint better, so it is good". In my country critique is a normal thing, and nobody is scared about it.
Check out some of these guys that have posted constructive comments, check out their paintjobs. They aren't crappy, they are good. With this statement not only are you saying that my tutorial is gak but everyone that has given positive feedback paints like gak.
I never said i was scared of critique either.
|
|
This message was edited 1 time. Last update was at 2011/01/11 09:09:12
|
|
|
|
|
2011/01/11 14:27:19
Subject: ORC BOY PAINTING! Table top Quality orcs step by step guide!
|
|
Tower of Power
|
Brother Tobias wrote:
mercer wrote:I've got to say the skin turned out a lot better than I thought, though any need for bleached bone? The dhenb stone goes right over it and is a darker colour and a foundation paint so I'm not sure why bone is needed?
Hey, i think you got some of the steps mixed up, the shirt is dheneb stone and the flesh is bleached bone i use bleached bone on the black undercoat because i like how it turns out in the final product. Bleached bone doesn't have the best of coverage over black so there are a few areas that are transparent and once washed over a light coat of dheneb with the mud and green it looks like an area of darkened flesh which i love
Only the shirt gets the dheneb treatment, dheneb - devlan wash - dheneb highlight. you can leave it at that or you can use bleached bone to bring out more highlights and then some areas use pure white too.
Hope this clears that up and helps out
Thanks for the info though I am still unsure why you're using bleached bone for skin, then a brown wash and then a green wash. Why not use green paint as a better base coat as bleached bone doesn't go over black well and then the washes? Don't get me wrong it looks good, I just find it odd using a opposite colour and which doesn't go over a black undercoat well and then washes to make it the colour your require.
|
warhammer 40,000 tactica and hobby blog - www.imperiusdominatus.com
Want list feedback and advice? e-mail imperiusdominatus@live.co.uk
Blood Angels - 2000 Iron Warriors - 2000 Orks -2000 Imperial Guard - 2000
Eldar - 2000 Hive Fleet Krakken - 2000 Dark Eldar - 2000 Necrons - 2000 Grey Knights - 2000 Daemons - 2000 Ravenwing - 2000 |
|
|
|
|
2011/01/11 14:42:16
Subject: ORC BOY PAINTING! Table top Quality orcs step by step guide!
|
|
Chosen Baal Sec Youngblood
|
Brother Tobias wrote: i use bleached bone on the black undercoat because i like how it turns out in the final product. Bleached bone doesn't have the best of coverage over black so there are a few areas that are transparent and once washed over a light coat of dheneb with the mud and green it looks like an area of darkened flesh which i love
As i mentioned before, i like how the bleached bone doesn't have that coverage, its transparency is what draws me to it over a green coat. I also think it gives a nice dirty look, because its getting a creamy colour muddy, rather then a green darker
|
|
|
|
|
|
2011/01/11 15:22:35
Subject: Re:ORC BOY PAINTING! Table top Quality orcs step by step guide!
|
|

Regular Dakkanaut
|
When you were painting the basecoat I was like: OH LORD NO! NOT ANOTHER ONE OF THOSE FAIL TUTORIALS! But after the washes it looks really good actually! Good job!
|
|
|
|
|
|
2011/01/11 15:24:54
Subject: Re:ORC BOY PAINTING! Table top Quality orcs step by step guide!
|
|
Chosen Baal Sec Youngblood
|
Timonth wrote:When you were painting the basecoat I was like: OH LORD NO! NOT ANOTHER ONE OF THOSE FAIL TUTORIALS! But after the washes it looks really good actually! Good job!
Hehe thank you base coats on models usually always look very plain and displeasing lol
|
|
|
|
|
|
2011/01/11 15:28:27
Subject: ORC BOY PAINTING! Table top Quality orcs step by step guide!
|
|
Tower of Power
|
Brother Tobias wrote:Brother Tobias wrote: i use bleached bone on the black undercoat because i like how it turns out in the final product. Bleached bone doesn't have the best of coverage over black so there are a few areas that are transparent and once washed over a light coat of dheneb with the mud and green it looks like an area of darkened flesh which i love
As i mentioned before, i like how the bleached bone doesn't have that coverage, its transparency is what draws me to it over a green coat. I also think it gives a nice dirty look, because its getting a creamy colour muddy, rather then a green darker
That's what I am saying. It doesn't go over black well and looks messy, you're using a poor bleached bone coat which doesn't cover well to patch up with devlan mud after. Just seems odd that's all. Be like me painting white then going blue wash to get blue. I'd just paint it green which goes over the black better, then devlan then green wash
|
warhammer 40,000 tactica and hobby blog - www.imperiusdominatus.com
Want list feedback and advice? e-mail imperiusdominatus@live.co.uk
Blood Angels - 2000 Iron Warriors - 2000 Orks -2000 Imperial Guard - 2000
Eldar - 2000 Hive Fleet Krakken - 2000 Dark Eldar - 2000 Necrons - 2000 Grey Knights - 2000 Daemons - 2000 Ravenwing - 2000 |
|
|
|
|
2011/01/11 18:14:25
Subject: ORC BOY PAINTING! Table top Quality orcs step by step guide!
|
|
Umber Guard
|
Very nice tut
At first I was like.. wtf
But the end results looks great!
Also, great job on adding all the pictures (:
Automatically Appended Next Post:
Also, wouldn't it be a good idea to make a small list of paints at the beginning of the tut?
|
|
This message was edited 1 time. Last update was at 2011/01/11 18:15:12
Lord Scythican wrote:
You know what is worse than not getting jokes?
The Holocaust.
|
|
|
|
|
2011/01/11 19:25:56
Subject: Re:ORC BOY PAINTING! Table top Quality orcs step by step guide!
|
|
[DCM]
Et In Arcadia Ego
|
m.ike wrote:Very bad painjob and skills. If you CAN'T painting well, do NOT make tutorials. For me it is Under Table level. Get some skills and come back.
Let's be generous and assume this is more down to linguistic difficulties and the perils of things being lost in translation rather than out and out rudeness. Whilst constructive comments and criticisms are welcome, snarky, aggressive and unhelpful comments are not wanted on this site. Please endeavour to do better in future when communicating with other users, it will make yours, mine and every other users time her much more pleasant.
ta.
|
The poor man really has a stake in the country. The rich man hasn't; he can go away to New Guinea in a yacht. The poor have sometimes objected to being governed badly; the rich have always objected to being governed at all
We love our superheroes because they refuse to give up on us. We can analyze them out of existence, kill them, ban them, mock them, and still they return, patiently reminding us of who we are and what we wish we could be.
"the play's the thing wherein I'll catch the conscience of the king,
|
|
|
|
|
2011/01/12 03:25:35
Subject: ORC BOY PAINTING! Table top Quality orcs step by step guide!
|
|
Chosen Baal Sec Youngblood
|
mercer wrote:Brother Tobias wrote:Brother Tobias wrote: i use bleached bone on the black undercoat because i like how it turns out in the final product. Bleached bone doesn't have the best of coverage over black so there are a few areas that are transparent and once washed over a light coat of dheneb with the mud and green it looks like an area of darkened flesh which i love
As i mentioned before, i like how the bleached bone doesn't have that coverage, its transparency is what draws me to it over a green coat. I also think it gives a nice dirty look, because its getting a creamy colour muddy, rather then a green darker
That's what I am saying. It doesn't go over black well and looks messy, you're using a poor bleached bone coat which doesn't cover well to patch up with devlan mud after. Just seems odd that's all. Be like me painting white then going blue wash to get blue. I'd just paint it green which goes over the black better, then devlan then green wash
I understand what your saying, except i don't feel that its a poor bleached bone coat, its the effect that im after, the end result doesnt look messy, it looks muddy and the skin tone is how i want it to be it's not like there are patches of black on the model because of "bad" coverage, its just darker toned skin in those areas. Automatically Appended Next Post: vleermie wrote:Very nice tut
At first I was like.. wtf
But the end results looks great!
Also, great job on adding all the pictures (:
Automatically Appended Next Post:
Also, wouldn't it be a good idea to make a small list of paints at the beginning of the tut?
Thanks for your support
Also a list of paints is a great idea! i hadn't thought of that Automatically Appended Next Post: reds8n wrote:m.ike wrote:Very bad painjob and skills. If you CAN'T painting well, do NOT make tutorials. For me it is Under Table level. Get some skills and come back.
Let's be generous and assume this is more down to linguistic difficulties and the perils of things being lost in translation rather than out and out rudeness. Whilst constructive comments and criticisms are welcome, snarky, aggressive and unhelpful comments are not wanted on this site. Please endeavour to do better in future when communicating with other users, it will make yours, mine and every other users time her much more pleasant.
ta.
Thank you for your input reds8n, if that comment was constructive it would of been different and i may of appreciated m.ike's comment.
Good to see the mods surfing the forums
|
|
This message was edited 2 times. Last update was at 2011/01/12 03:43:17
|
|
|
|
|
2011/01/12 04:37:53
Subject: Re:ORC BOY PAINTING! Table top Quality orcs step by step guide!
|
|

Bounding Assault Marine
In the deepest reaches of Valhalla
|
Nice... At the first sages, during the basecoating, I was thinking along the lines of "oh no, not like this" but it turned out great
Brilliant way to bring out colors with wash like that, have actually not seen it like this before, cool method.
Any chance we could see a picture of a squad of these orcs?
//Edge
|
|
|
|
|
2011/01/12 15:13:37
Subject: ORC BOY PAINTING! Table top Quality orcs step by step guide!
|
|
Stinky Spore
|
Tobias,
Like many replies here, I also gawked at the Bleached Bone coat, but at the end the model really has a unique look. I'd reccomend this to many Ork players that I know that field a table of unpainted models. The tutorial is simple and easy to follow with a table top quality as a result. Good job.
|
|
|
|
|
|
2011/01/12 16:19:11
Subject: ORC BOY PAINTING! Table top Quality orcs step by step guide!
|
|
Erratic Knight Errant
|
Flashman wrote:Nifty technique. I wondered where you were going with bleached bone skin, but it worked out very well.
Only thing I'd say is that GW modelling sand isn't very fine and bases end up looking rocky. This is fine if that's the effect you're going for, but if you want a more even base, look for some fine model railyway sand.
EDIT - That said, your sand looks quite fine. Maybe I got a duff tub.
I know what you're talking about, and I think they changed it for the better. I have a tub of crappy, gravelly sand from their starter kit I got a year ago and a tub of really fine, homogeneous sand I bought more recently, both labeled " GW Modeling Sand." It's really good stuff now
|
|
|
|
|
|
2011/01/12 20:56:09
Subject: Re:ORC BOY PAINTING! Table top Quality orcs step by step guide!
|
|
Regular Dakkanaut
|
A bad paintjob usually has no highlights or definition and is full of flat colours
You can't apply flat colors well, it is very down and dirty.
that model is above the average table top standard
Is it TT for you? Good for you.
the quality of most of these shots are actually fairly good, they show the detail
Looking at ur pics is tiring.
Whilst constructive comments and criticisms are welcome
So i suppose to tell him how to paint or how to make photos? IMO hi isn't good enough to teach painting. He has made bad work, why my comment without revision (of his work) is unhelpful? I don't have time to take care about all his mistakes. So I have only two options: lick his ass or sit in silence?
You have complex about painting? When some football player is bad, it's good to say it, but write something bad about (even gakky) painter... wtf?
|
|
|
|
|
|
|
|

 Orks is never beaten.

 Heretics crave the cleansing fire of absolution. They need not fear, for we shall deliver.
  /
/