Recently, I played three games against my regular Tau opponent with my Nids army. My Nids army remained the same for all three games, however he continued to adapt, tweak his army until it was something he was bit happier with. The first battle was all over by about Nids turn 3, and so a lot of adaptation was required. Probably the most significant addition in this army is the extra armour...
Nids
I created a fresh Nid list to form the core of my army, and have been playing with pretty much the same list for many games now. I have taken the same army in all three of these games to try and help me focus on strategy, what works, what doesn't work etc.
Tau
The focus for my friend over these three games was to find a list of Tau that worked for him. You will see a very clear progression from his first army to his third, and how effective each was.
Each game can be found here:
Nids vs Tau (Part One)
http://www.dakkadakka.com/dakkaforum/posts/list/368029.page
Nids vs Tau (Part Two - Currently reading)
Nids vs Tau (Part Three)
http://www.dakkadakka.com/dakkaforum/posts/list/0/372926.page#2878089
Nids
Prime -
LW/
BS plus
DS
1 x 5 Warriors - 4
DS plus 1 Babred strangler (Prime goes here)
2 x 10 Hormagauts
2 x 15 gargoyles
2 x Zoeys
1 x 2 Hive Guard
Trygon
Tau
Leader in suit with plasma gun/missile pod
2 x 6 firewarriors in devilfish
1 x 8 firewarriors
1 x 2 broadsides
Hammerhead
Skyrail
The hivemind surveyed the land before its many eyes. The ones that called themselves Tau had returned to fight, but this time they had brought many steel machines with them to aid them. Two of the machines had large weapons on them that had hurt the hivemind before. The hivemind turned his Hive Guard and Zoanthropes attention towards these vessels - and instilled within them a deep desire to see these machines destroyed. Hungry to feed on the biomatter of this world, the hivemind sent forth its forces quickly to take the Tau off guard, and resume its consumption of the planet...
Mission - Annihilation
Deployment - Dawn of War
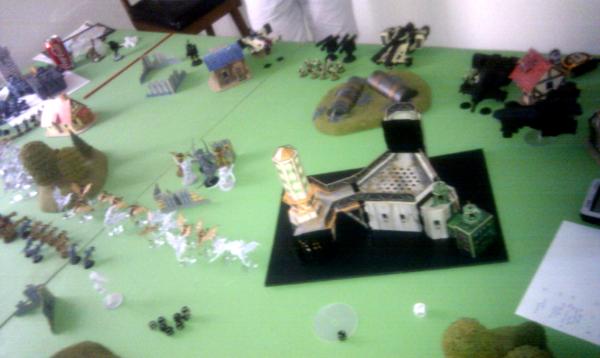
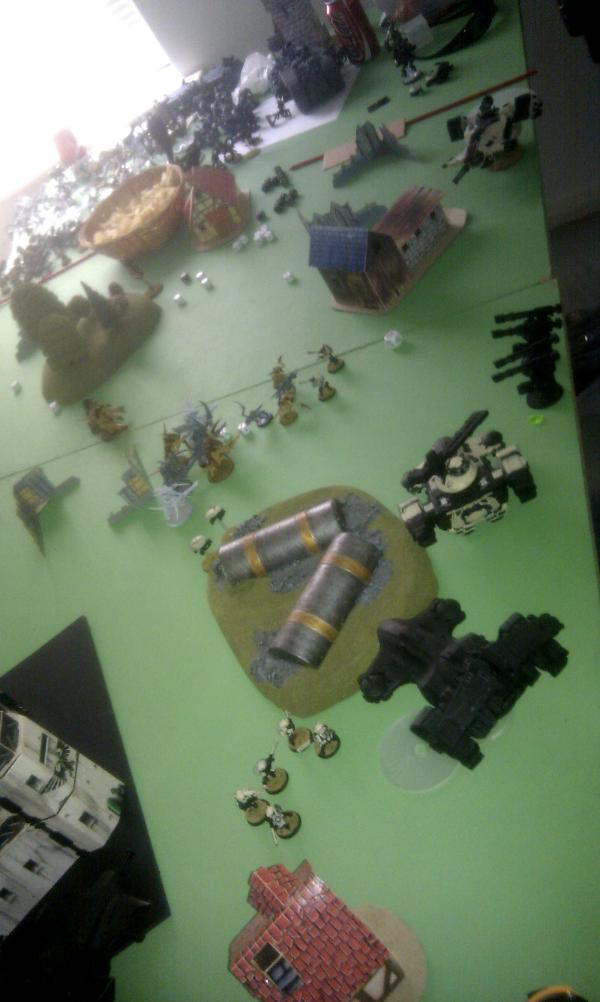
Setup
Nids
My Nids scored the first turn, and I decided to take the board edge based on where I wanted my opponent to be. There was a hill with some tanks on it about 16 inches from his board edge, and I though if I setup my hormies directly opposite it they might be able to run into it on first turn forcing him to waste a lot of firepower on them whilst the rest of my army advanced. I then setup my Prime and warriors in the central terrain piece to overlook the battlefield, gain cover, and wait for the rest of my forces to come in. As it was a
DoW setup, I opted to deepstrike my Trygon, to give me a chance of getting him into the action quicker without taking too many wounds.
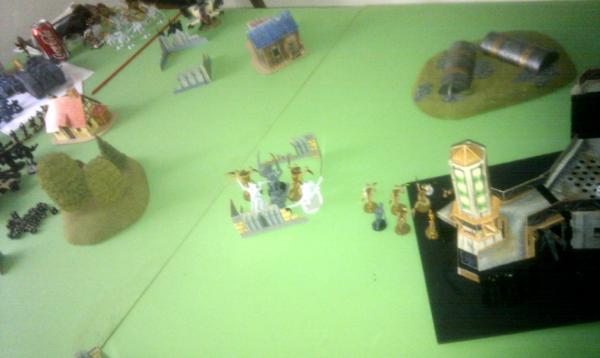 Tau
Tau
The Tau setup their leader and Firewarriors in Devilfish in the board corner farthest from my hormies. This would buy him a little extra time, and give him some cover if needed.
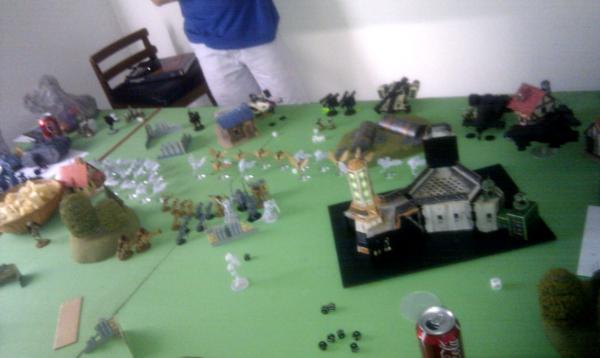
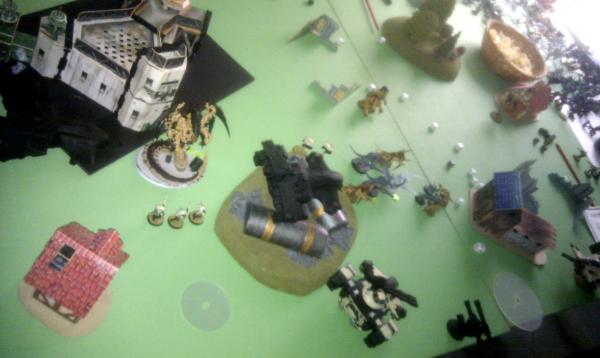
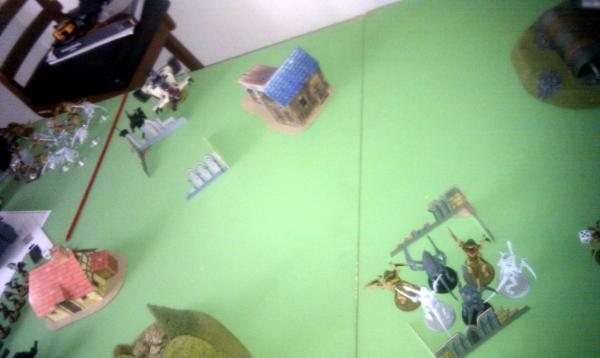 Nids T1
My Nids for the most part advanced in typical fashion. The hormies on the right managed to run enough models onto the hill to get cover, and the rest of my horde (minus the Trygon) advanced onto the board. Despite the Tau deploying on one side, I deployed pretty much across the board as his units were quite mobile and I didn't want to commit to one flank yet and then have him just move everything on the opposite flank.
Tau T1
The Tau came onto the board on a mission to wipe out my hormagaunts. He saved his heavier weaponry until last, but essentially needed to commit every last gun he had to ensure all ten were wiped out. Although this put him in the lead by one kill point, it meant he couldn't target any of my more dangerous units this turn who were rapidly closing in.
 KP - Nids: 0, Tau: 1
Nids T2
I roll for the Trygon, but he doesn't show.
Most of my units continue to run forwards as they are not yet in range, except for my warriors who decided to continue to lurk in the cover rather then get out in front of the swarm by themselves in the open. Firing has my Warriors and prime blasting away at his 8 man firewarrior unit. The 5 Spitters manage to kill 6 Tau, whilst the barbed strangler scatters onto the broadsides, wounding one and pinning them

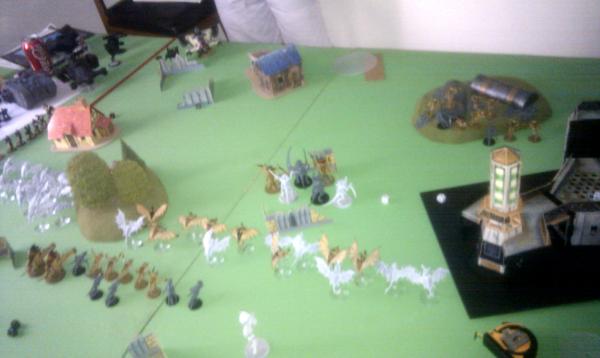
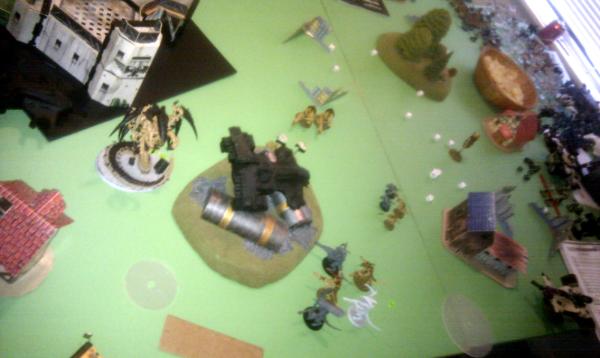
 Tau T2
The Tau decide that with the front hormy unit gone, the gargoyles on my right flank are now public enemy #1. All fire warriors (and drones) disembark with the aim of taking this brood out. With all the Tau fire coming to bear, the brood is reduced to a single gargoyle. The rest of my army is left unscathed.
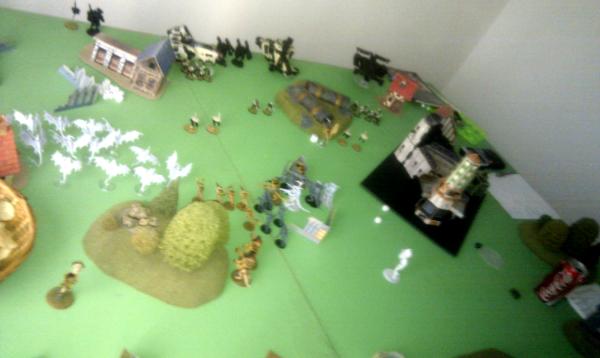 KP - Nids: 0, Tau: 1
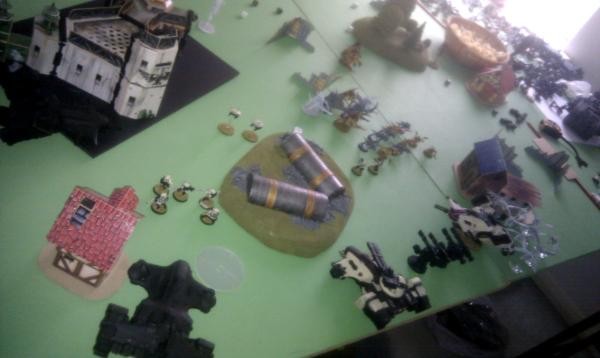
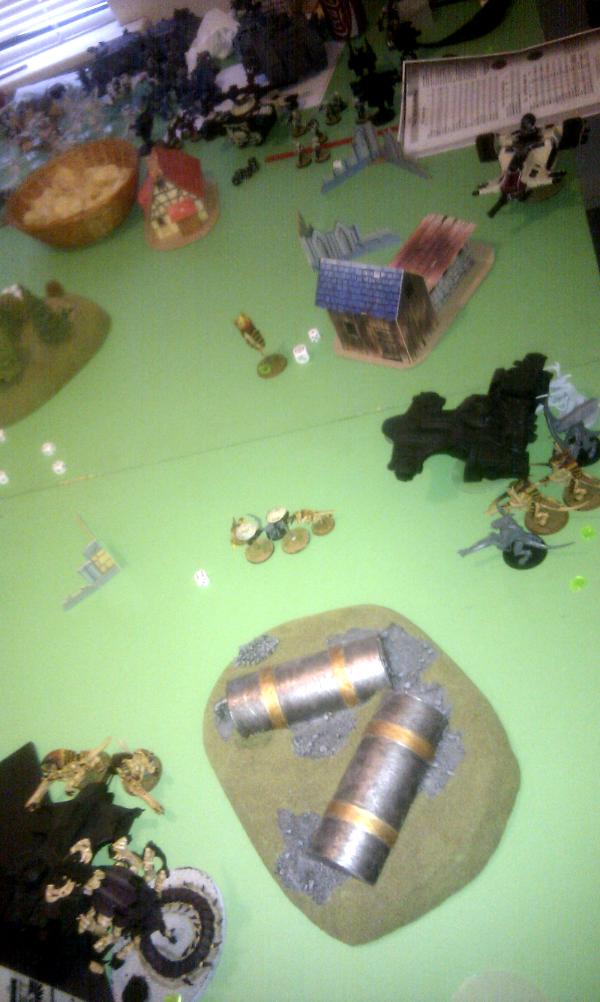
Nids T3
I roll for my Trygon, and again he doesn't show...
My remaining gargoyle unit sweeps around the left flank to take out his leader, whilst the hormagaunts rush in to take on his drones. My warriors advance out of cover, whilst my right hand zoey moves forward ready to blast some firewarriors. The other zoey and hive guard leg it to get in range. The lone gargoyle decides to try and suicide into the broadsides on the off-chance he can tie them up another turn.
Shooting and combat see the gargoyles taking out the Tau leader, whilst the Zoey took out one fire warrior with a blast and the hormagaunts killed both the drones. The combined efforts of my deathspitters and barbed strangler managed to destroy one of his 6 man fire warrior squads, whilst my lone gargoyle charging the broadsides yielded nothing but a dead gargoyle.
 Tau T3
Some good shooting by the Tau managed to see off my remaining gargoyle brood, whilst the broadsides blew up a Zoey. His firewarriors also managed to reduce the number of hormies I had in my last brood.
 KP - Nids: 2, Tau: 4
Nids T4
KP - Nids: 2, Tau: 4
Nids T4
My Trygon shows up, and I pop him up right in front of his last 6 man fire warrior unit (right amongst his tanks).
My broods all advance. Shooting sees my Trygon kill a couple of Firewarriors, my warriors bag a broadside, whilst the first of my Hiveguard shooting is to no avail. My Zoey lances a devilfish for his first kill. Assault sees my hormies charge the 2 warriors left from the 8 man unit and kill one, who manages to kill one back...
(forgot to take photo here...)
Tau T4
The Trygon becomes the subject of skyrail missiles and broadside shots, suffering 3 wounds as a result. The firewarrior hangs in there against the hormies, while the hammerhead wounds two of the warriors.
 KP - Nids: 3, Tau: 4
Nids T5
KP - Nids: 3, Tau: 4
Nids T5
My broods close in for the kill. The Hiveguard immobilise the Hammerhead in the shooting, whilst assault sees my homries finally get the upper hand on his warrior, my Trygon rip apart his last two fire warriors, and my warriors charge in and rip apart his hammerhead.
 Tau T5
Reduced to a couple of Devil fishes, a Skyrail and two drones, there wasn't much left fore the Tau to do. They move around a bit, and shoot up a couple more hormies.
 KP - Nids: 6, Tau: 4
We roll for another turn, and we get it.
Nids T6
Clean up time.
My Hive Guard and Trygon finish off his last Devil fish, whilst my warriors finish off the Skyrail. The hormies charge the drones, but don't do anything. With only his 2 drones left, the Tau concede.
KP - Nids: 8, Tau: 4


 =- -=
=- -=  =-
=-