Thanks everyone for your patience - now the time you've been waiting for!
Deployment type - Vanguard Strike
Mission - Crusade
Tau Warlord - Reroll 1's to hit
Nid Warlord - Master of Defence
Powers
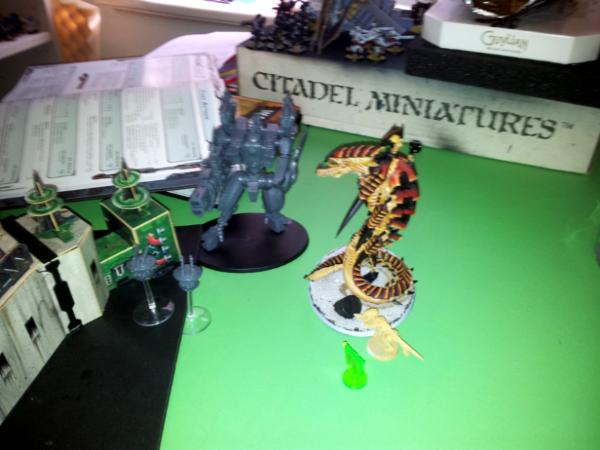
Flyrant - Iron Arm, Enfeeble
Tervies - Catalyst/Dominion
Night Fighting
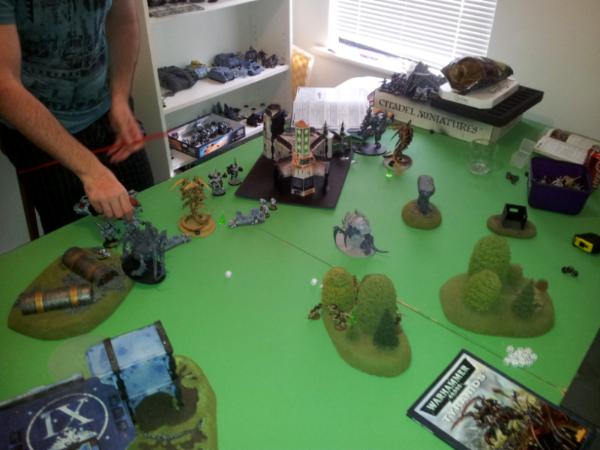
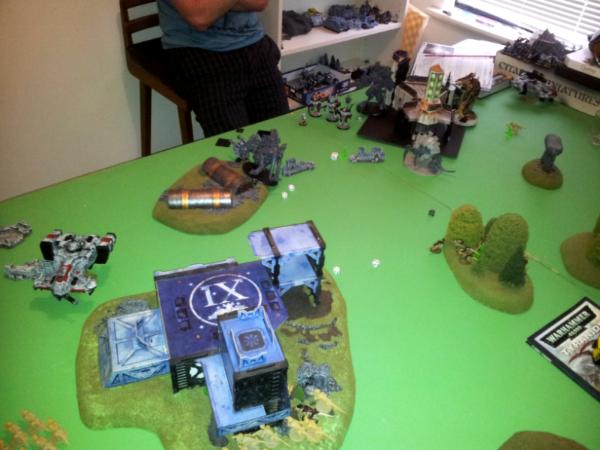
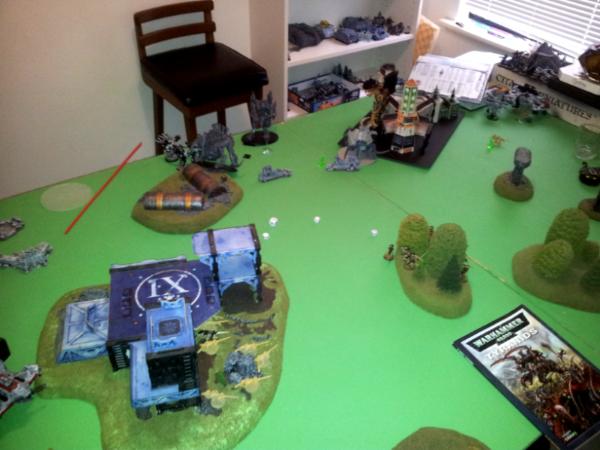
Tyranids win the roll-off for first turn, and I elect to go first (hoping to close the gap as fast as possible). Deployment as follows:
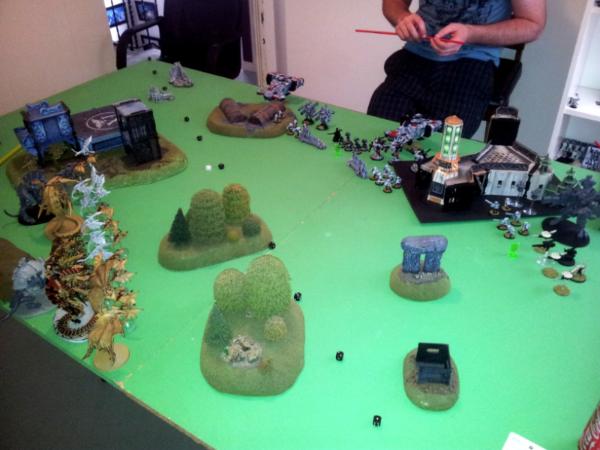 Pre-Game
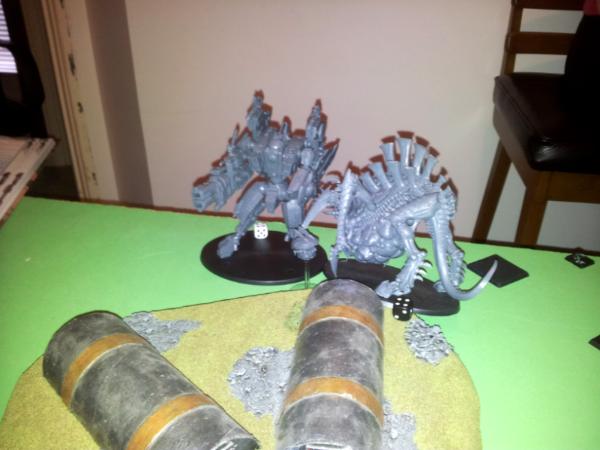
Tyranids
Ok, So this is the first chance I've had to face off against the new Tau, and I've heard lots of nasty rumours about support fire and overcharging that will bring my bugs all kinds of grief. I go for a Big Bug heavy list, though I'm feeling a little nervous with only 2 Hiveguard in the list. My main plan is just to give him too many targets to hit, and hope he makes some poor decisions that allow my bugs to reach his deployment.
Tau
The Tau player has a lot to choose from when creating his list, but elects to try out a lot of different things just to see how they go. We're not playing for sheep stations here, so he tries out an Ethereal and a Riptide. The Suits have all been solid performers in the past, and the Ion Head has been a great vehicle for taking down big bugs (
Str 7, 3 shots,
AP 3). The smaller fire warrior squads are a bit of a risk, but I believe he's hoping the supporting fire rule will get him across the line here.
Sniper drones are a very new inclusion (and give him a couple of extra marker lights) and of course pathfinders are almost always going to feature in a Tau army.
The plan? Really just try different things out, and shoot me off the board.
Turn 1
Tau attempt to seize the initiative, and get it
 Tau T1
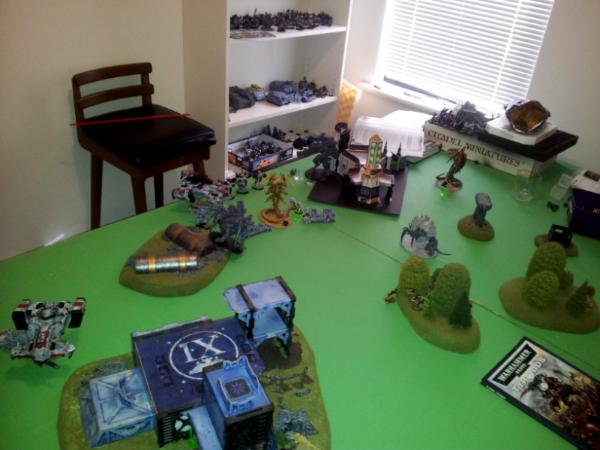
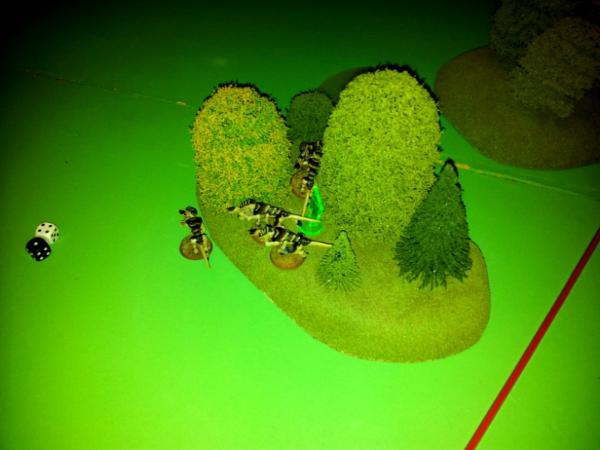
With night fighting, the Tau decide to focus on my left Trygon. They light him up with four lights, and use two to strip his cover. The rest of the Tau army barring their left flank then proceed to pummel the Trygon with multiple blasts and shots. A scary note here, the removal of cover makes "the weapon" ignore cover (rather then the target model losing cover) which meant all his blast started taking apart my gargoyles with no cover allowed. After the dust setted though, My Trygon miraculously survived without a scratch. The gargoyles weren't so lucky, losing 12!.
On my right, the Riptide and sniper drones combined fire on my other Trygon, but only managed to cause a single wound.
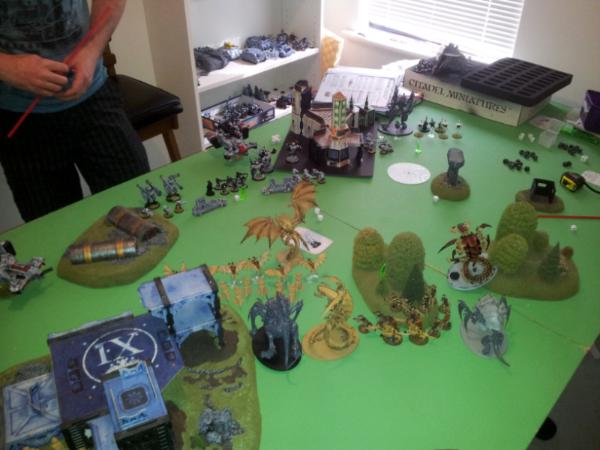
Nids T1
Ok, so my screen has been almost obliterated, but my monsters are all up and running. Deciding I needed to provide an additional distraction, my right Tervy casts Catalyst on the FLyrant, who casts Iron Arm on himself (T9!

) and swoops right up towards the middle of the Tau line. The other Tervy casts Catalyst on my left Trygon, and the rest of the force advances. My left Tervy spits out 7 more gants (and burns out) to give my Hive Guard some more cover in case the gargoyles get wiped out.
The only eventful shooting is the Flyrant, who lights up the Pathfinders scoring 3 kills. The rest hold their ground. Everything else runs.
 Tau T2
Deciding the Flyrant absolutely needs to come down, the broadsides use their skyfire to try and knock it out of the sky. Fortunately for me, none of their shots inflict a wound. Unfortunately I fail my grounded test and crash land (but still don't take a wound!)
The rest of the Tau army then peppers my Flyrant with shot after shot. After almost 1,500 points worth of Tau firing, The Flyrant finally goes down (along with another 3 gargoyles). (It should be noted we made a mistake here, we treated the fire warriors as needing 6's to wound my Flyrant, but they actually could not wound him as he was T9 - need to remember this next time)
Nids T2
Ok, so the good news is he only killed a few bugs last turn. The bad news is I saw just how scary Tau fire power now is at short range. With the Ethereals special powers, those Fire warriors are doing 3 shots each at short range - add in some marker lights and that's downright unfriendly!
Luckily, to help me out my Ymgarls show up in the powerplant and run down to jump on the fire warriors down there. The rest of my force moves forward, the HiveGuard just making it inot range of his Ion head, and the right Trygon taking cover behind the stone pillars. Both Trygons get
FnP, My right Tervy spits out 7 gants and dries up (no luck there this game).
Firing sees the HiveGuard put a glance on the Ion Head, and a single fire warrior in the middle go down. I then try to charge the Pathfinders with my 4 gargoyles, but they manage to put 2 marker lights on me. The nearby firewarriors then easily mowed the four down with supporting fire (gaining
FirstBlood). My Ymgarls go into his firewarriors, and although I lose two to supporting fire from the riptide, they go in and wipe them out (I should have not charged with the gargoyles, as I could have had First Blood here).
Tau T3
The Tau firepower finally warmed up this turn. Short ranged fire on the gants wiped out my left hand brood, and reduced the right hand brood to one gant. The big guns then targeted my left hand Trygon and Hive Guard, reducing the Trygon to 3 wounds and wiping my Hive Guard, whilst the Riptide wiped out my last three Ymgarls.
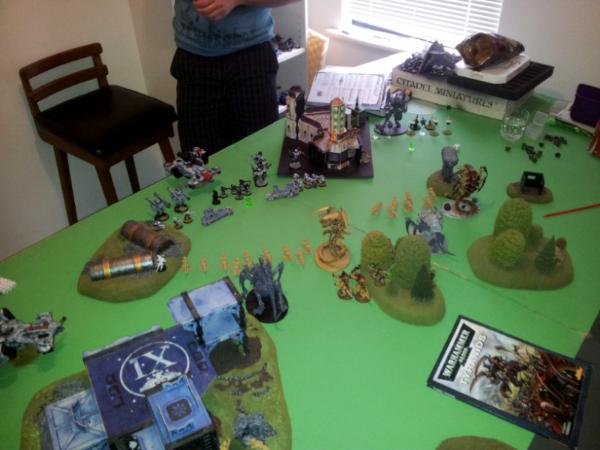
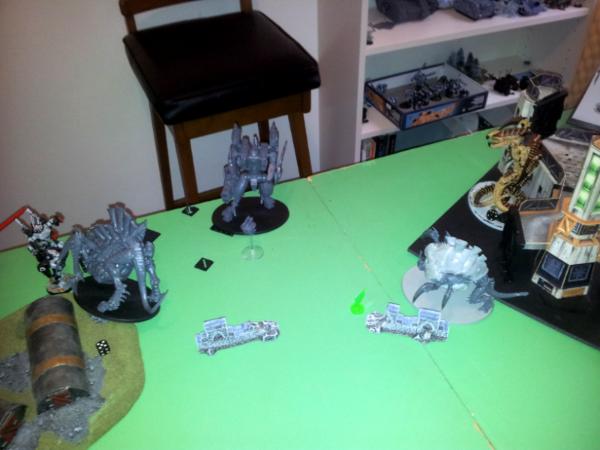
Nids T3
By this point, I was feeling completely outgunned, and knew I had to make some decisive blows if I was to stay in the game. With that in mind, I gave both Trygons
FnP again and moved everything forwards.
After picking off a few fire warriors here and there, I started playing some games with the supportive fire rules. Firstly, I charged the sniper team on the right with my single gant to force them to overwatch it. Luckily, they failed, and the gant made it in. The Trygon then followed up, needing an 11 but I got it

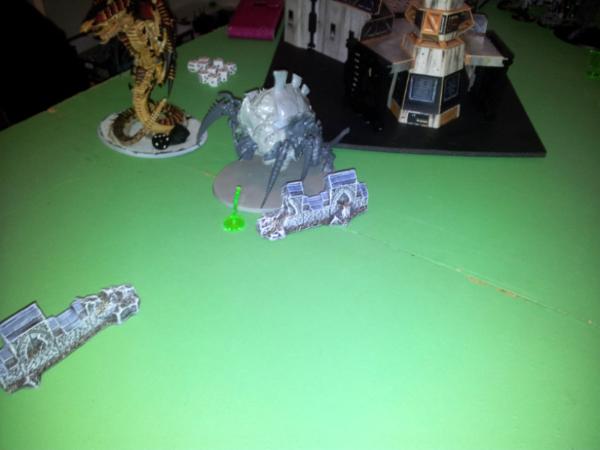
With only the riptide being able to fire, and without the support of marker lights my Trygon went in unscathed. On the left, the Tervy charged the pathfinders. Realising what I was doing, the Tau through everything they had at it, but only inflicted a single wound. The other Trygon then made it into the Ethereal unit, whilst the right Tervy just fell short of the other fire warrior unit.
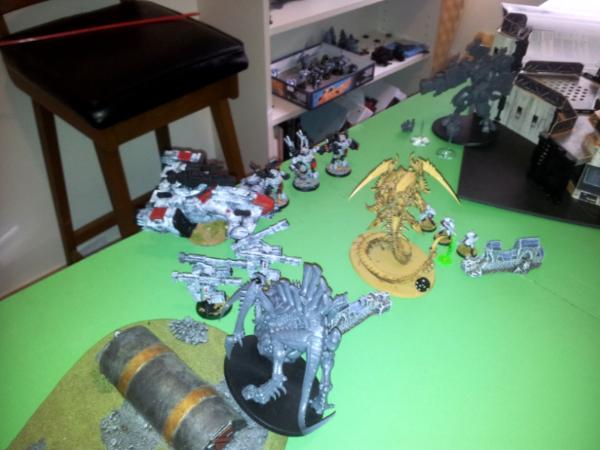
Carnage ensued as both Trygons made short work of their prey, but the Tervy remained locked with the pathfinders (fine by me!). The Trygon on the right consolidated next to the riptide to say "Hi", whilst the last gant hid behind him on the objective.
(please excuse the blurry photo!)
Tau T 4
The Tau started getting desperate, and mustered all their guns to take down my centre Trygon. The Riptide successfully charged it's Nova engine in preparation for a daring escape from the Trygon next to him.
Focused fire from the suits, broadsides and fire warriors managed to only take two more wounds off the Trygon, leaving him on one. On the other side of the plant, the Riptide took two wounds off my other Trygon, taking him down to three.
The Riptide then used his super charged jetpacks to jump clean over the power plant.
Meanwhile, my Tervy managed to stomp his pathfinders into the dust, and look for her next meal

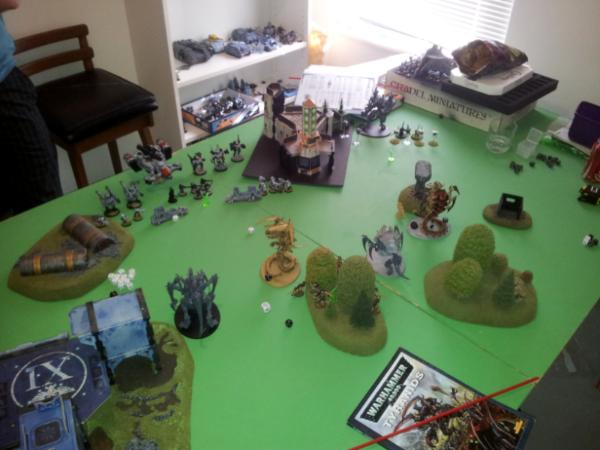
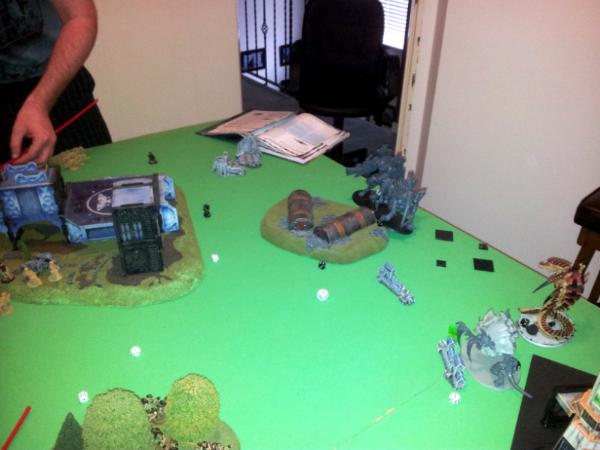
 Nids T4
With the Pathfinders gone, my Tervy started sizing up the Broadsides whilst the Trygon eyed off the Ion head (not wanting to lose my last wound to overwatch). My left Trygon got
FnP, and my Right Tervy cast it on himself. The right Tervy used cluster spines to take down some firewarriors, who promptly broke and fled. Meanwhile, the Tervy charged into the broadsides, and locked. The Trygon charged into the Ion Head, and lifted it easily into the air to smash it apart. Unfortunately, the explosion was too much for the wounded beast, and he died under the burning wreckage (yes - 6 to wound, 3 + followed by
FnP - died

)
On the bright side, the Tau line was getting eaten alive, literally

 Tau T5
The Crisis Suits and Riptide slowly bounded away from the unengaged Tervy and Trygon. Firepower was directed at the Tervy, bringing him down to three wounds. Unfortunately for the Tau, my other Tervy then finished off the broadsides in
HtH, and started sizing up his suits.
Nids T5
The last of the big bugs continue to close in - The Tervy charging and locking with his suits , whilst the other two advance on the Riptide.
 The game goes on another turn
Tau T6
The game goes on another turn
Tau T6
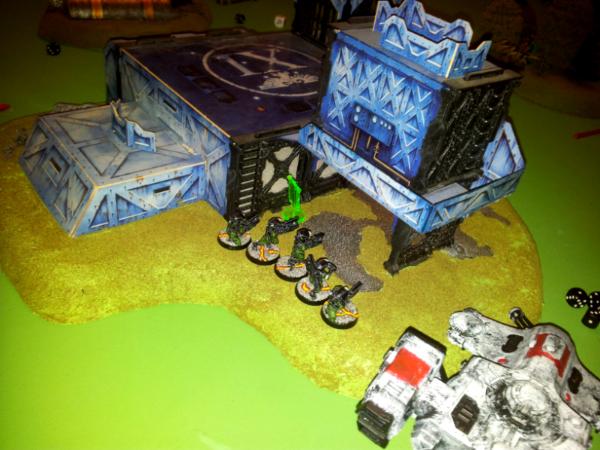
You may have noticed a devil fish skimming around the Nids left flank - well other then taking pot shots here and there, this tank reached its destination this turn to dump 6 fire warriors on my gants holding an objective in the back left corner, shooting my gants off and claiming it for themselves.
Other than that, the Riptide failed to have an impact, whilst my Tervy made a meal of his suits and headed towards his Riptide.
Not only this, but that single gant on the right hand side of the board died in an explosion to a sabotaged objective
Nids T6
Wrapping up the game, my Tervy decided she was still hungry, and advanced on the riptide. After swallowing a drone whole, the Riptide tried to flee but was cut down by the Tervy.
Objective 1 - Nids
Objective 2 - Nids
Objective 3 - Tau
[url=http://www.dakkadakka.com/gallery/486263-16%20objective%203.html]
[/url
Score
Nids
2 objectives, Ethereal, Slay the Warlord, Linebreaker - 9
Tau
1 Objective, First Blood, Slay the Warlord, Linebreaker - 6
Nids Victory
Stay tuned for post battle reflections - Please add your own thoughts/comments


 Tzeentch Daemons 2000pts
  Kabal of the Sundering Strike 2500pts
 Eldar Corsairs 750pts
  400pts Corregidor/Nomads
 300pts Yu Jing
 =- -=
=- -=  =-
=-  - 4000
 - 1500 6th ed codex: 2 wins, 1 loss, 0 draws
 .....Bay Area Open GT 2013 - Best Tyranids

