After seeing the excellent work Xanthos has done on his Kreig tanks I decided I had to do something to a couple of tanks I won in an online auction that were not only missing their sponsons but also a couple of side hatches and were the proud owners of the worst paint jobs in history....no wait SEVERAL of the worst paintjobs in history.
Check out Xanthos's blog on page 4, his Zimmuret and armour skirt work is pretty damn cool
http://www.dakkadakka.com/dakkaforum/posts/list/277551.page I decided to post up a tutorial of my
LRBT armour skirt project as in the past I've been asked how I did some of the conversions I've done and I figured if I took pics from the start I would be all set to do a tutorial ( plus I don't plan on doing many of these

)
Taking pics and thinking of the structure of a tutorial actually helped a lot in my process so give it a go, I dare you!
Step 1
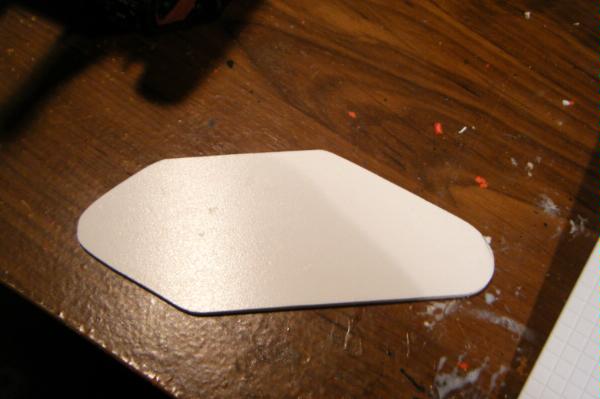
I took a piece of 2mm plasticard and cut it fit the side of the
LR, seems straightforward but getting it right took a while and even then it wasn't perfect but hey, laziness won... again.
Step 2
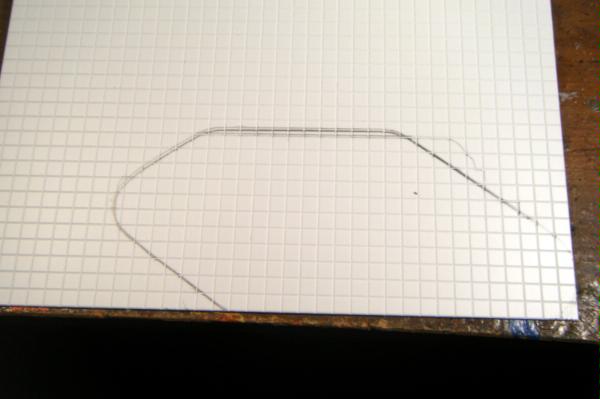
I laid the plate on a sheet of plasticard etched with 4mm squares. These are a little bigger than the ones on the
FW skirts but it's a
LR not a puny Chimera so I went with it. I traced the plate and then starting at one end I counted out how wide I wanted the armour plates, I kept the two middle plates the same width and the two end ones were a little smaller.
Step 3
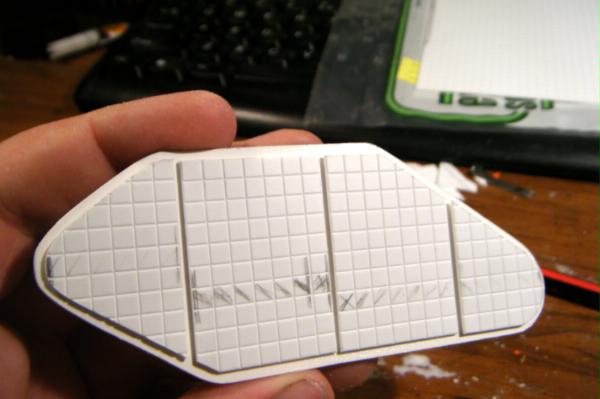
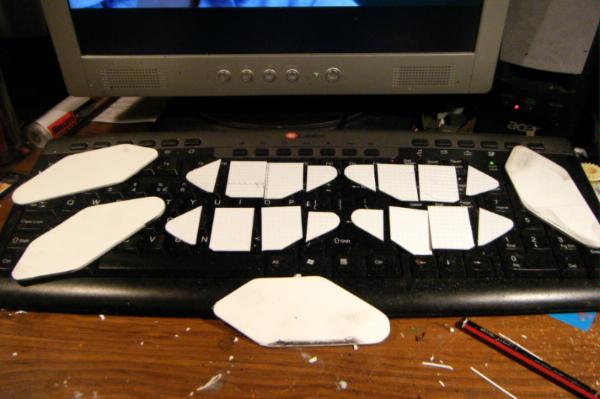
Cut the plates so that they are around 8-10mm short of one end and you will end up with a 2mm gap between all 4 plates and around the edge.
Here is a shot of the main plate with the armour plates tacked on for sizing, take your time to get it right as you will be using these as the templates for the skirt on the opposite side of the
LR.
Step 4
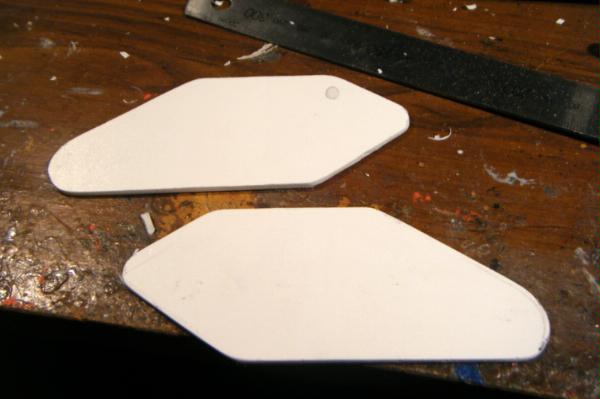
This part is easy, trace the main plate on another sheet of 3mm plasticard. Cut out a copy of the first main plate and cut and sand it to the same shape
Step 5
Repeat step 4 with the armour plates this is relatively simple due to the etched squares as they make it easy to line them up. One important thing to remember...MAKE SURE
TO REVERSE THE ARMOUR PLATES WHEN YOU TRACE AND CUT THEM or you will end up with shaped plates that don't face the right way!
In this case I made enough plates for 2
LRs but the main thing is to make sure you have enough for your needs before gluing together the skirts.
Step 6
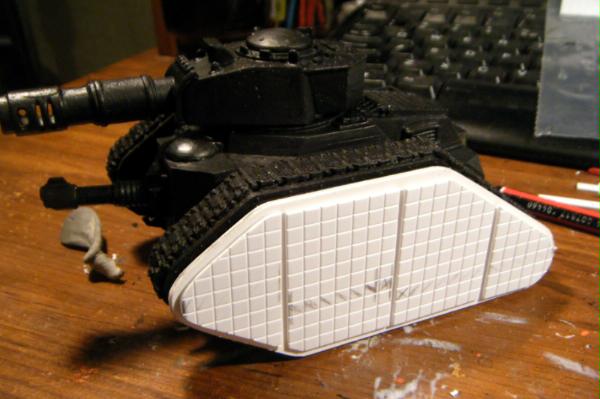
And here is a finished skirt! I am thinking of adding countersunk bolts in the corners of the armour plates like the
FW skirts but my chronic laziness will probably flare up and end up with me spraying it black and moving on to the next project.
Thanks for reading I hope I have inspired some of you to try armouring up your Russes!
Cheers,
BLACKHAND