How to magnetize an Icon Bearer (
40K CSM)
OK, I'm working on an
Iron Warriors force, and one of my marines is of course an Icon Bearer. There are 5 different icons - one for each Chaos god, and one for Chaos Undivied\Chaos Glory. Rather then pick one, I decided to magnetize it so I could swap out as needed. Since the rod for the icons is thinner in diameter then the magnet I'm using, I thought the technique was postworthy.
You'll need some magnets, obviously - I used 1/8th diameter magnets as I think they are a good size (
that's what she said) and they offer good pull force. You'll also need some discarded sprue, a sharpie or other marker, and a pin vise with bits. Superglue kicker and a dremel are helpful but not required.
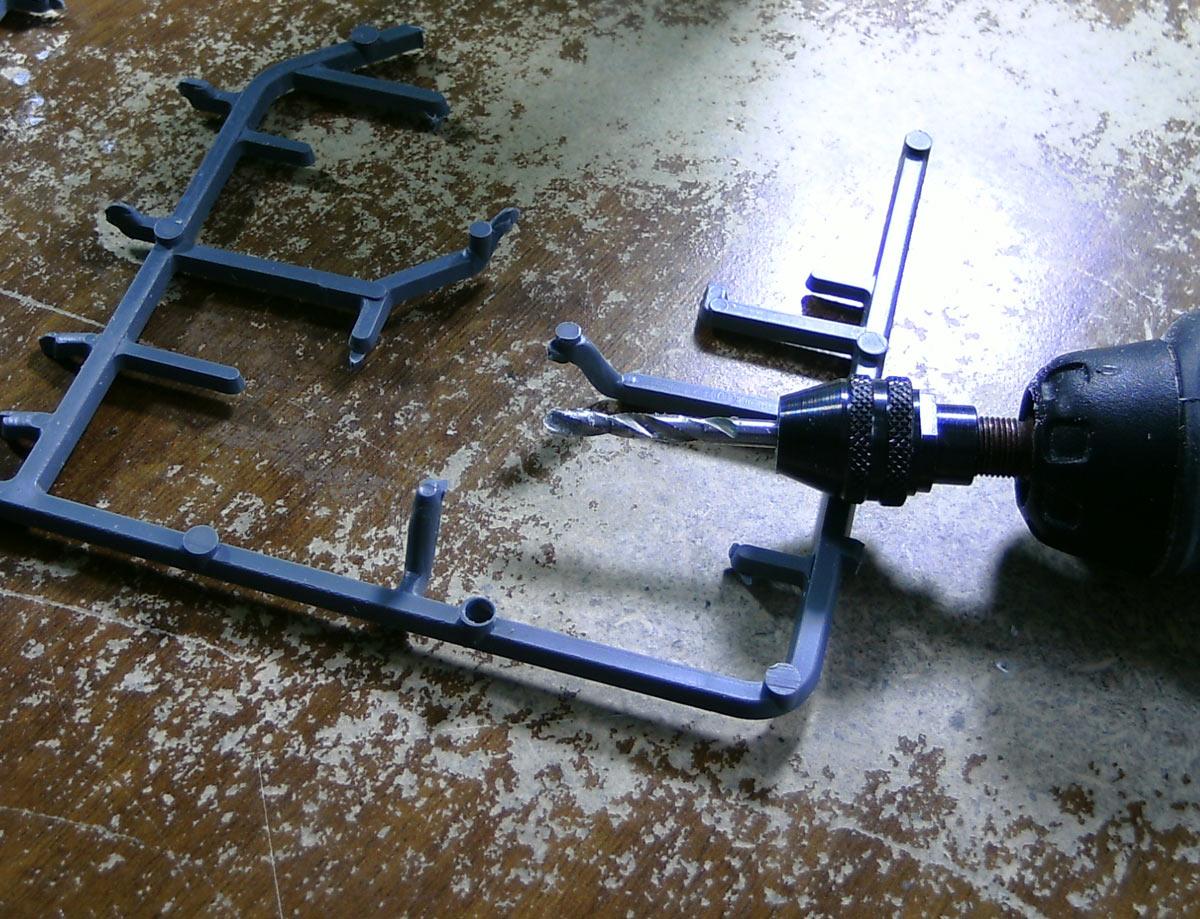
1.) Get some spare sprue.
 perfect centering optional, apparently
Locate one of those round peg things. Using your pin vise, drill out a pilot hole first (all the way through, this is important later), or the dremel is going to bounce around everywhere. Once you have your pilot hole drilled, use a 1/8" drill bit to drill out a hole. You can go all the way through if you want, or not. I chose not to.
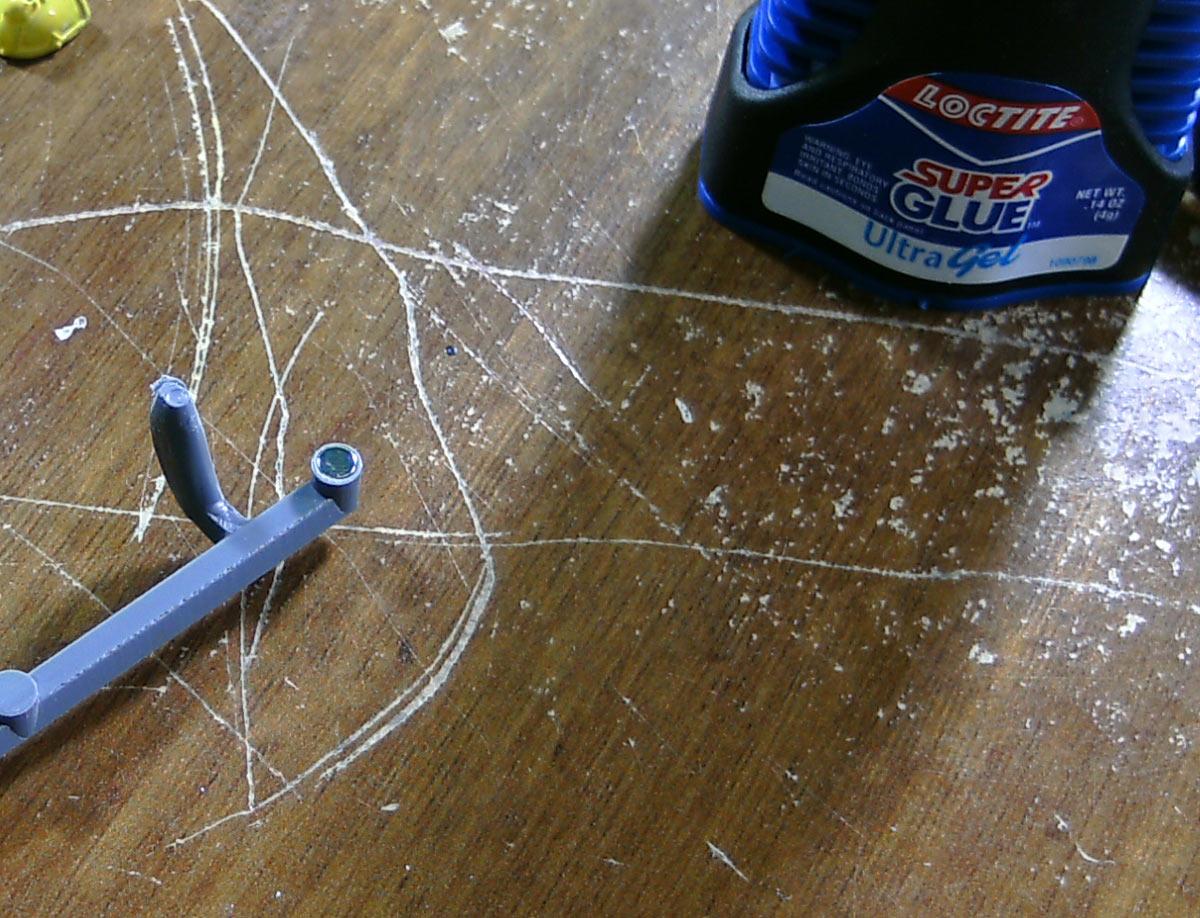
2.) Glue in your magnet
 as long as Loc-Tite keeps sending those checks, i'll keep including them in the pictures
This is why you needed to drill all the way through - you need a place for the air to escape when you push the magnet in. Otherwise, the magnet will pop right back out in a supergluey mess. Much like Brycream, a little dab will do you - just a drop. Push in your 1/8th magnet and put in a drop of kicker.
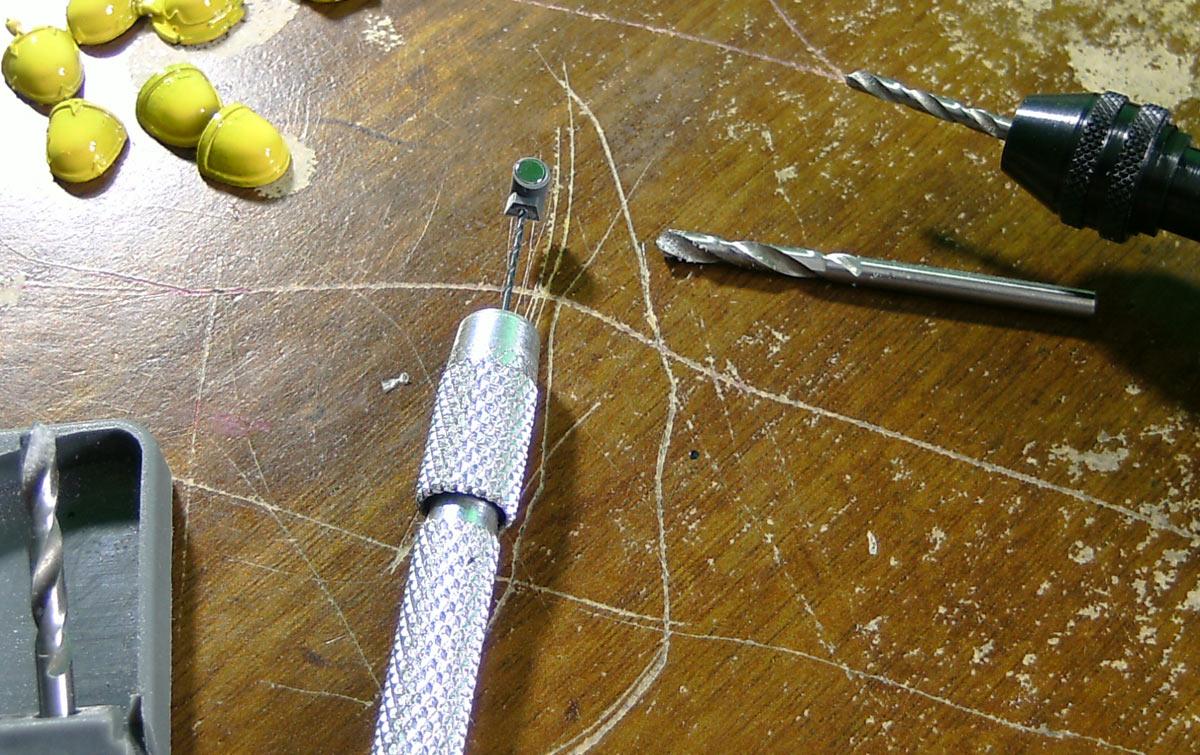
3.) Drill out the pilot hole for the staff
 also doubles as a periscope
Cut the glued magnet sprue piece off the sprue, leaving a little extra at the bottom. Drill a pilot hole for the icon staff. I'm pretty sure it was 3/32 but you will want to measure first because I didn't check. Also, I would not use the dremel for this piece, as it's liable to fly away into the mystery land filled with lost
40k bits and single socks from the dryer; I used the pin vise and worked my way up to 3/32 via increasing bit size twice.
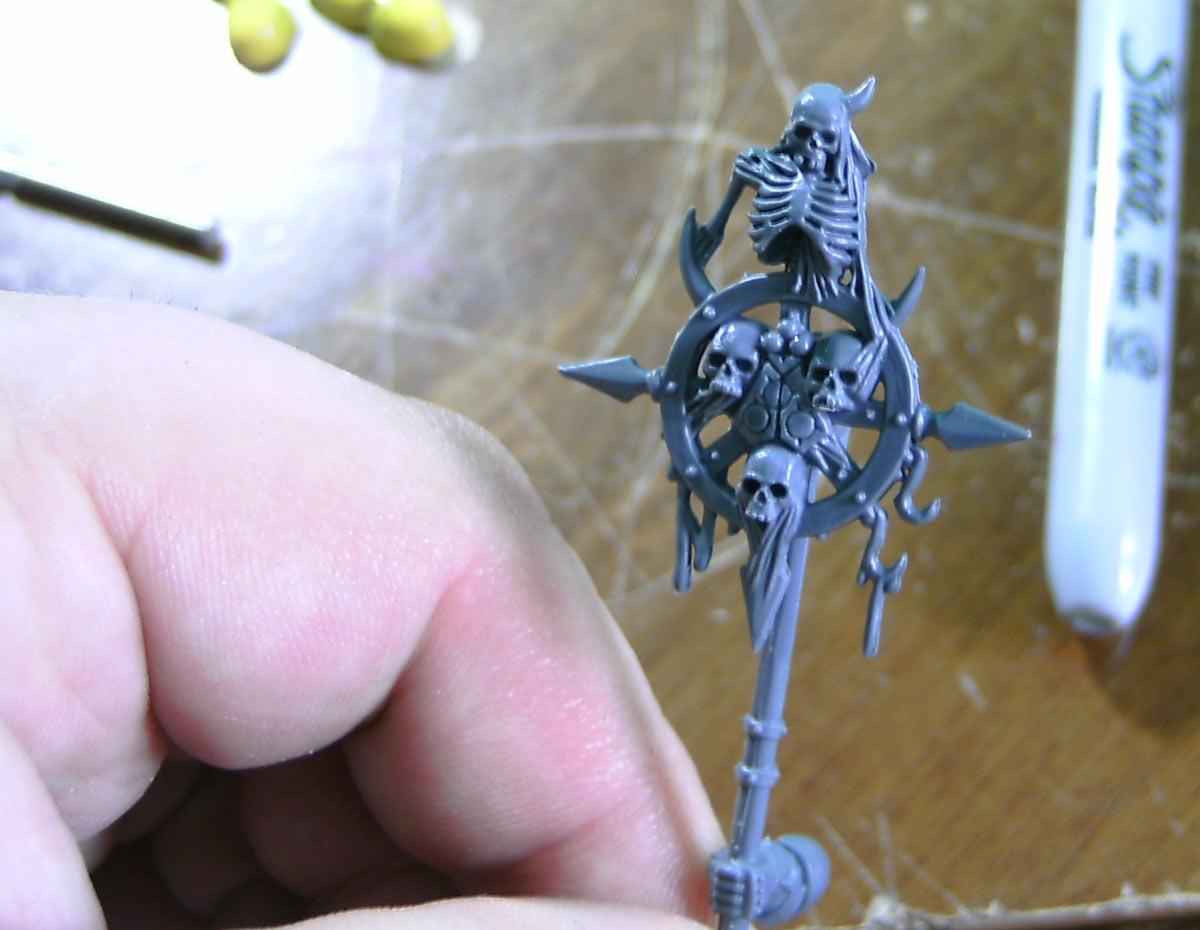
4.) Glue a magnet to your icon
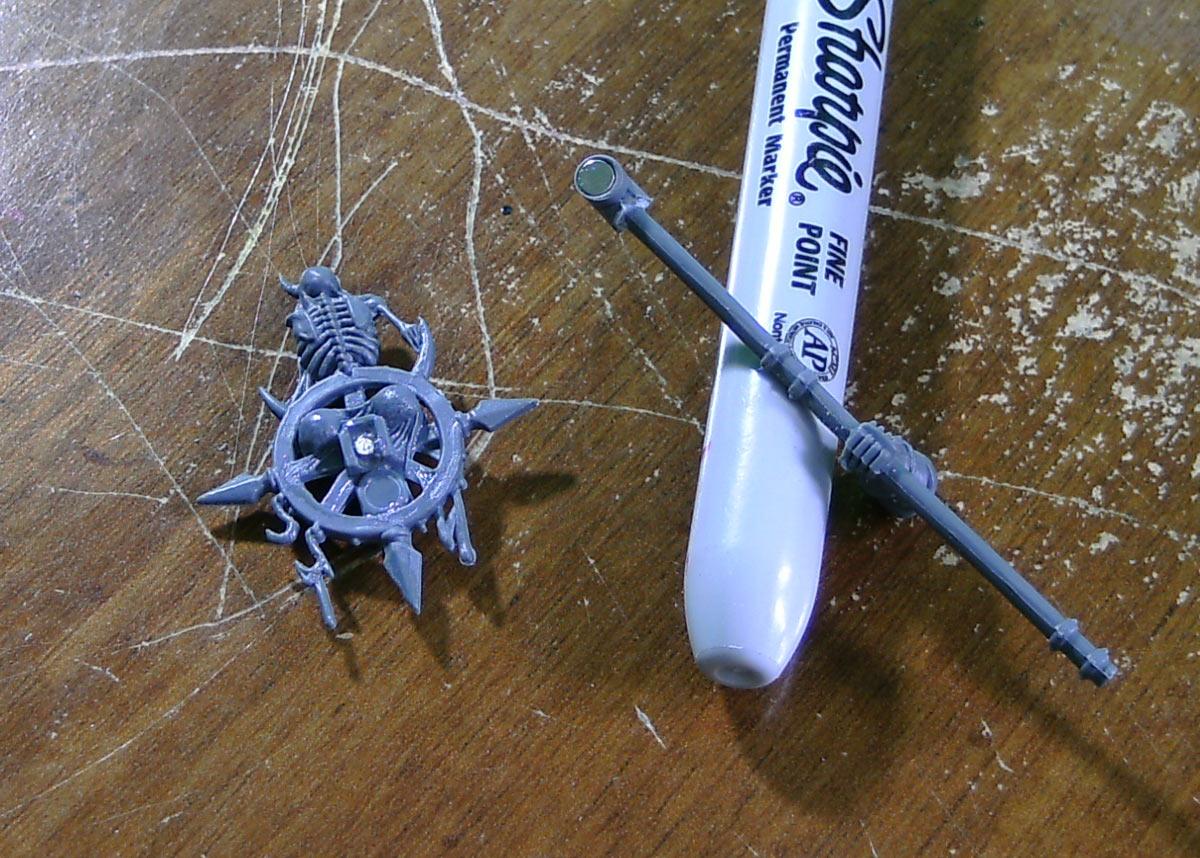
I glued the magnet head assembly to the staff, and used a 1/16" magnet in the back of the icon. You could also use a 1/8" magnet to match the one you used on the staff; I used the 1/16" just because I have quite a few of those, I'm running short on 1/8" magnets, and the icons are very light.
There is a technique I use here which is worth mentioning. Before I glue in a magnet, I drop it atop the target magnet (in this case, the already glued in staff). I then mark the outside with the sharpie. When I then glue the loose magnet into whatever it's going in, the rule is
shiny side out - the side that was drawn on should be the side that's getting glue. I always repeat it to myself right before I drop it in the glue - shiny side out.
5.) You're done!
And that's how you magnetize an Icon Bearer's staff.


 Night Lords: 5500 points / 1750 points painted
 Orks: 1250 points / 300 points painted
 Orcs & Goblins: 6000 points / 2500 points painted
 Tomb Kings: 3000 points / 1500 points painted