This is the first time I've tried doing a "start to finish" photo log of a project.
Recently I picked up an
OOP Rhino on eBay that I intended to convert for use in my Death Guard. This is how the Rhino looked in the auction. Sorry if the photo size is off, I didn't take it myself.
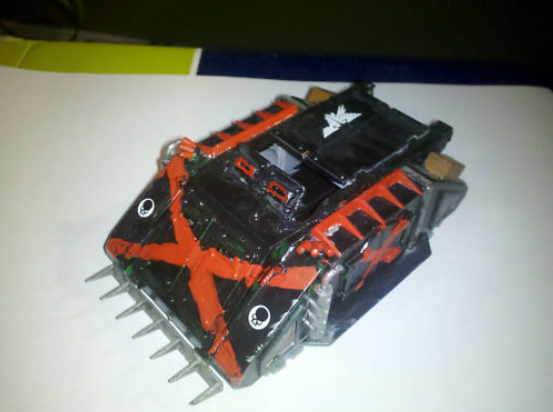
The photo shows a really bad paint job (which was fine because I paid $10 and I was going to visit the horrors of the warp upon it anyway) but after getting it I found out there was so much else wrong going on with it. It was put together with polystyrene glue, and whoever put it together used probably 1/2 the tube. It was so thick that it didn't just bond the plastic, it actually dissolved the plastic in places and fused separate pieces into warped clumps. I had to use a chisel tool to cut through the plastic welds. What a mess. And that's also when I found out that the model was also broken and there were huge cracks in the hull and the frame. It was slathered with glue, broken, and cut up so badly that it looked more like a Looted Wagon than a Blood Angel Rhino. Ugh. Anyway, I tore it apart down to basics:
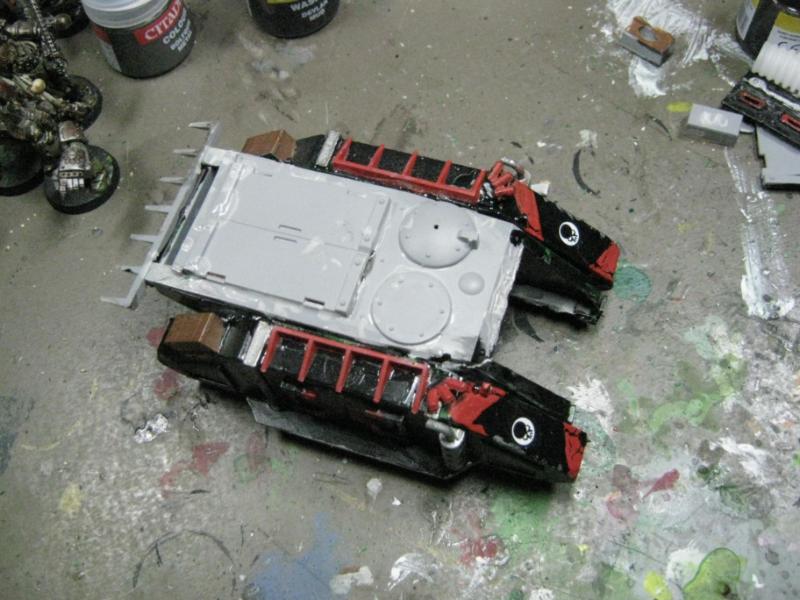
No top, no rear, just glued hatches:
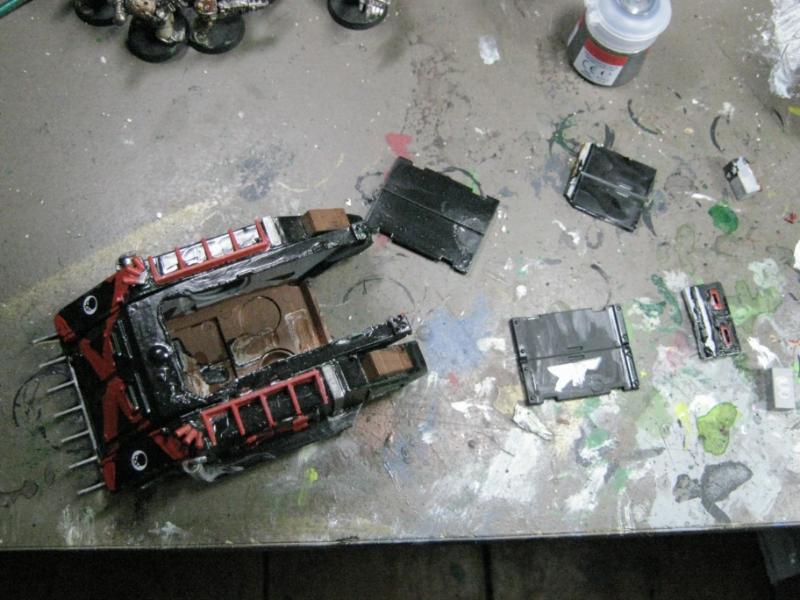
Open top Rhino?
Ugh. What a pile of junk.
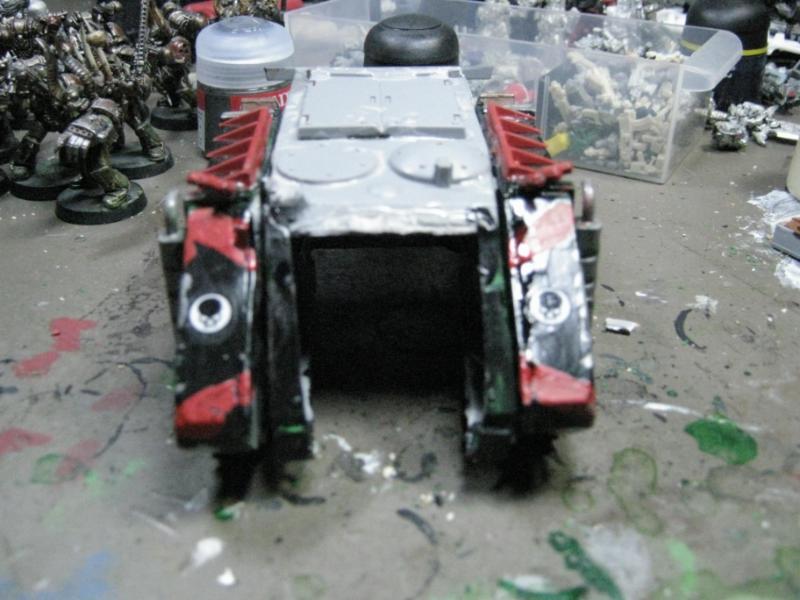
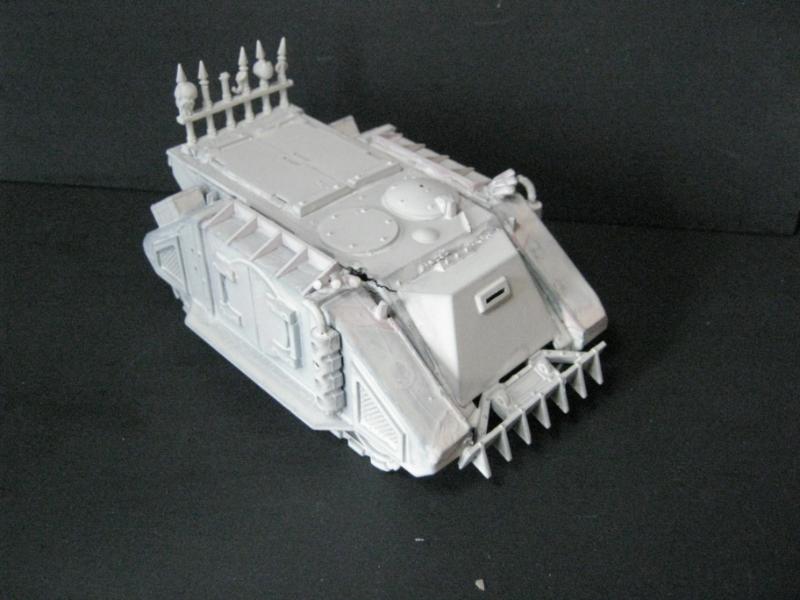
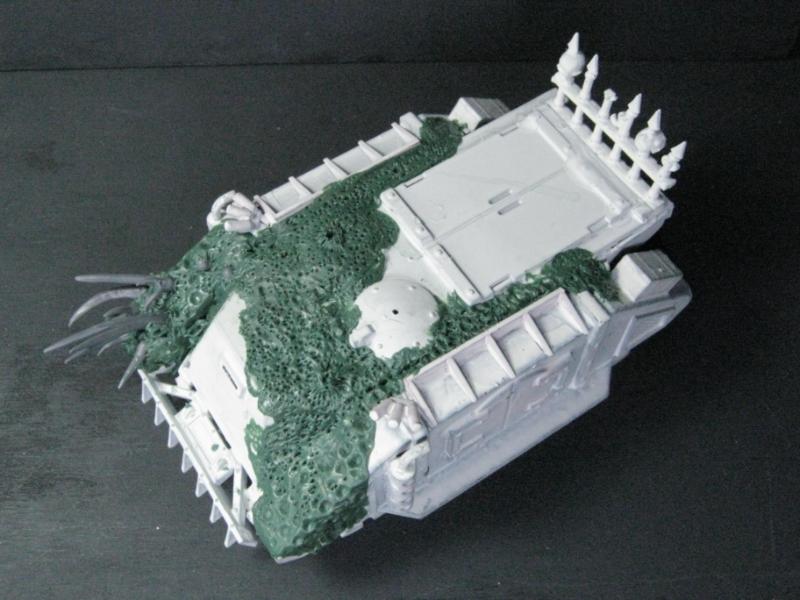
This is where I had to get creative. With most of the top and all of the rear hull cut out by the former owner, I didn't have much to work with. So I flipped it around. I had to do some bracing so the warped hull would retain its shape, but at least I recovered most of the top hull.
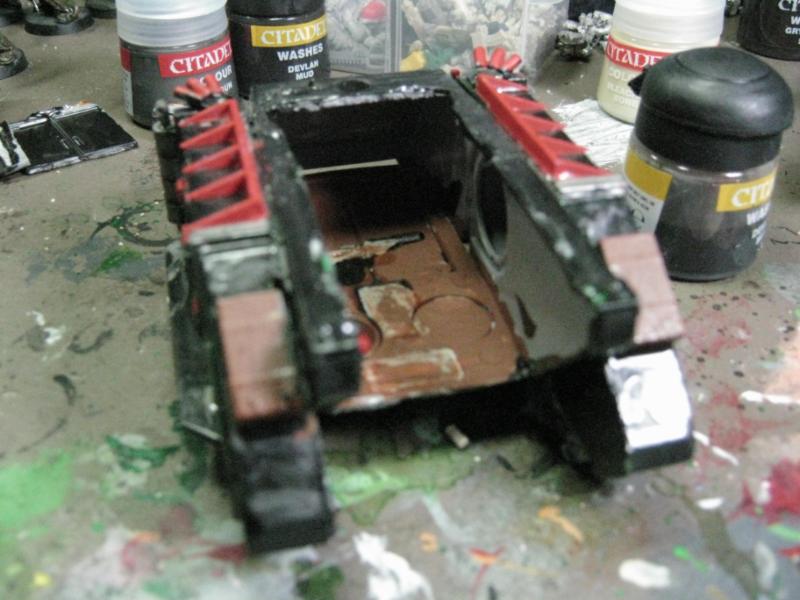
The front was still a problem, though.
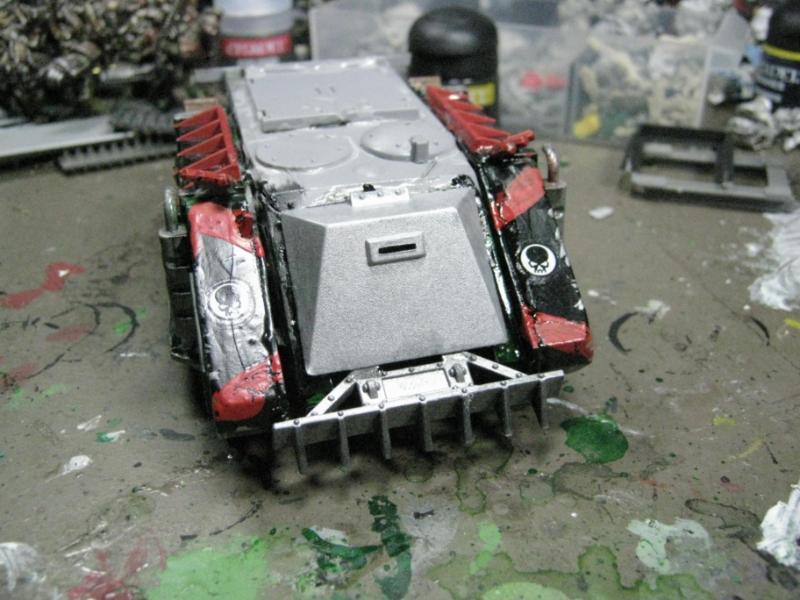
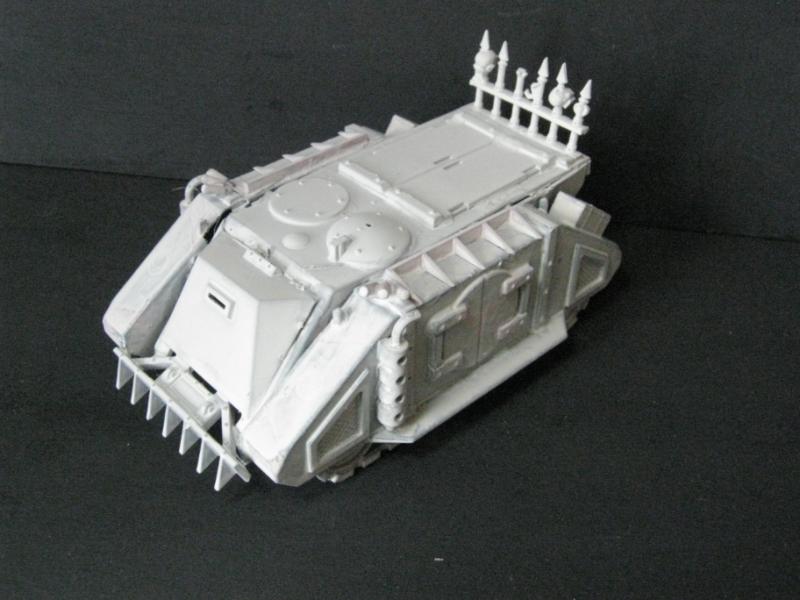
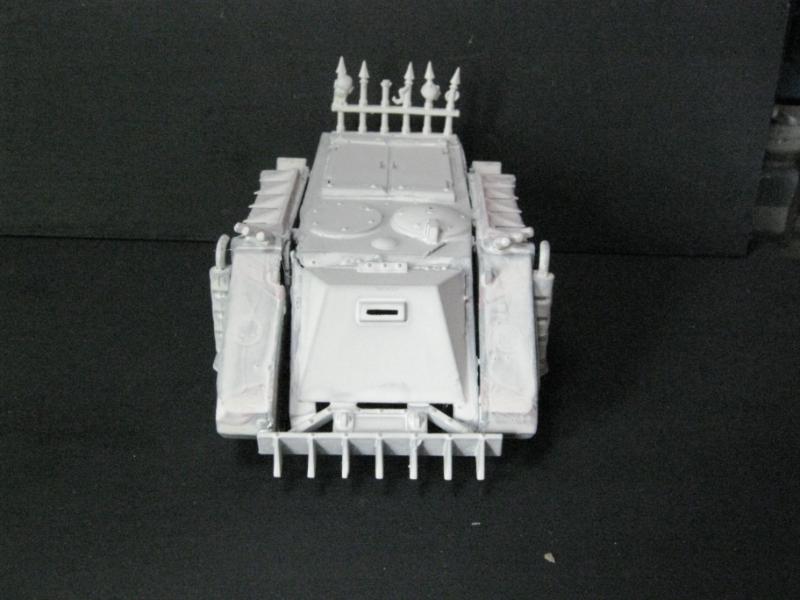
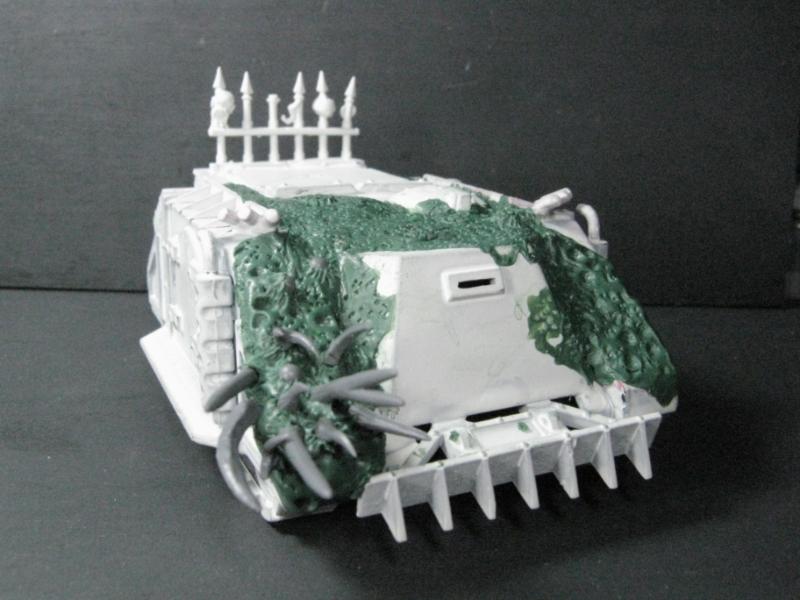
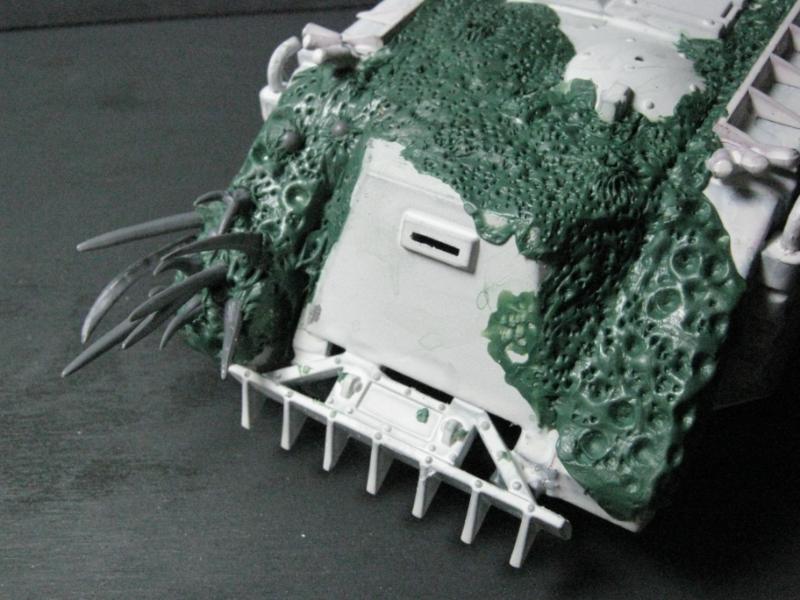
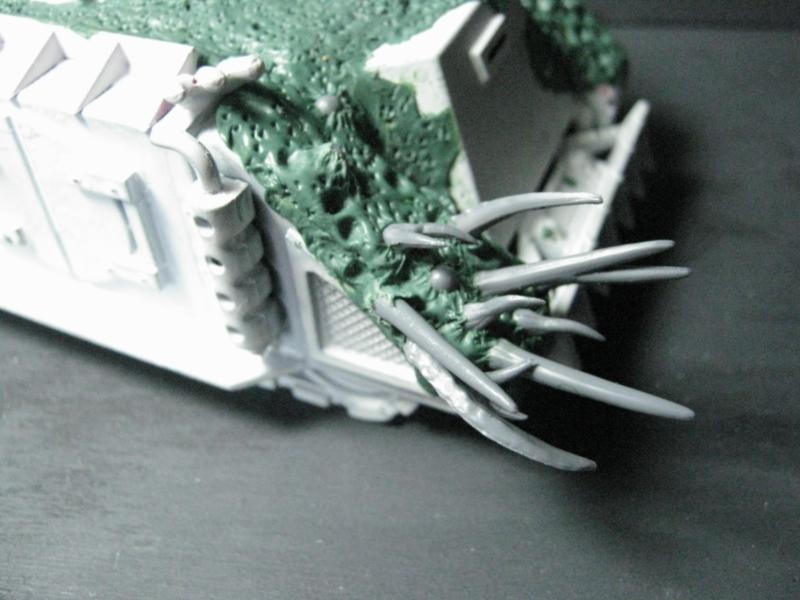
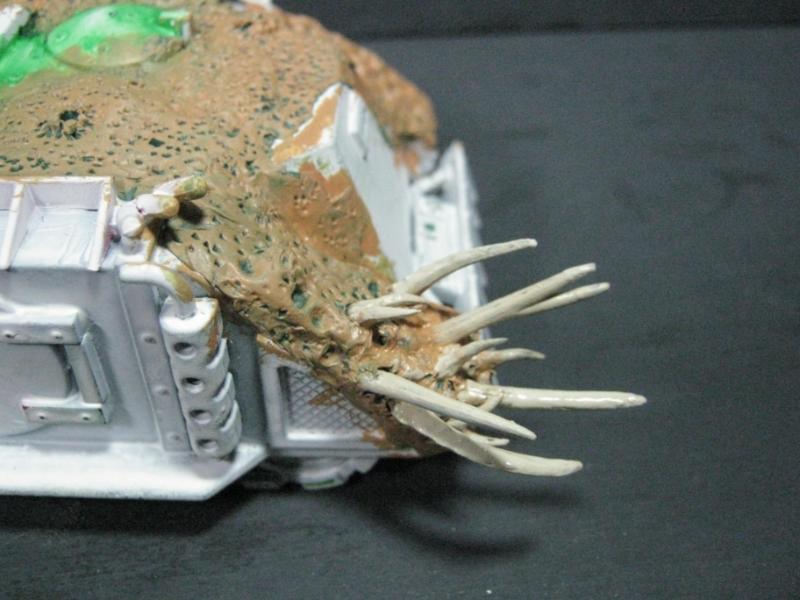
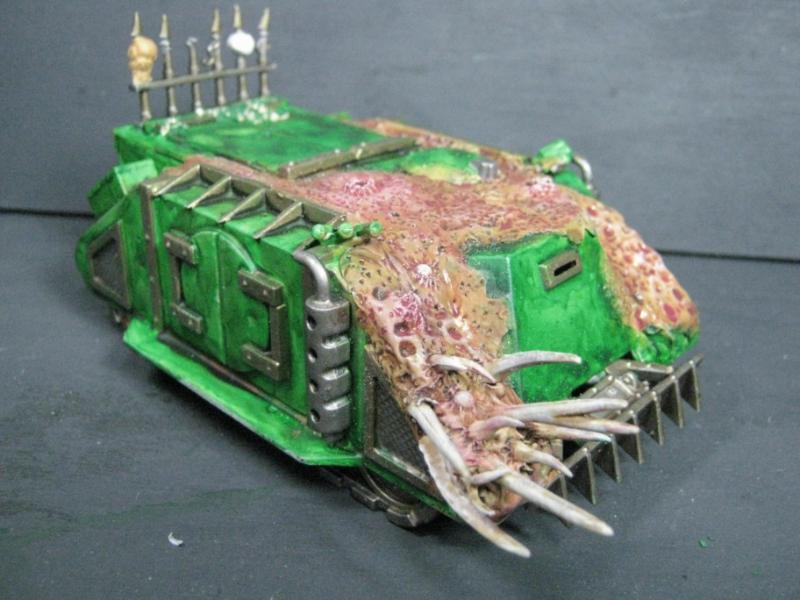
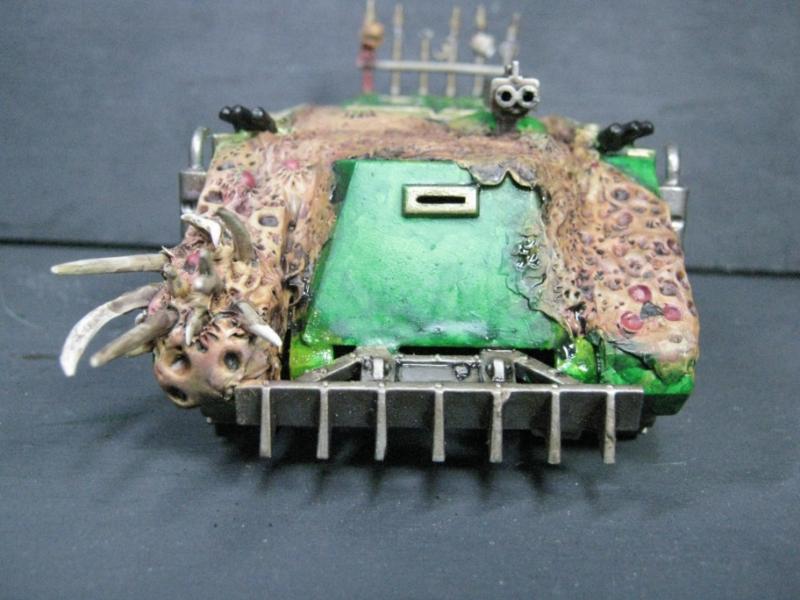
If Rhinos still had forward hatches I'd have replicated the same sort of "gaping maw" like I did on the Land raider. Since they don't, I went digging through my bits box. I could not find anything that would work. I finally had to take this hatch off a Necromunda terrain piece. I'll repair that with something else later. Once I put the hatch on I saw that the gap where the bottom of the hull should be was more significant than I had hoped and resorted to the bitz box again, this time finding an old Gorka Morka ram bar that fit and all things considered I think all this worked out pretty well:
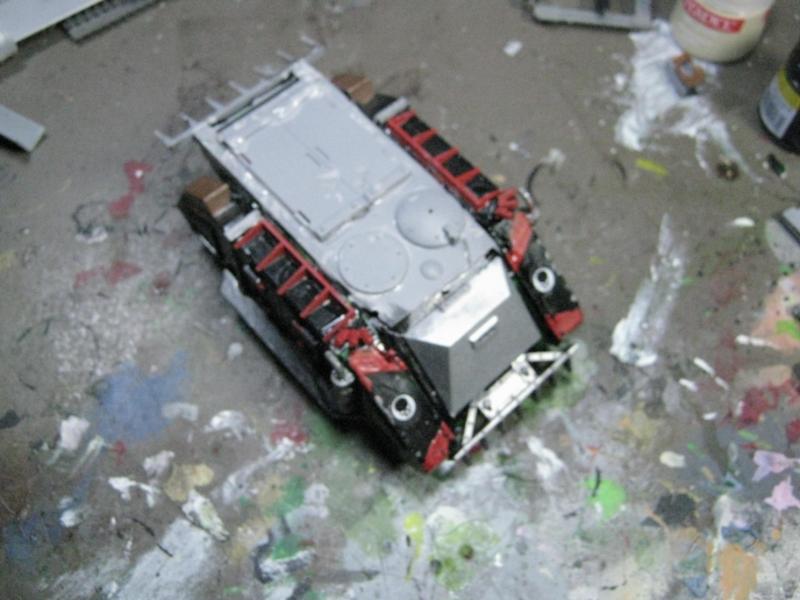
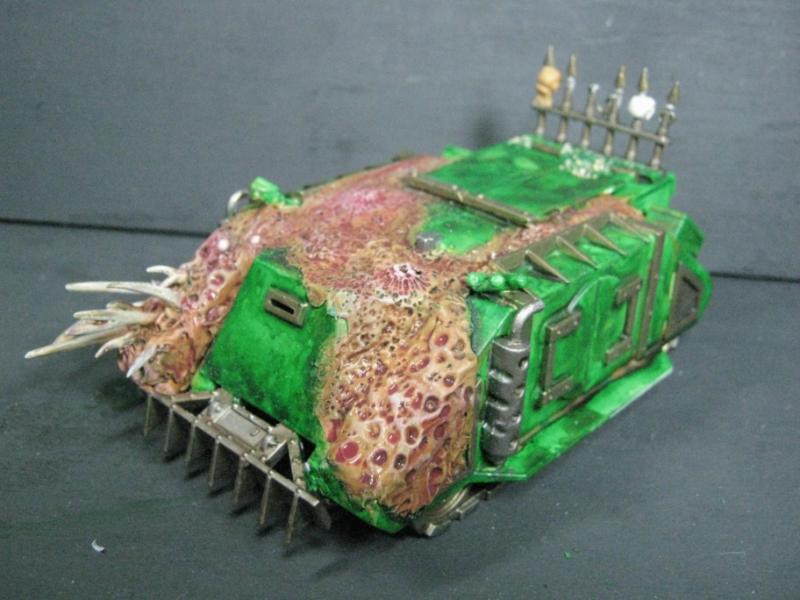
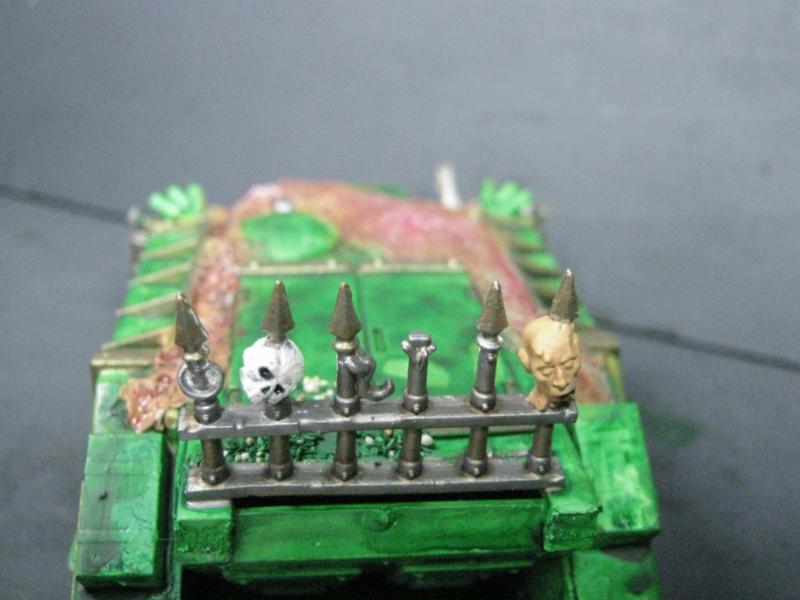
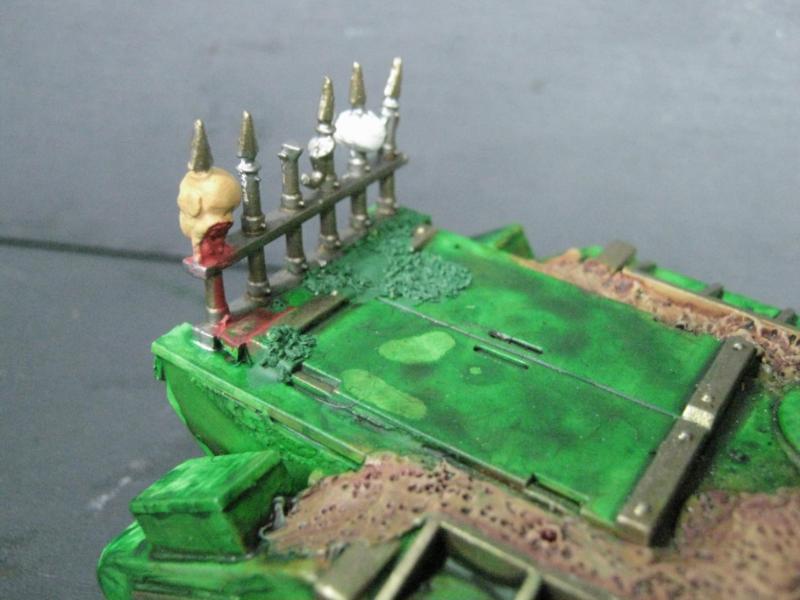
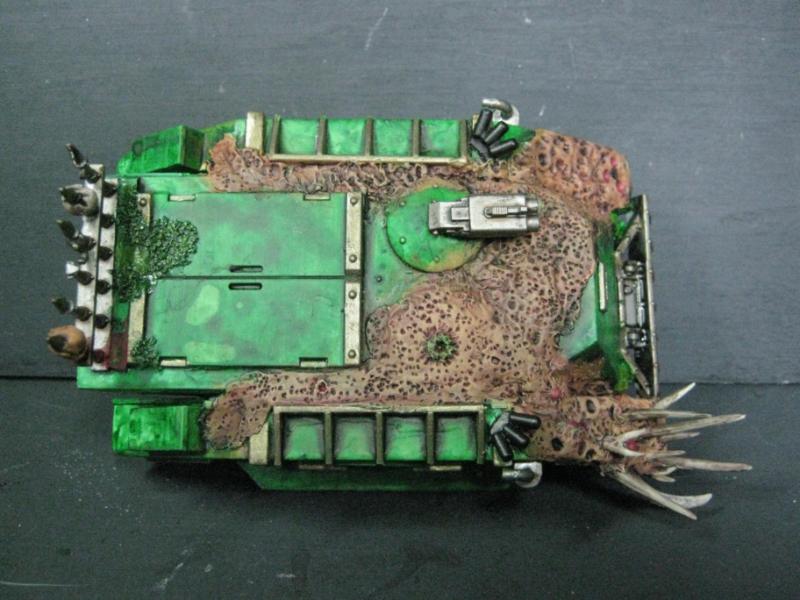
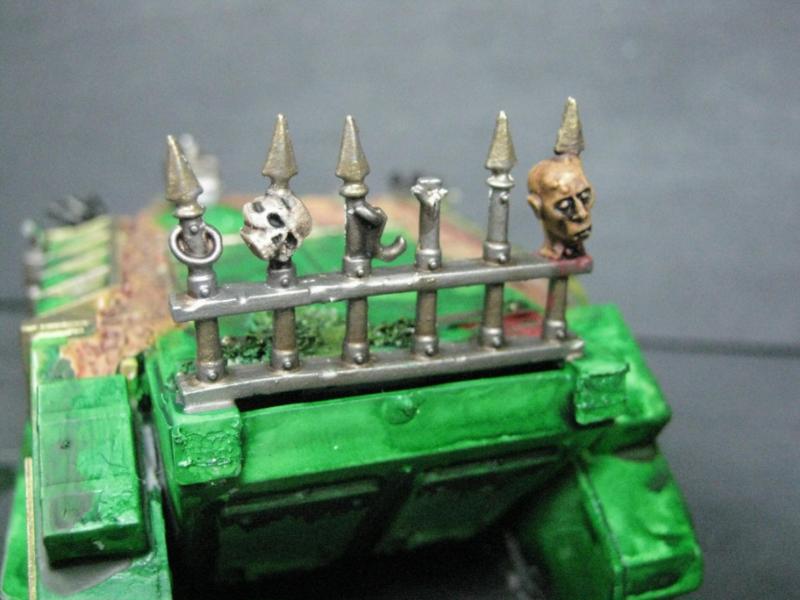
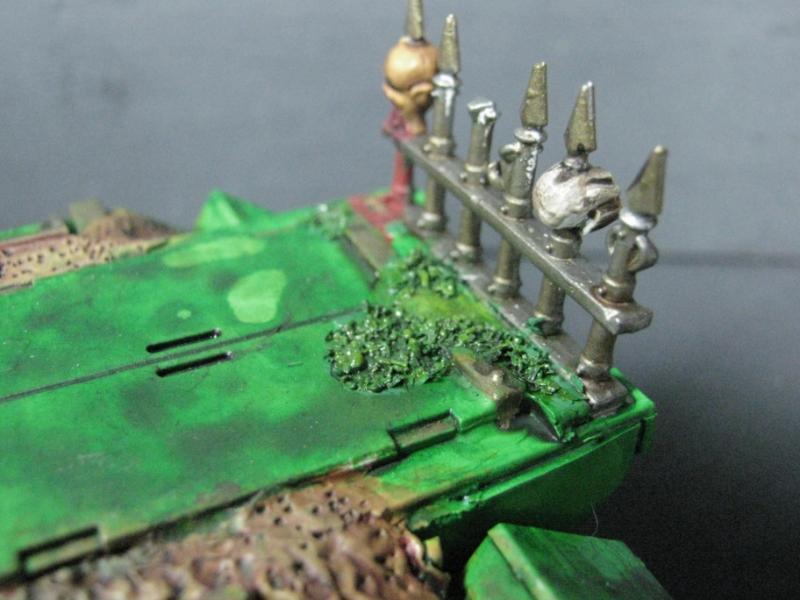
After I took the above photos I removed the Rhino ram bar (which was now some weird looking Spiky thing on the back of the Rhino hull) and added a rack of Chaos trophy spikes because there was a gap that needed to be filled on the top and just using plasticard looked weird.
Purists will likely scold me for not stripping and cleaning the model first before the next step. And I'll agree to a point- If I were trying to recover this for any other Legion I would have. But since I was going to be visiting the horrors of all things Nurgle upon this former Blood Angels vehicle, I saw no reason to add that lengthy process. I just sprayed them down w/ flat white primer. You can see the rips in the hull I was mentioning earlier now that everything is cleaned up and flat white.
Once I had the "work" done and I had the model as solid as it ever will be again, the fun truly began. I dug through my bitz box again, mixed up a huge ball of
GS, and invoked the ruinous power of Father Nurgle.
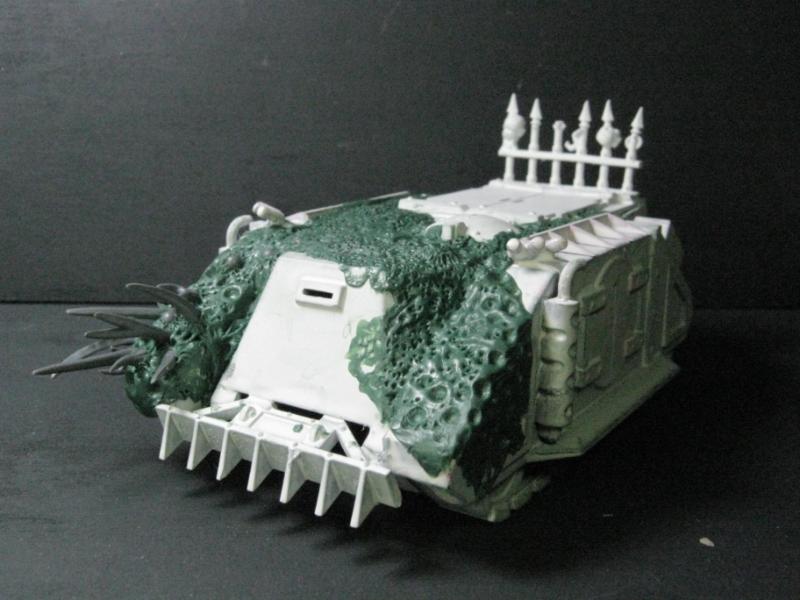
Once the
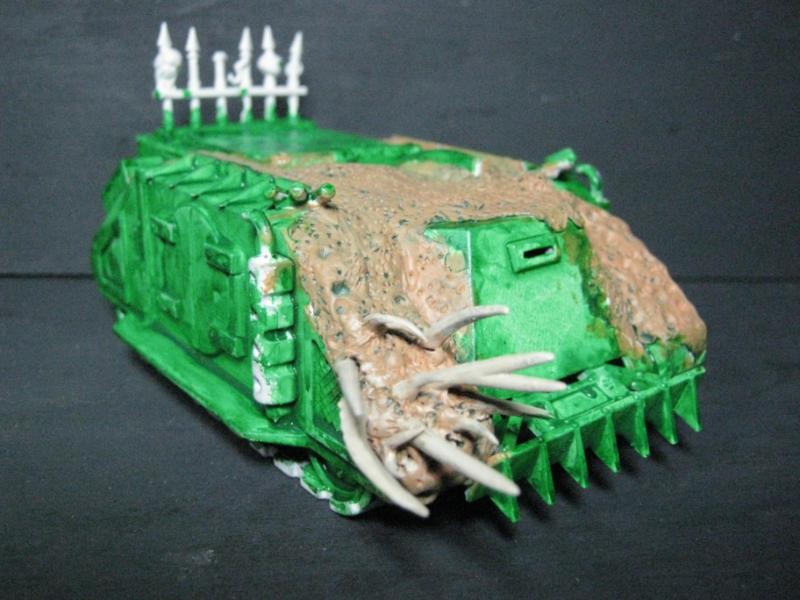
GS had hardened I started the base colors for the "flesh" and hull. The small spot of green is a color test.
Ok, ok... it's from me forgetting that I do the flesh first and then the hull ink next. Anyway, you'll notice that the paint (
GW Vomit Brown for those of you that care) is a bit sloppy here and there. It's ok. It gets better later. You may also notice that the paint looks "glossy". It's because it was still wet. I took these photos as soon as I was done.
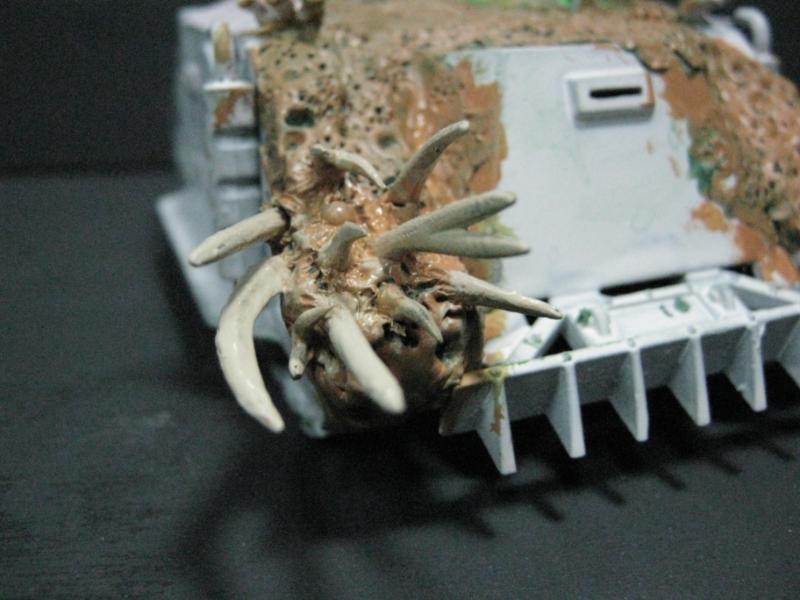
Next I based the spikes (
GW Bleached Bone)

Ok... NOW I inked the hull (I use a mix of Formula P3 Green and Yellow ink). I give the hull a "blotchy" appearance by wetting down the hull with water before washing it w/ the ink.
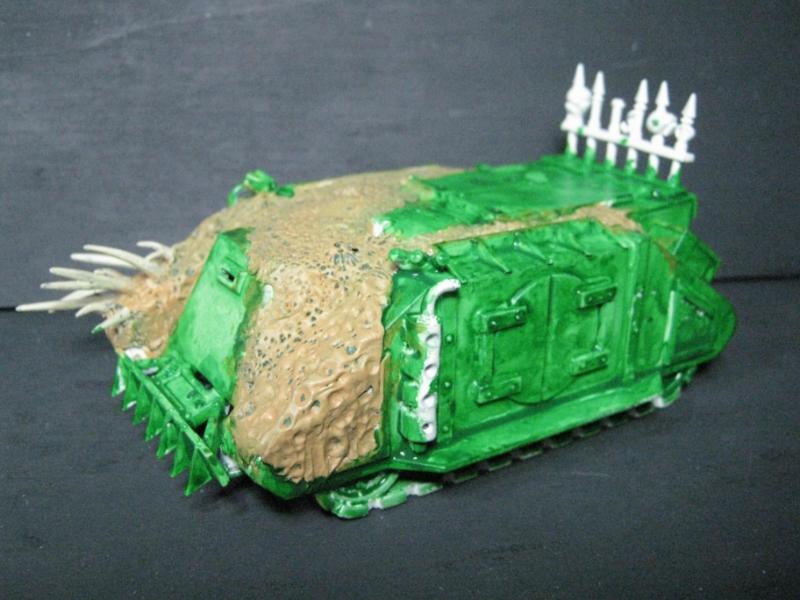
After the ink wash had completely dried I gave the entire model its first shade wash of
GW Griffon Sepia. I can't go on enough about how absolutely amazing this stuff is and how it has changed how I paint. I'm not a "bad" painter, but there's a lot of room for improvement and this stuff makes my models look a lot better in a lot less time.
While I was waiting for the Sepia wash to fully dry I painted all the metal bitz on the Rhino. The silver is
GW Boltgun Metal. The gold is Ral Partha Bronze.
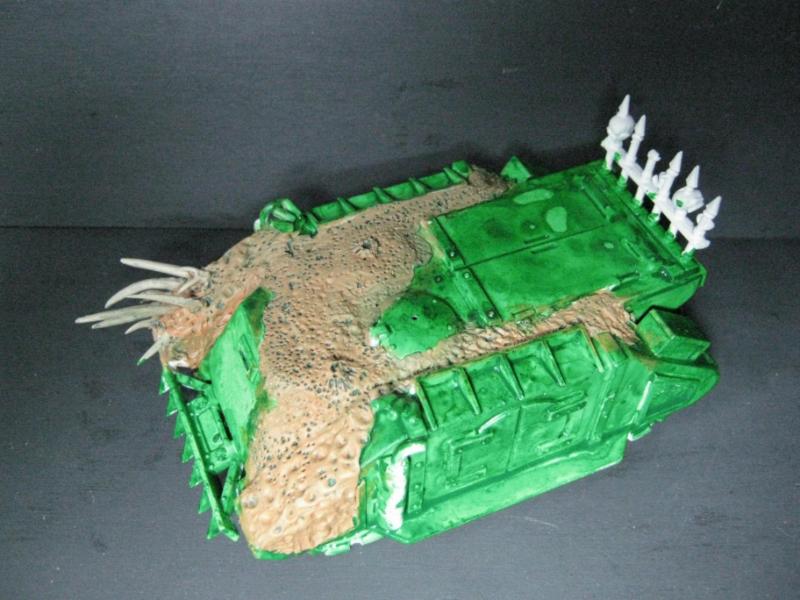
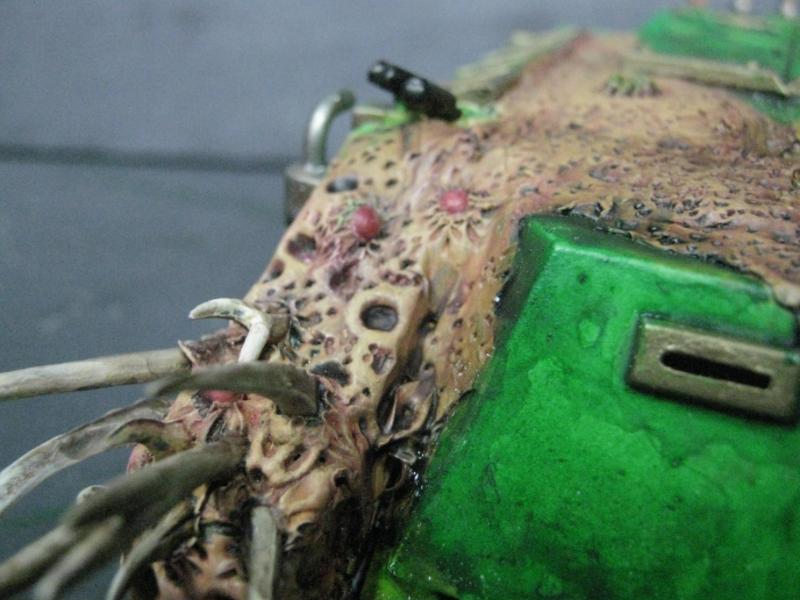
Once all of that was done and dried I washed the "flesh" again, this time w/ a 50/50 mix of Red Gore and water. I also picked out some of the basics on the trophy rack.
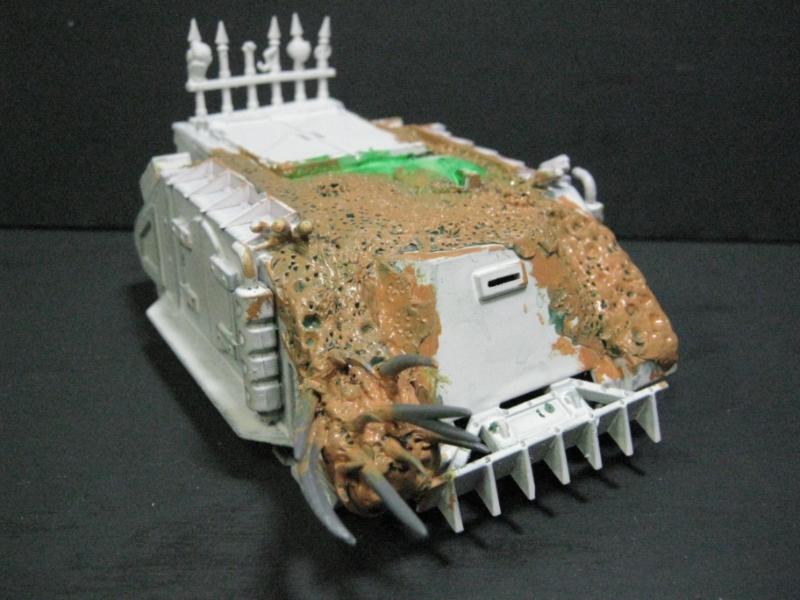
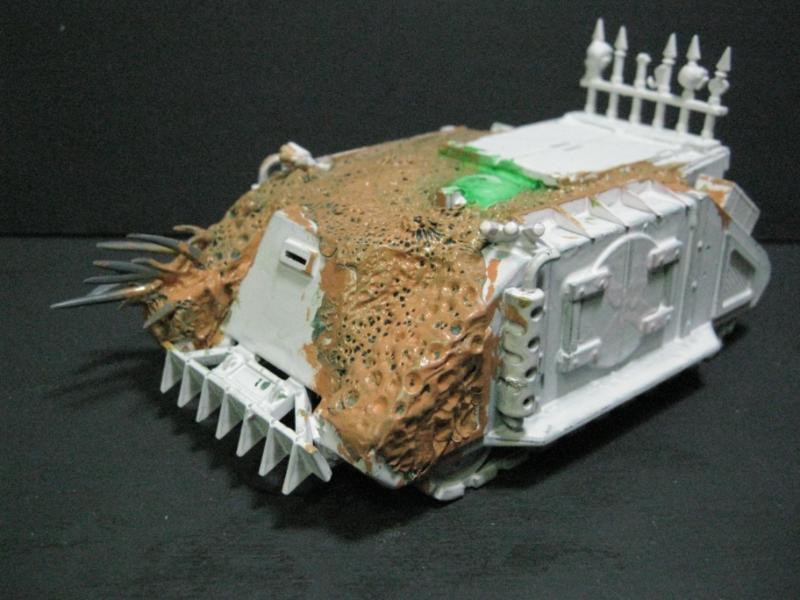
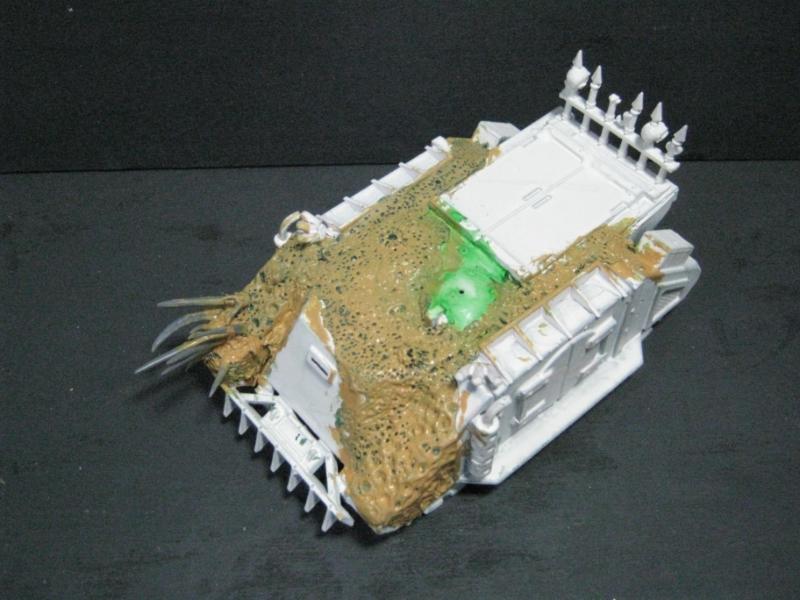
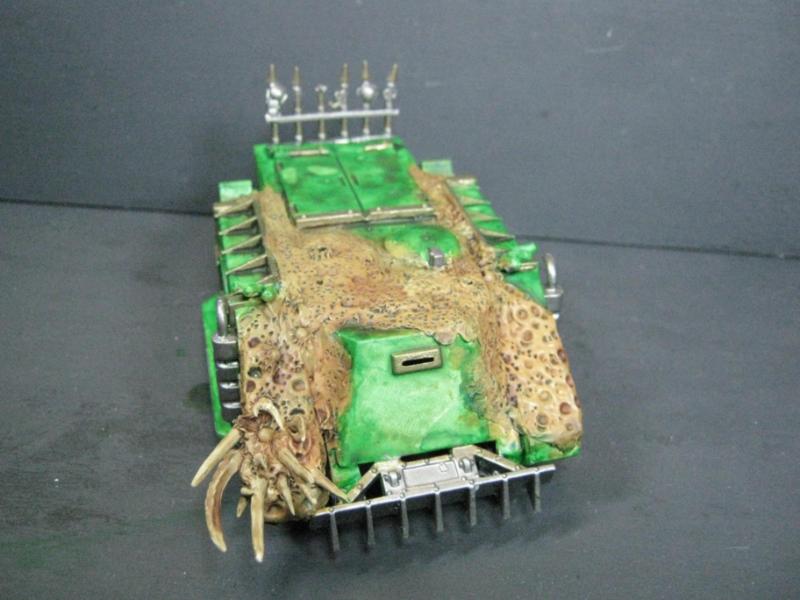
After the Red Gore wash dried I did a light drybrush of white and then Vomit Brown again to take the overall redness out of the "flesh" and pick out the detail better. Also put some touchups on the bone spikes and ulcerated boils in the flesh, also had to touch up the front of the Rhino as bit of the ink came off earlier. Also a bit more work on the trophy rack.
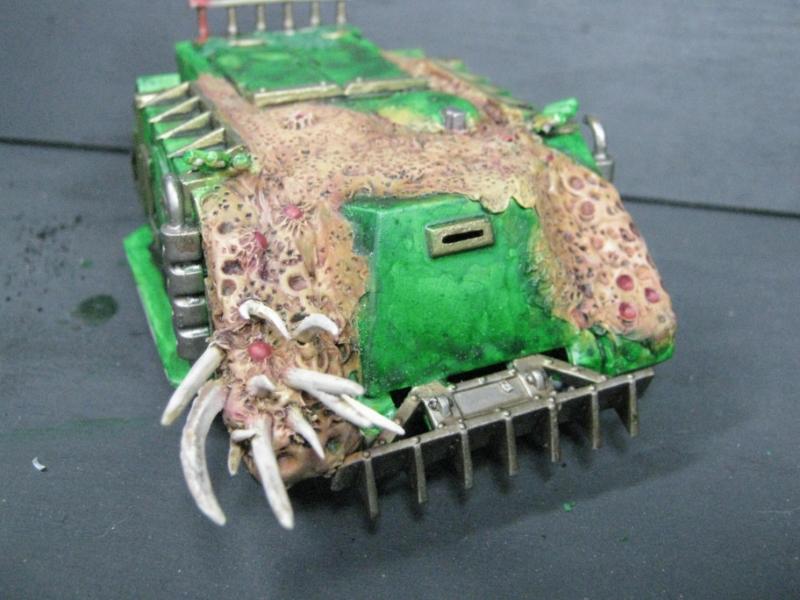
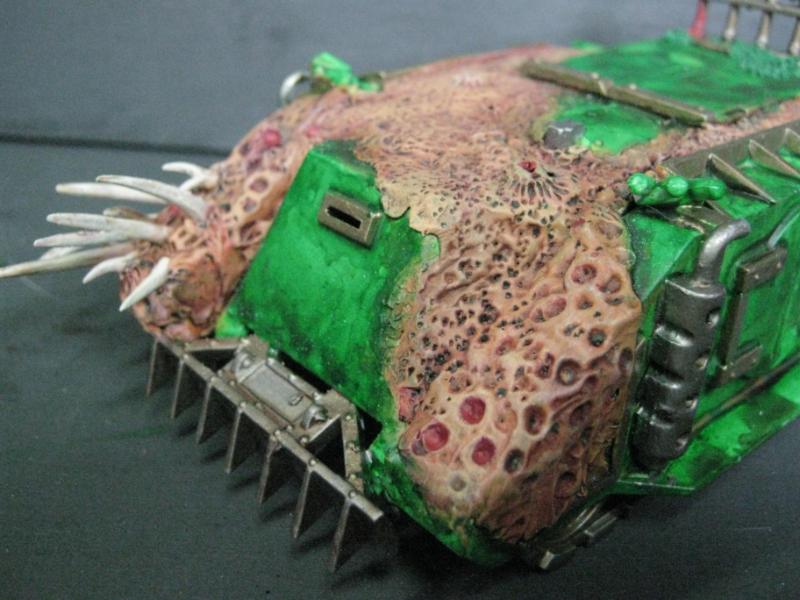
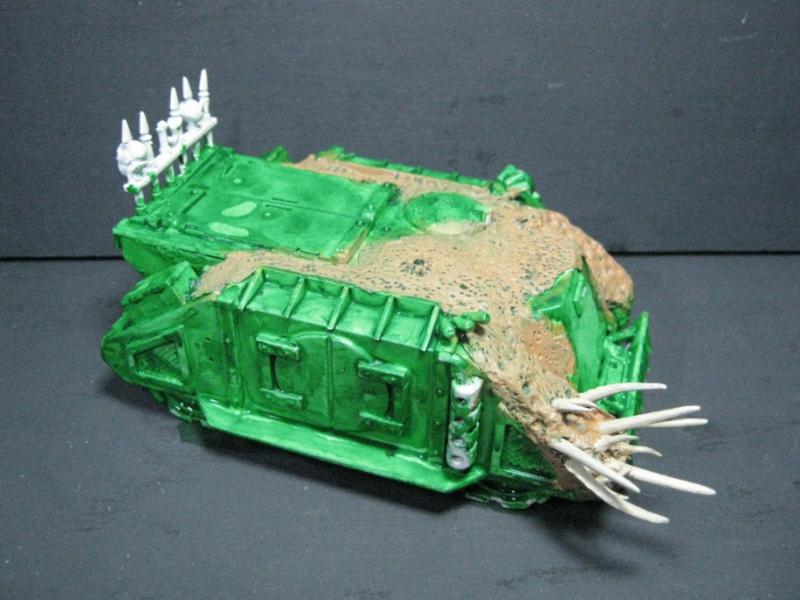
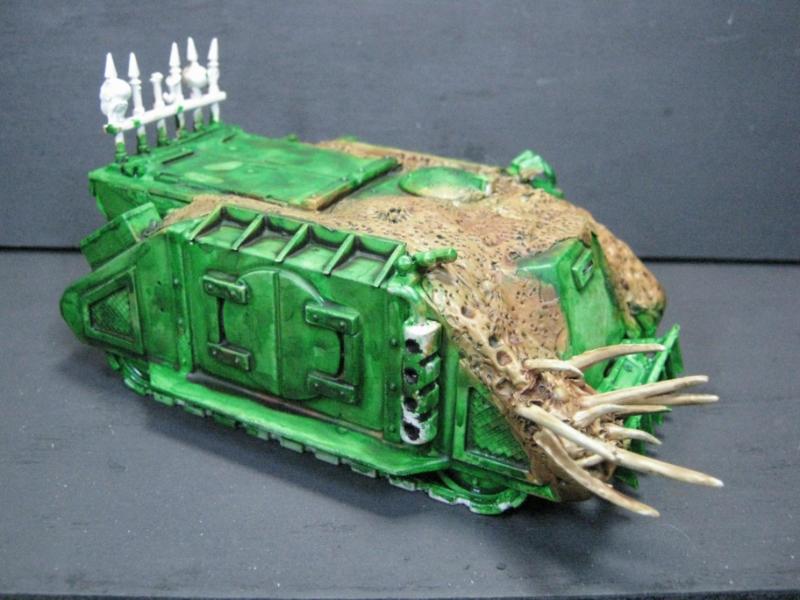
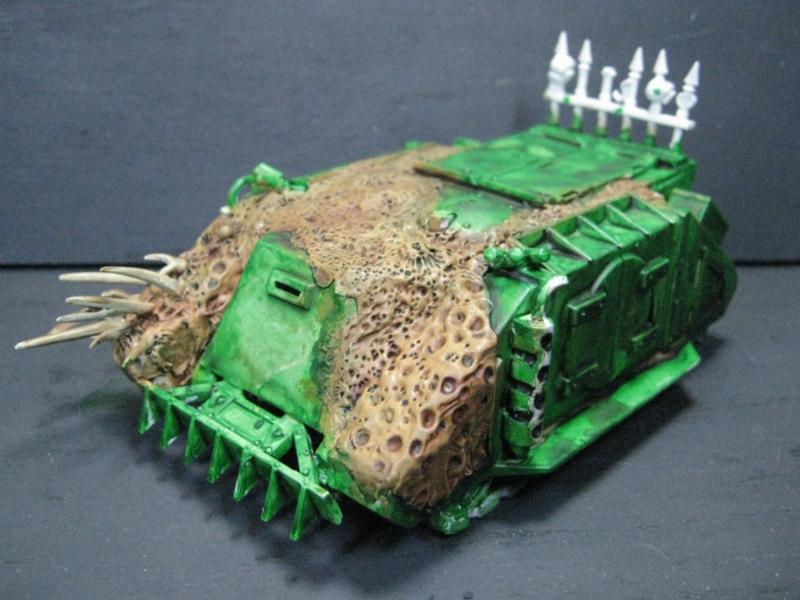
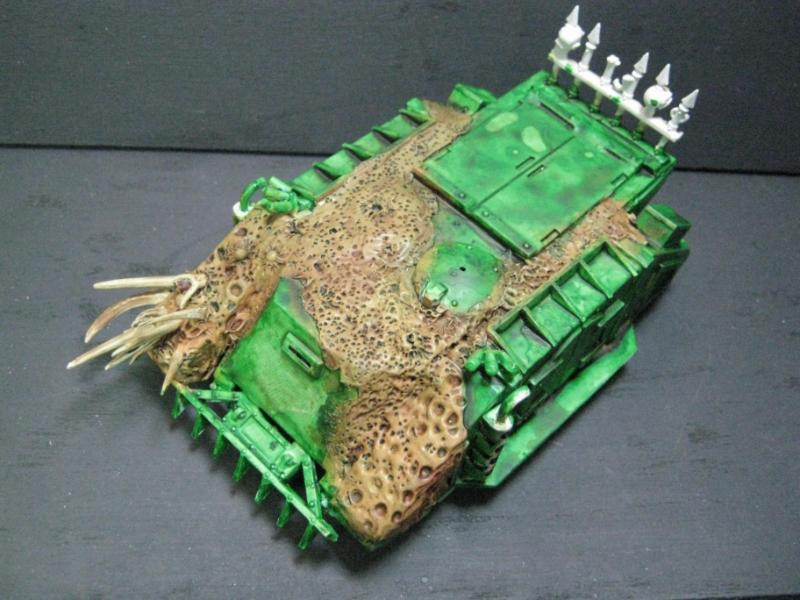
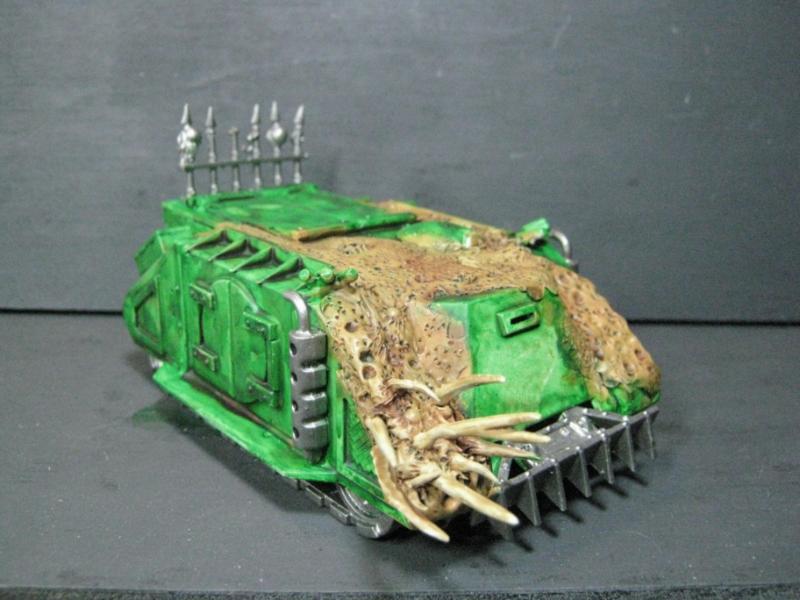
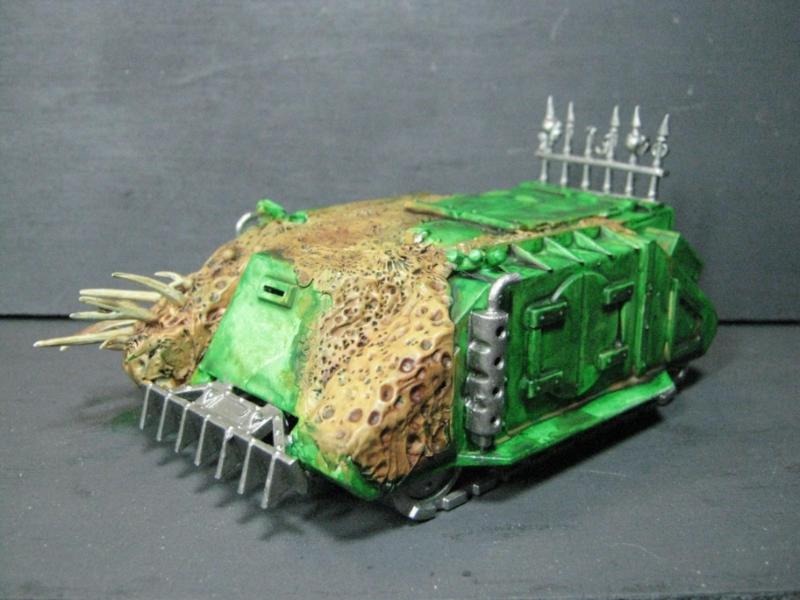
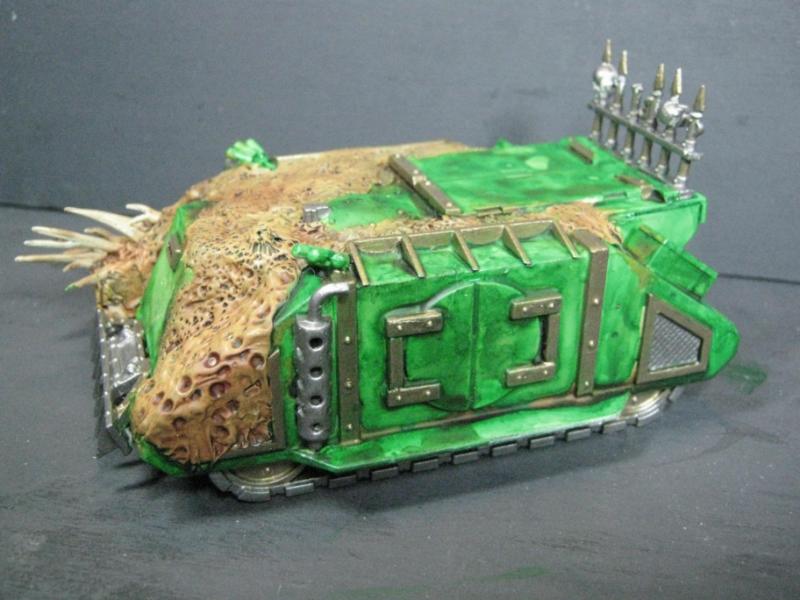
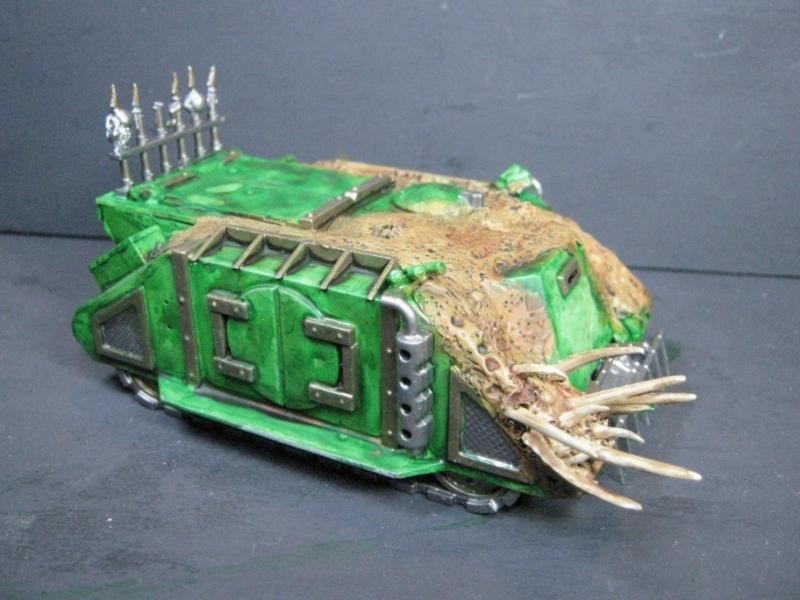
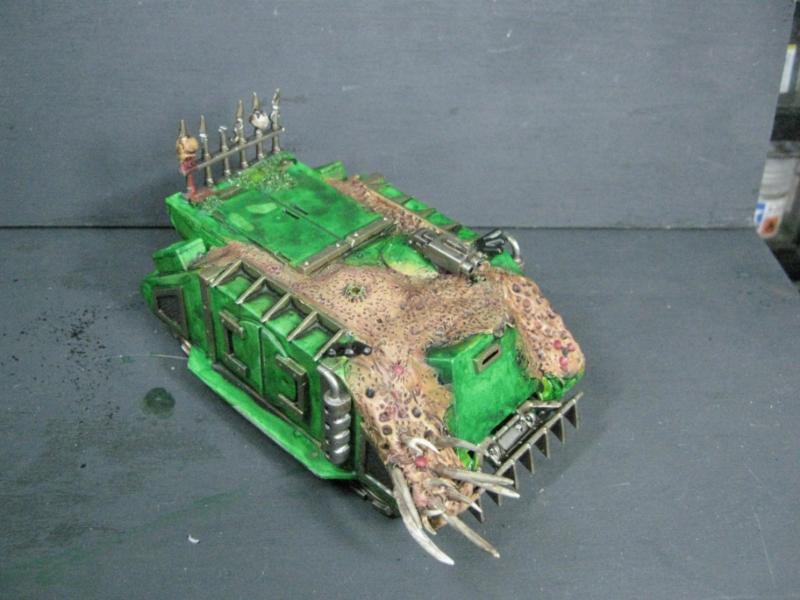
And it's done! The Combi-Bolter was added, and the model got had the final work done it, a light wash w/ a bit of black to shade in specific places, and some Devlin Mud in others.
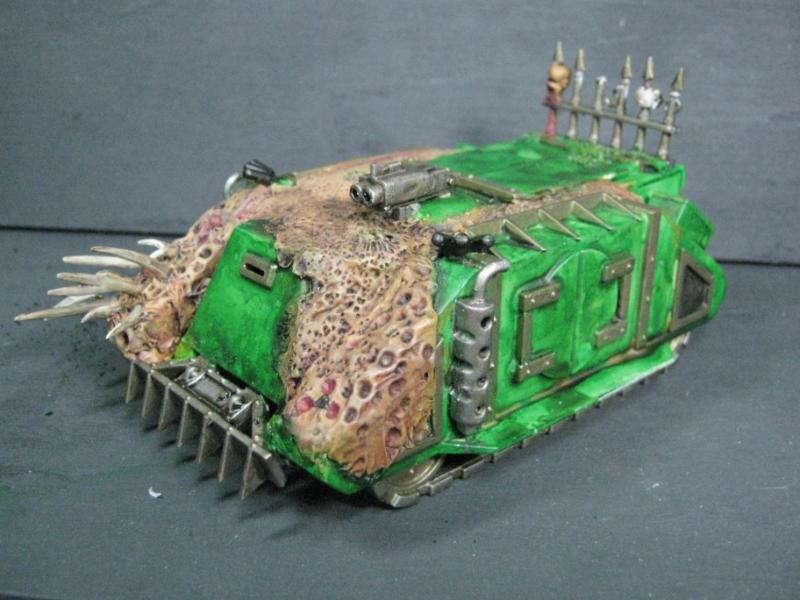
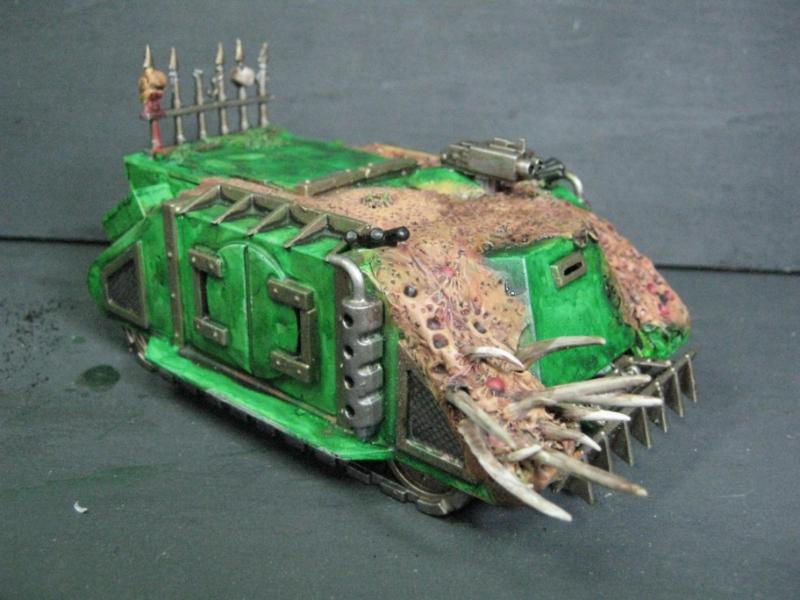
To recap, here's the before and after again:
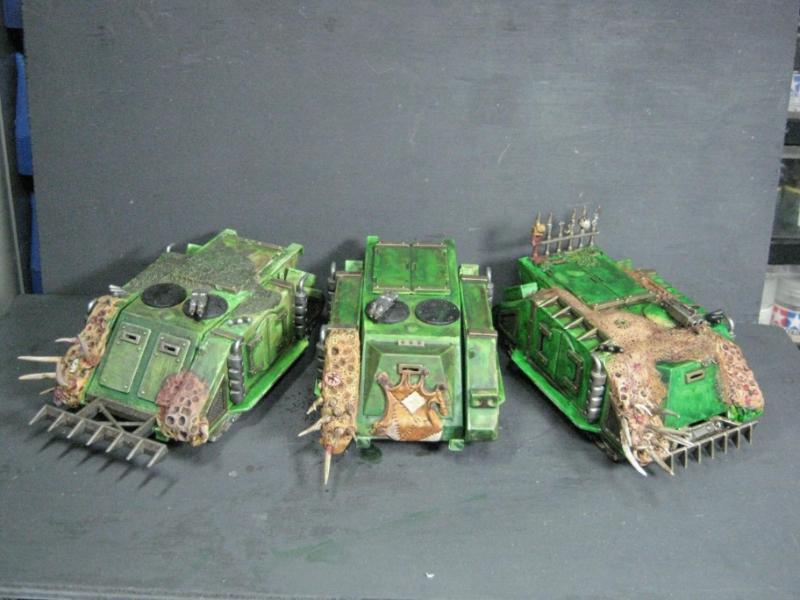
And finally, here it is with the other two Rhinos I did previously. Fits in rather nicely I think.
This project was a lot of fun and I'm hoping other people liked what I did. If you're interested in my work you can follow the link from my sig.


 350 points and growing
 It was a really fun project.