Stelek posted an excellent article while ago explaining the use of two or more transports to form a wall where disembark troops can shoot out of the narrow space in between the two vehicles while not getting assaulted. I'm familiar with this tactic, having used it on multiple occasions long before Stelek posted his recent article. I suspect both Stelek and I were inspired by stjohn70, who implemented it in his
Immolator Spam army.
Here's the link to Stelek's article:
http://yesthetruthhurts.com/2011/05/rhino-tactica/
As some of you may notice, Stelek used a program (which shall not be named, but starts with a letter "V"

) as visuals. While the program is great for simulating
40k games, it isn't 100% scaled to the actual miniatures and doesn't factor in true line of sight. So I've decided to fill in this gap by providing pictures of real models showing how to castle infantry behind transports.
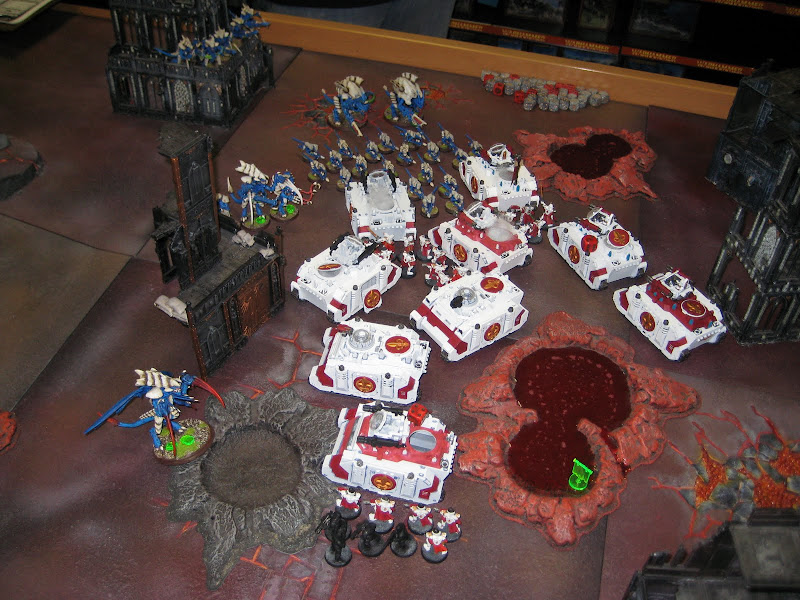
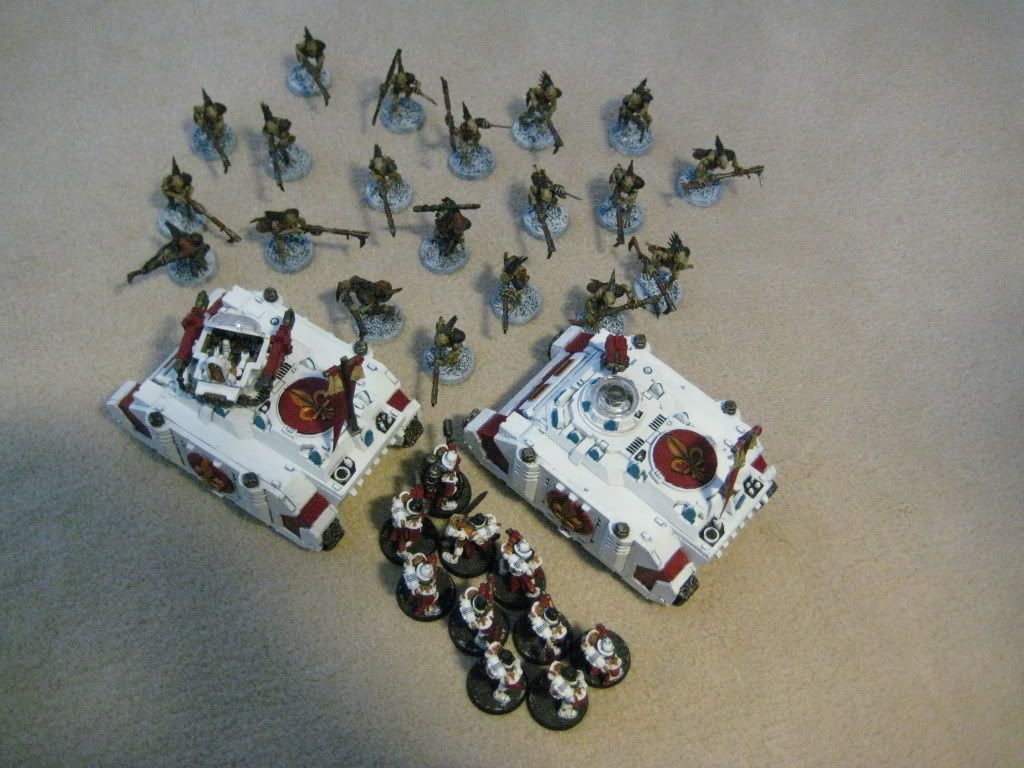
Here we my Immolator Spam army facing Nids. Notice how there's are a 3 small Sister squads disembark outside their transports. The are protected from assault, but they have visual to enemy units past the vehicles. It's easier to disembark 5 troops and have them all see between the narrow gap between two vehicles compared to disembarking 10 troops. However, it's not impossible to have all 10 troops
LoS to the same enemy unit after disembarking.
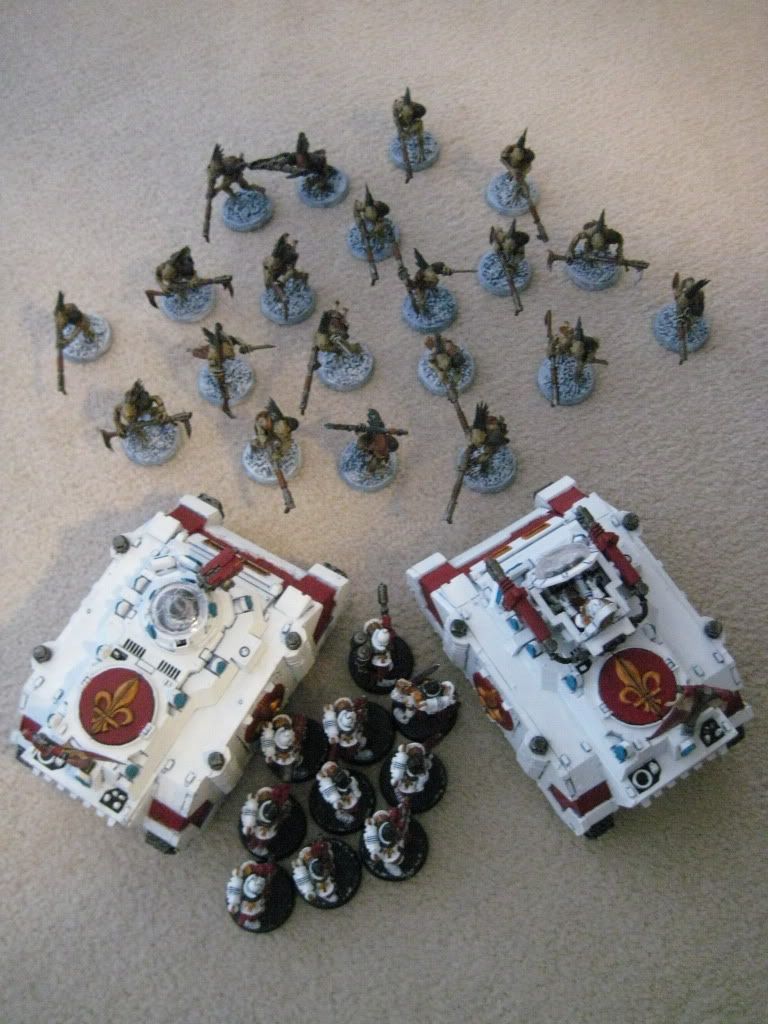
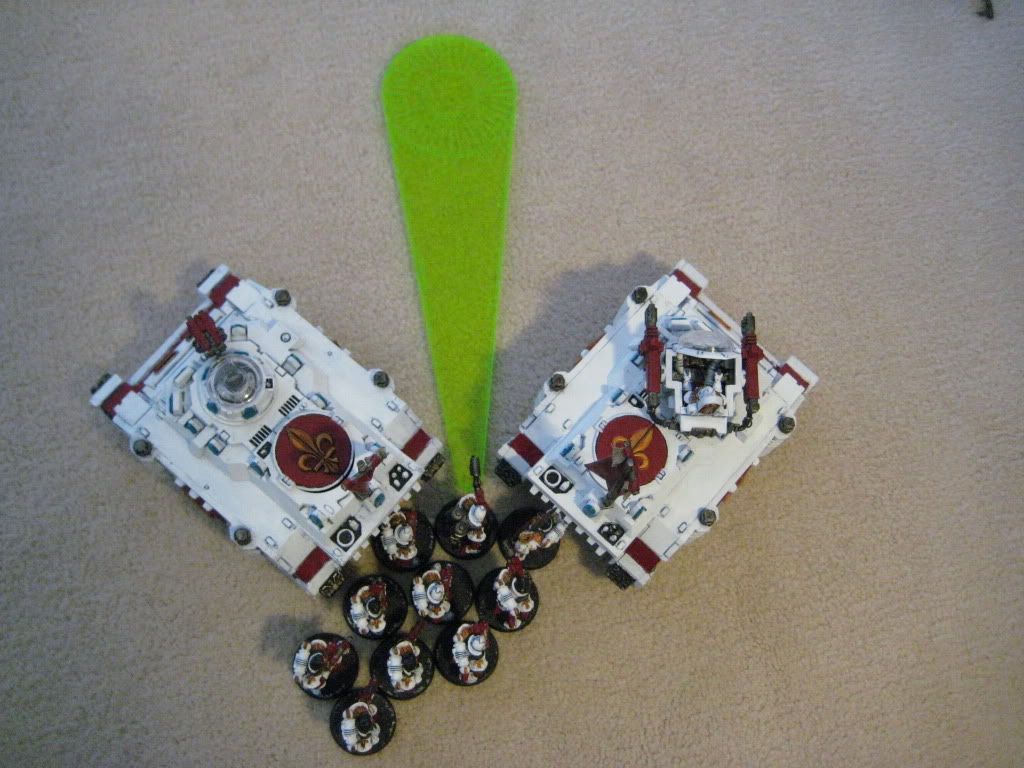
Here we see 10 Battle Sisters all disembark and have
LoS to a squad of Kroots. Take note of the Missile Launcher marine in the picture on page 67 of the
40k rule book. As long as the base of a disembark model is within 2" of the transport's access point, its legit.

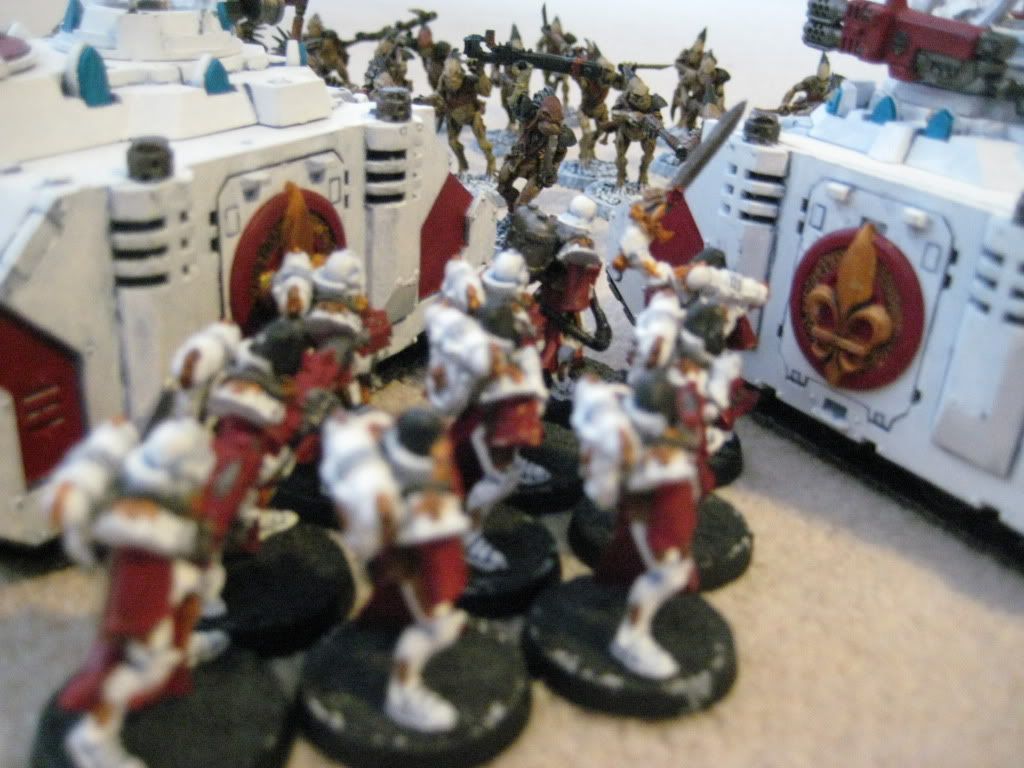
From a ground level, each Battle Sister can draw line of sight to at least one Kroot. As stated on page 22 in the
BRB: "Firing models can always draw line of sight through members of their own unit". The Battle Sisters in the back are firing through the two units (vehicles), which gives the Kroots cover saves. Sisters in the front are close enough where they can fire over the two slanted vehicles edges, which doesn't give the Kroot a cover save. This is an important distinction, which is why it's always best to place Meltaguns as close to the gap as possible.
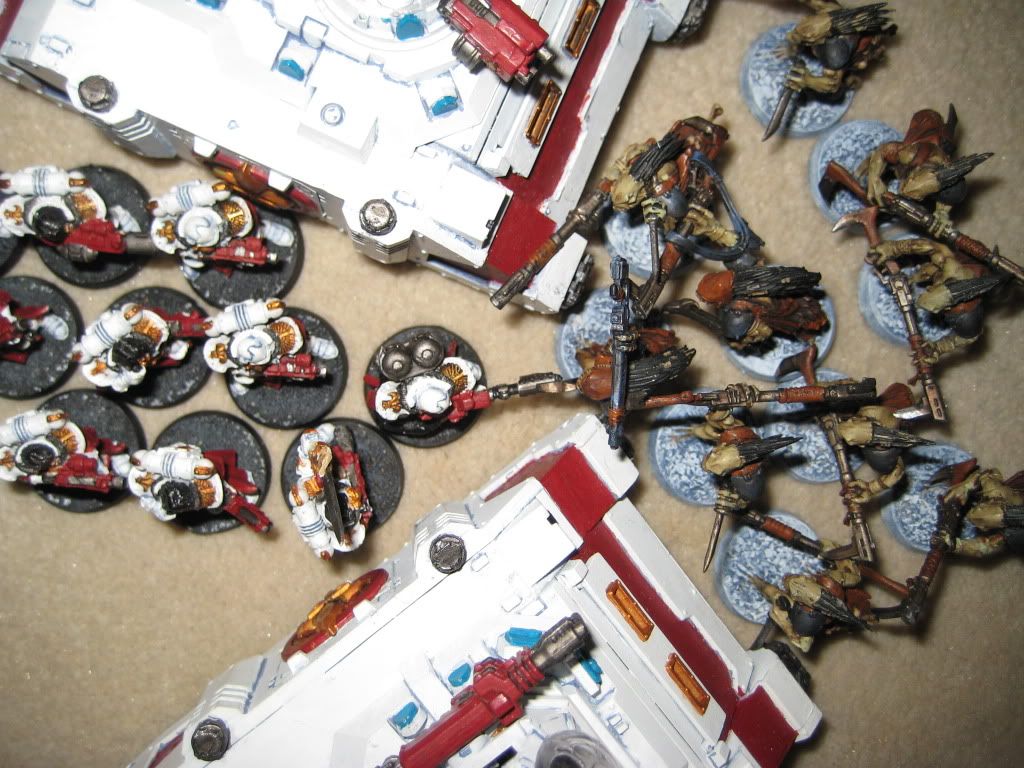
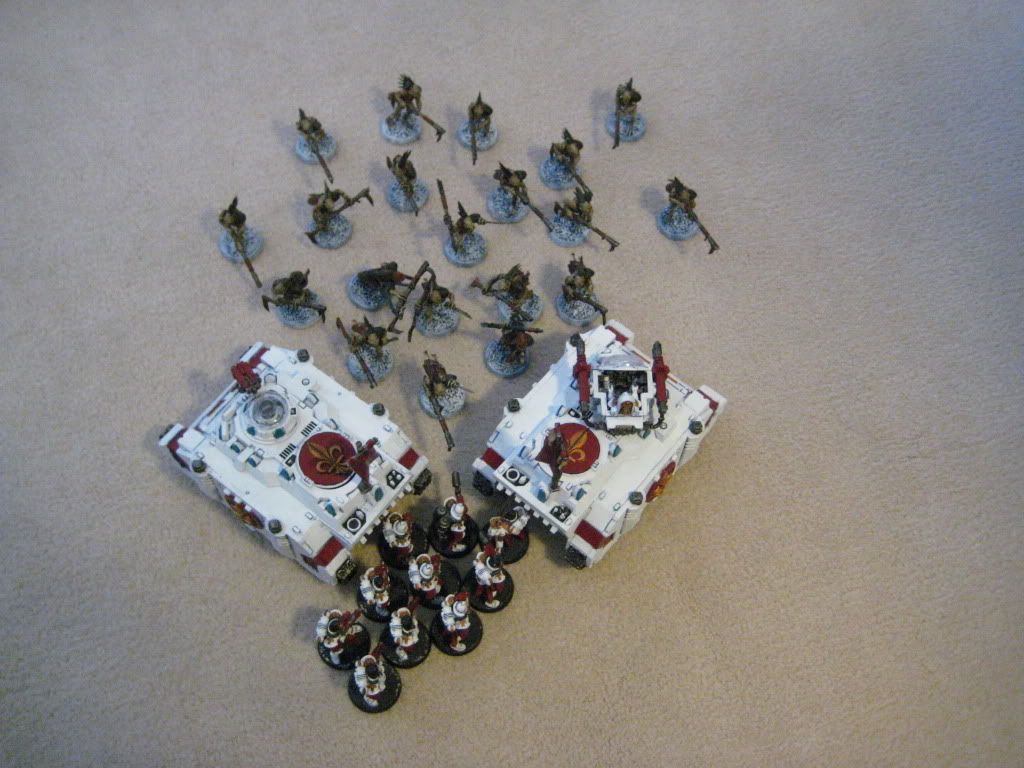
During the assault phase, the Kroots attempts to assault the Sisters. While they can move within 1" of the vehicles, their bases cannot fit through the narrow gap. As stated on page 34 in the
BRB: "assaulting models may still not move through friendly or enemy models, many not pass through gaps narrower than their base..." thus the Kroots have failed to assault the Battle Sisters.
Another nifty trick is placing a model that uses template weapons close to the narrow gap. The smaller end of a template is small enough to fit through the gap.

While castling may work against most models, it may not work against Jump infantry. Here I fail to protect the rear flank. Assault Marines leaps over and next turn assault the exposed Sisters.

The best way to protect your disembark infantry from assault against jump infantry is completely enclosing them from all sides. Here we see 2 squads of Sisters boxed in. Daemon Prince with wings cannot leap over and assault them from the rear without landing within 1" of my vehicles.
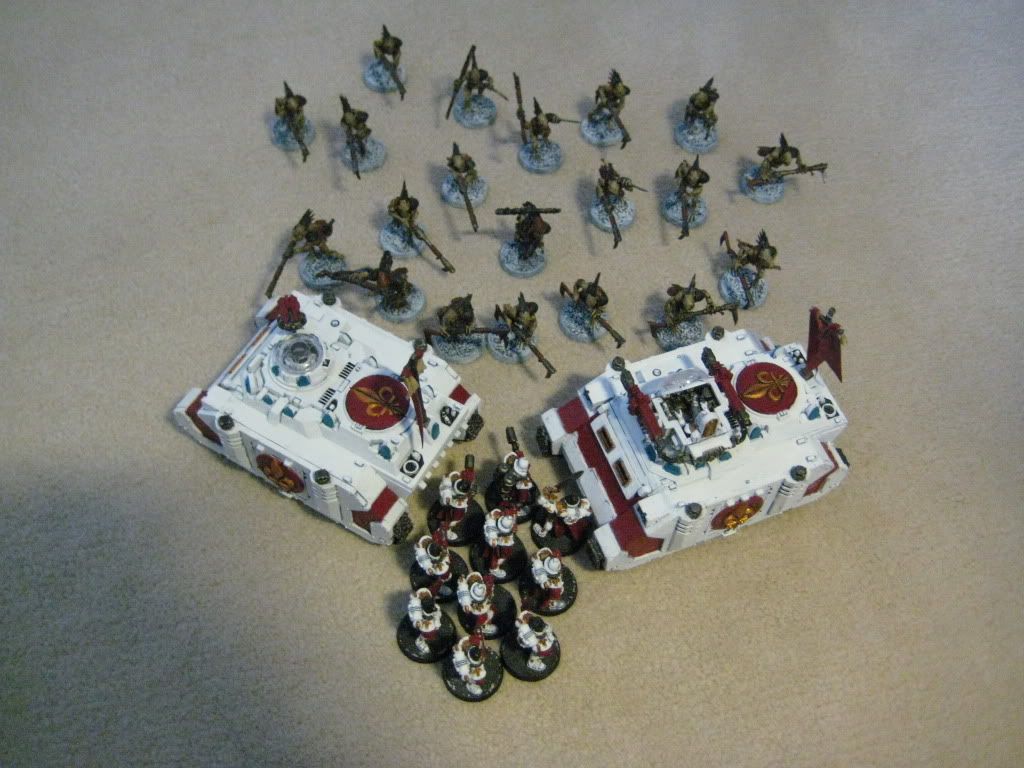
There are many ways to castle infantry behind vehicles. The next three pictures demonstrates different vehicle positions. In each picture, all 10 Battle Sisters can draw
LoS through the two vehicles to enemy Kroot models.
Head to tail.
Rear corner hinge.
Front corner hinge.
Head to tail hinge
Be sure to read my battle reports for more tactics regarding transports.
I hope this helps explaining how to castle infantry behind vehicles. Feel free to use it in your own games.
-SabrX
Edit: Adding more pictures.


 %@!&
%@!&
