Hey All!
This saturday I was able to give my
NOVA bound Tau list a go against Jeff's green tide orks, which numbered a staggering 160 models, with no tanks (awww, sad broadsides) I think this match can serve as a guideline on how to block units to give your own an advantage, and I hope some people learn from this. But...enough of my blatering, to the army lists!
My Tau:
Shas'
El @ 92 (
TL missile pod, flamer,
HW TA,
HW TL, bonding knife)
2x Crisis team@ 196 each
..Team Leader @72(plasma rifle, fusion blaster, multi-tracker, bonding knife)
..2 Shas'ui @62(plasma rifle, missile pod, multi-tracker)
..Team Leader @ 57 (
TL missile pod, flamer,
HW Target lock)
..2 Shas’ui @47 each (
TL missile pod, flamer)
6
FWs (pulse rifles) @ 155
....Devilfish (flechette, disruption pod)
6
FWs @ 60 points
10 Kroot (5 kroot hounds) @100
10 Kroot (5 kroot hounds) @ 100
6 pathfinders @ 167
….Pathfinder’s Devilfish (flechette, disruption pod)
Piranha Squadron @ 150
..Piranha @ 75 (fusion blaster, flechette)
..Piranha @ 75 (fusion blaster, flechette)
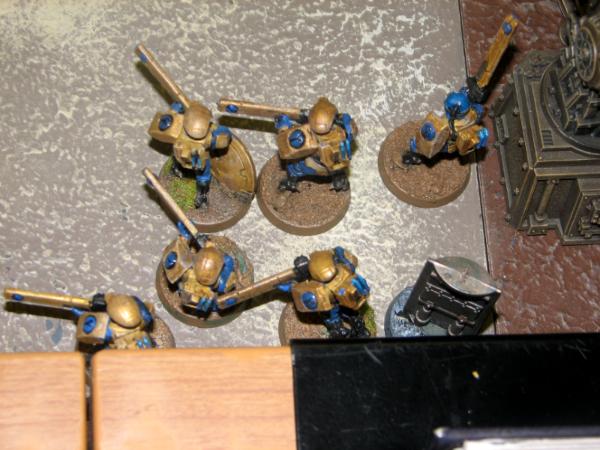
Broadside team @ 288
..Team Leader (ASS,
HW-target lock,
HW drone controller,
HW BSF, bonding knife)
....Shield drone
....Shield drone
..Shas'ui (ASS)
..Shas’ui (ASS)
2 Hammerhead @170 each (railgun, burst cannons, disruption pods, multi-tracker, target lock,
BSF)
Jeff's Orks:
2 Mig Meks w/
KFF, 'eavy armor, boss pole
3 15 man loota squads
3 30 man slugga squads with a Nob with bosspole and Power Klaw
2 30 man Gretchin Squads with 3 Runthherders
2 4 man Bike squads
++++++++++++++++++++++++++++++++++++++++++++++++++++++++++++++++++++++++++++++++++++++++++++++++++++++++++++++++++++++++++++++
Mission Capture and Control
Deployment: Spearhead
He won the roll off and decided to go first
Analysis:
Whew, that's a lot of boys, and with Capture and Control being the mission, I have to go through them to get that objective. Luckily for me it is spearhead, so I can flank around pretty easily.
With this list, my first priority will be the Lootas as they are the only things which can take out my tanks at range
I think I'm gonig to flank with a couple of suit squads with tanks to give them moving cover
Piranhas are going to be my best friend this game as their flechette dischargers will probably ensure that they won't get charged and their flat out save should protect them from the majority of loota shots.
Deployment:
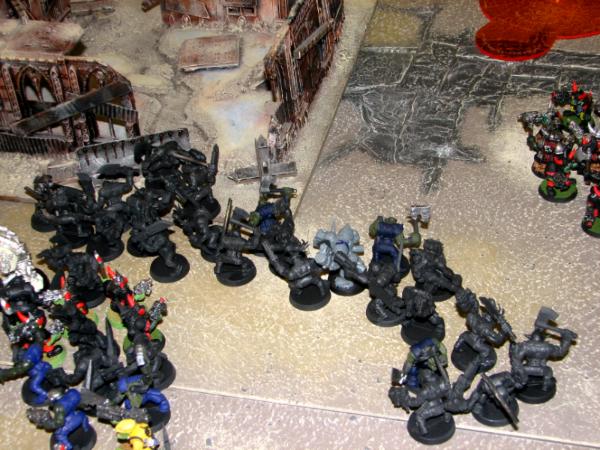
Jeff fills up most of his deployment zone (if you guys notice he has a good number of 2ed orks in his collection) with sluggas with attached big meks spearheading the assualt. One squad of gretchin hides behind a hill and another sits on the objective.
His lootas get into firing positions, and I am surprised he didn't utilize the cover of the ruins with them.
Jeff reserves his 2 bike squads
++++++++++++++++++++++++++++++++++++++++++++++++++++++++++++++++++++++++++++++++++++++++++++++++++++++++++++++++++++++++++++++
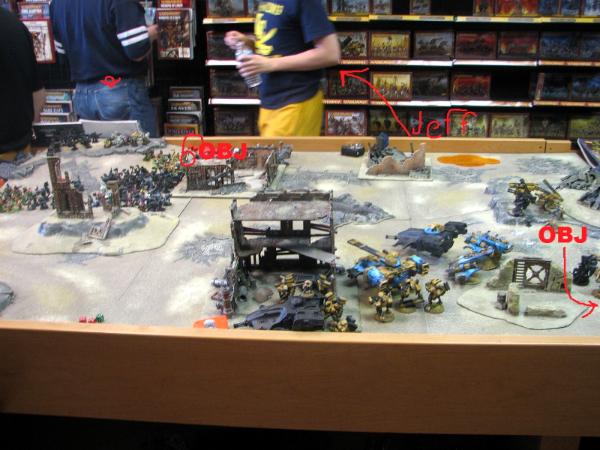
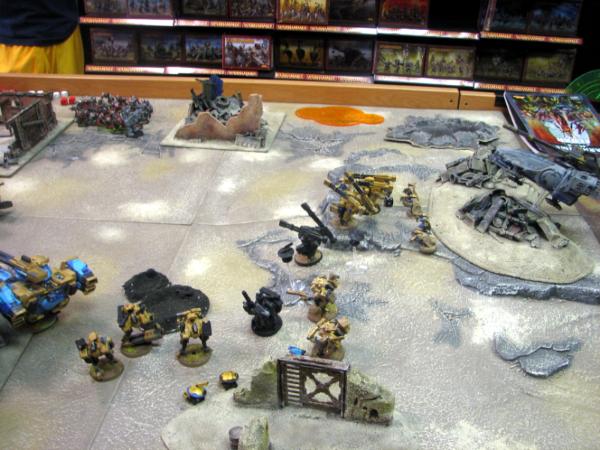
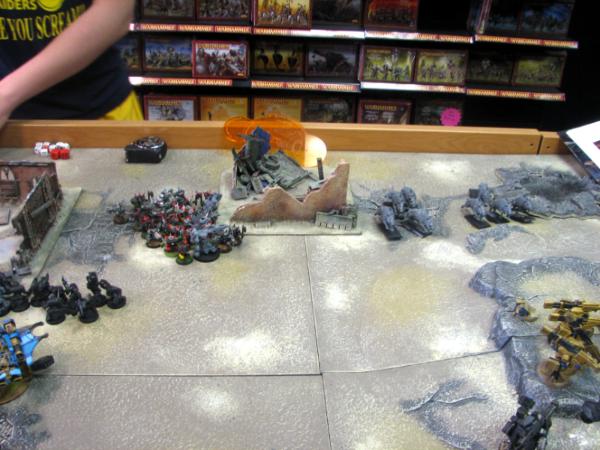
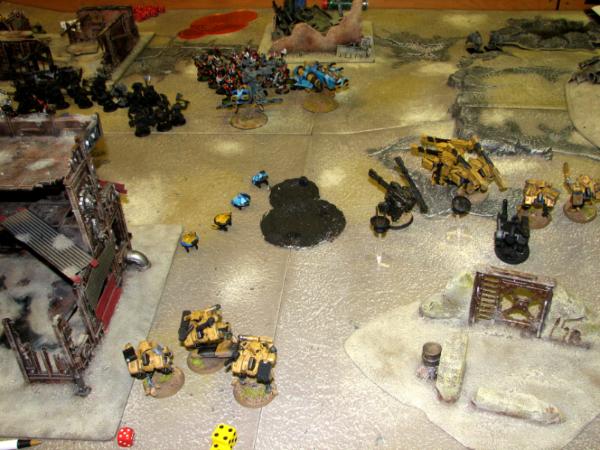
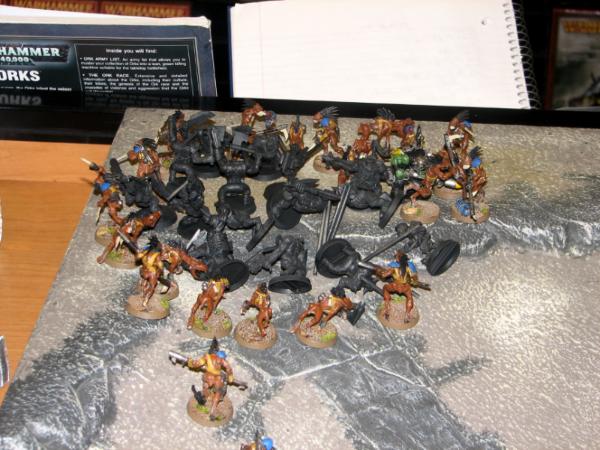
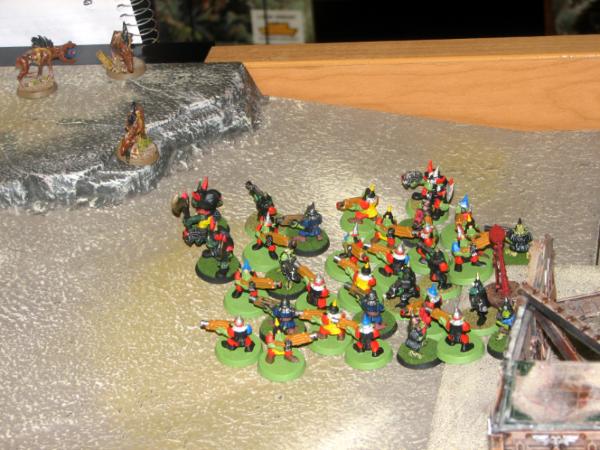
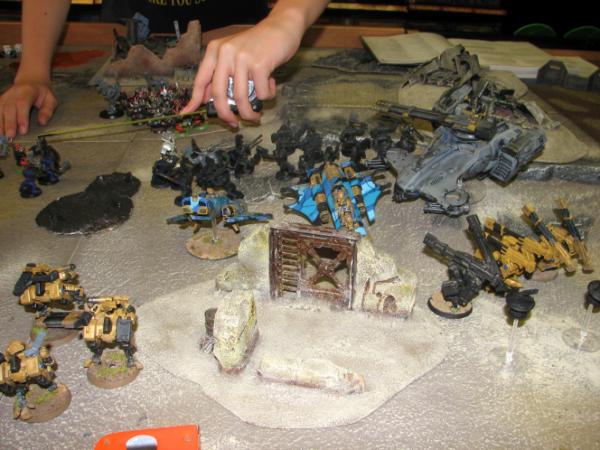
I deploy in Protect My Suits From Loota Fire formation with my tanks blocking my boys.
My broadsides set up on the hill with the pathfinders behind them. You can see the beginning of my flanking move on the bottom middle of the board (squad of 6
FWs in the fish)
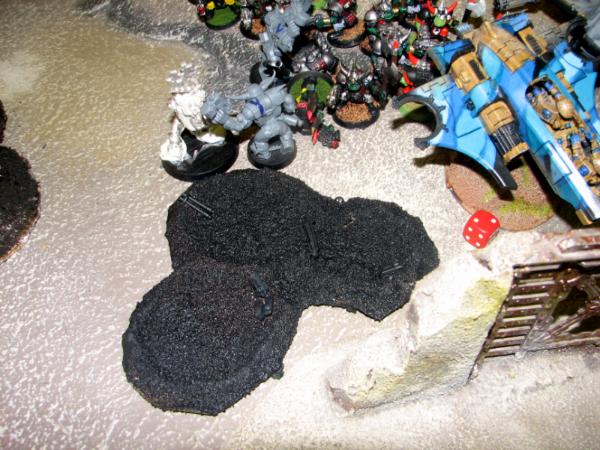
In the middle my piranhas hide behind the empty Pathfinders Devilfish to get a cover save first turn
I outflank my 2 kroot squads and reserve my footslogging
FWs
T1:
The Green tide surges foward (run move not pictured)
In shooting, the lootas get 3 shots each and pop the Pathfinder's Devilfish, with nothing else happening with shots chipping the paint of the front Hammerhead
++++++++++++++++++++++++++++++++++++++++++++++++++++++++++++++++++++++++++++++++++++++++++++++++++++++++++++++++++++++++++++++
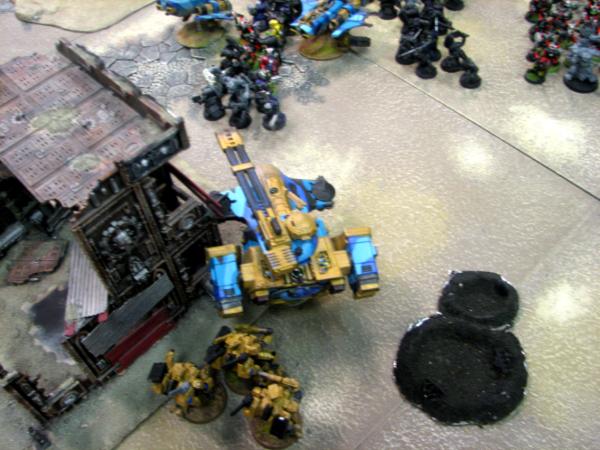
In my turn, I detach my piranha's drones and move up to block the advancing horde
suits move up to get some shots
Flanking units start their move to the objective, with the suits making their Dangerous Terrain checks OK
Shooting sees the closest lootas taking two hammerhead submunition rounds and losing 12, the remaining 3 make their morale check
Shooting from suits and
SMS from broadsides (assisted by 1 pathfinder hit-only thing they do all game) take out 7 orks from the top squad
++++++++++++++++++++++++++++++++++++++++++++++++++++++++++++++++++++++++++++++++++++++++++++++++++++++++++++++++++++++++++++++
Thoughts: Not a very good first volley from both of us, I just have to hope my piranhas survive this turn, or maybe explode, as long as they still block.
His reserves might come on so I've got to be prepared to retaliate quickly. Also I have to keep up the fire on those lootas. Hopefully he doesn't pay too much attention to my flanking units
T2:
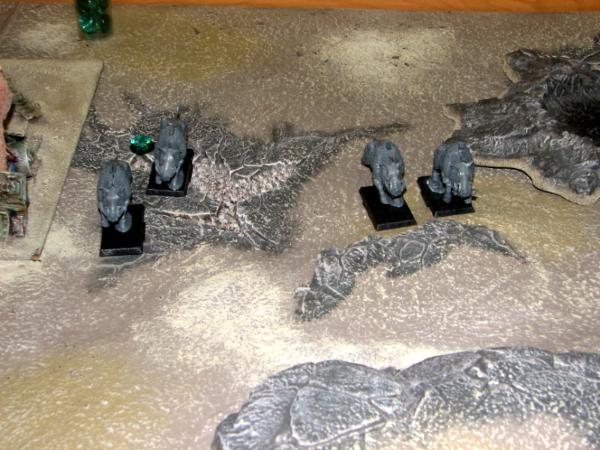
His bike squads both come on and move 12" up towards my Broadsides(bikers proxied as boars)
Orks run around and through my piranhas, have to space them out less next time

Gretchin move up
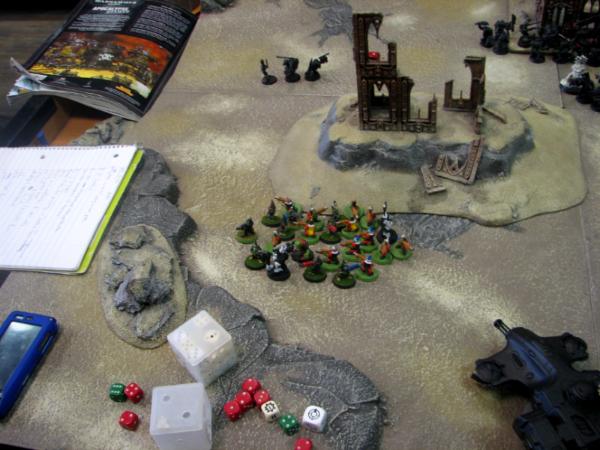
In shooting, his two full strength loota squads pump 75 shots into my front Hammerhead, to no avail (ork run moves pictured here)
My piranhas also absorb 6 loota shots with their flat out saves
(no pic) the biker boys take out the pathfinders (not a good game for them)
++++++++++++++++++++++++++++++++++++++++++++++++++++++++++++++++++++++++++++++++++++++++++++++++++++++++++++++++++++++++++++++
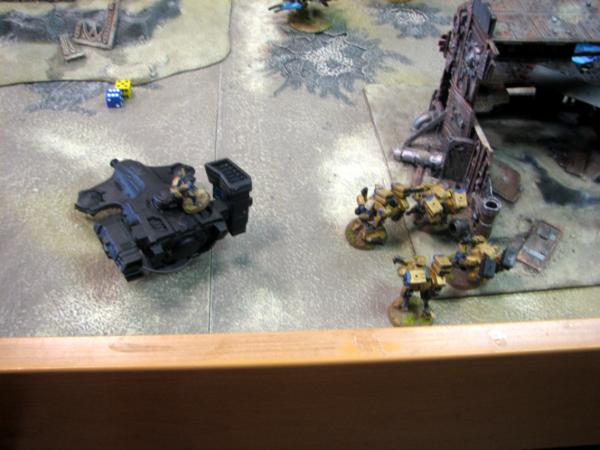
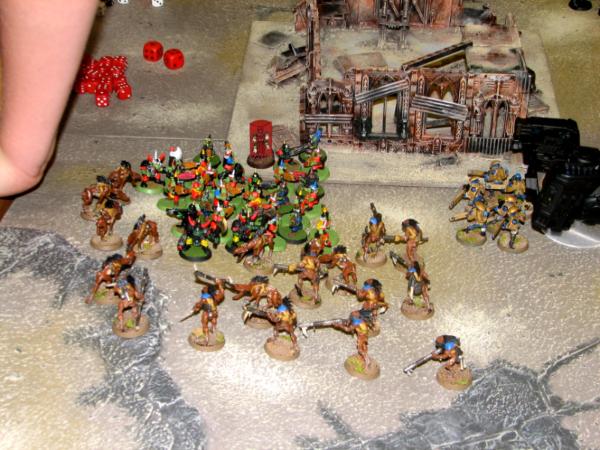
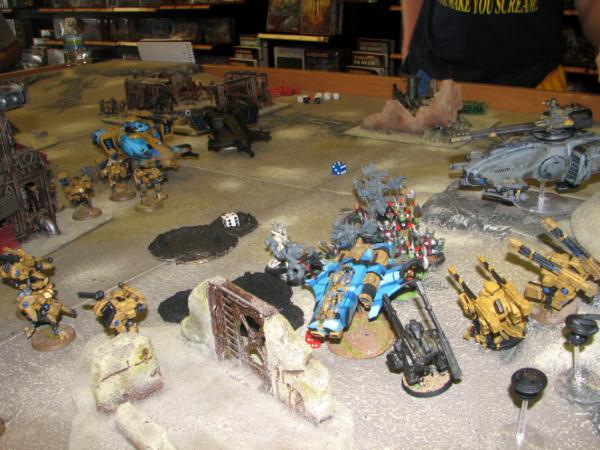
In my turn, my reserves come on, with both kroot outflanking to the left behind his lootas! The firewarriors move on and camp on my objective.
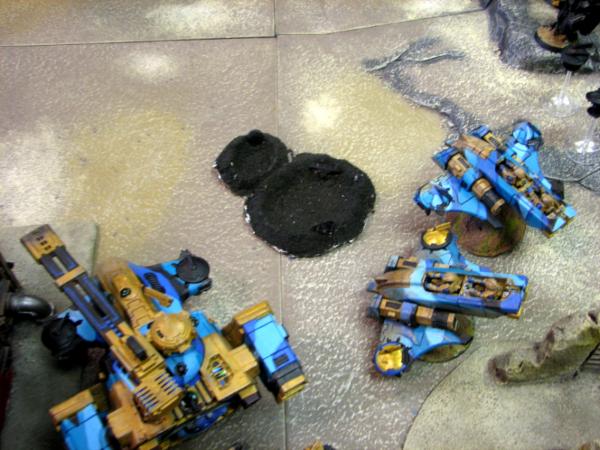
The broadsides move back, the suits move into position to shoot the bikers, and the piranhas and their drones move into blocking positions
In shooting, the
Deathrains BBQ the gretchin
Combined shooting of the suits and broadsides (and back Hammerhead's burst cannons) reduce both biker squads to 2 boys each. The left squad breaks and runs off the board
The back hammerhead also directs a submunition round at the middle boys squad, taking out 7
(no pic) the other hammerhead shoots a submunition at the closer loota squad and makes them break, less orks for the kroot to kill!
the kroot then assualt the two remaining loota squads and sweep them
Then they consolidate towards the remaining gretchin squad
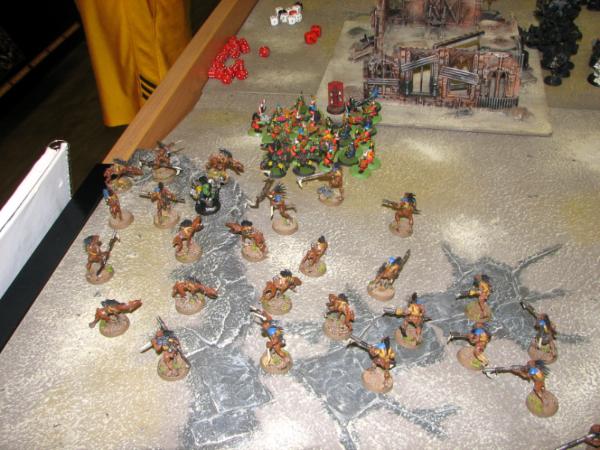
The suits then do their jetpack shenanigans to move them away from the orks, where the
Deathrains get behind the wall o' tanks, and the piranhas' drones move up to block the middle ork squad
++++++++++++++++++++++++++++++++++++++++++++++++++++++++++++++++++++++++++++++++++++++++++++++++++++++++++++++++++++++++++++++
T3:
Thoughts: It seems like I got Jeff's objective in the bag, all I have to do is slow down the orks long enough for the game to end
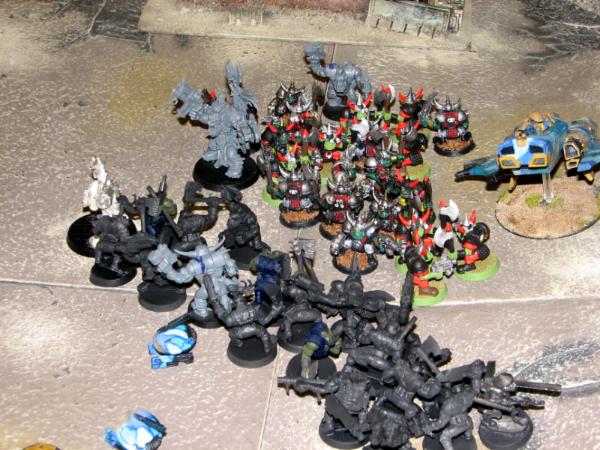
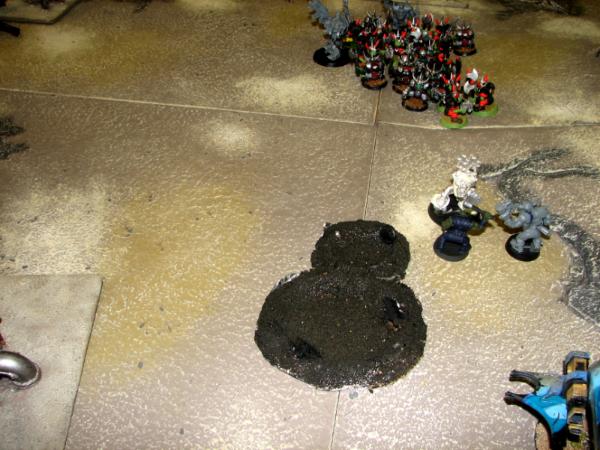
The bikers advance as well and wound a crisis suit during the shooting phase
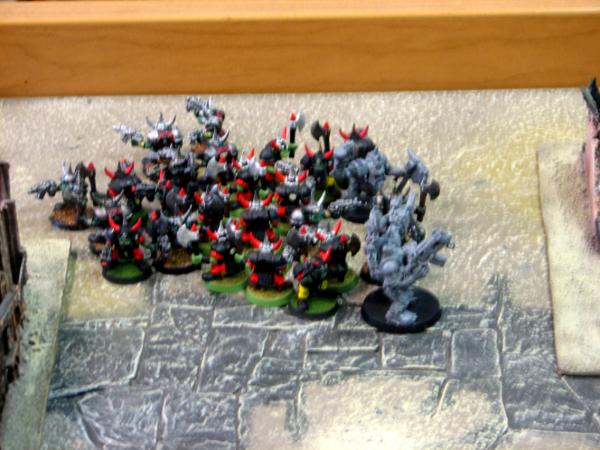
The boys move up
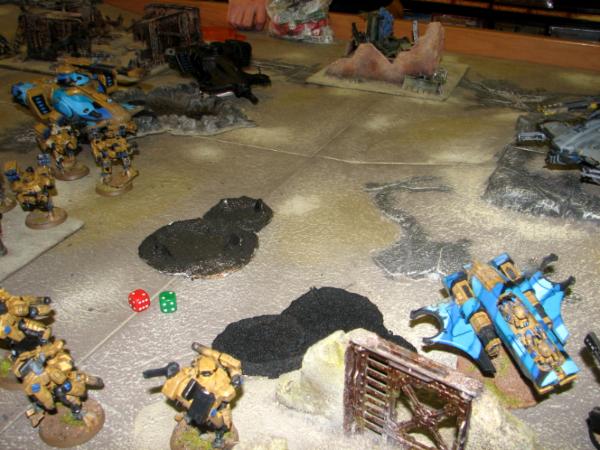
(this pic taken during my turn)
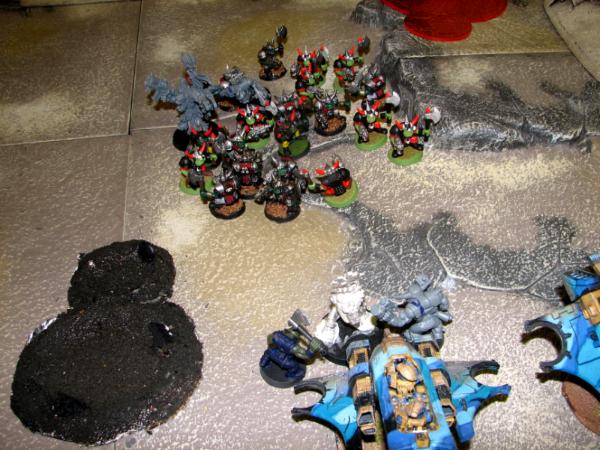
Gretchin step up and take out 8 (!) kroot, the remaining members pass their test.
++++++++++++++++++++++++++++++++++++++++++++++++++++++++++++++++++++++++++++++++++++++++++++++++++++++++++++++++++++++++++++++
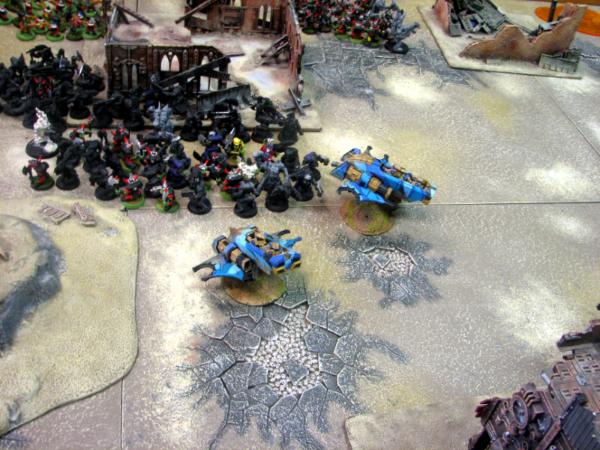
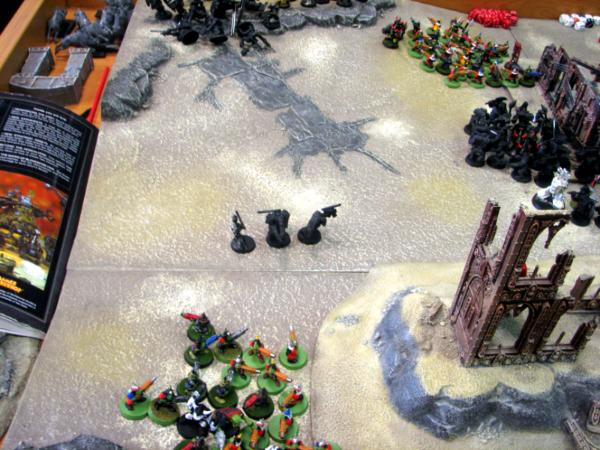
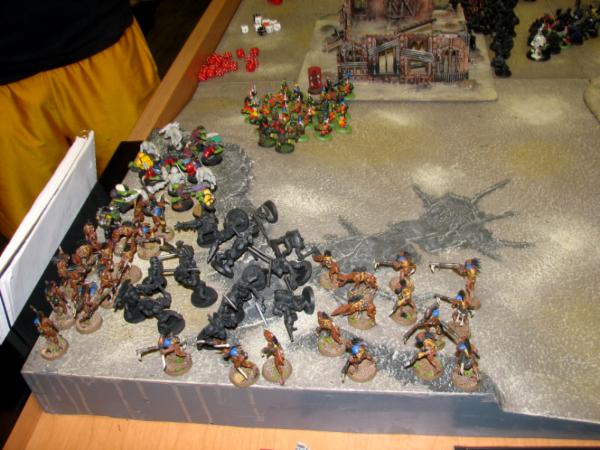
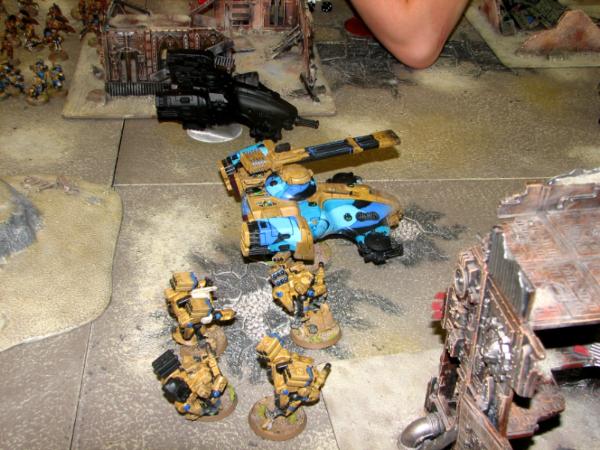
The remaining kroot, unfazed by the mowing down of their avian brethern, charge foward towards the offending gretchin, with the
FWs disembarking to give the lil' guys some pulse rifle lovin'
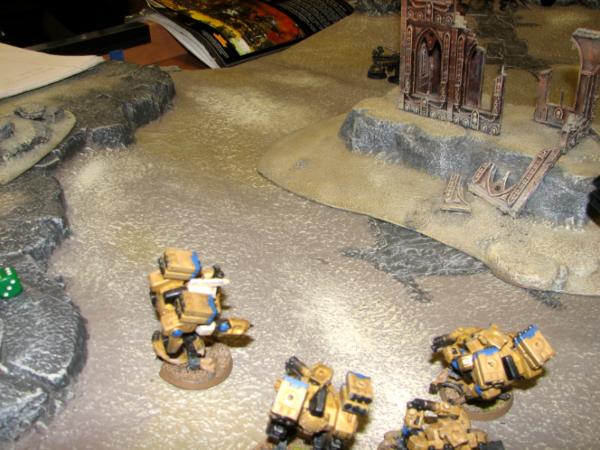
Fireknives and broadsides back up towards the objective, with the flanking units moving towards the horde and the
Deathrains getting into flamer range. Piranhas shuffle to block again
Combined shooting sees the bikers off the table and the kililing of 20 or so boys from the lower squad, and around 8 from the top squad
Kroot assualt...with expected results. The tau are now claiming both objectives

Assault moves take me away from the orks
++++++++++++++++++++++++++++++++++++++++++++++++++++++++++++++++++++++++++++++++++++++++++++++++++++++++++++++++++++++++++++++
T4:
Assault: Okay boys and girls, clean up time! (insert barney song) Both objectives seem safe, now just have to reduce their numbers
the remaining boys move up, with the depleted squad going for my drones

WAAAAAARGH!!
The boys assualt my drones and one of my
fireknife squads, wiping them
++++++++++++++++++++++++++++++++++++++++++++++++++++++++++++++++++++++++++++++++++++++++++++++++++++++++++++++++++++++++++++++
I use the Piranhas and home base Hammerhead to block the boys from my broadsides
Everything moves into position to fire
Shooting sees the diminished boy squad eliminated and the middle boys almost wiped out- bar a boy, nob, and mek
Assault moves see the
Deathrains move up and the remaining fireknives move back (to avoid assault)
++++++++++++++++++++++++++++++++++++++++++++++++++++++++++++++++++++++++++++++++++++++++++++++++++++++++++++++++++++++++++++++
Game 5:
Thoughts: My opponent knows it is over by now and says he will concede after this turn
the remaining boy squads throw caution to the wind and move to assualt the piranhas
the other squad assualts as well, with them losing 9 to the flechettes and the dimished squad losing a slugga boy. However they do explode the piranha (losing a few boys) and stun the remaining vehicle in the squadron (which is no longer a squadron)
++++++++++++++++++++++++++++++++++++++++++++++++++++++++++++++++++++++++++++++++++++++++++++++++++++++++++++++++++++++++++++++
I move all my units to the remaining boys (warboss is a proxied mek
btw)
Shooting sees the remaining boys wiped
In combination to the massacre, I have both objectives covered
And that's its! the death tally is 160 orks to the 24 dead tau infantry and 2 destroyed vehicles
It was a good day
Post-Game Analysis
With all of my battle reports, I would like to grade my forces on their preformances, and if I notice a unit which is consistantly lacking, then I will make some changes
To the units:
HQ +
Deathrains- B+: took out gretchin and more than half a mob of boys, with no wounds dealt to them
Fireknives- C: no vehicles/ nobs, so most of their fire was wasted; they took out the bikers though
Firewarriors: A+: did what they had to do, get objectives. They even go some gretchin kills, which is a nice bonus
Kroot- A+: they took out those lootas and gretchin in the ork backfield, AND got the objective
Piranhas- A: no tanks to kill, but they and their drones blocked the horde for 4 turns
Hammerheads- A+: This is why I bring hammerheads, submunitions and burst cannons smacked the hordes
Broadsides- C: no vehicles = sad broadsides, easy as that


 5000+ pts.


 The Ravens make their nest in the shadows
 For the Greater Good!


 Also, it's not even waaaUgh, it's just waaagh - with only 'a's.
 - - - - - - - 5W/4L/3D
