A Sunday game that saw four of us show up with 2,500 apiece.
We basically outlawed Flank March for this game.
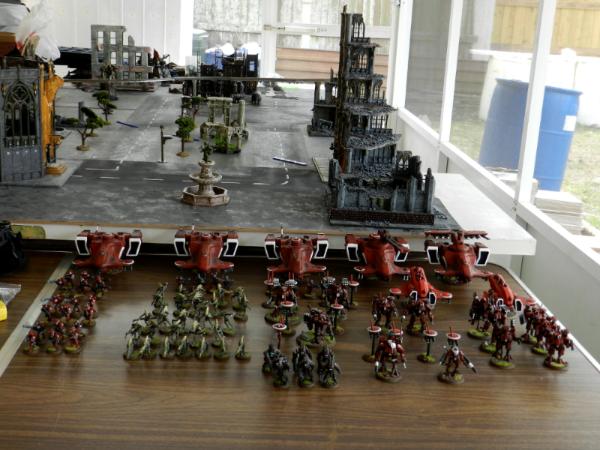
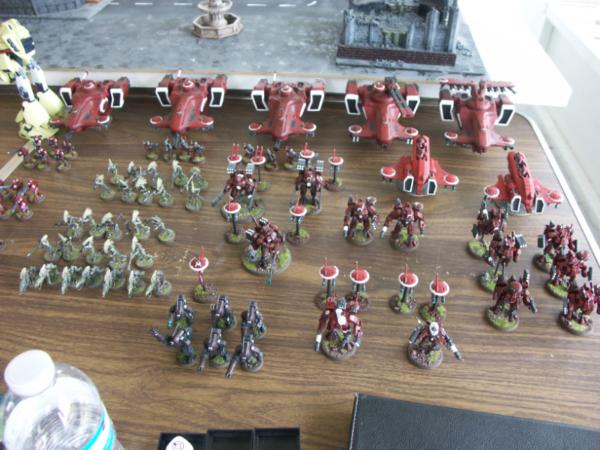
I am contractually obligated to note that the Tau forces included a Skyray.
All the suits and Broadsides are individual units. Everything is
WYSIWYG (at least as far as my limited Tau awareness goes)
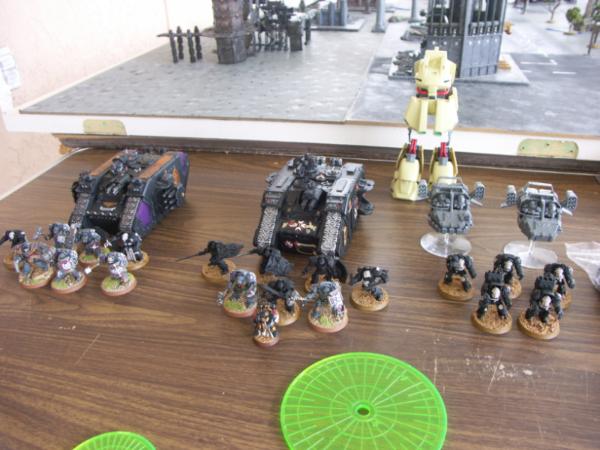
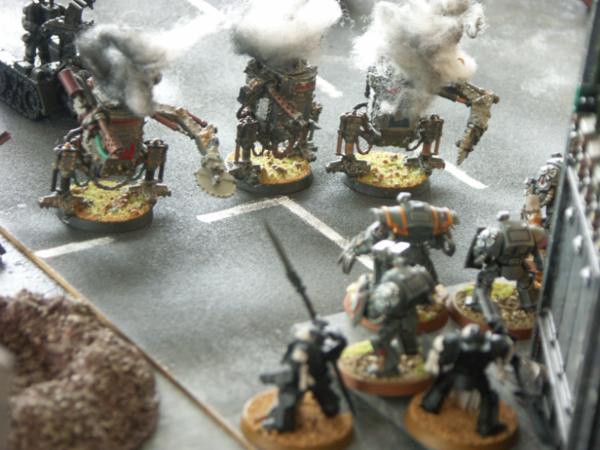
The Black Templars went with their usual standin for a Warhound (he does now have the actual
FW model...though he's predicting assembly will take some time - I suspect we're all looking forward to seeing that beast hit the table.)
Other than that some Typhoons, and beefy Termie squads.
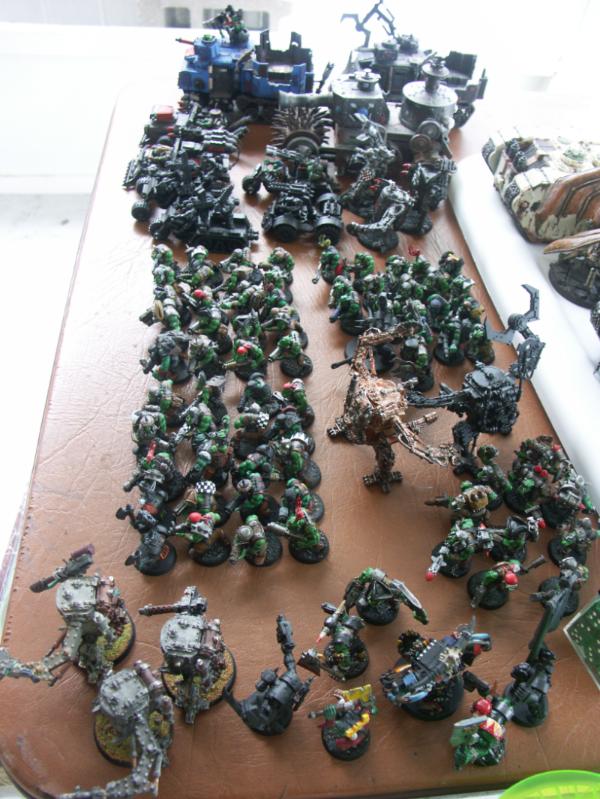

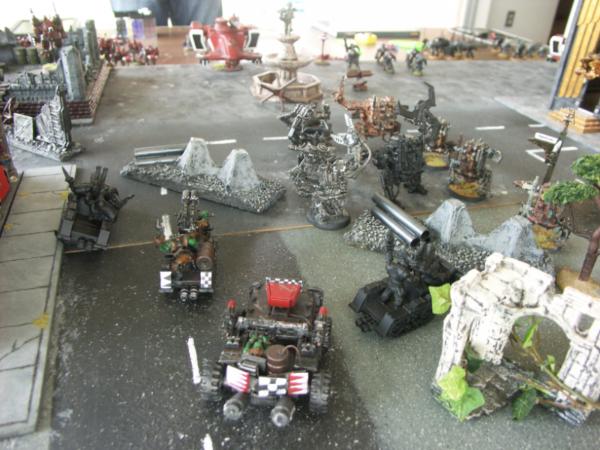
Orks feature some battlewagons packed with Shoota Boyz. A Dread Mob, some rokkitt buggies, a tankbusta squad, and a Klawstompa.
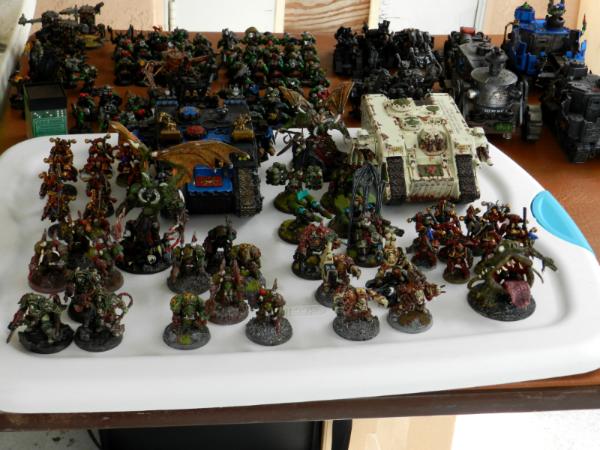
Chaos arrives with 2 Princes, some Zerkers in Landraiders, and a slew of Termicide and Oblits as well as a summoned greater daemon.
=================================
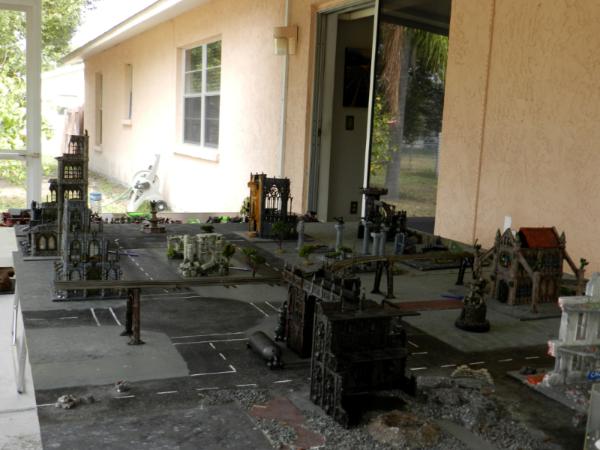
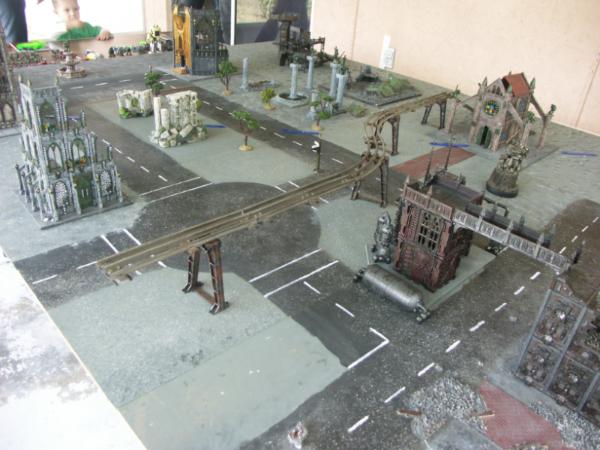
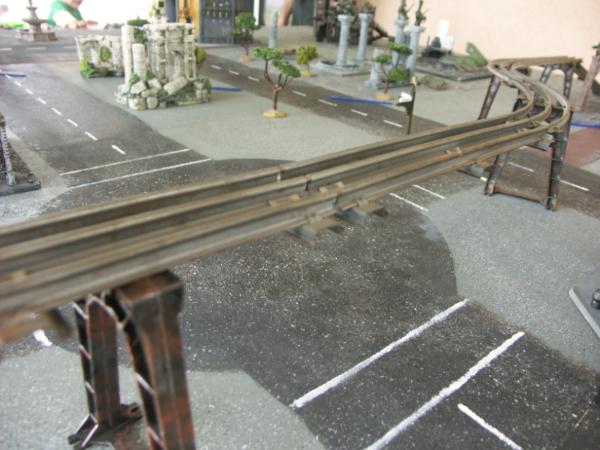
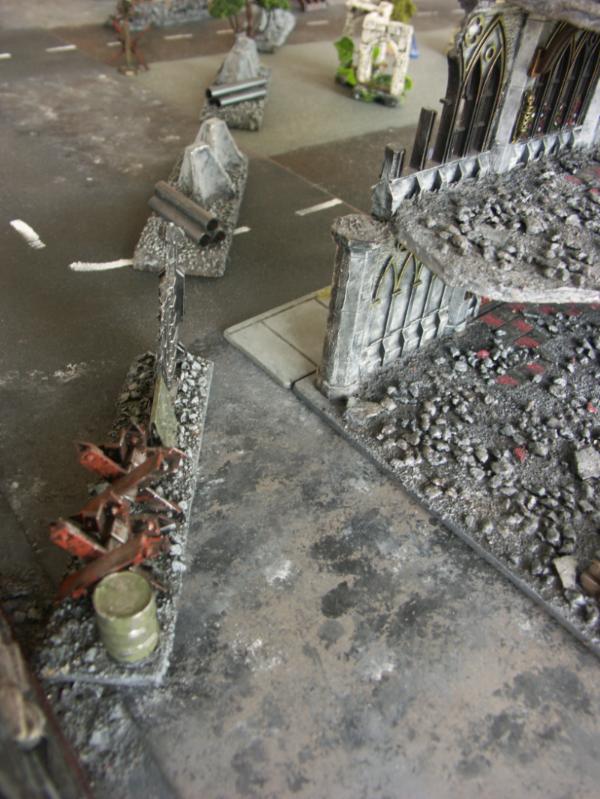
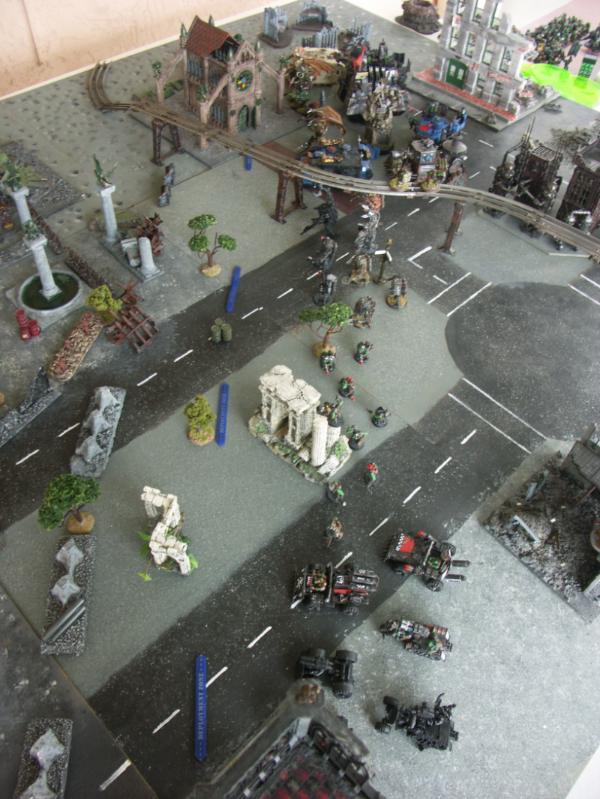
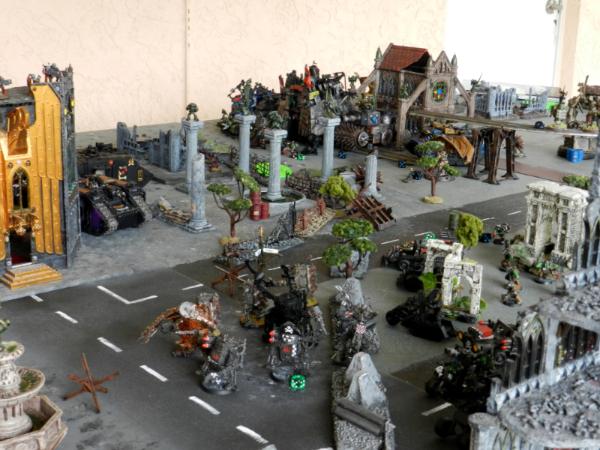
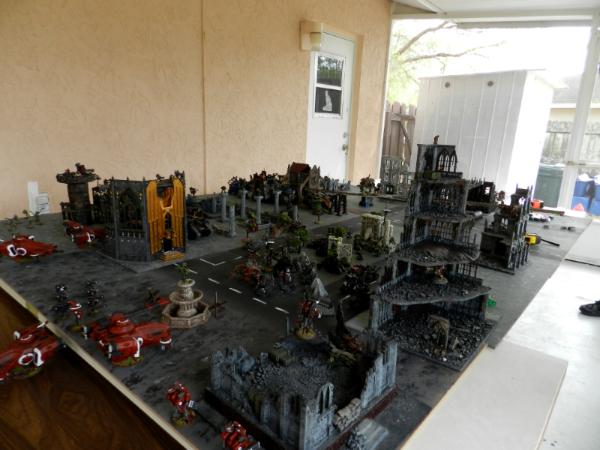
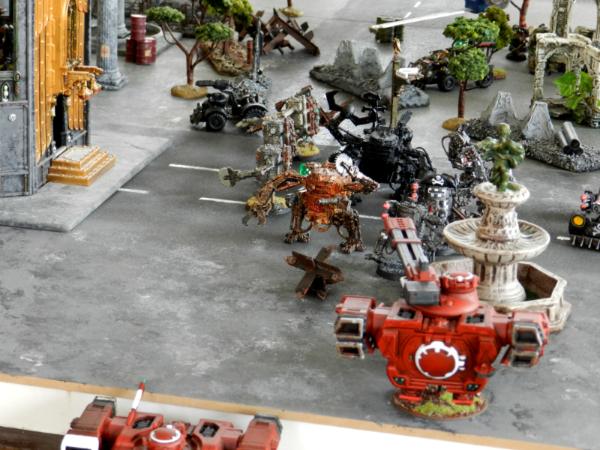
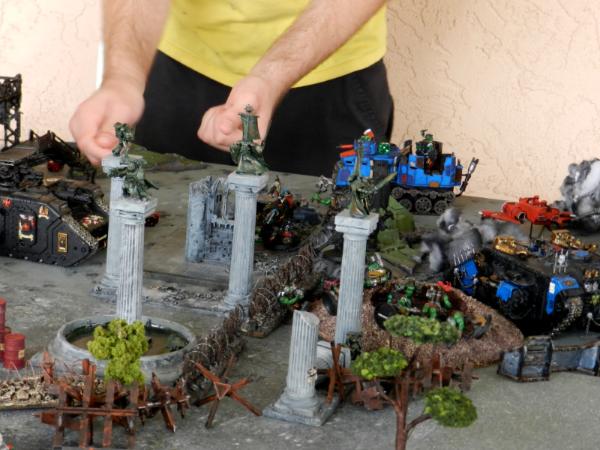
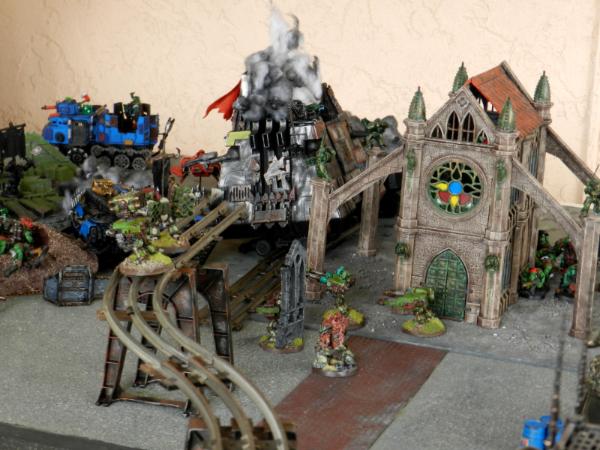
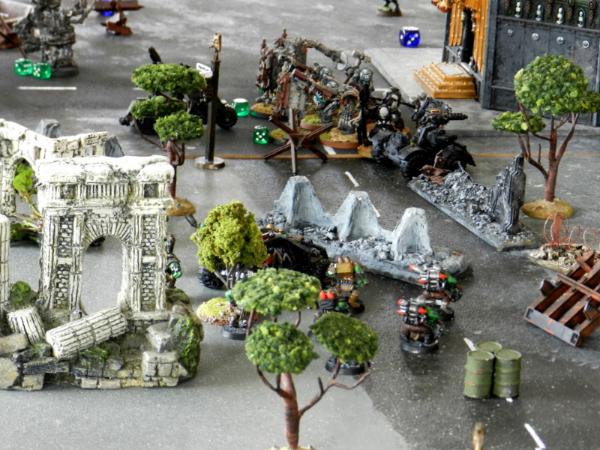
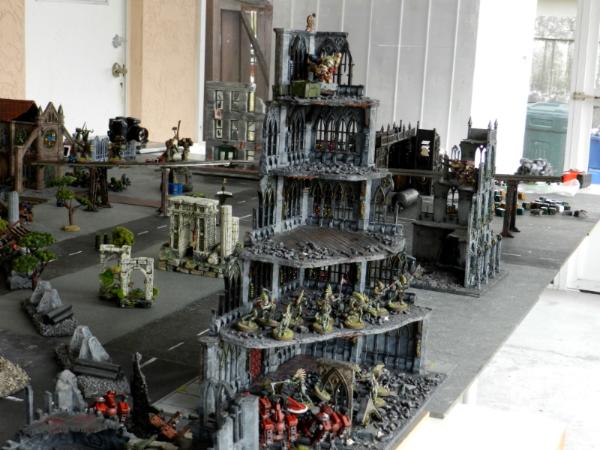
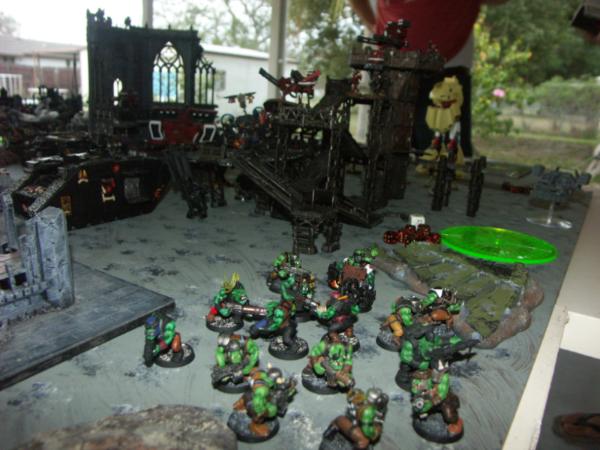
The board;
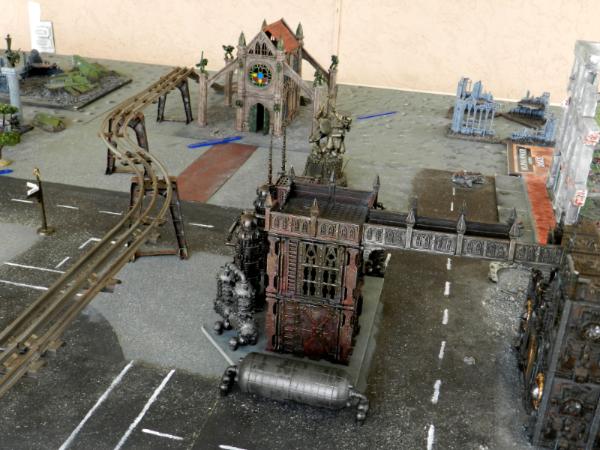
The Black Templar reveal their strategic asset - obstacles. In relatively short order they build a wall that cramps down the entrance to their part of the board to almost nothing. It makes my non-flank marching Orks sadface.
Chaos deploys;
The Imperials also deploy, and neither I nor the other photog take any images of it.

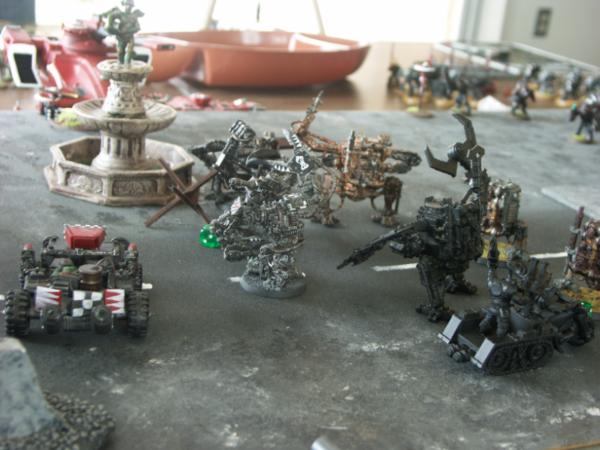
Orks and Chaos are going first - the Orks declare their Strategic redeployment assets and do their best to penetrate through the wall of obstacles protecting the Imp/Tau gunline.
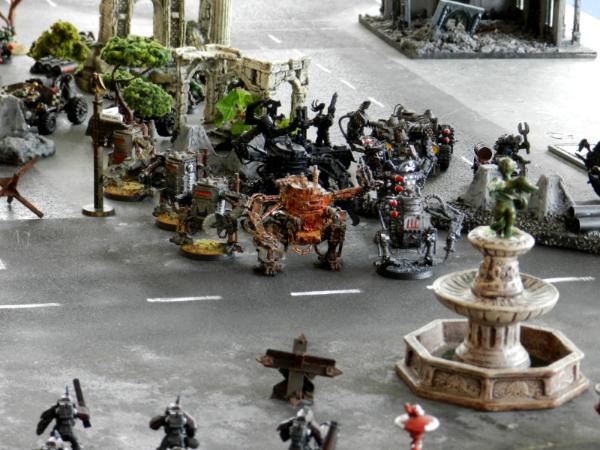
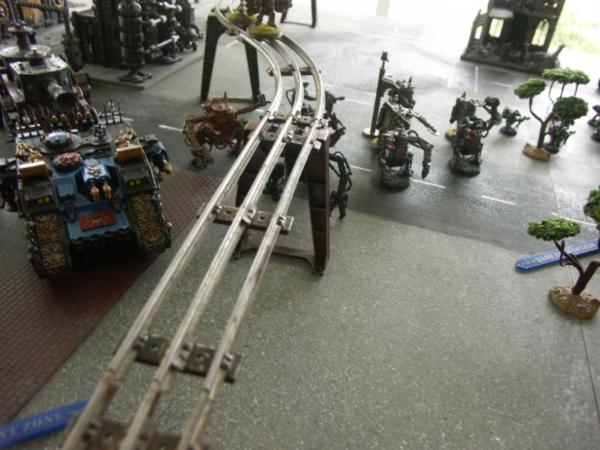
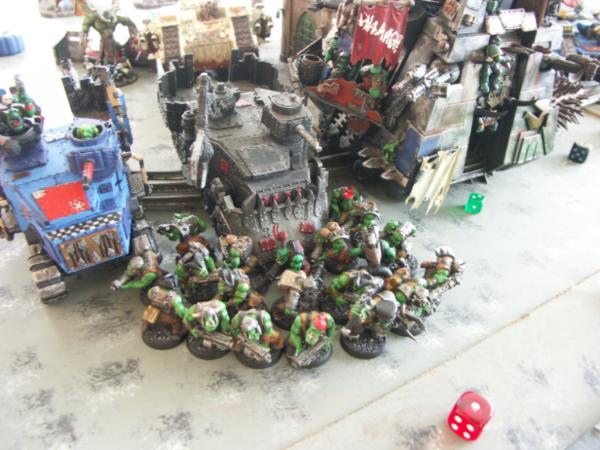
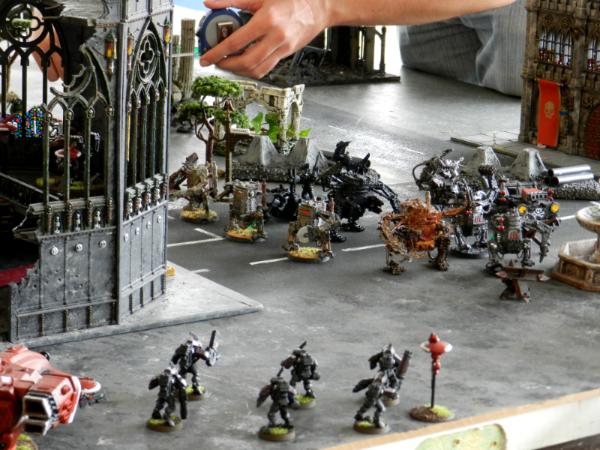
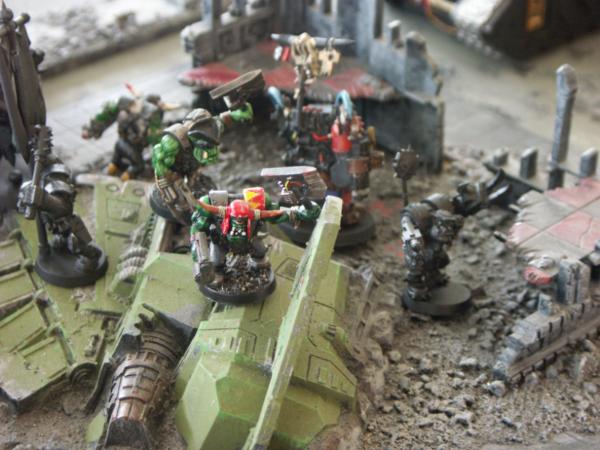
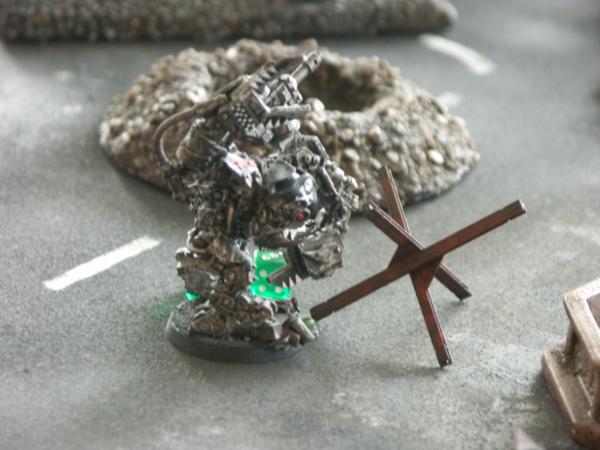
Dread Mob walks between the narrow gaps to say hello.
Rokkitt buggies back them up.
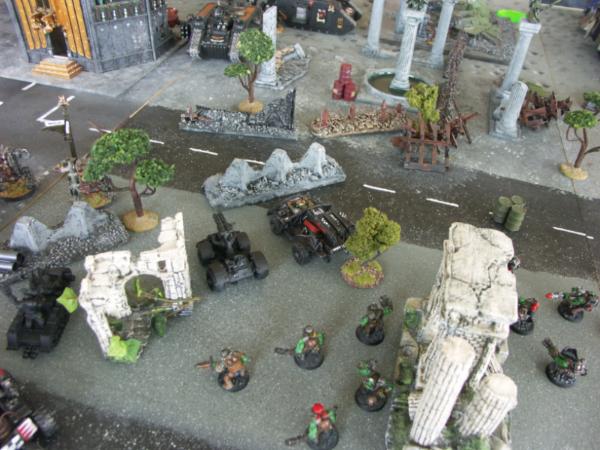
Some Oblits wait ready in a nearby building.
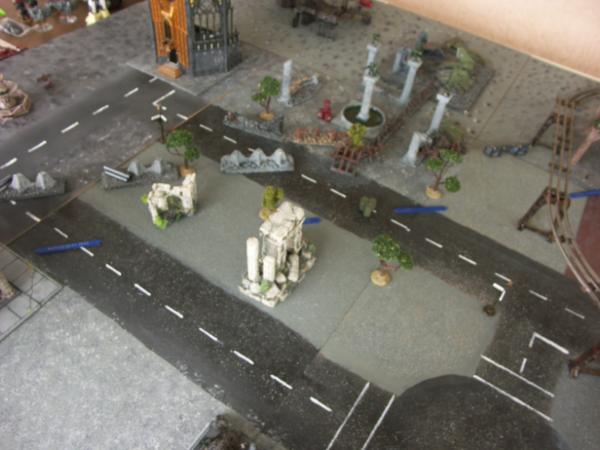
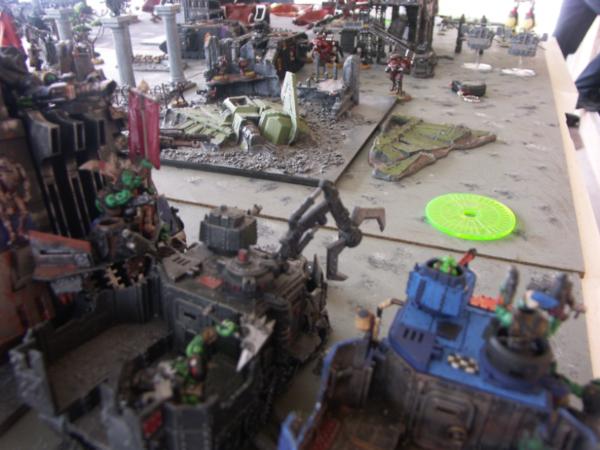
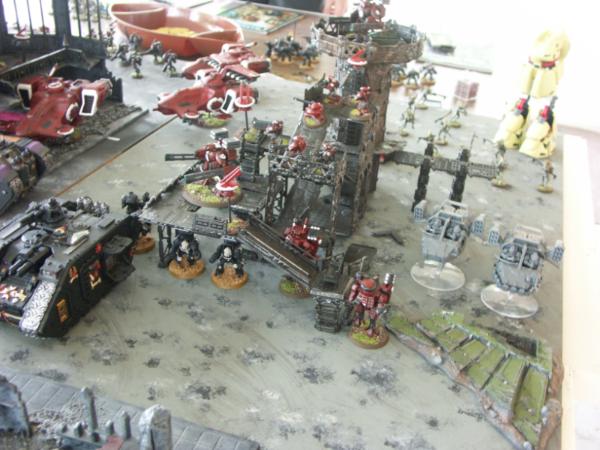
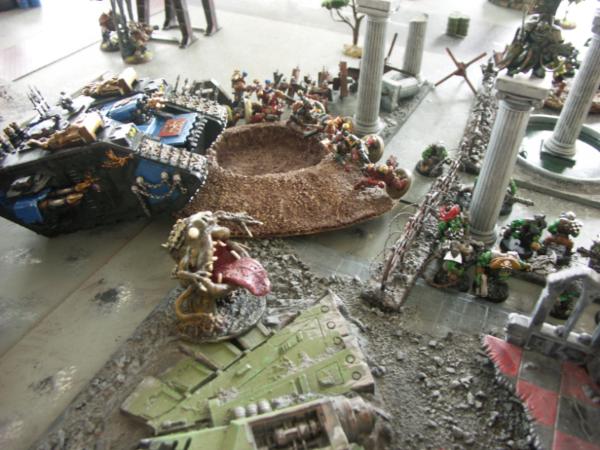
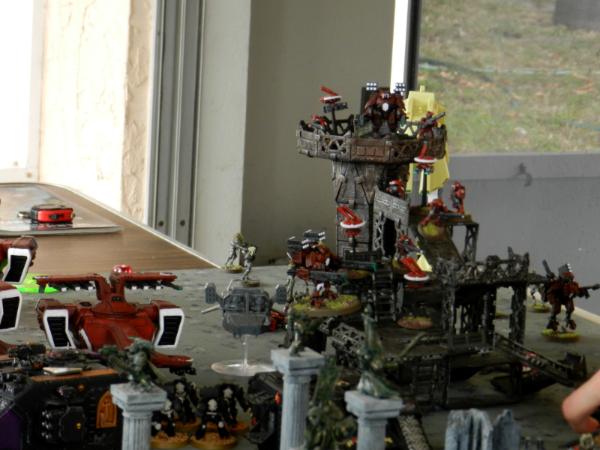
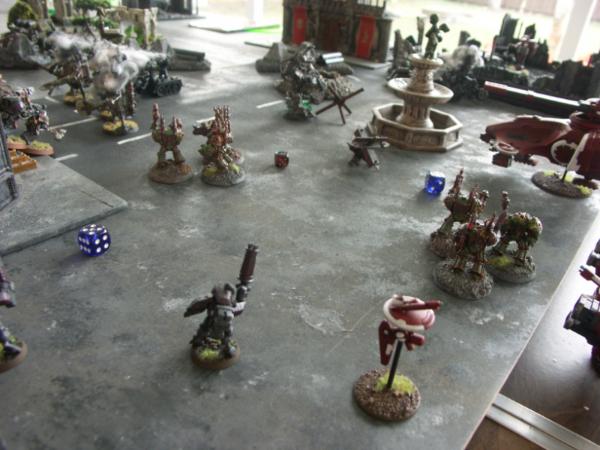
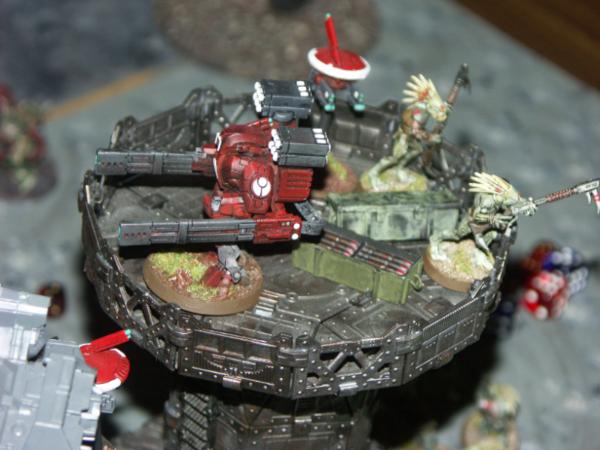
Lay of the land showing the Tau and Templar locations - in the back of the picture you can see where the Battlewagons and Stompa are wedging into the entryway of the obstacle defensive line.
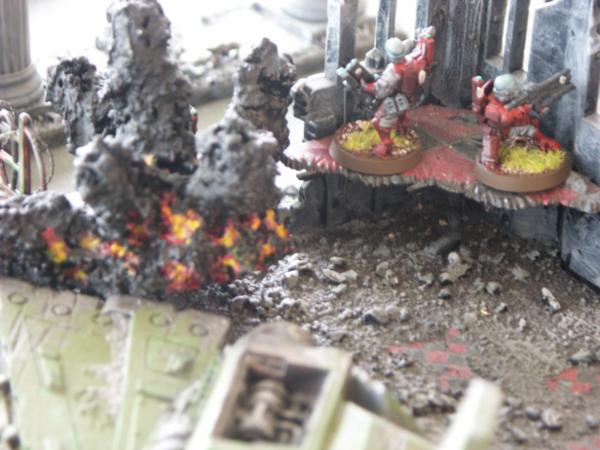
Claiming to feel intimidated, the Tau and Templars begin shooting.
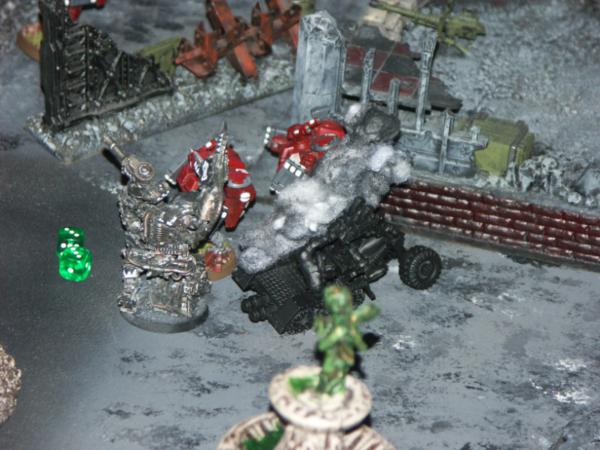
First salvo from the Warhound punches some holes in the Stompa and shatters a Battlewagon.
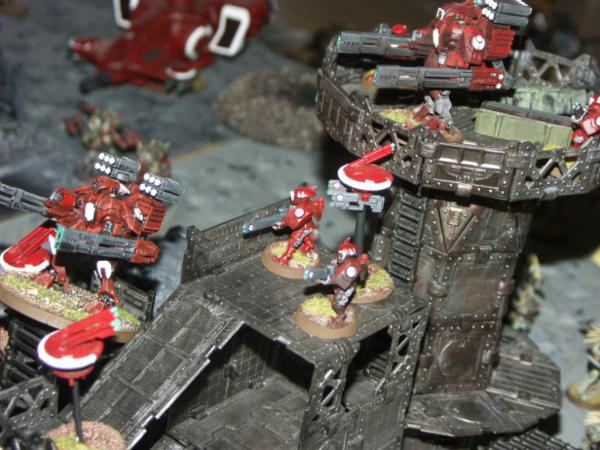
Tau Broadsides and Crisis suits size up the situation as they reveal their Drone Network asset (basically a 48" bubble that puts marker lights on everything in the area of effect - good thing Orks don't rely on cover saves to protect their vehicles...oh, wait)
The Tau finish off the Stompa with a few Broadside shots.
The Dredd mob survives a bit better since they still have
KFF saves
Tau gunline reigns supreme.
Well - beside the dead Pathfinder courtesy of a scattering Hammerhead shot. Whoops! T'was for the Greater Good, I am certain.
Down a battlewagon and the Stompa, the Orks dust themselves off and resort to Ork plan B - 'stomp 'em anyway!' (not to be confused with Plan A - 'stomp 'em!')
With a 2nd photog - it looks like my crotch finally gets to join the merry cavalcade of starring in a batrep. Huzzah!(?)
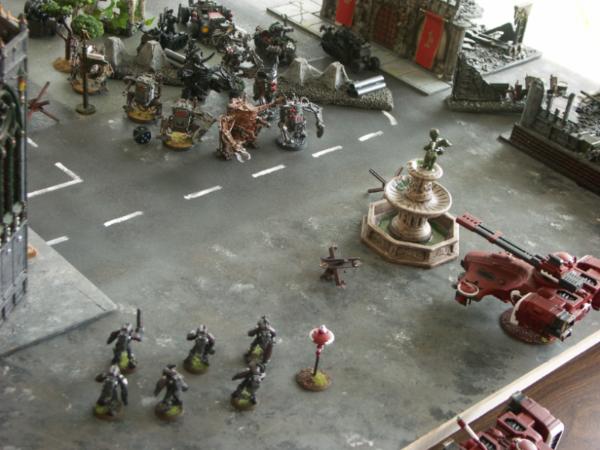
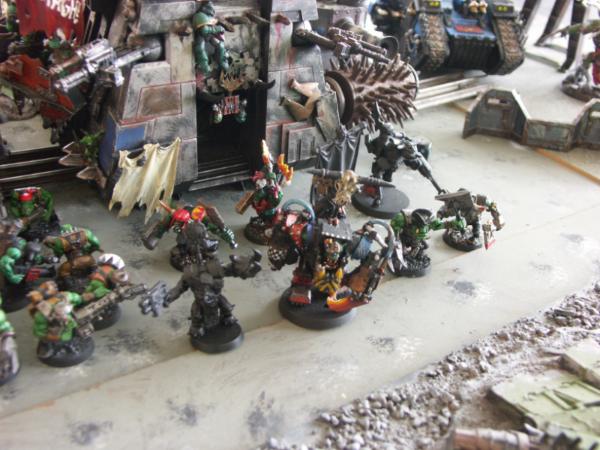
Some Pathfinders say hello to Ghaz and some Nobz in assault - it ends...poorly for the Tau.
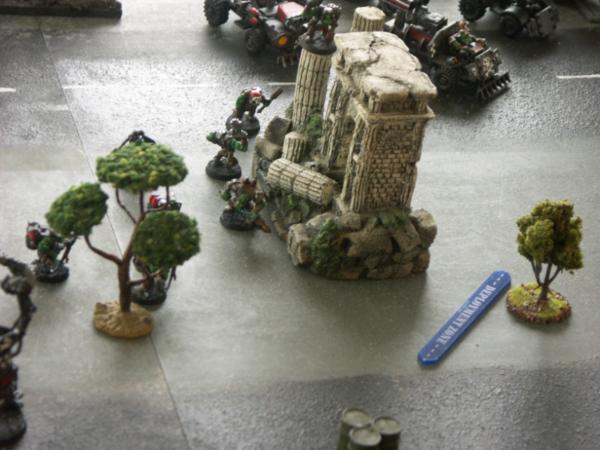
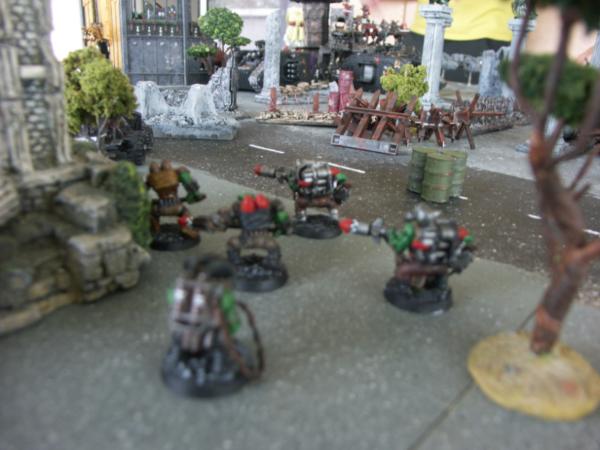
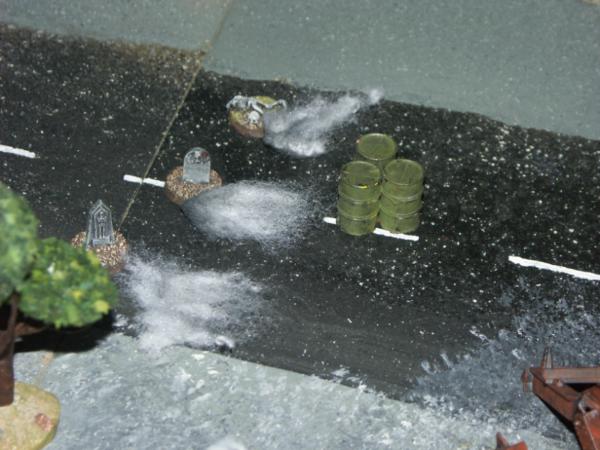
Working their way through the obstacles...
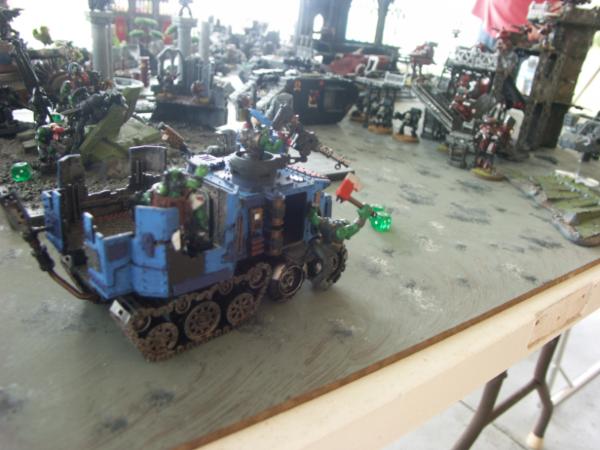
Lacking a battlewagon, these boys start hoofing it towards a home objective.
In their next shooting phase the Non-
GW Battlewagon is toasted and the Blue one is immobilized - Ghaz and the boyz undergo a lot of firepower being dumped on them as well.

They survive surprisingly well all things considered.

Kunnin' plan? Nah - smart boyz avoiding gunfire!
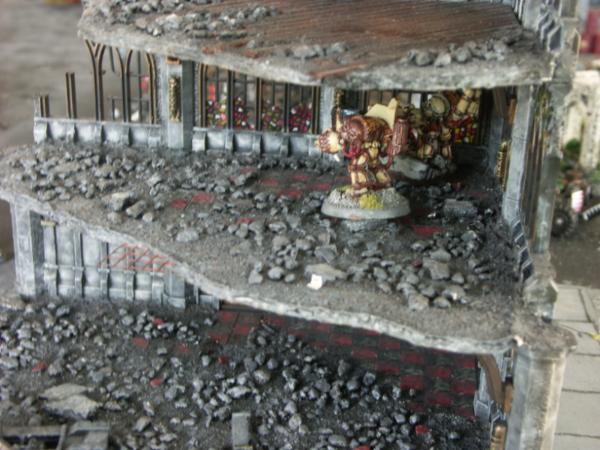
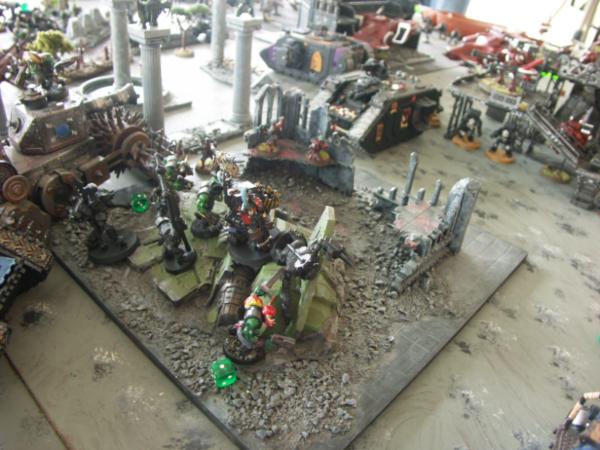
Templars spring out of their damaged Landraider to assault the Kans.
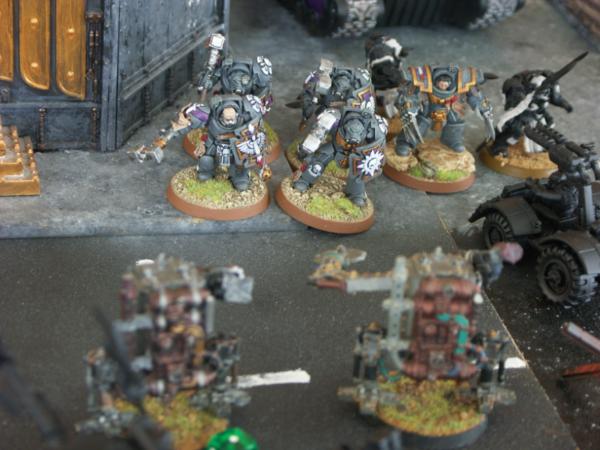
Not even enough to make the Templars break a sweat.

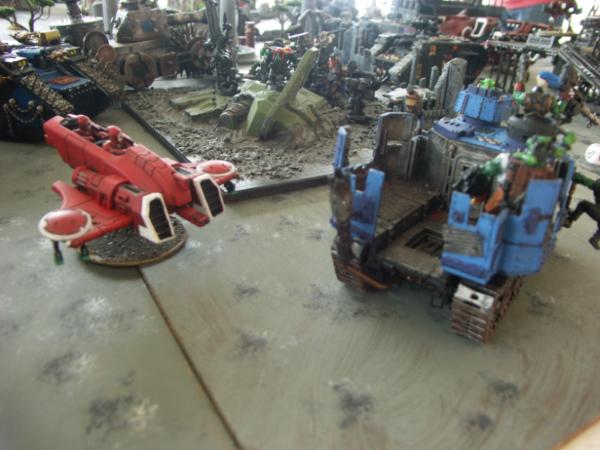
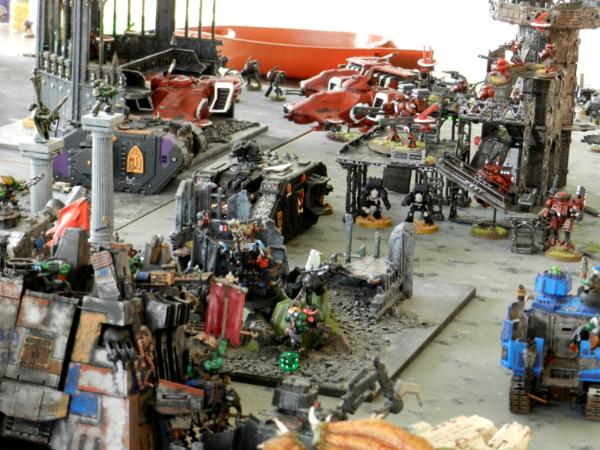
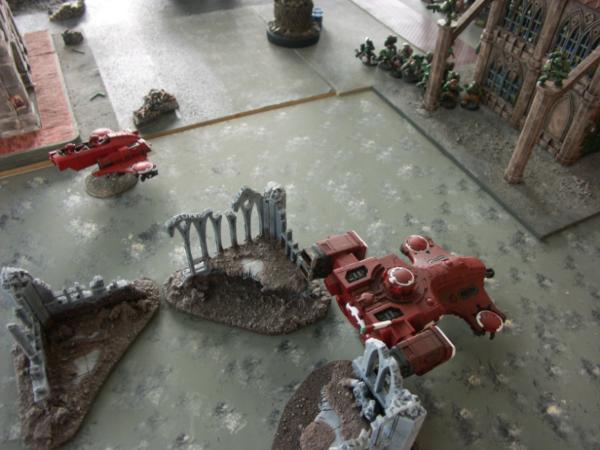
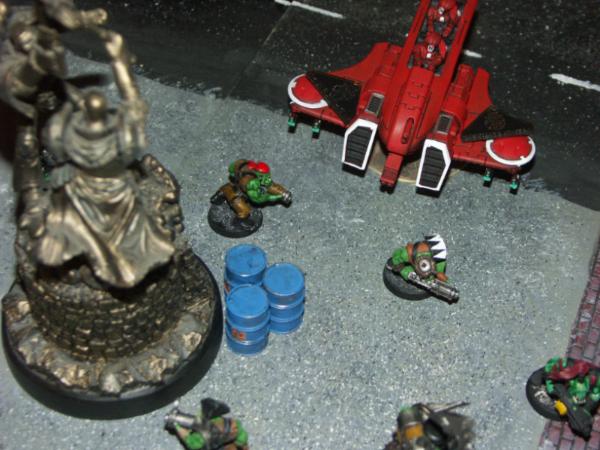
A Pirhanna (some odd
FW varient - heck if I know) sweeps in to zap the last intact BW.
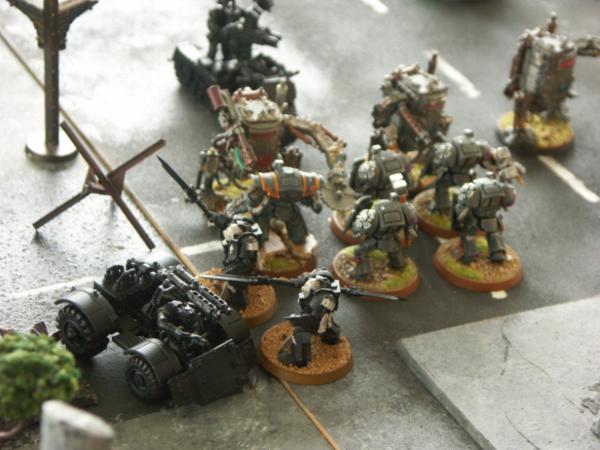
I forgot to assault with this Kan's mob on my turn - to add insult to injury the Tau shoot down the two Dreads, both other Kans in this mob, and blast off both weapons from this Kan. I now have a mobile box that can kick!
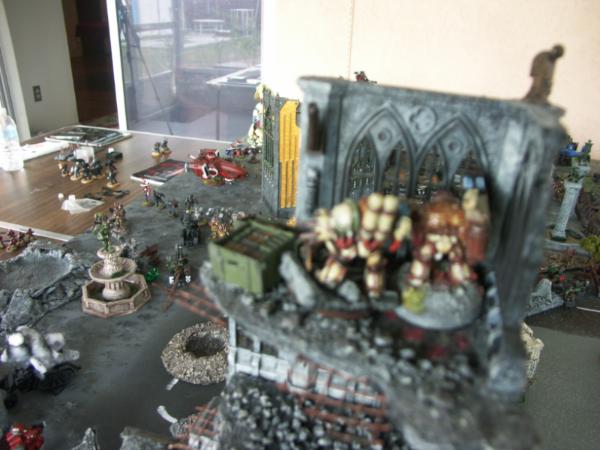
Things look grim for the Chaos and Orks who still have yet to really inflict any damage on their opponents. But now some Termicide shows up.
A mishap drops some Termies back behind the ever growing roadblock of wrecked Chaos and Ork vehicles trying to enter the hole in the obstacle line.
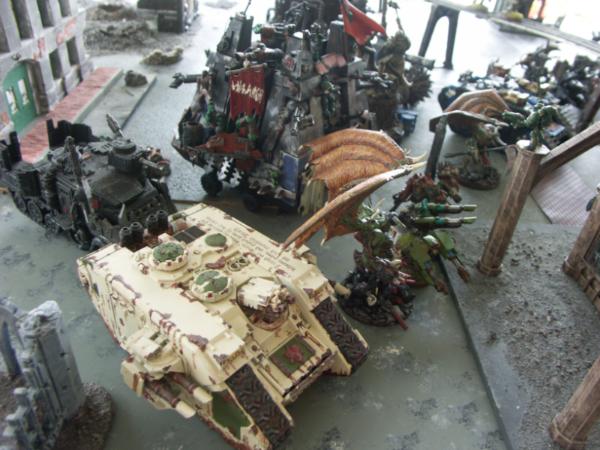
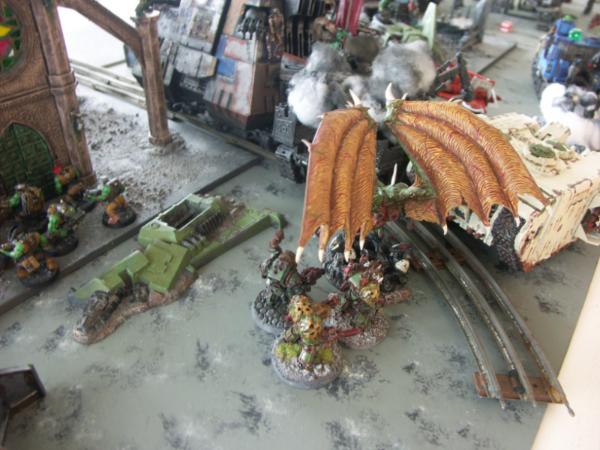
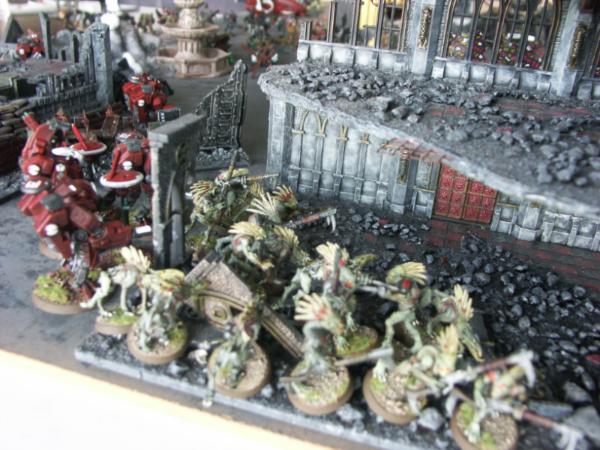
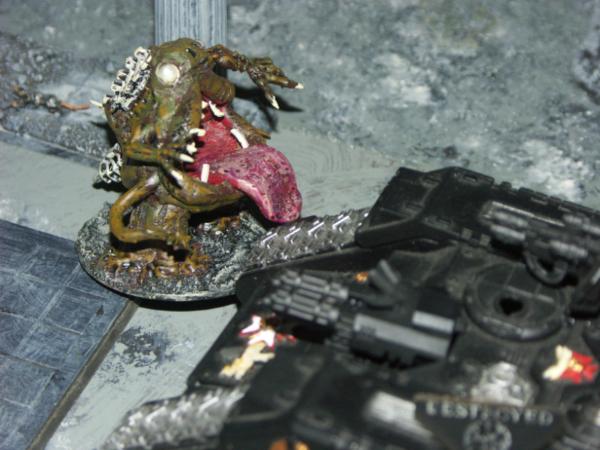
A Summoned Greater Daemon slops forward from the Landraider while the Berzerkers head for an objective.

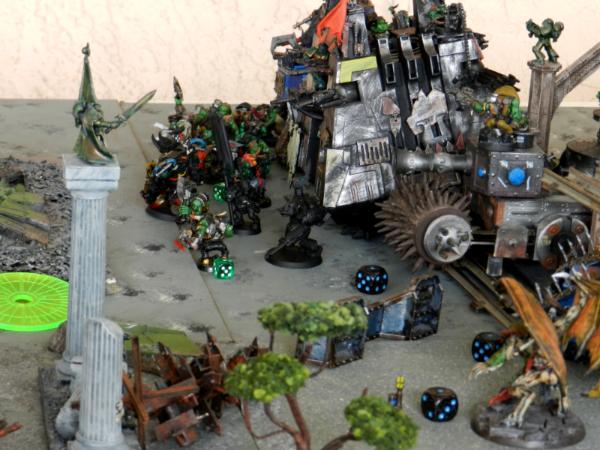
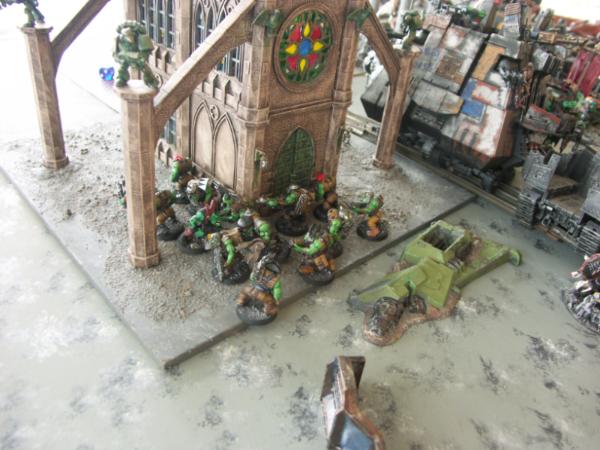
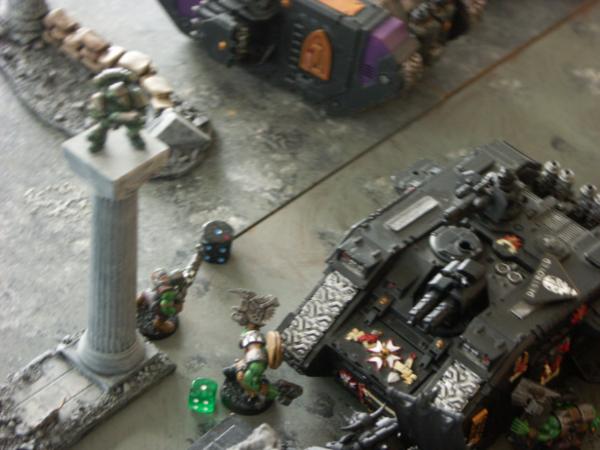
Orks start circling around the still occupied Landraider - so...you say there's a very expensive Termie beakie unit inside dat boz, eh?
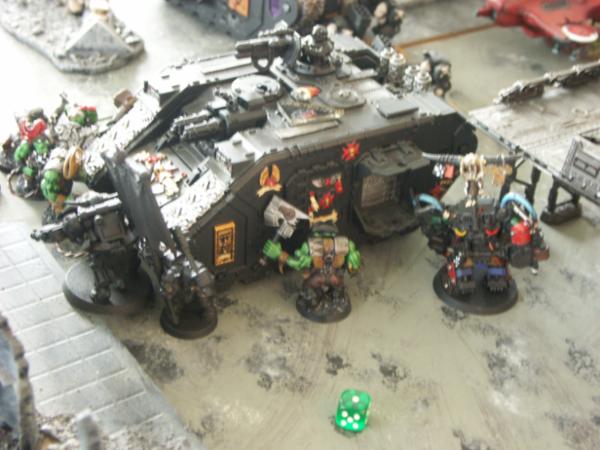
Let's hold all da doors shut and wreck da ting so dey burn ta death! Haw-haw-haw!
Tankbustas still working through obstacle row.
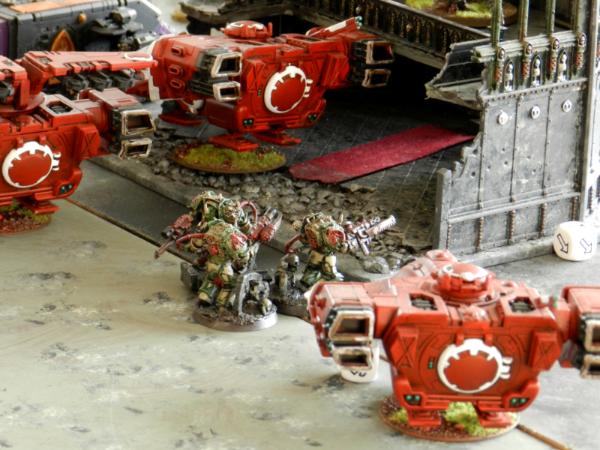
Termicide trying to put some hurt on the gunline from inside the defenses.
The Terms do manage to drop a Devilfish and Hammerhead.
A wave of Kroot show up to claim an objective.
The Oblits do not approve...
A weakened flank considers what to do about all the Terms.
Flying in off their board edge - the Tau go to stop the Ork's kunnin' plan.
The Warhound punishes the Orks who killed the Terms and Landraider.
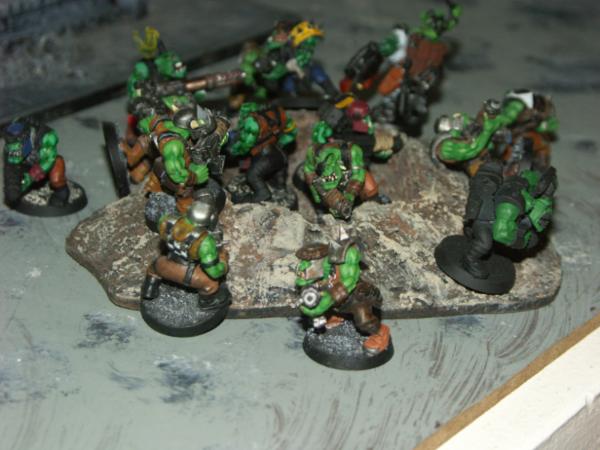
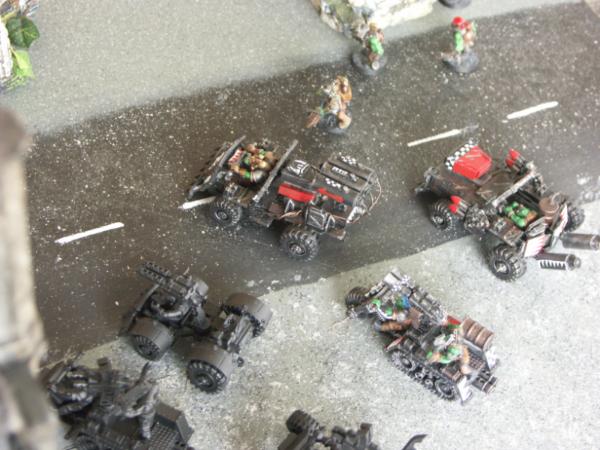
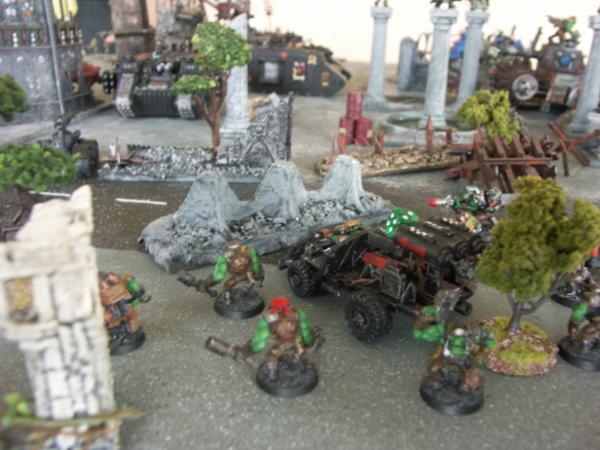
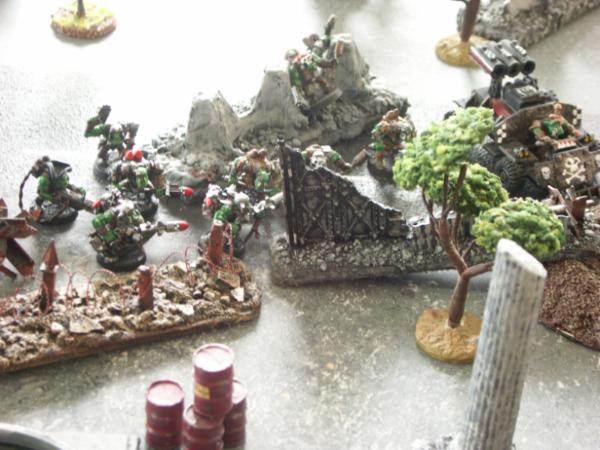
Their battlewagon fragged by the Piranha - these shoota boyz are still ready to cause some pain.
They rush forward and manage to shoot apart the Fire Warriors claiming an objective.
Egads - bullets, one of our many weaknesses!
In the ultimate insult - Tau and Marines aren't even shooting at this guy as he footslogs around.
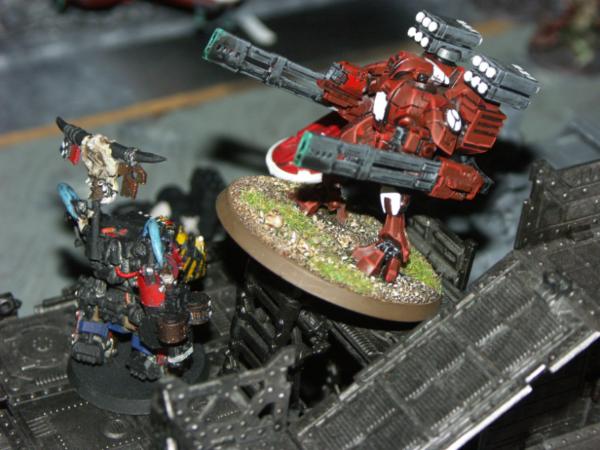
Showing off the amount of painting I still need to do to his back - Ghaz gets into assault with a battlesuit (and it survives thanks to the Shield Drones taking it on the chin after my flubbed attack -

I did kill a Crisis Suit with my last two Nobz though - huzzah!
Kicky the Kan goes and Kicks a Crisis suit.
.
At the end of the Ork and Chaos round they held 3 objectives and the Tau/Templars held 0. (all the Kroot climbing the building were hit by Heavy Flamers for lulz)
In the actual game winning roll - Tau run 6" and claim this objective.
Tau contest this one with a Piranha.

And this one with the Skyray.
And that's all that's left of the 3 Zerks holding that objective after the Warhound sneezes in their general direction.
Winners: Tau/Templars! 1 objective to 0.
If the Tau hadn't managed the 6" run with the Kroot then it would have ended as a tie - which, I think both John (
CSM) and I would have accredited as an amazing occurrence due to our clever play. Ah well.
Orks/Daemons MVP - I'm sadly unable to make a clear call here. Apparently the enemy generals claimed fear of Ghaz, whose grand achievements were (with help) killing 2 Shield drones, and 4 Pathfinders. Though I'll admit the instaglib of the Termies inside their
LR was the most significant damage we managed to do to the other team - but it felt like a hollow wound. Meh, we'll say Ghaz, because at least I can lord that over John later when complaining about how he wasn't helping enough
 Orks/Daemons WTF
 - I guess I'll go with the Dread Mob, around 700 points that barely absorbed any damage and killed and hurt nothing before being torn apart by shooting and Hammernator assaults. A decent shout out goes to "half of the
CSM army' as, due to the range advantage of the other army and the killing they did, most of the
CSM never even got into the fight.
Tau/Templar MVP - I'd go with a tag team of the Warhound (who was never even *shot at* this game as we couldn't get in range and just rained down death throughout. 2nd MVP is the marker lights, which in conjunction with the rail guns basically ended all of the heavy armor in 2 turns of shooting before it could even get across the line of the Tau/Templar deployment zone.
Tau/Templar WTF - hard to say as they pretty much owned face throughout...um, I guess I'll go with the Hammerhead. It fragged a Pathfinder, whiffed a shot at some Kans, and then was killed by the Termicide dropping down on it. Pretty useless and if it hadn't been there not much would have changed.
Overall the Templar/Tau played well and were able to, via their strategems, force us to fight a shooting war, and neither the
CSM or Ork army were fast enough to really change the situation of that. Maybe if we'd got into Turn 5 and 6 things might have shifted (we were in better position to be claiming objectives) but we also would have had to figure out a way to deal with the Warhound and the army of Crisis suits that were still out there. A solid win for them.


 ) In retrospect I'm think half the problem was just a bad matchup - Chaos and Orks were relying on armor and cover saves, and Tau laugh at both of those things. That said, it's hardly like either of our armies were "slow" and we played 4 completed turns and still barely got to grips.
 Argh, dat's wot ya get fer allyin' wiff da spiky boyz


 . I did notice some oddities on the part of the Tau army though, most of the crisis suits seem to be using 2 weapon hardpoints (twinlinked missile pod/plasma rifle + missile pod) and 2 support hardpoints (target locks (but I'm guessing these are meant as targetting arrays) + shield generators), while a suit only has 3 hardpoints.


 4000 pts


