Hello and welcome to what I hope will be the first of many terrain making tutorials which I will eventually compile into a blog/article.
I'll be covering how to make, out of materials you likely already have, a variety of terrain types that I see asked about often. Lava, snow/ice, swamp/jungle, cityscape, and "Tyranid" will all be covered, and I do hope that you're able to learn something while being entertained.
On to the first part of the lava tutorial: making columns of igneous rock.
First up, you'll need some black paint, some white paint, and some rubbing alcohol to thin them with.
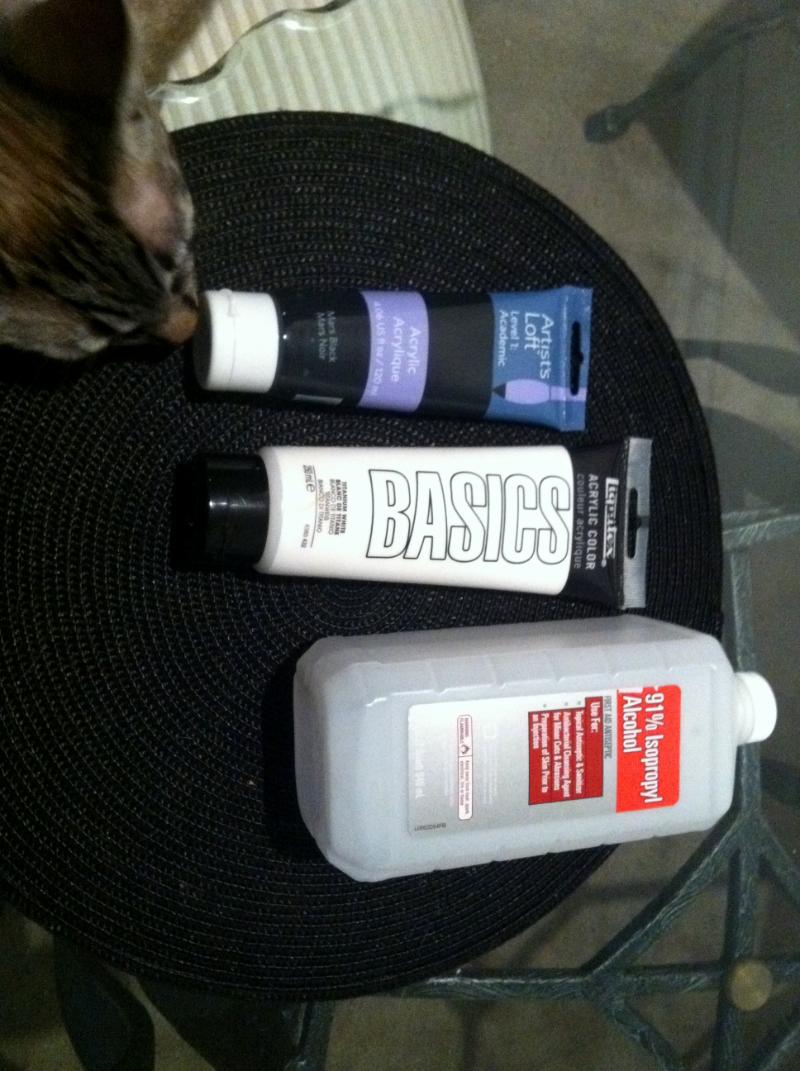
Cat is wholly optional.
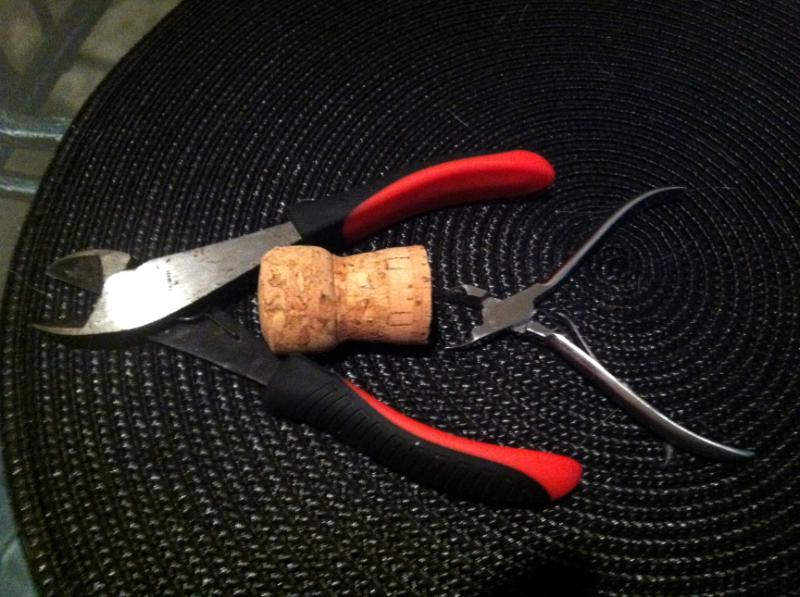
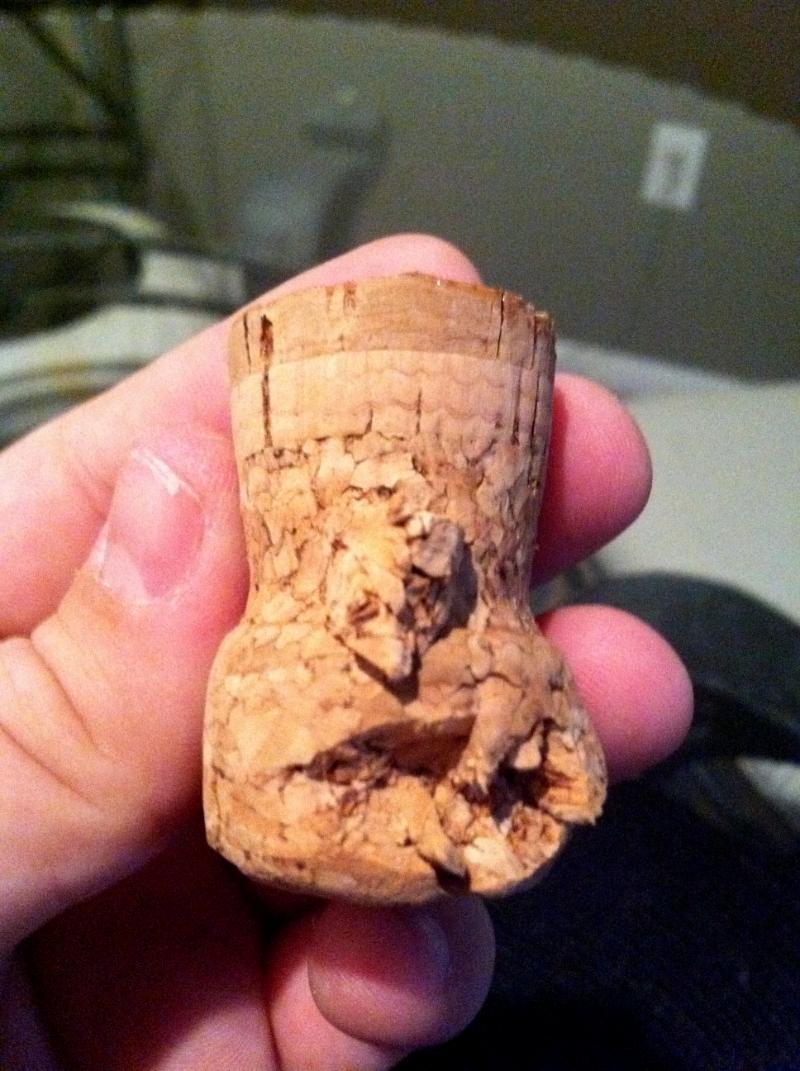
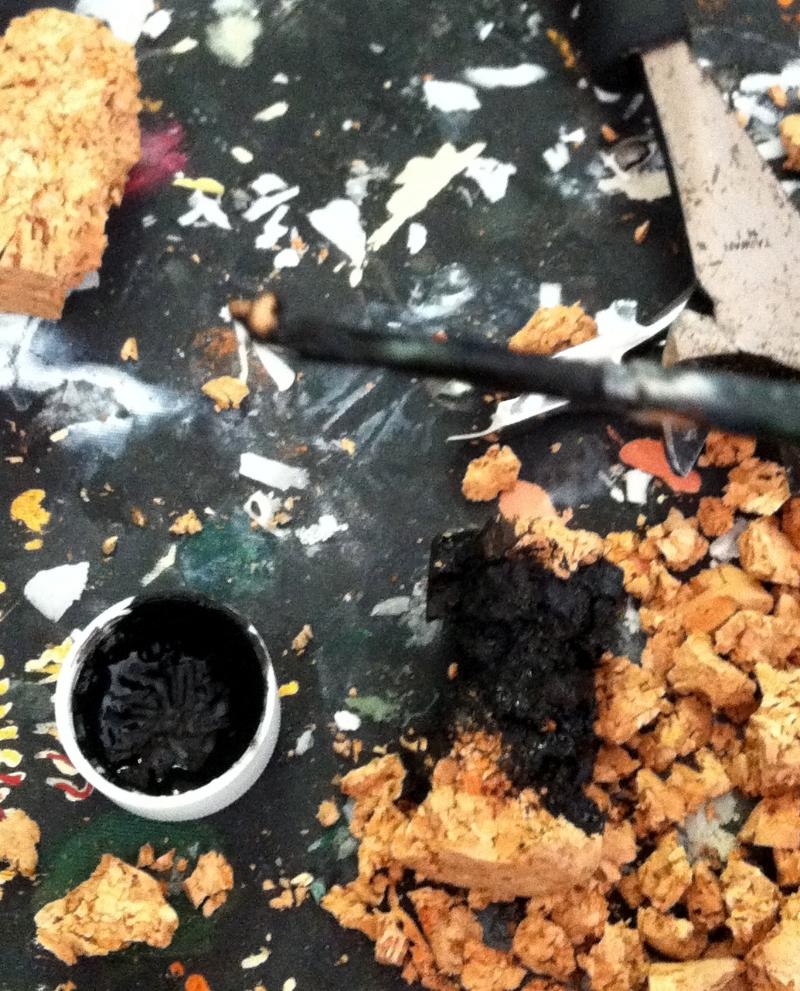
You'll also need some tools. I'm using a large pair of clippers, a set of cuticle trimmers for smaller cuts, and a champagne cork. Regular cork will also work, but champagne corks are larger. You'll need a bunch of them, so a slight drinking problem or friends that will save them for you are a plus.
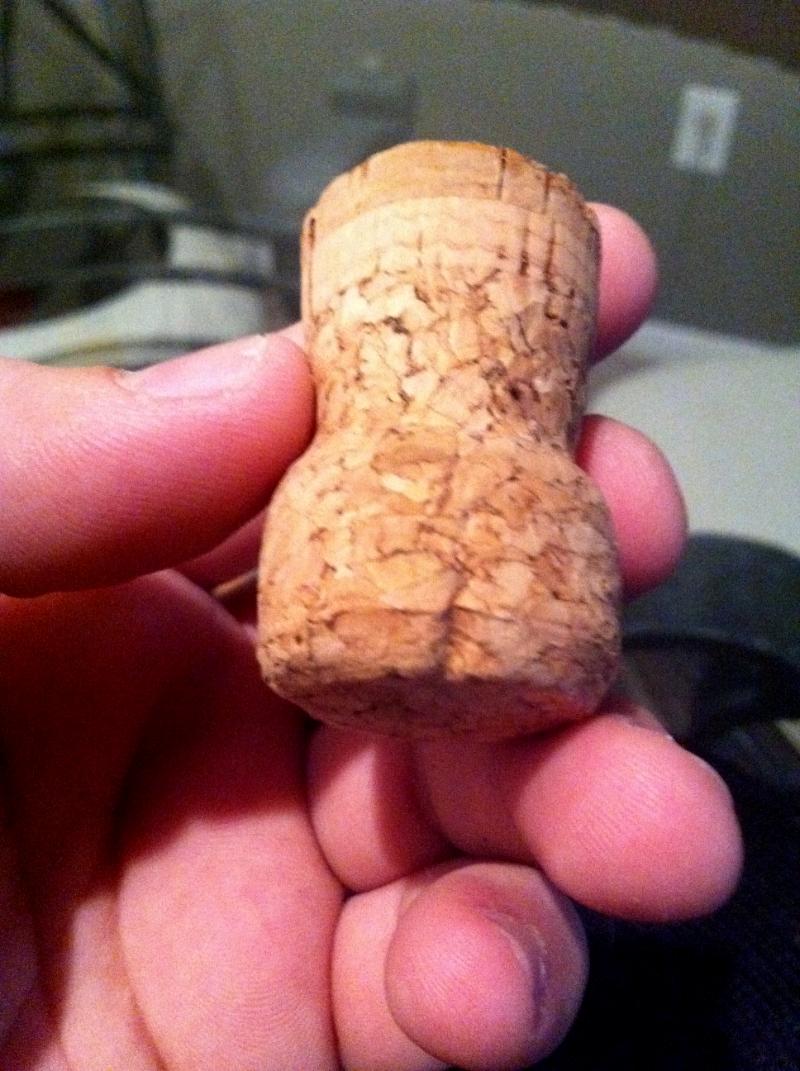
Looking at the cork, you can see that it has different layers of density, as well as "chunks" of material mashed together. There are also marks where the wire held the cork onto the bottle, and that"s where I'm going to make the first cut into the cork with my large clippers.
Be fairly brutal with your cuts. No need to hold back, just start cutting off the surface of the cork and tearing out chunks. Twisting the clippers after a cut is a good way to tear the chunks out, and in one of the pictures I left one of the chunks balanced on the cork. Obviously using the smaller clippers will take smaller chunks, or refine the edges of your larger cuts. Do some of that, too.
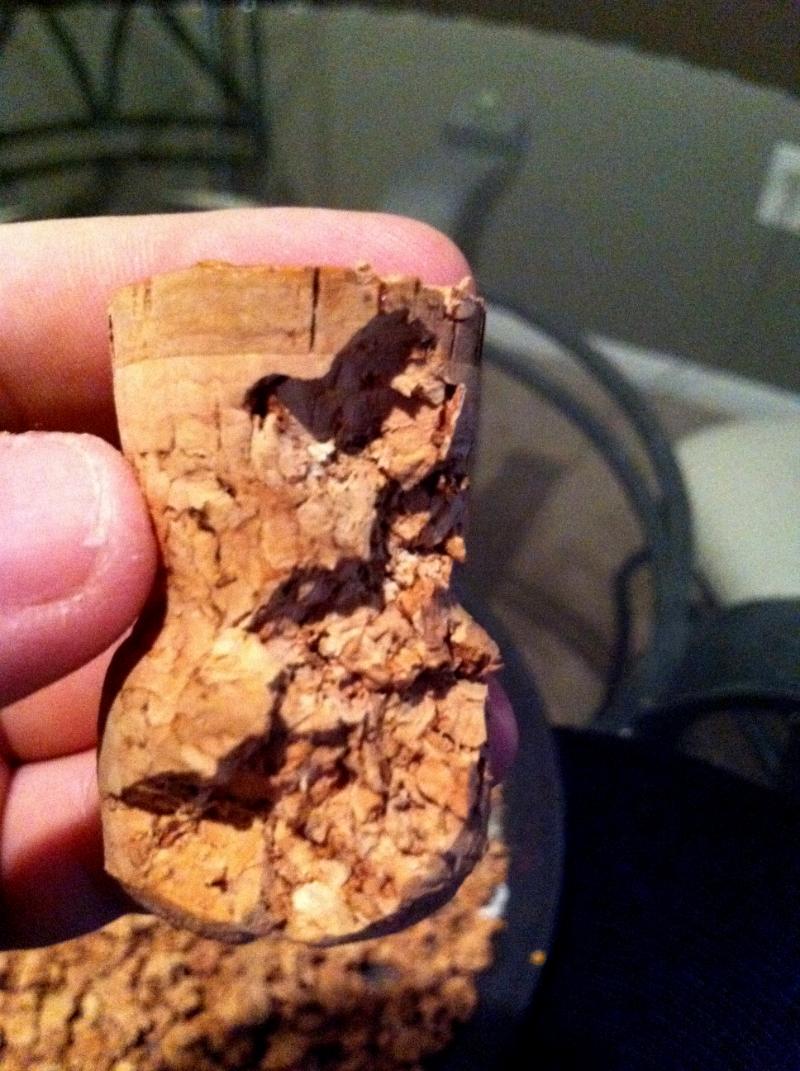
I like to leave the "bottom" of the cork (part facing into the bottle, but the top of these images) largely untouched, because it is a nice flat surface to balance models on.
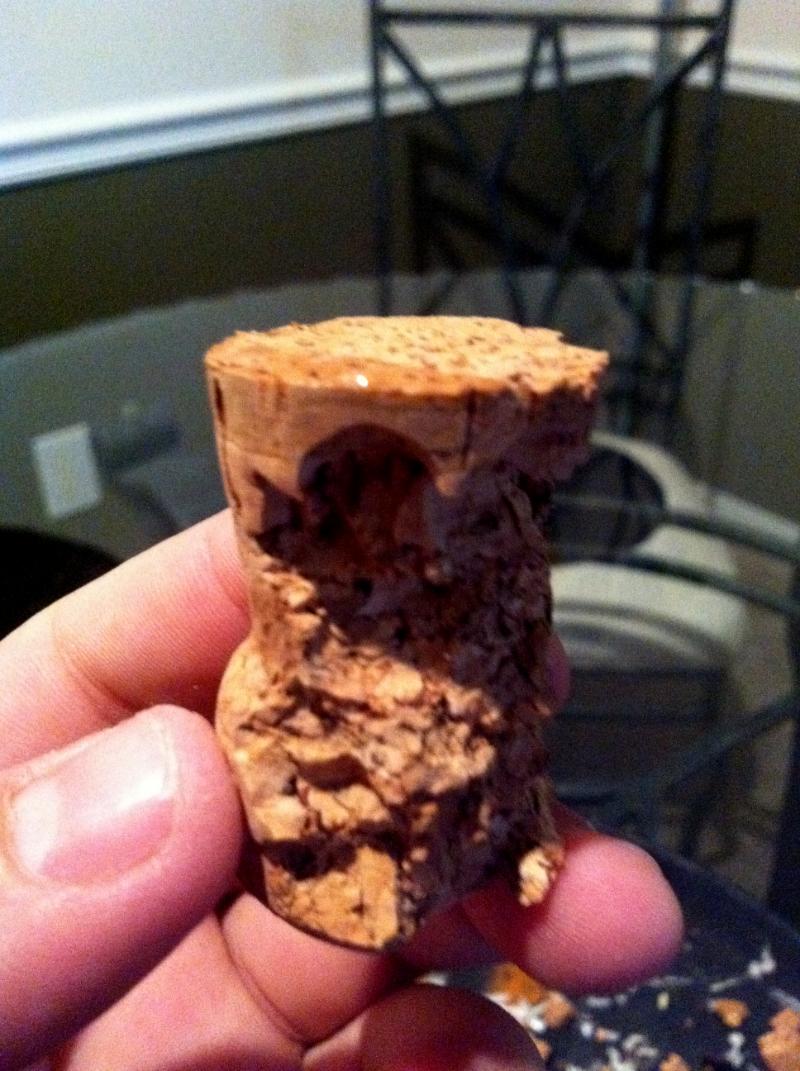
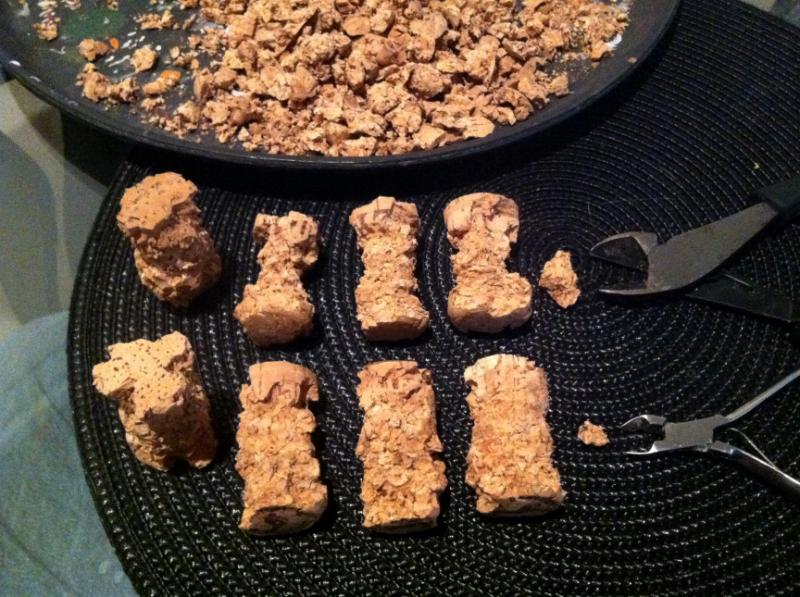
Do this as many times as you'd like. You'll get better at shaping the pieces to your will as you make more. I'm a fan of ones that look like a apple core. run your fingers over the surface to take an loose bits of cork off.
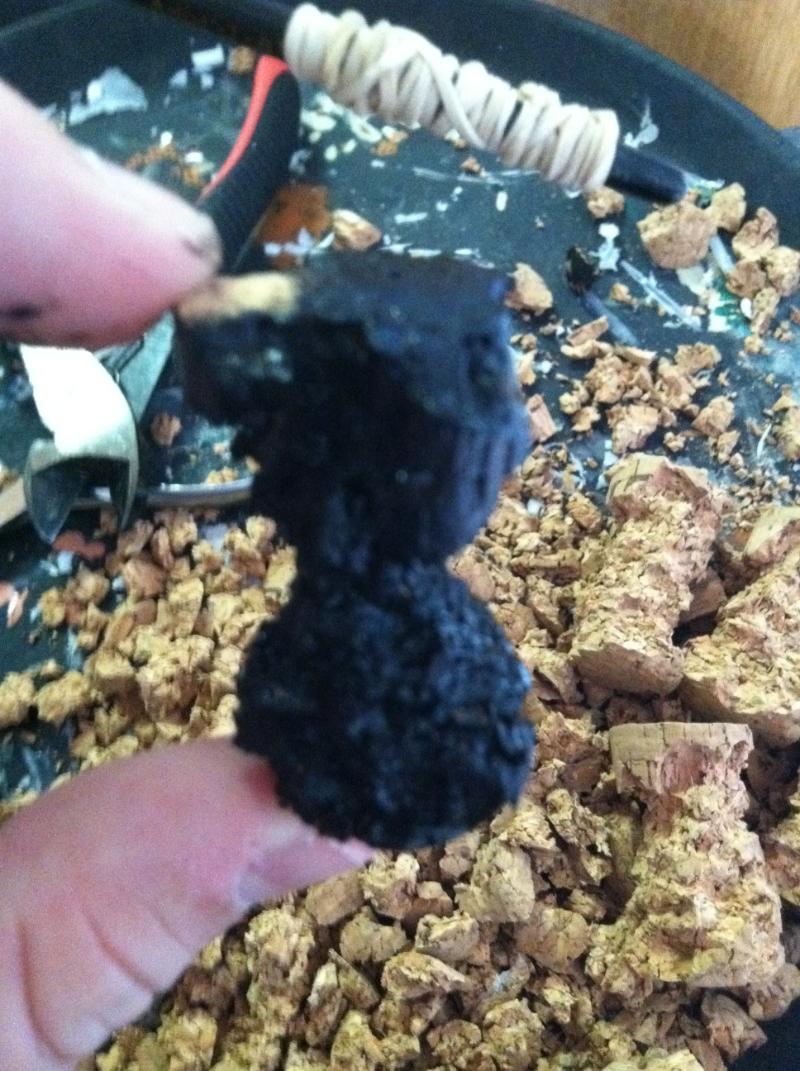
Ok! So now you've got your cut up pieces of cork, time to carefully and delicately wash them with 20 layers of black paint.
Just kidding, take your ugliest brush, soak it in paint, and make angry brush love to the cork. You could also spray, but its difficult to get all the angles filled in. Just jam the paint filled brush into the cork over and over. Sometimes chunks of the cork will fall off, but cast them aside and get more paint to fill the gap.
And soon it will be covered in black paint, except for where you held it. Touch that up once the other paint has dried, or get some paint on your fingers and just do it now.
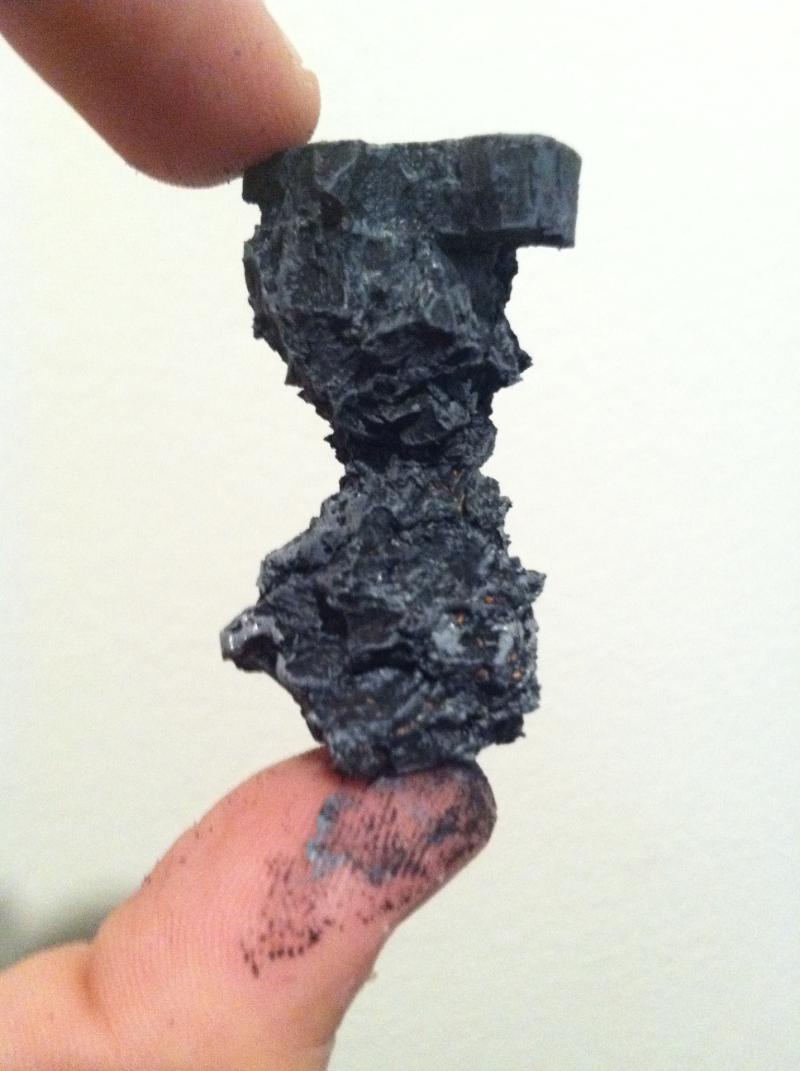
Let the paint dry. Putting it in the sun or under a fan will speed this up. I thin my paint with rubbing alcohol, which evaporates faster than water, so that helps too.
Now, on to making it look like a rock. Mix some black and white paint, I use about a 50/50 mix, but really any dark gray will work.
Do a heavy drybrush over the black cork. Just attack it with the same ugly brush, using whatever angles you need in order to cover the entire surface of the cork. you arent looking to cover the black, just accent it. If you mess up, and use too much, that is perfectly ok. Rocks aren't really uniform.
Do this for all of your rocks, and when you're done, add a little white to the mix, or use a lighter gray, and do it again, but lightly this time.
You'll end up with something like this:
You can see in that last picture that I missed some spots. This was due to my laziness, but is easily correctable. Just take a fine tip brush and dot in the spots you missed, or not. That is fine too.
And you're finished. This is the same technique I use to make all my basic rocks. You can change up the colors and get different types of rock. If you use blue and white, you can actually make it into an ice crystal. If you use glossy black and white, it will be obsidian. Orange and light brown for sandstone.
The next tutorial will cover making the actual lava, as well as how to make an effective
OSL effect from the lava lighting up the bottom of these rocks.
Teaser picture:
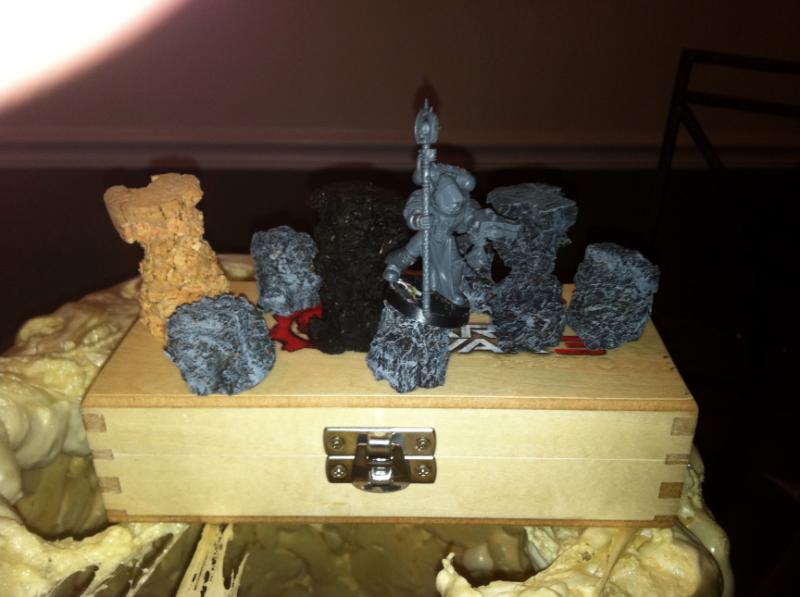
Here you can see a gray knight traversing a series of pillars. Some are shorter, which I made by cutting a large one in half. Imagine that the wood of the box is a lava field. Dangerous terrain indeed! What is that under the box?
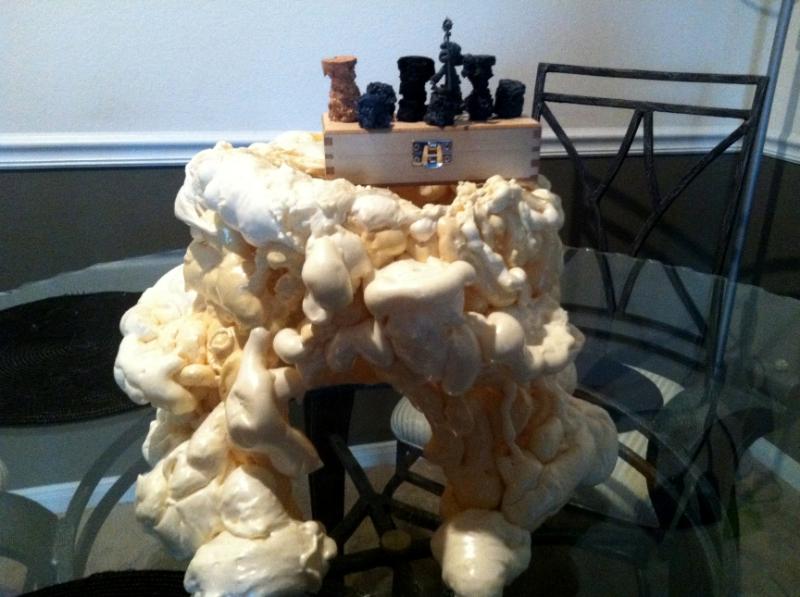
Thats the start of my next project, a giant Tyranid capillary tower.
Thanks for looking, comments and suggestions on how to improve on this process very much welcome and encouraged.
See you next time.


 Night Lords P&M Blog:
  Salamanders P&M Blog:
 3000 pts (all old models)