Ok, Second report:
Mission - Seize Ground, Deployment - Spearhead
The Tau win the roll off and elect to go first.
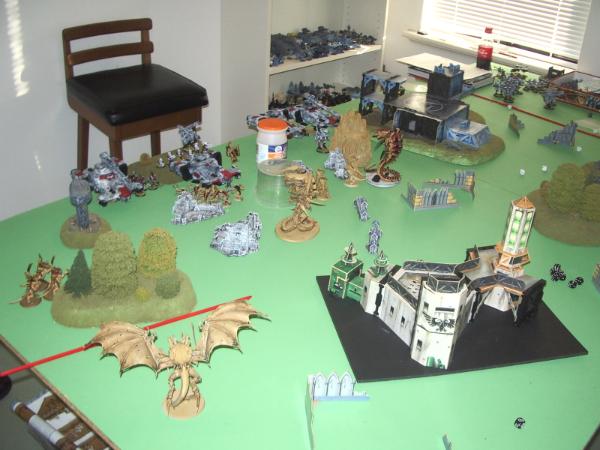
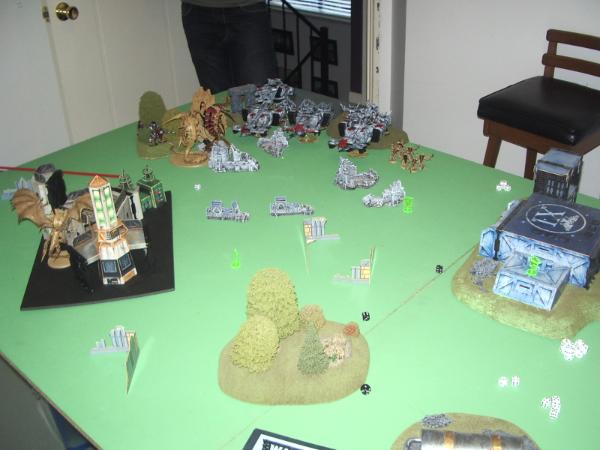
Here is a shot of the battlefield - you can see four green objectives(1 in the top left ruin, two in the open in the middle, one in the far ruin on the right):
Tau win the roll off and elect to go first.
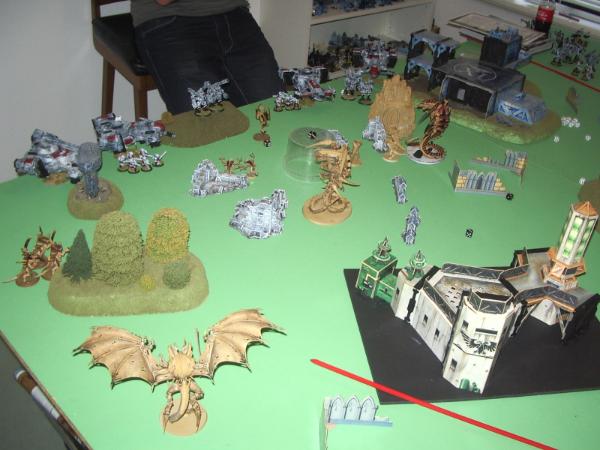
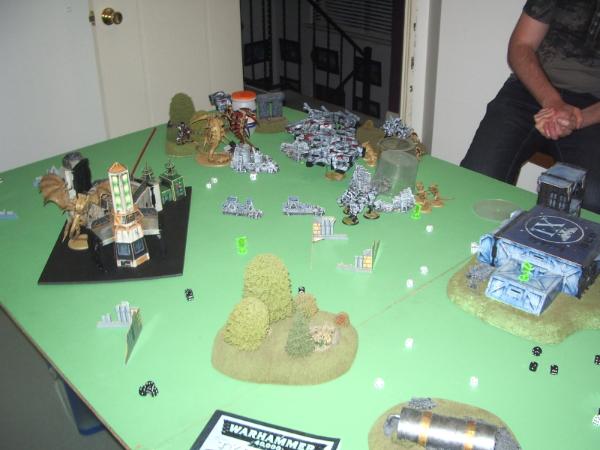
Tau T1 and 2
Learning from the first battle, this time the Tau castle up giving me no shooting lines to rear armour, and having the Kroot as the only infantry able to be targeted by my Doom. One of his Crisis suit units again decides to deep strike.
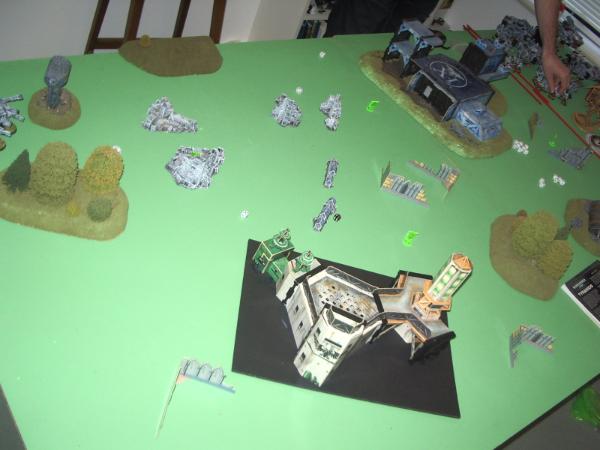
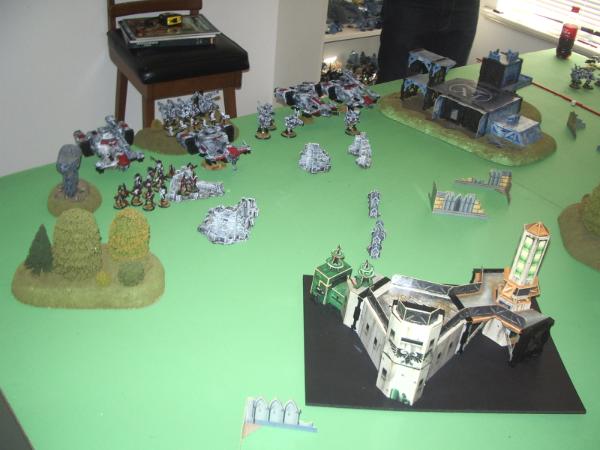
End of Tau T2:
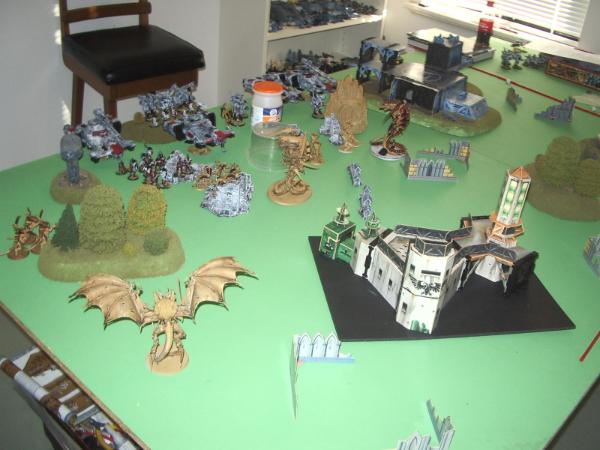
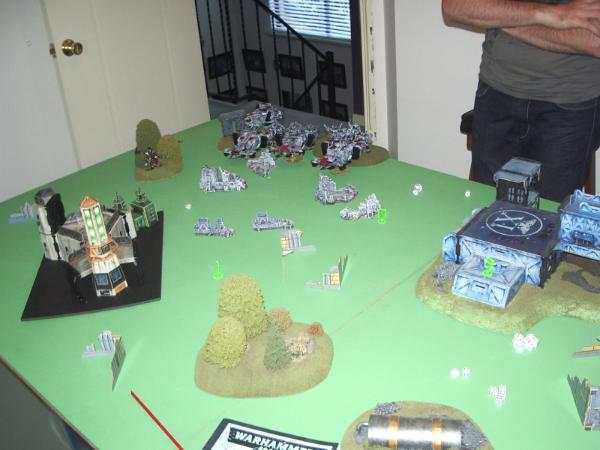 Nids T2
I had elected my Flyrant to come in from normal reserves this time, just in case my opponent spread out and made it hard to land. The Ymgarls are dormant in the centre ruins on his side of the board.
I roll for what I get from reserve and get my Flyrant, both Trygons, my Ymgarls, a
spod of warriors and my outflanking warriors. The outflankers arrive on his side of the board (short edge).
My Ymgarls can spot a crack behind his hammerhead on the right, and charge off the hunt crisis suits.
The Trygons and warriors appear around his Kroot.
The only thing to happen in shooting is combined warrior fire takes down two pathfinders and sends them fleeing for their lives.
In assault my stealers charge into his crisis suits, but only manage a wound.
I'm a bit worried at this point, he has a lot of firepower and I haven't really made a dent... The pathfinders fleeing was a big win though.
Tau T3
In his turn, his crisis suits come down and the shooting gallery is on.
Broadsides and hammerheads bring
ID goodness down on my two warrior units and
spod. Crisis suits light up a Trygon, but only manage 2 wounds.
Meanwhile, the commander and suits start bringing the pain on my Ymgarls in assault... wait, what!?

End of Tau T3
 Nids T3
Start of my turn, and I get my last to warrior
spods and my Doom.
The Tau vehicles have moved forward a bit to stop me insta-hitting them, but this has now allowed me to drop my
spods behind them and hit rear armour.
New arrivals:
Everything just went like clockwork from their...
Doom leeched some Kroot and firewarriors that got out of their ride - now at 6 wounds.
Shooting saw the Flyrant and warriors combine fire to take down two of the newly arrived crisis suits, and have the last one paroxysmed.
Combined shooting from the
spods saw the centre devil Fish destroyed, killing 4 firewarriors and having them flee off the table.
The other warrior squad shot into the back of one of the hammerheads, wrecking it.
Finally, the Doom cast cataclysm into the Kroot, killing a few more. Meanwhile the fire warriors it leeched broke and ran off the table.
In the assault, my Ymgarls finally won the combat, running down his commander and suits, whilst one trygon charged and wrecked the second hammerhead and the other charged and killed all the kroot.
With only an empty devil fish, 3 broadsides and a paroxysmed crisis suit left, The Tau decided to concede.
Well, The Nids went two up today against the Tau. My opponent really wasn't sure how to deal with the list, and I was pretty lucky in my Turn 3 in the second game to bring what was looking like a close game to a resounding win. We agreed at this point the best thing for him to do was rethink how his list could cope against a deepstriking list, and then have another couple of games. I won't give too much away, but be assured the next two games are full games and a lot less one sided.
Anyways - thanks for reading, Hope you enjoyed - and I'll post the next two reps shortly.
Please leave comments on your thoughts of lists, strategy, or anything else


 They get cover from the pathfinders though, and he makes all his saves