Ok, so another day another update.
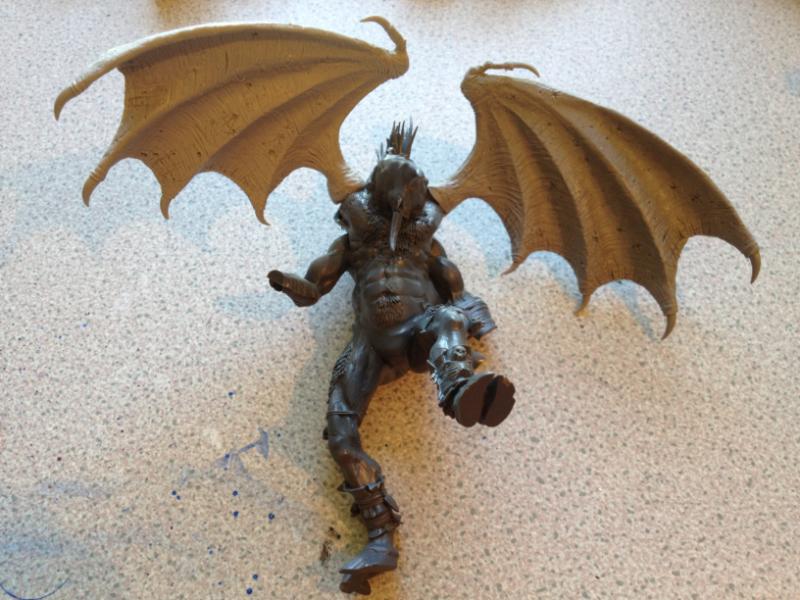
I decided to jump right in and fill the gaps up around the shoulders with green stuff, with the idea of trying to do some textured sculpting on top to cover the join.
There is quite a lot of fur / hair on the original model in that area, and looking at it, I realised that an extension of the fur would not only *help* to make the conversion look a bit less like a 5 year old had gotten into the bits box with some superglue, but would be a good place to try out sculpting, bearing in mind I haven't done a lot before, and would be needing to get pretty familiar with G/S before the project was done!
I looked around the web and found a couple of excellent beginners tutorials, I don't want to publish the websites here in case I get accused of plugging them, but having a little expert guidance really helped. My biggest takeaway was to use some nivea hand cream to lubricate the sculpting tools and the green stuff - what a difference it makes! I also picked up some sculpting tools from my local craft shop, for about $20 six really nice little sculpting tools, with more funky shapes on them thatn I know what to do with. Maybe some dentistry...
Ok, on to the pictures - here is some gap filling:
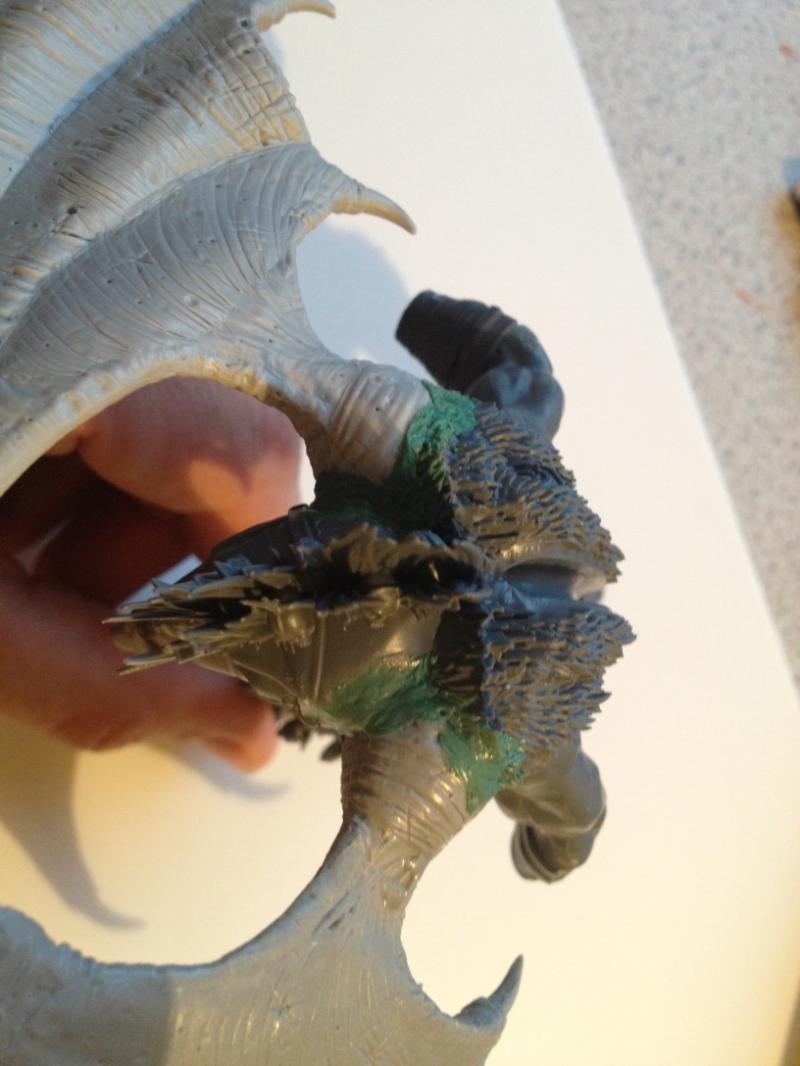
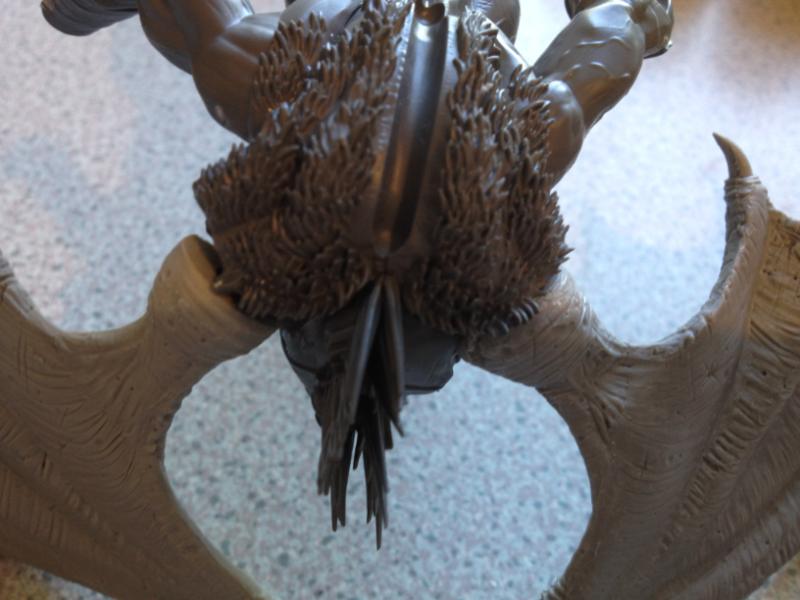
Some fur sculpting:
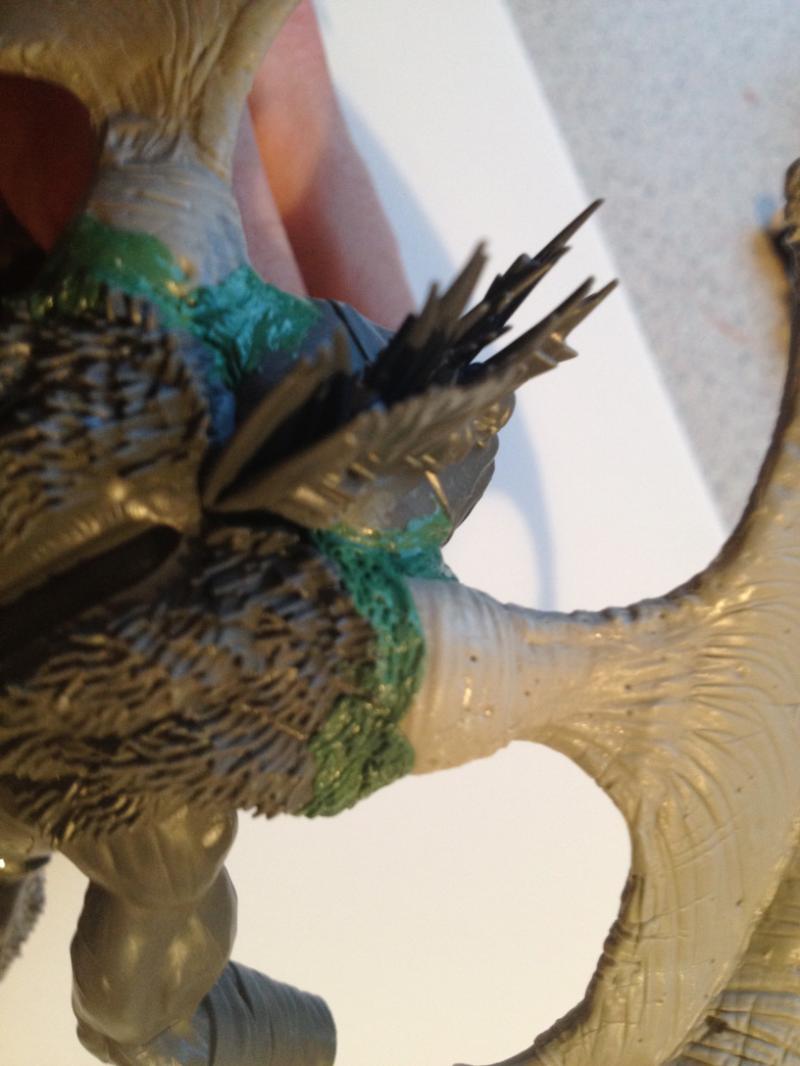
I actually ended up making the fur go a lot further up the joint than than - eventually it covered most of the "ball joint" of the wing.
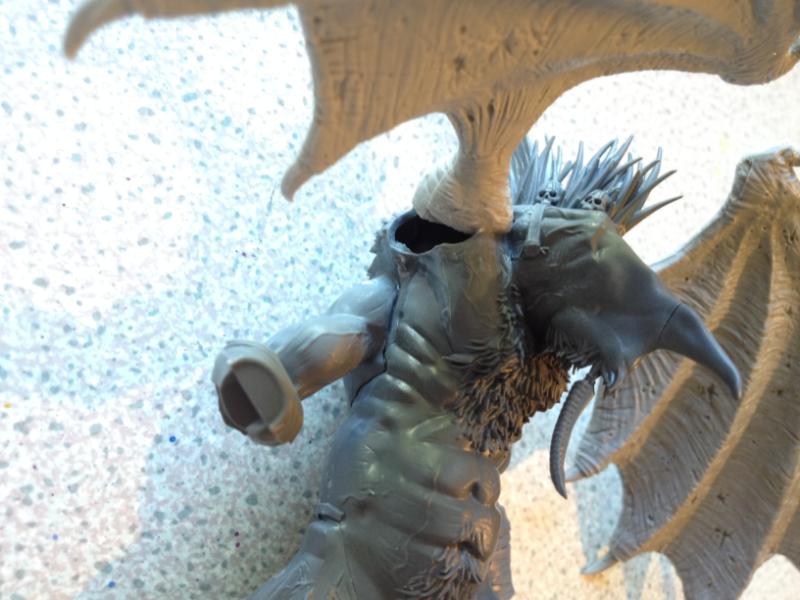
Now, remember when I talked before about wishing I had put the head on at the same time as the wings? Well, because of the forward swept angle of the wings, and the large horns of the Ghorgon's head, the head of the model sat about 3 or 4
mm proud of where it should have, which meant...a lot of green stuff to fill that gap. It isn't actually that noticeable, and the fact that his head now juts forward slightly looks kinda cool I think.
The next step was to assemble the rest of the model, which amounts to the tail, some back details and his hands. I had already decided that I wanted him to be armed with whip and axe as per usual, and realised that I was going to probably need to scratch build them both.
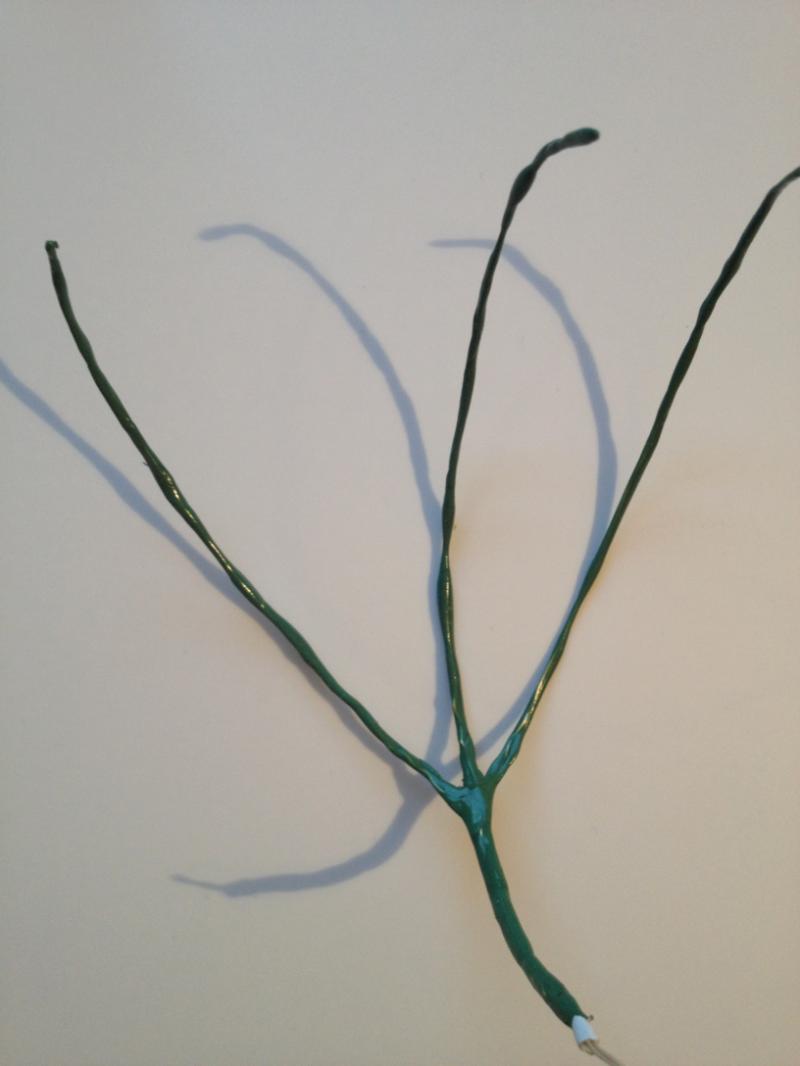
Lets start with the whip. I made this by twisting together three strands of flower arranging wire for about 4-5cm and then fanning out the strands to make a three pronged effect. It took a fair bit of experimentation to get the shape and size right, at the same time I had drilled out the model's right fist to accept the whip handle, and to aid me with working out how big the overall whip should be.
Below is a photo of the armature part covered in green stuff:
This part of the project was a nightmare, it was really difficult to get the green stuff to cover evenly, and not be too thick - I used a lot of hand cream to make this happen!
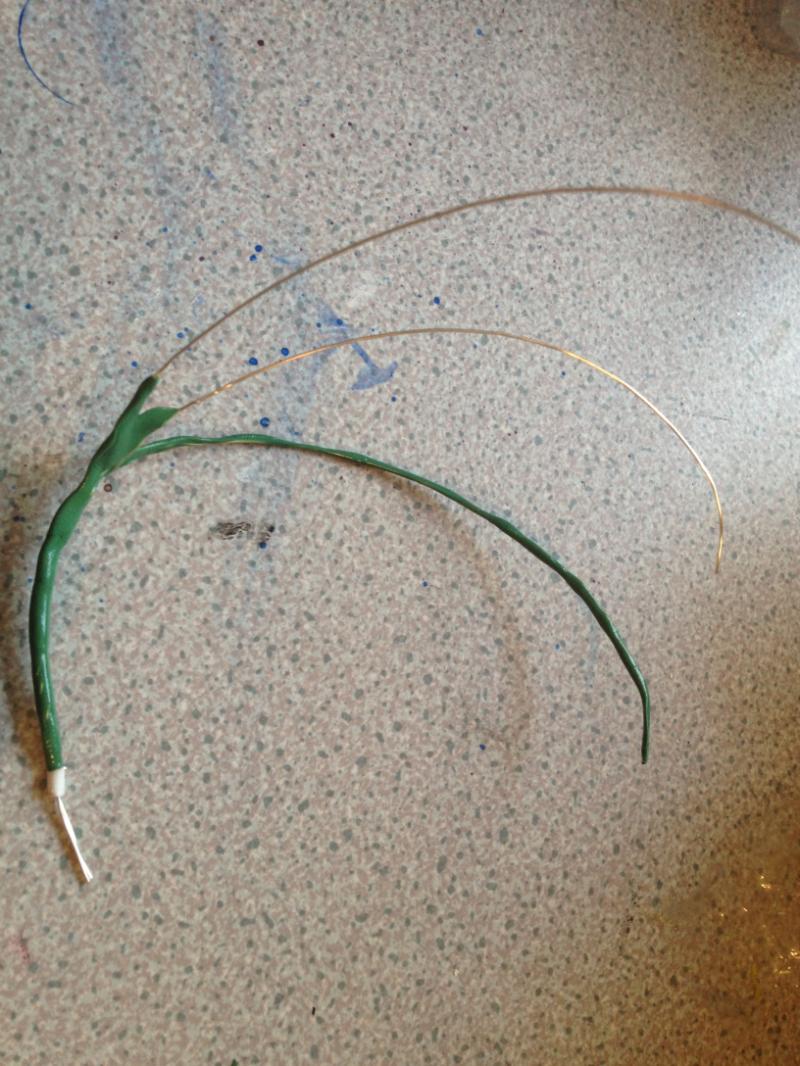
The finished whip:
Green stuff was definitely the right medium to work in - check out the milliput effort:
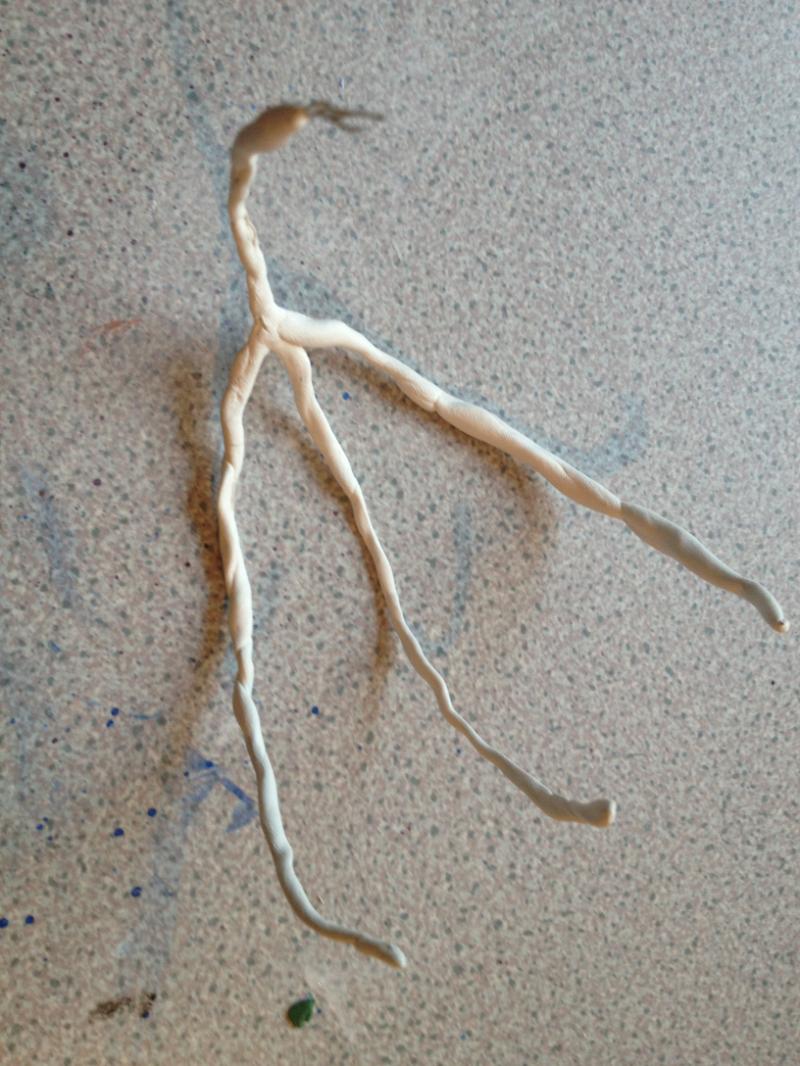
Not so hot! Might make a good tree though...
Ok, so on to the axe. I had originally decided to sketch the design directly onto plasticard, then cut it out, a,d bulk it up with milliput / green stuff, kinda like this:
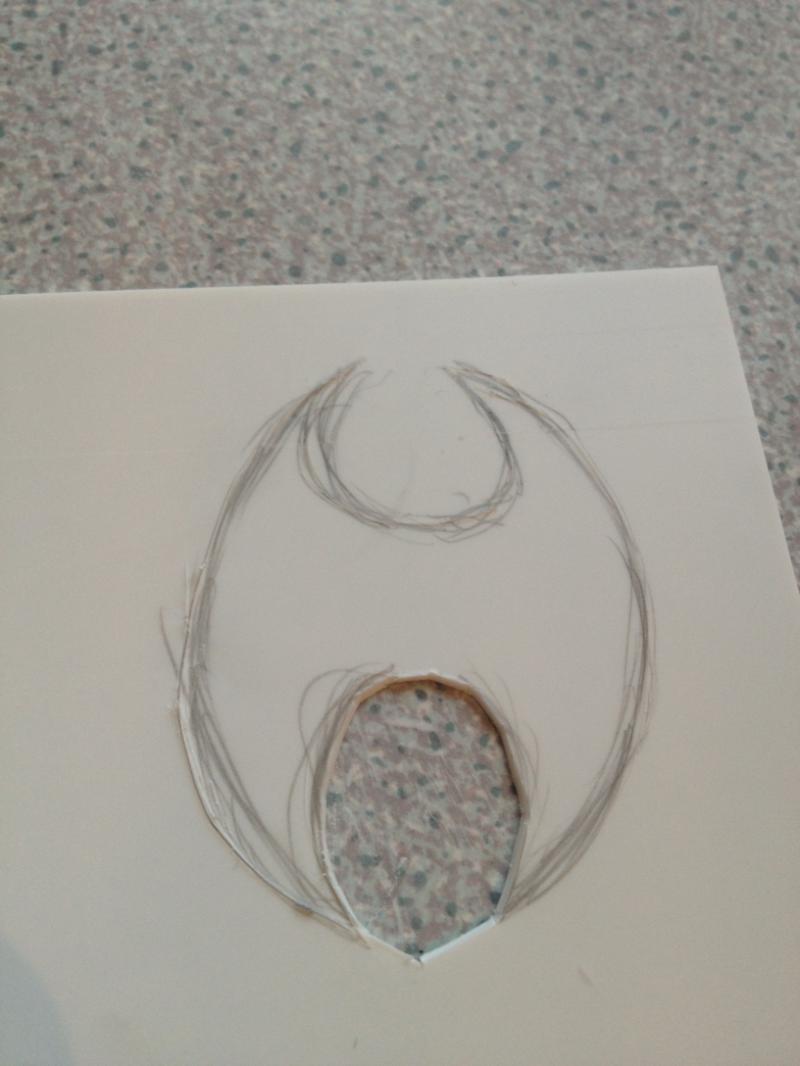
However, it didn't work out, I couldn't get the edge I wanted, maybe something to do with the shape, so I went back to the drawing board, or more correctly my video tutorial, which suggested using a piece of milliput / harder modeling clay rolled flat and allowed to cure, then using a rotary tool (I frickin' love my Dremel) to shape a blade. This I duly did, and then made a handle for the axe out of a thin piece of hollow "plasti-tube", which had wire pushed down it and then wrapped over the head of the axe to hold it securely. I then put some green stuff on there to hold it tight.
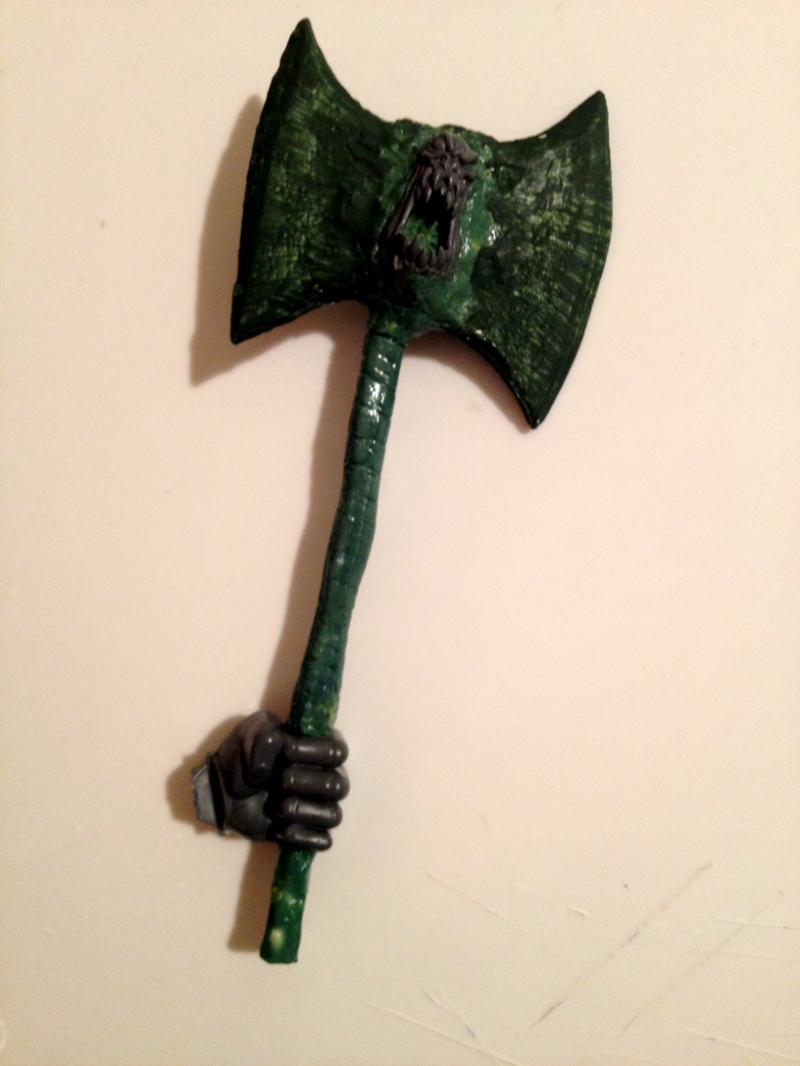
Then I got a bit ambitious, and realised that what I really wanted to do was to sculpt some faces into the blade to make it look a bit more demonic, so I grabbed a spare pink horror and bloodletter, and sculpted one into each side with green stuff, before covering the whole lot in liquid green stuff to ensure an even surface when painting (milliput is really rough and pourous).
To complete the handle, I used slightly more green stuff than I would have for the whip strands, but used the same technique, then smoothed it down with a sculpting tool to try and give it a kind of angular profile. This is how it turned out:
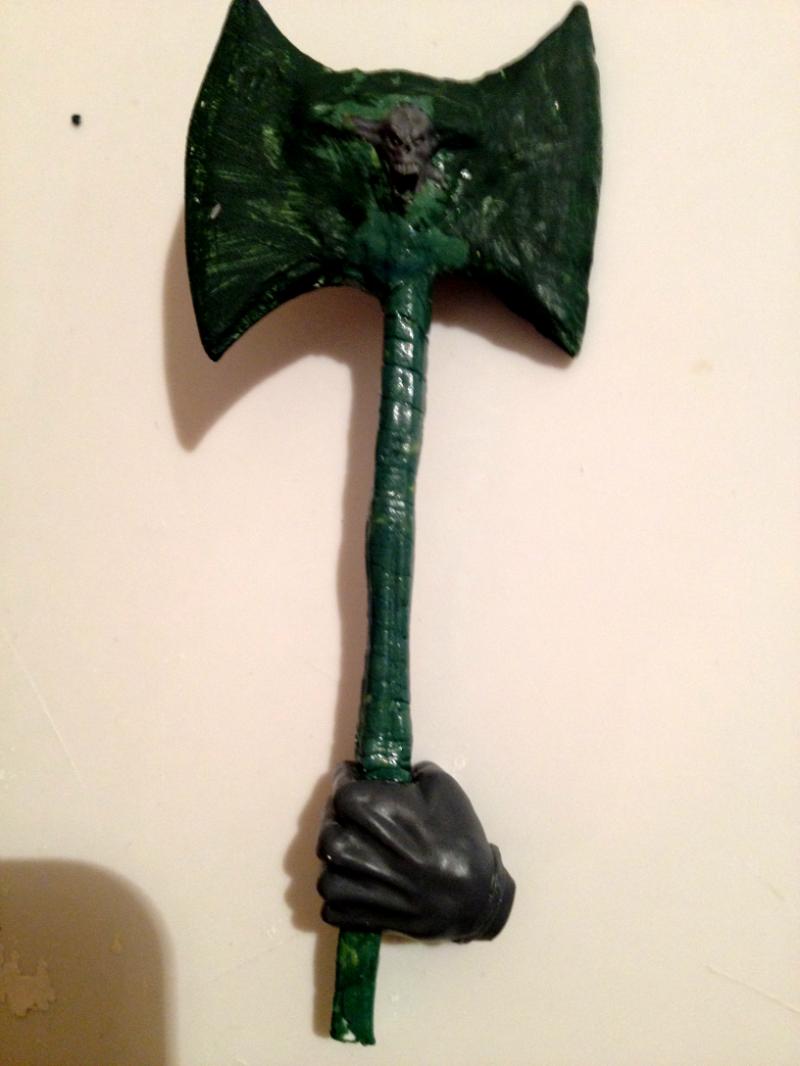
The other side:
At this point I realised that I more or less had done all the hard sculpting work, and was ready to stick it all together - here goes!
It actually went together really easily, which I think had a lot to do with the fact that I learned from the horns / wings incident, and test fit everything together dry before adding any glue at all!
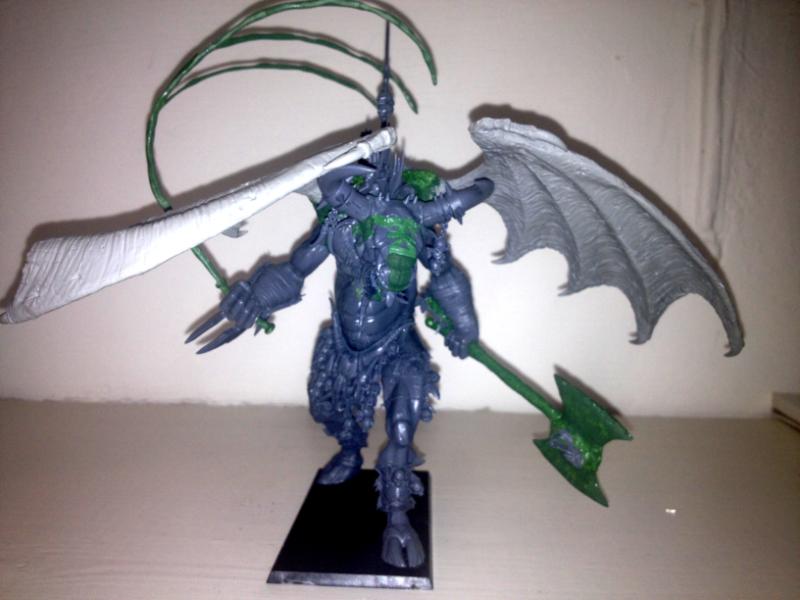
So - pictures - he is on a rectangular base for ease of painting, and I'm sorry about the quality of the shots!
Frontal view:
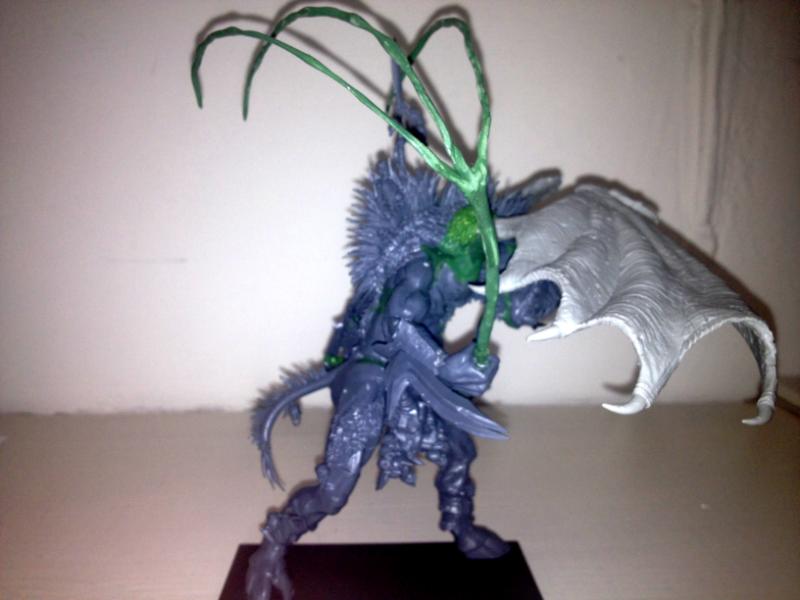
Left side:
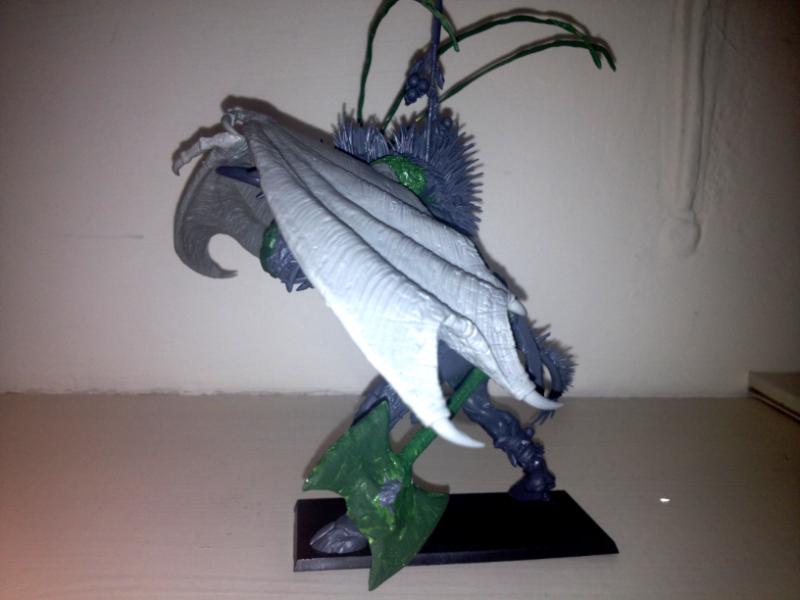
Right side:
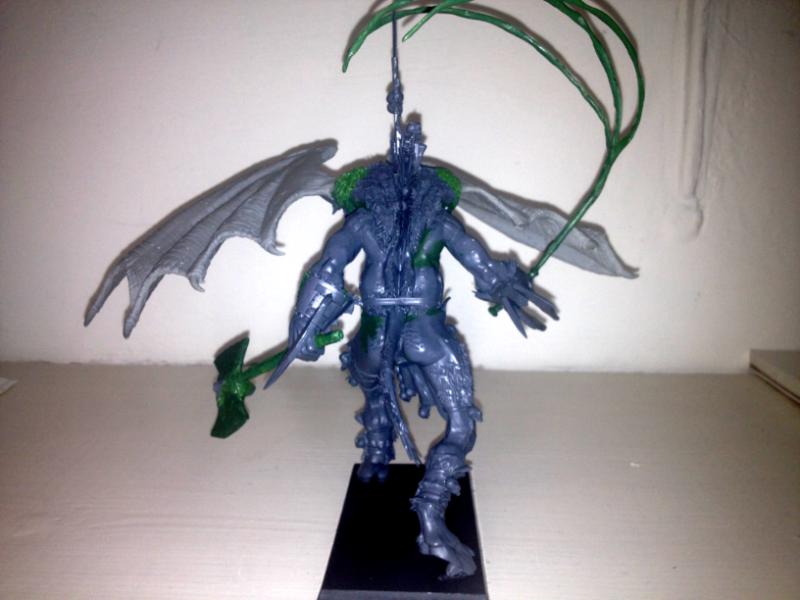
Rear view:
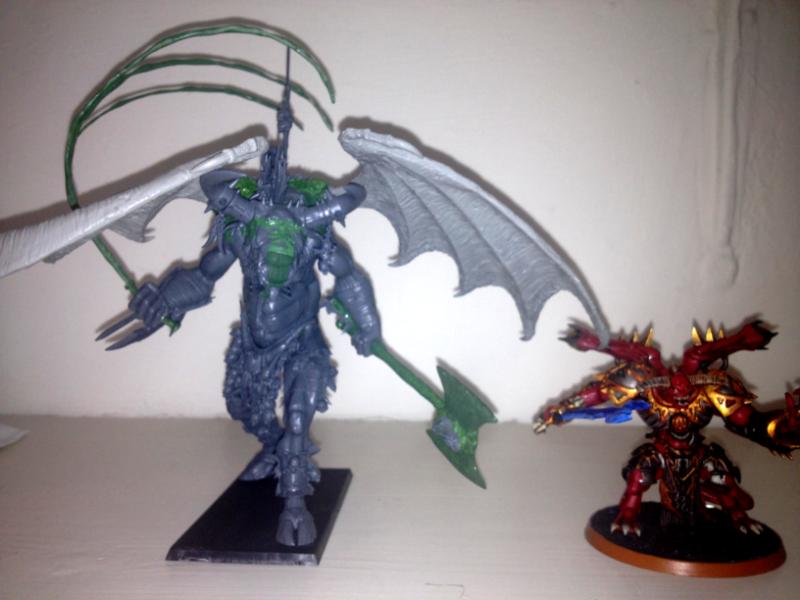
Here he is next to my Daemon Prince for scale - quake puny
MEQs!
Ok, so that's it so far, I have just started on the painting, would love to know what you guys think! Thanks in advance for your comments and feedback!
Hazrat


 I used to be such a nice guy