I recently was in the process of creating 10 sternguard as well as putting combi melta on all my sergeants. As you may know there is only seemingly one combi melta that comes with the commander kit.
That leaves converting them all.
I found a couple of other nice tutorials here about using actual meltas as the converting parts.
http://www.dakkadakka.com/dakkaforum/posts/list/408559.page
http://www.dakkadakka.com/dakkaforum/posts/list/0/239553.page
Those are nice but it feel terrible cutting up a nice useful melta

Also Im cheap/ebay guy and was looking for the cheapest/best way to make a bunch.
MATERIALS: bolters, storm bolters from AOBR termies and inferno pistols.
I was able to get 8 inferno pistols on ebay for $10 with shipping which was awesome.
The nice thing about this conversion is that it looks quite natural, since the normal melta gun bolter conversion looks a little big with a melta gun tip. Also the gun nozzle is actually in line with where the bullet shells are meant to come out. More natural than the regular bolter even

Here is the three main items. Of course its also nice to add a scope or some purity seals to cover up some of the cut marks.
 Heres the setup before putting it together.
1. First slice the gun clip off of the bolter. Also slice the hand grip near the front of the gun off. This will leave a little lip as the handgrip is a higher up on the gun.
Heres the setup before putting it together.
1. First slice the gun clip off of the bolter. Also slice the hand grip near the front of the gun off. This will leave a little lip as the handgrip is a higher up on the gun.
2. Carefully slice off the nozzle of the gun. Make sure it doesnt go flying somewhere 
3. Slice the inferno pistol off the hand. Flatten the top of the pistol by slicing or sanding. Then cut the pistol right behind the grip of the gun.
4. Also slice off the melta power souce on the side of the inferno pistol. Careful again, so that you dont destroy it.
5. Cut the clip off the storm bolter. Sometimes if they are the thick clips you can also cut them in two after slicing it off and they can be used for 2 guns.
Then assemble as show below.
You can use green stuff to patch up or a nicely place purity seal.

Right Side:

You can put the melta part on the right or the left. Its nice on the left since its flat there and it can cover up any bad slices. For the right side you will probably need to file off the scull of whatever is there.
Left:

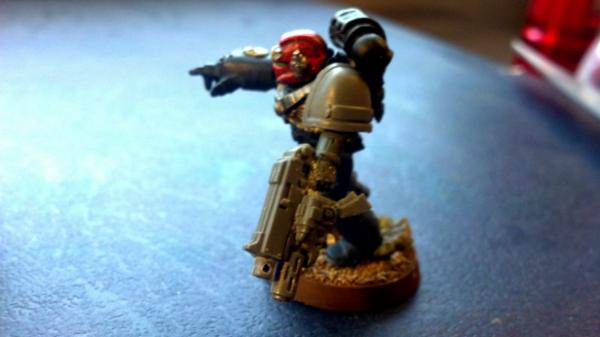
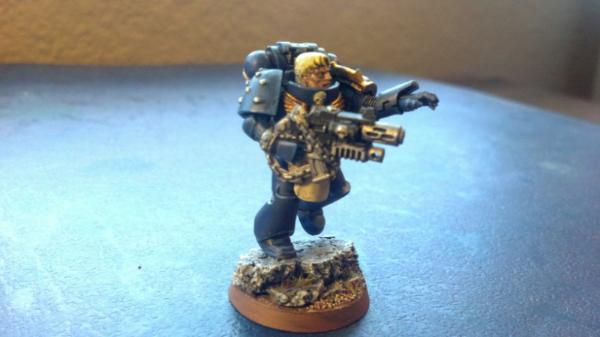
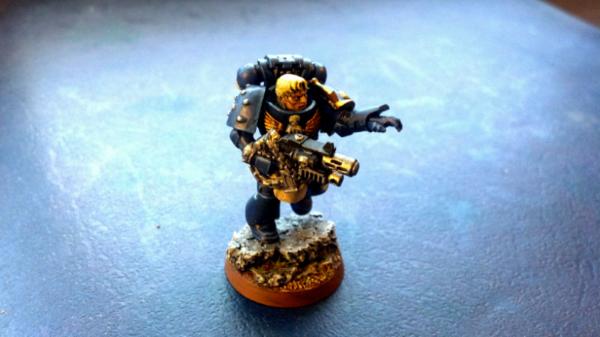
Finished result. Ill put the painted one up later.

Another type of conversion I used with the inferno pistol. This time the melta part is on top. Fits in nice and relatively easy. Again though the nozzle just doesnt make any sense there.

Hopefully this will help someone and I havent duplicated something that has already been posted.


 6000 points
 4000 points
 Empire 5500 Points