Forum adverts like this one are shown to any user who is not logged in. Join us by filling out a tiny 3 field form and you will get your own, free, dakka user account which gives a good range of benefits to you:
No adverts like this in the forums anymore.
Times and dates in your local timezone.
Full tracking of what you have read so you can skip to your first unread post, easily see what has changed since you last logged in, and easily see what is new at a glance.
Email notifications for threads you want to watch closely.
Being a part of the oldest wargaming community on the net.
If you are already a member then feel free to login now.
2016/12/02 06:51:05
Subject: Rollin' All Ones -- Warlord Titan Part 8- Stand Up Drama-dy (11-29-16)
ZergSmasher wrote: Let's hope our Missouri winter doesn't hurt progress on it.
Wait......you guys are in Missouri too
LOL, Theo your mind is an amazing place, never change.-camkierhi 9/19/13
I cant believe theo is right.. damn. -comradepanda 9/26/13
None of the strange ideas we had about you involved your sexual orientation..........-Monkeytroll 12/10/13
I'd put you on ignore for that comment, if I could...Alpharius 2/11/14
2016/12/02 18:19:50
Subject: Rollin' All Ones -- Warlord Titan Part 8- Stand Up Drama-dy (11-29-16)
Oh, something I saw earlier in this thread suggested Ramos was in Missouri. Must've misunderstood something. My bad!
My armies (re-counted and updated on 11/7/24, including modeled wargear options):
Dark Angels: ~16000 Astra Militarum: ~1200 | Imperial Knights: ~2300 | Leagues of Votann: ~1300 | Tyranids: ~3400 | Stormcast Eternals: ~5000 | Kruleboyz: ~3500 | Lumineth Realm-Lords: ~700
Check out my P&M Blogs: ZergSmasher's P&M Blog | Imperial Knights blog | Board Games blog | Total models painted in 2024: 40 | Total models painted in 2025: 21 | Current main painting project: Warhammer 40k Leviathan set
Mad Doc Grotsnik wrote: You need your bumps felt. With a patented, Grotsnik Corp Bump Feelerer 9,000.
The Grotsnik Corp Bump Feelerer 9,000. It only looks like several bricks crudely gaffer taped to a cricket bat.
Grotsnik Corp. Sorry, No Refunds.
2016/12/02 18:40:30
Subject: Rollin' All Ones -- Warlord Titan Part 8- Stand Up Drama-dy (11-29-16)
whalemusic360 wrote: Misery. He is in a state of misery. You would be too if you had a tower of resin to put together. They are easy to confuse.
Send food please... I cant reach the door from all this resin!!
===================
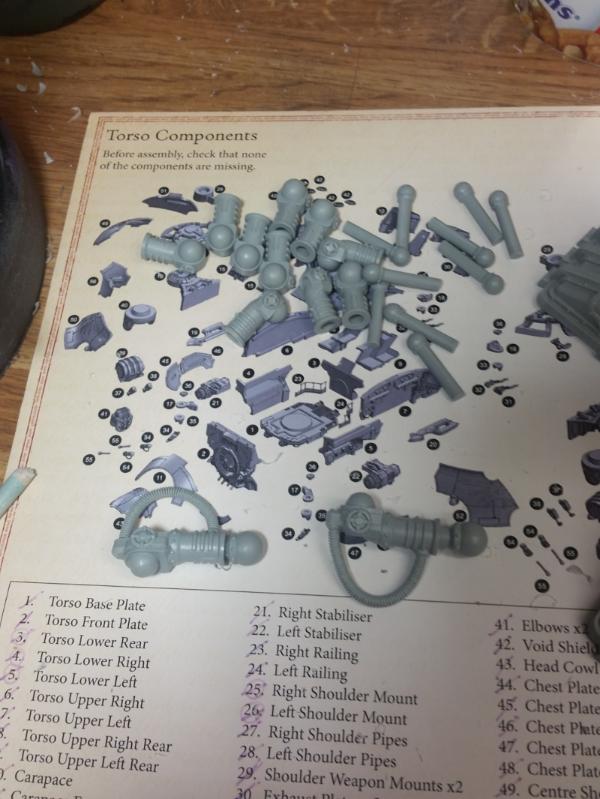
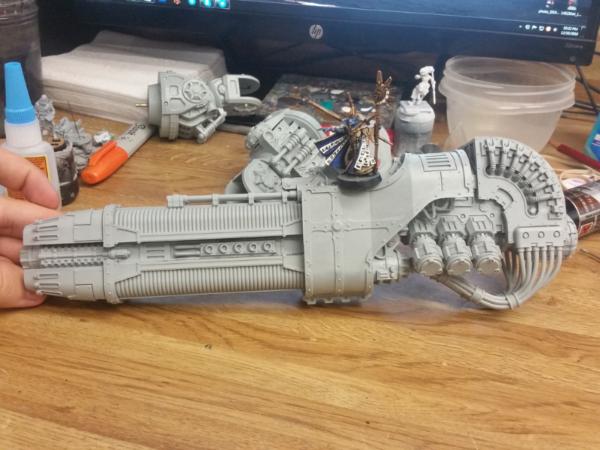
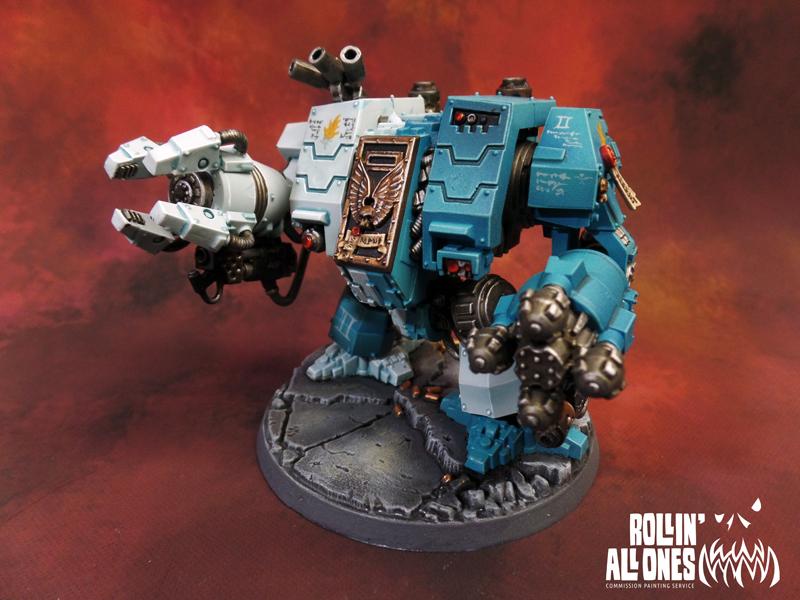
Warlord Part X: Getting a Little Pist(on)
So as I was reviewing my photos for this update, I noticed something I nearly forgot to bring up last time (apart from me realizing it was actually part 9 last time <.< )
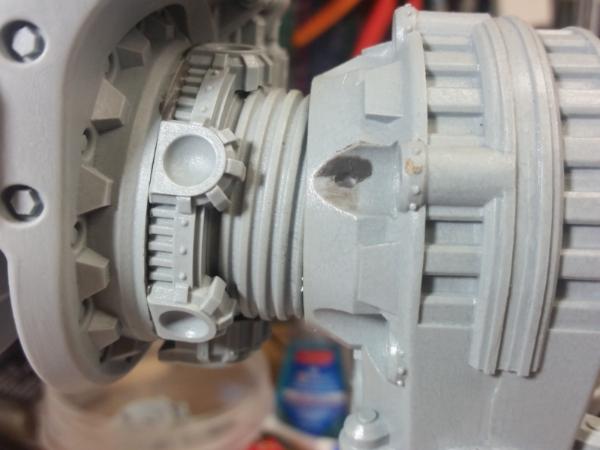
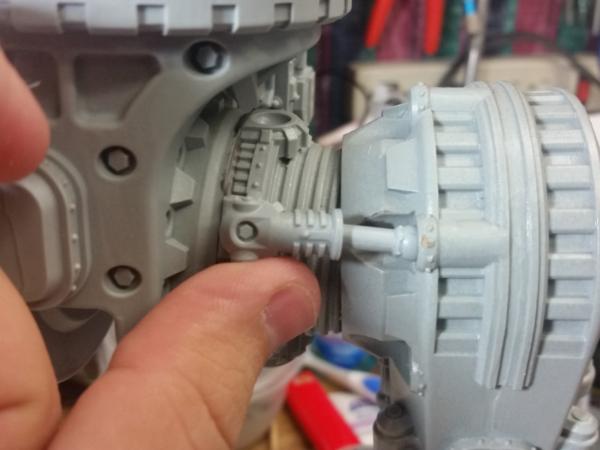
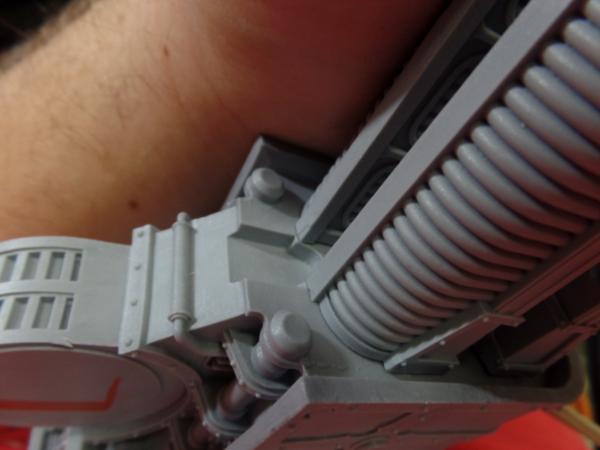
JBWeld is tough stuff, but if you can give yourself extra insurance with alternative reinforcement, do it! In my case, I saw that I could use a little something extra on the hips and the ankles, as those two areas are going take the most punishment. So I took my small drill bit (1/16) and put some holes deep into the problem spots. Again, I'm using finishing nails for these pins.
You can fill in any holes easily enough, particularly if you put them on a flat and featureless area. For the hips, this meant drilling nearly perpendicular to the extant waist pin, right underneath where the hip pistons will eventually go.
I did the same thing for the ankles, drilling a pair of pins at opposing angles into the ball joint, then ensuring they went into the meat of the footpad.
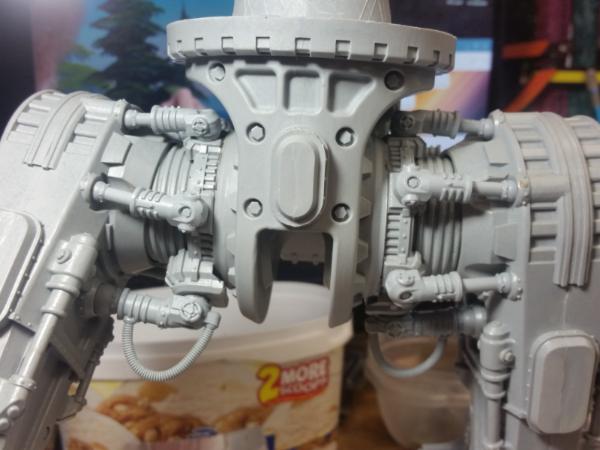
Next are the many, many hip pistons. There are 10 small and 2 large pairs.
As with most FW pistons, some minor trimming may be necessary to fit these in the right spots. Dry fitting is your friend here! I found it easiest to slot them together, then just hold them to where I wanted them to go.
When gluing, I did each piston ONE AT A TIME in 2 stages. After dry fitting and trimming, I put a dab of superglue on the inner piston and slid it into place. Then I took tweezers and extended the piston until it fit into its leg hole. Working quickly, I applied just a tiny amount of accelerator to the superglue, then ensured it was straight. Remember- no one likes a crooked piston!
With that cured, I glued it in its final place with epoxy. Fortunately for us, the epoxy is really sticky stuff, so we shouldn't need to rubber band or clamp the pistons. You can of course do so if you wish. I that case, I'd recommend just wrapping a piece of string or thread a few times around the assembly to ensure that it doesn't move while curing.
With all that said and done, you should be looking at a very nice, very heavy pair of legs!
I see a lot of space that's going to be a bugger to paint now that those are set into place .
LOL, Theo your mind is an amazing place, never change.-camkierhi 9/19/13
I cant believe theo is right.. damn. -comradepanda 9/26/13
None of the strange ideas we had about you involved your sexual orientation..........-Monkeytroll 12/10/13
I'd put you on ignore for that comment, if I could...Alpharius 2/11/14
2016/12/04 14:28:42
Subject: Rollin' All Ones -- Warlord Part X: Getting a Little Pist(on) (12-3-16)
Hehe, thanks. Hopefully will be uploading the next phase tomorrow. Took to filling gaps the past few days as I work out a way to swap the guns. Think I've got some good leads on that!
The level of detail on this is quite staggering really, guess that's why it is so much money, and once done it will be stunning. Very interesting seeing it come together.
I did think like the others it is going to be a pain to get in behind those pistons now, but I guess it will be fairly bland behind there, and I am not sure how much of it you would see once the model is complete anyway. If this was on the table in front of me, the last thing I would be looking at would be it's crutch.
2016/12/11 04:13:19
Subject: Re:Rollin' All Ones -- Warlord Part 11: Staring into the Sunfury (12-10-16)
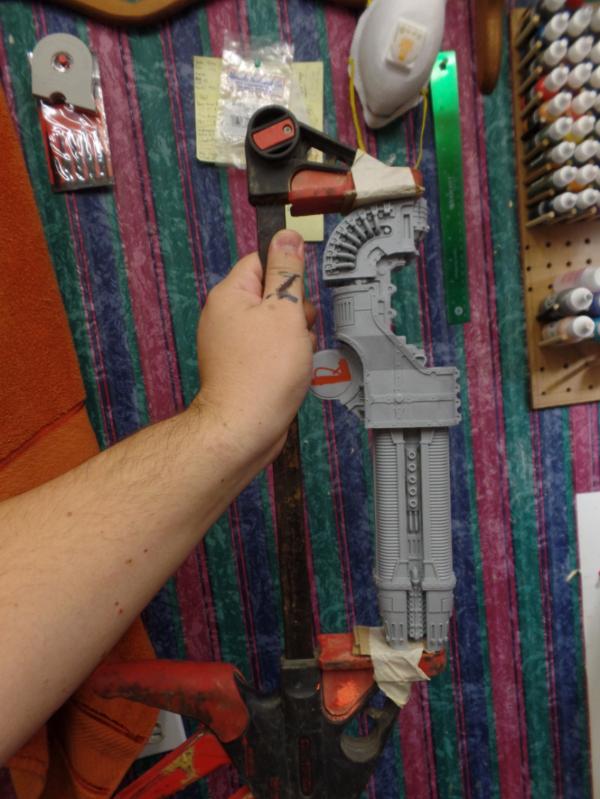
Let's set the body and legs aside for a few moments now and contemplate weaponry.
As of this writing, Forge World has three main weapons for the Warlord. The first we have already explored waaaaay back in Part 2: the Belicosa Volcano Cannon. This bad boy gets a pair of those (in a future update we will be making them swappable). The second is a big power fist (sadly my client isnt getting one ). The third weapon option I simply call "Big Dumb Plasma!"
This is the Sunfury Plasma Annihilator!
=======================
So ok. On to the build!
Step one is super simple- locate the central barrel structure and the 4 coil quadrants. There are "left" and "right" side parts, but its hard to put them together the wrong way. It's a remarkably well-designed kit!
Rubber band these all together nice and tight, and ensure that the rear of the gun is flush- the back of the quadrants should all be at the same level.
Like the Volcano Cannons, these things are HUGE!
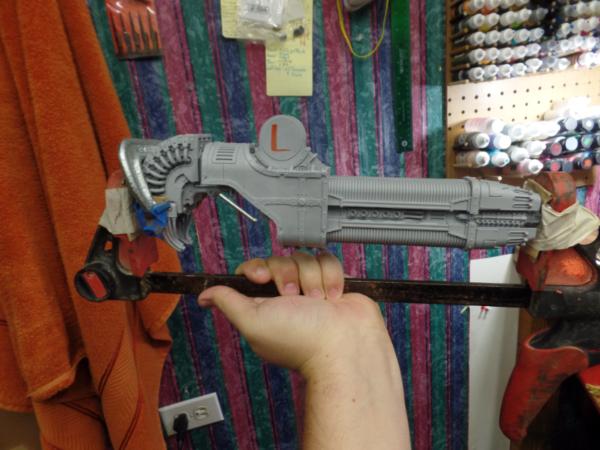
After that assembly has dried, you will want to install a pin right in the middle of the barrel assembly to tie it in to the rest of the gun housing. Alignment is critical here, as a targeting array bit will go in this small depression. I found the best way to line it all up was to match it to the tiny lip on this recess. That way, a good fit is assured.
I installed another pin in the rear of the gun in order to attach the "Reaction Chamber." Lots of thick resin areas, so you have options where to drill. I ended up drilling into a small area towards the top of the gun. After ensuring that your pins will fit, epoxy and clamp the parts together.
After curing, the next step is more of the same- Attach bits to other bits!
The first thing you want to do is attach cabling to the Reaction Chamber. These will do a majority of their alignment themselves. Your job will be making sure that they stay relatively square to where they attach. Fortunately, the main casing of the gun has a number of large flat areas running parallel to the part, so we've plenty of reference! Clamp these in tightly (remember to put some padding on your clamp's jaws!), then double and triple check the alignment. This will be the last chance to do so!!
At this point you can attach two other smaller detail bits- a "maintenance hatch" at the back, then the barrel of the weapon at the tip. Clamp tightly and set aside to cure.
===================================
Next detail bit- the canisters that are ubiquitous on Imperial plasma weaponry. I don't know what they do, but they look good doing it!
You will want to first glue the canisters to the "Canister Connector" (yes, that's what they call it =/ ). I took care of these while I was still mucking about with the larger parts of the cannon. Make sure these are all correctly lined up with each other before letting it cure.
The canister connector is attached differently depending on what side you want it to be on the Warlord. Just like the armor plates on the Volcano Cannon, you have to make a decision. I'm putting this on the left arm, so the canisters stick out on the left!
Glue, clamp, cure.
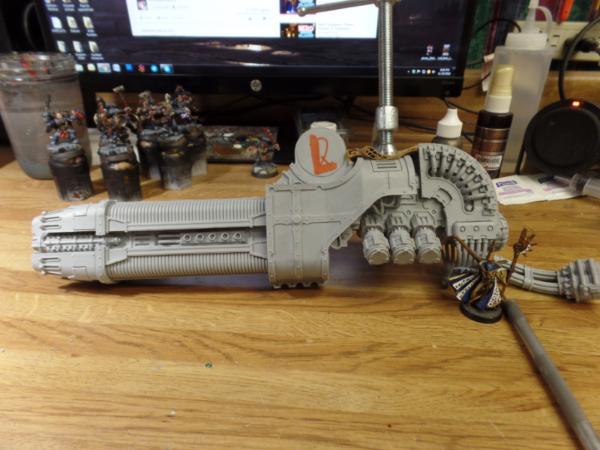
Now we are down to the final few detail pieces. The most difficult of these will be the large bundled cables leading from the main body of the gun to the wires we installed in the previous step, so let’s take care of that first!
The fat end of the part will fit in first, and it is through this dry fit that you’ll be able to figure out any bending you might need to do to the wires. The usual hot water trick will do wonders here, softening the resin to a point that it bends like putty!
I didn’t need to mess with bending for my particular casts. With a modicum of effort, I was able to dry fit everything very tightly together. I could have even gotten away with no glue!
Attach the targeting array (remember that cutout?), then the braces on top of the main coils. The array doesn’t really need much clamping, however the bracing pipes need to be rubber banded so that they dry right. As always, check the alignment before setting the gun aside to dry fully.
And there you have it- One big dumb plasma!
Next time, Shoulders!
As is the tradition for this blog, enjoy a christmas carol from Psychostick!
Busy busy season for retail, but I ll try to have an update on the build as soon as I can. As you can plainly see, I have at elast the head to document Hoping to a t leas get some of the paint started before the end of the year. Whites, blacks, and gold... Difficult, but damn fancy once its all together!!
Hoping to a t leas get some of the paint started before the end of the year. Whites, blacks, and gold... Difficult, but damn fancy once its all together!!
~
Was worried for a second, thought "jeez, a year to start painting, this is a long project!", then realised it's a couple days to the end of the year...doh.
Psychostick is awesome.
2016/12/31 01:17:47
Subject: Re:Rollin' All Ones -- 2016 in Review... (12-30-16)
Working on writing up stuff- Takes a lot of time, but hopefully one soonish!?
In the meantime, have a Dakka tradition: a retrospective of the past year!
======================
January
First big project of the year was an Admech force of quite an unusual color! Not only was it the first purple army I've ever painted, but it was also the first time I used the new GW technical paints. Overal, Im thrilled with how the bases came out. Very rusty and dusty, exactly what the client was looking for!!
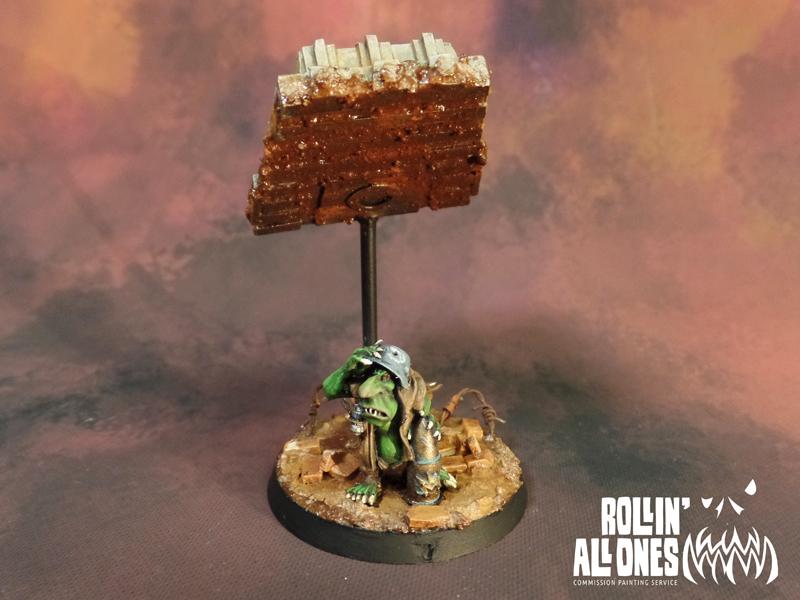
And then there was a quick entry into the Nerdcademy awards- I think I finished this guy the day the contest ended, so squeaked him in just under the deadline! The theme was simply "No, Nooo, NOOOO!!", so I pictured a hapless grot just about to be squished beneath the toe of a Warlord Titan. Second time around, I think I should have used a smaller titan and done more of a leg. I dont think its quite clear exactly what the thing in the air is.
Love the expression of confusion on the grot's face, though!
February
February started with a pair of Imperial models...
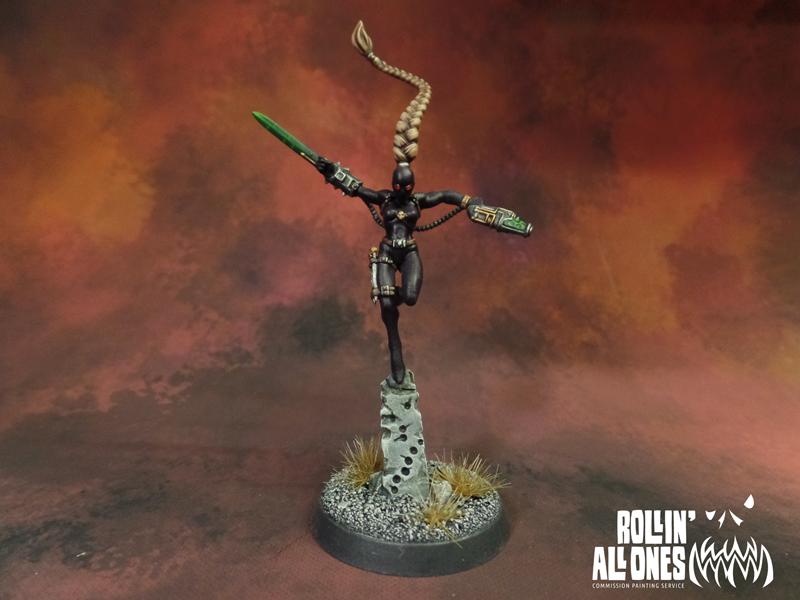
A Callidus Assassin (love this model ):
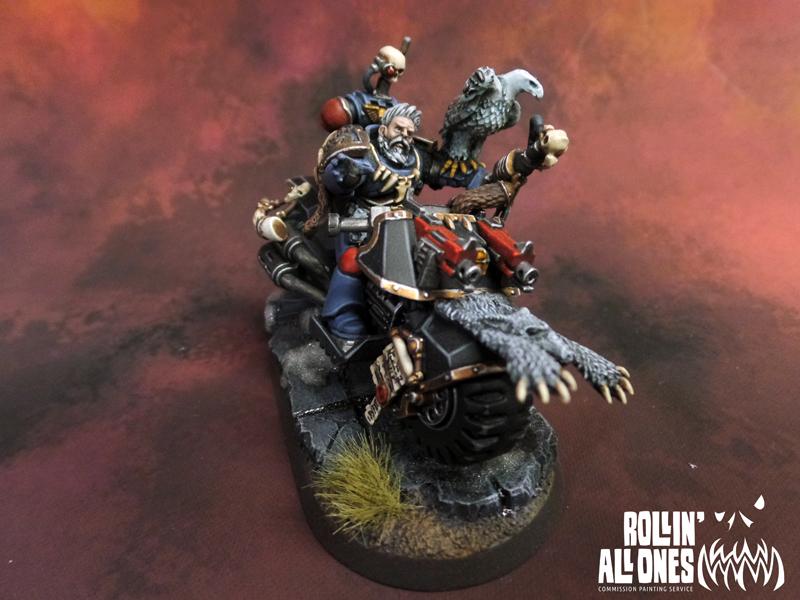
And a Wolf Lord on a bike:
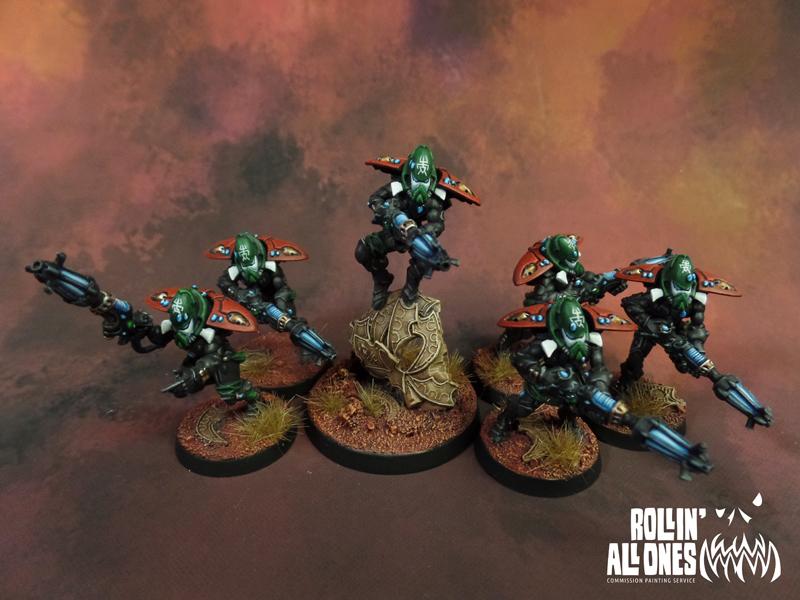
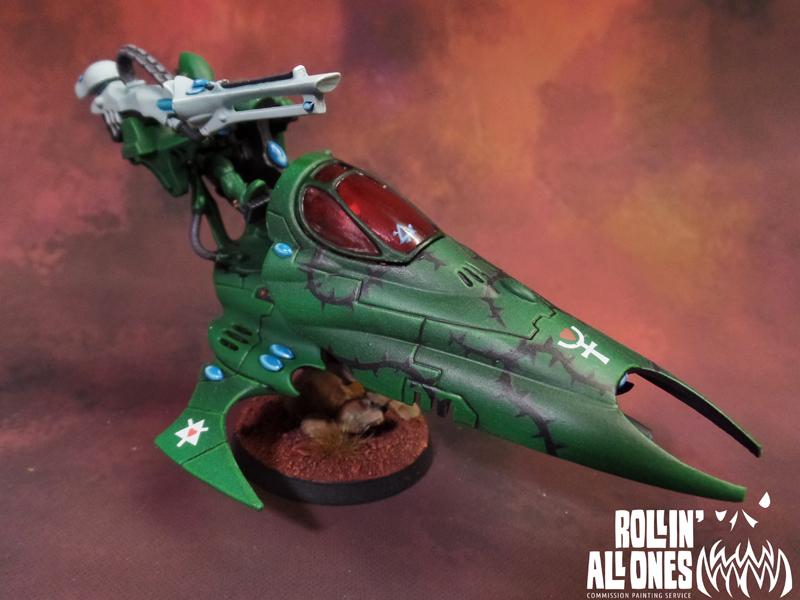
... and suddenly devolved into a horde of space elves.
March
The Eldar had some heavy artillery come in for the beginning of march. Every single piece magnetized!
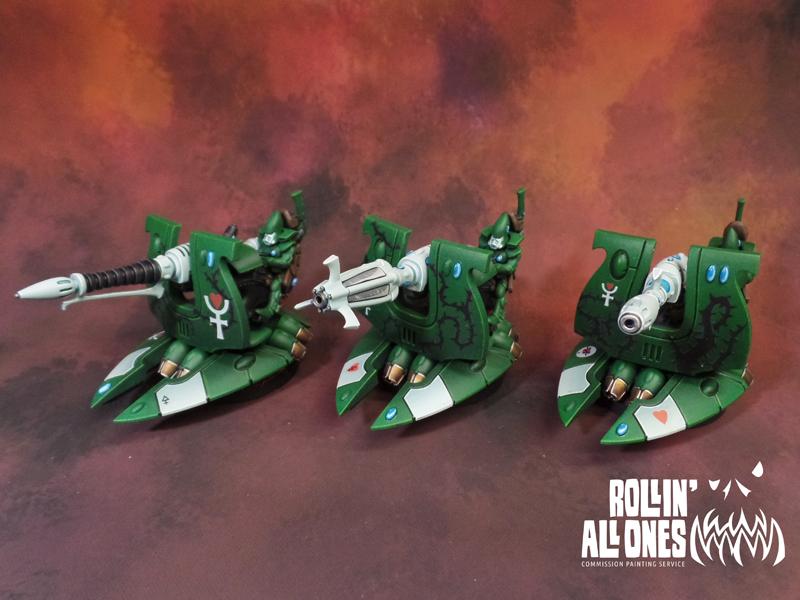
And a Vyper!
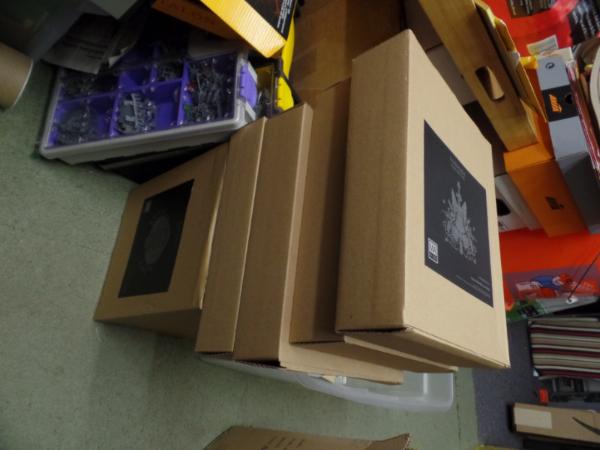
Midway through the month, I got a giant package of Kingdom Death stuff in the mail! (I may have a small problem, as this stack is getting even larger )
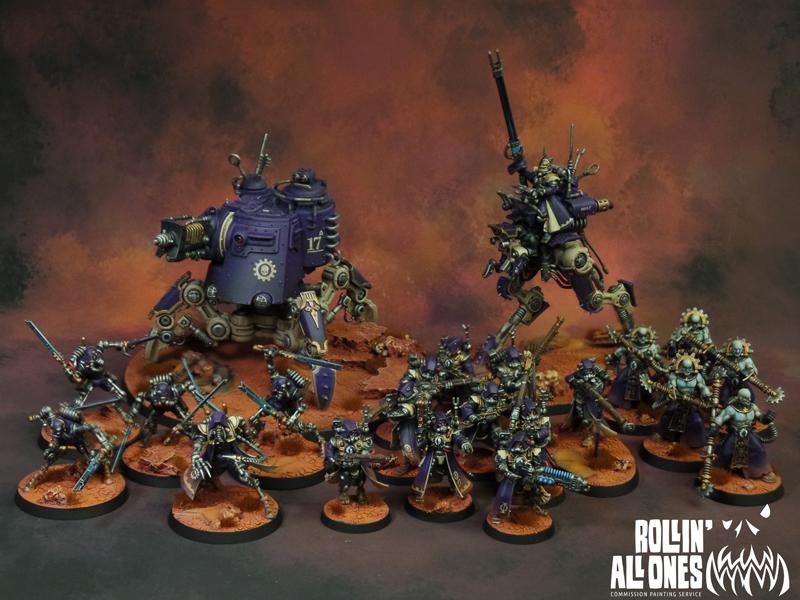
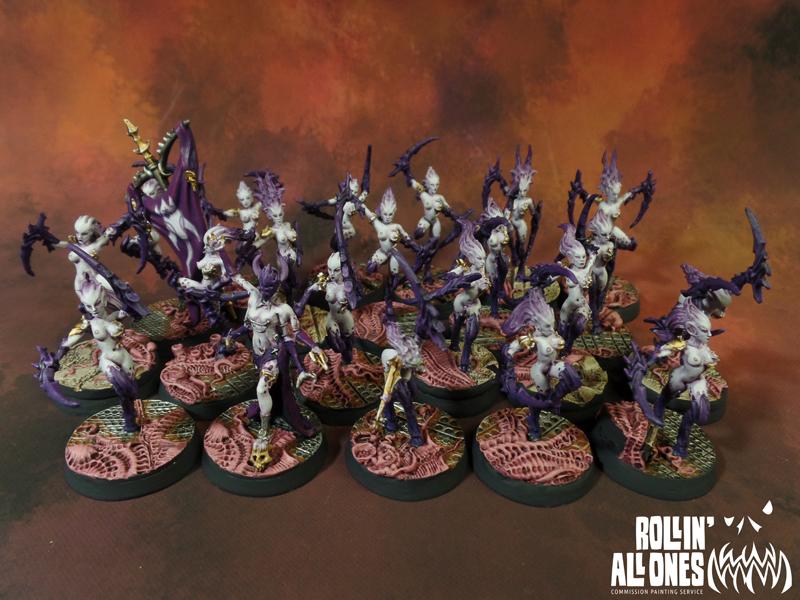
And the month finished with a massive group of Slaaneshi Daemons!
By now, Adepticon was fast approaching, and I had some mini projects for my own armies that I wanted to get done! Namely a pair of Dreads (including a Dorito!)
And a Techmarine with Servitors!
April
ADEPTICON!!
As always, fun times!
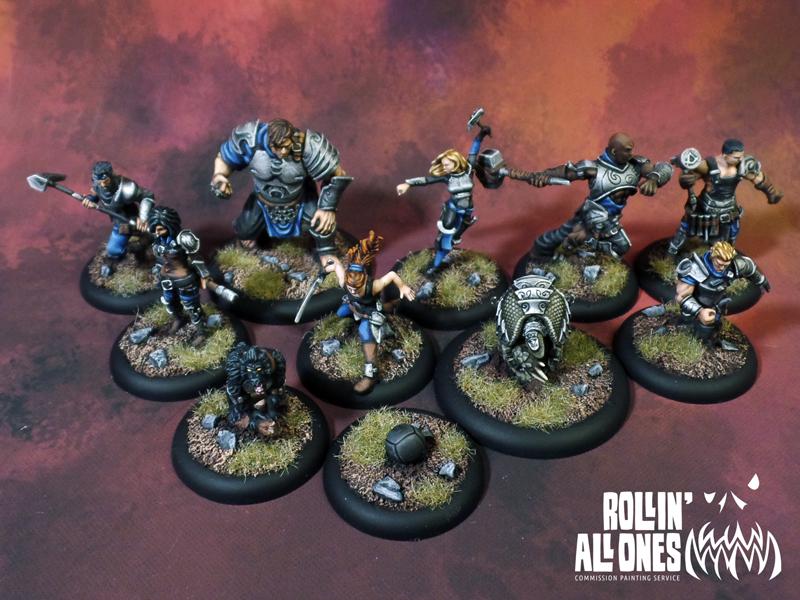
After the con, I set to work on some new DnD minis for a campaign I fell into.
I also did a few quick little Dwarf minis for a friend of mine.
Lastly, a pair of Krootseers on Jetbikes! Lots was learned with sculpting the cloaks on these.
May
May started with a couple space wolves. A single OOP scout, and Ulfric!
I also got into Guildball, and slapped some paint on a few of my Alchemist minis.
With the end of May, I somehow went and got myself a job, screwing up my perfect record of unemployment
June-July June and July were a particularly crazy point in my life. Not only was I struggling to balance new work and my commissions, but I also applied for a painting position at Privateer Press, and GOT AN INTERVIEW!
Sadly it was not to be, but instead laid the groundwork for the future...
It was at this point, I decided to go to GenCon with On The Lamb, and painted up a few of their newest display minis
August
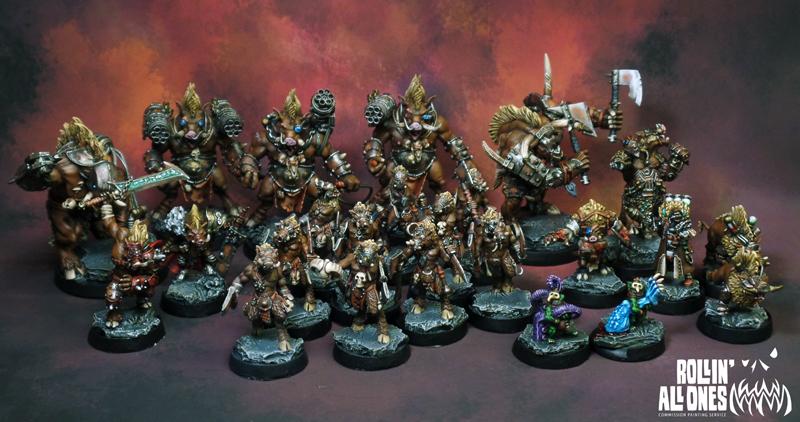
In August I completed another insane army concept from RiTides: The Aporkalypse!
August also saw my first GenCon- and it would have been awesome were it not for a sudden bout of strep throat (thats why there arent any pics here) :/ Got to meet a lot of new people, and WOW was there a lot of stuff! Definitely worth a return trip!
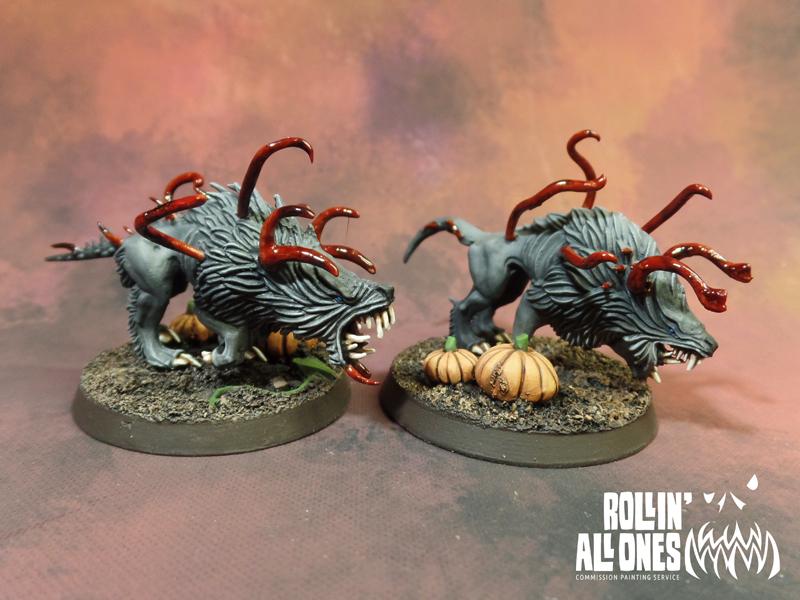
And lastly, late in the month I got a pair of Things knocked out for good ol Gitsplitta's Halloween army!
September
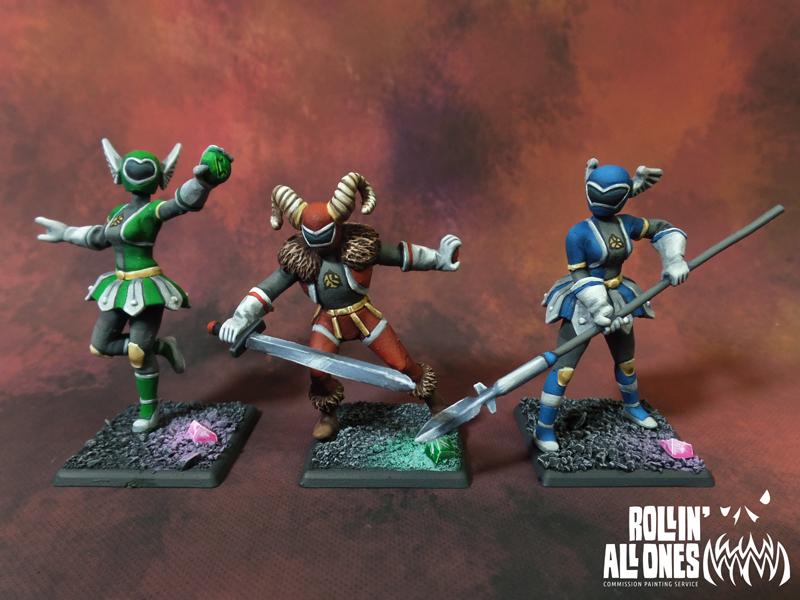
Masons! Beautiful Bright blues and metals! (and an ADORABLE armadillo!)
I also painted up a character for another member of our DnD group. (come to think of it, I owe this guy another miniature or two, haha )
October
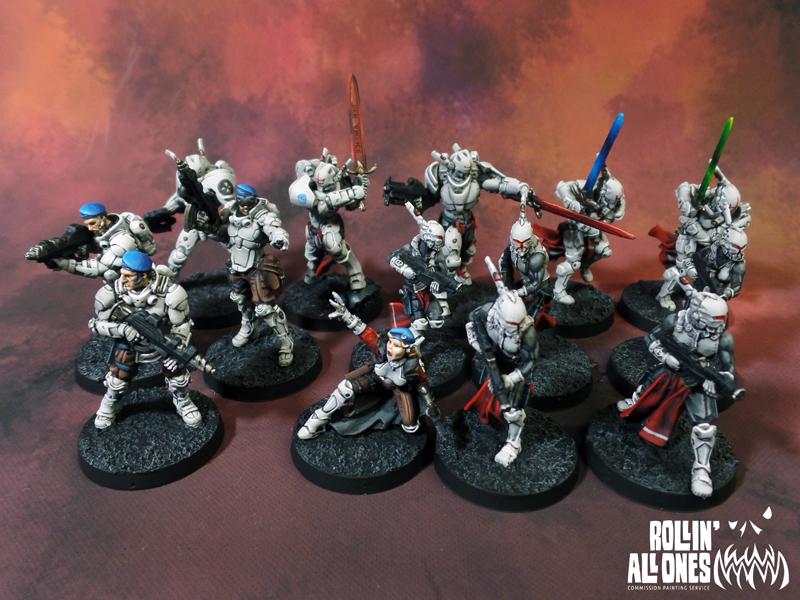
October was a month of whites and blacks... Infinity!!
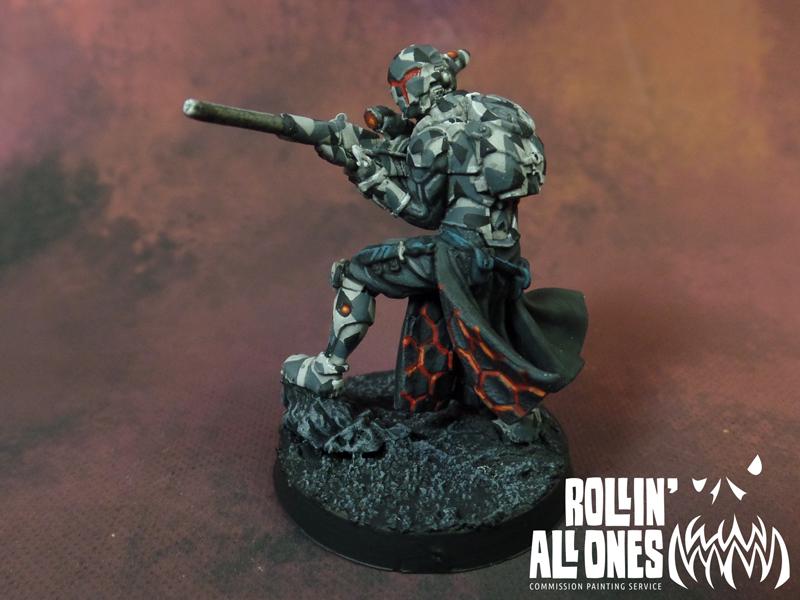
Got a few chances to paint bright colors as well, with Nordic Taskforce Vikinger!
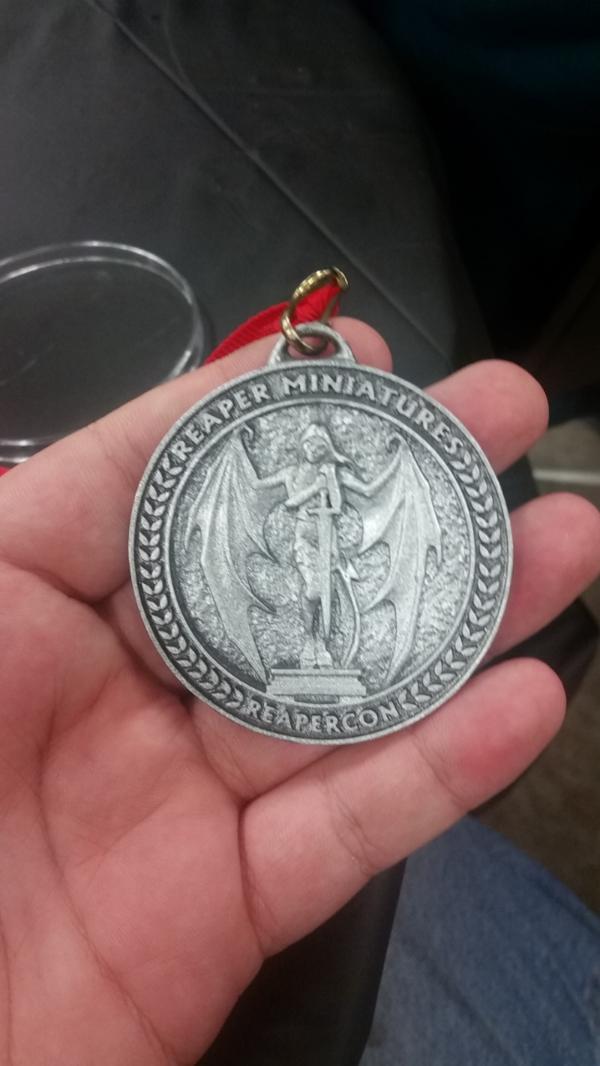
Another first- I went to Reapercon and then got an award!!
November
Painting began to slow with the changing of the seasons, and I painted up a Wolf Lord and a couple Wulfen.
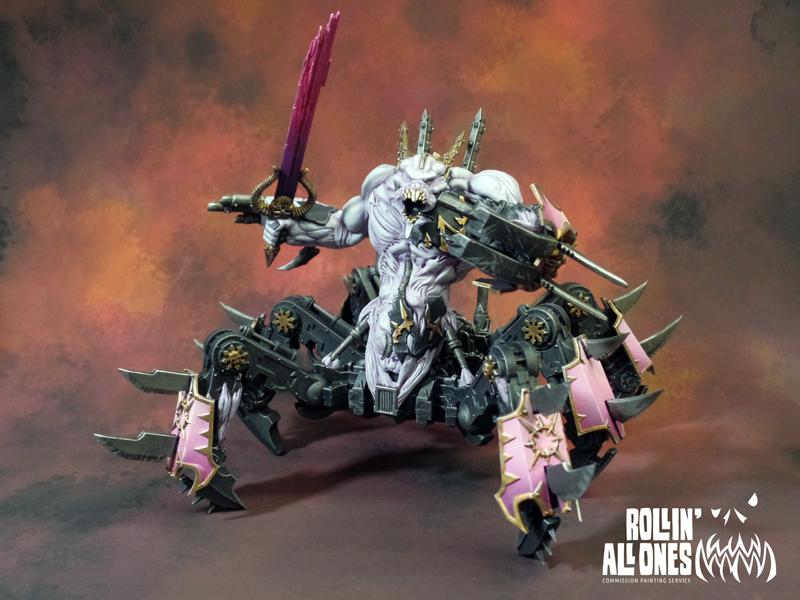
Gears also changed over to full Titan production!!
December
I got a car, Titan gets built!!
======================
In 2016 this thread has seen seen: More than 162 models painted!!! (2015 had over 170) 31+ Pages (2015 had 33+ ) 930+ Posts (Last year we had more than 990! ) 3 conventions! 1 car! >8 GB of photos (wip and otherwise!) (last year was only 5 gigs!) The continued insane babbling of a madman (Hey look, something stayed the same! )
======================
So a little slowdown since last year, but I think that things have actually picked up since starting work!! THings can only get crazier...
So thank you one and all for continuing to follow and encourage me for another year. Hope 2017 is a great year for all of you!
This message was edited 1 time. Last update was at 2016/12/31 01:19:03
I have just loved the "Aporkalypse", you did a smashing job with insane conversions and awesome painting! Looking forward to following your 2017 projects and seeing you at AdeptiCon


 ~16000 Astra Militarum:
  ~1200 | Imperial Knights:
  ~2300 | Leagues of Votann:
  ~1300 | Tyranids:
  ~3400 | Stormcast Eternals:
  ~5000 | Kruleboyz:
  ~3500 | Lumineth Realm-Lords:
  ~700
~700


 ). The third weapon option I simply call "Big Dumb Plasma!"


 How!? .... how did I miss this line? that is pure Damo and I ....I.....I missed it!
  Flesh Eaters 4,500 points

 )
)

 )
)
