Hey all,
This was my first game against Daemons in Fantasy, and I was quite interested to see how they did in a game without mass-deepstriking. Afterwards I decided to write it up into a battle report, since I took photos during the game and I quite enjoy the process of revealing my victories and defeats to all and sundry. We played 2,400pts, and rolled for a random mission; unfortunately we rolled Blood and Glory, which turned out to be a problem for me as I only had three standards in my whole army, giving me a
Break Score of 5, meaning that I’d have to fight uphill against the
Daemons’ Break Score of 7.
I’m going to have to apologize for the low quality of photographs, but unfortunately I don’t own a very good camera. I hope that you enjoy the battle report, and be sure to post any feedback or verbal criticism of my inept tactical handling and embarrassingly-unpainted army below. I’m still a beginner in WFB ever since I stopped playing it seven years ago, though I’m fairly experienced in
40k and Infinity, so any advice that people have is always welcome.
The Tomb King Army
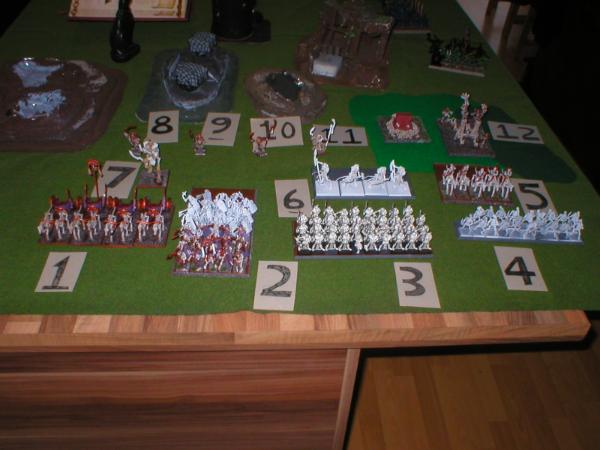
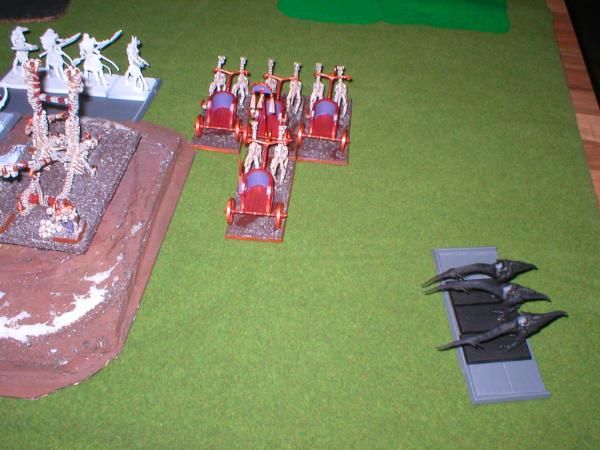
1 – Four Skeleton Chariots, full command
2 – Thirty eight Skeleton Warriors, full command
3 – Thirty eight Tomb Guard, full command, Banner of the Undying Legion
4 – Nineteen Skeleton Archers
5 – Five Skeleton Horse Archers
6 – Four Ushabti, great weapons
7 – Hierotitan
8 – Tomb King, equipped with Sword of Striking, Glittering Scales, Other Trickster’s Shard and Talisman of Protection
9 – Necrotect
10 – Liche High Priest, Level 4, Nehekhara, Dispel Scroll
11 – Liche Priest, Level 2, Death
12 – Casket of Souls & Screaming Skull Catapult
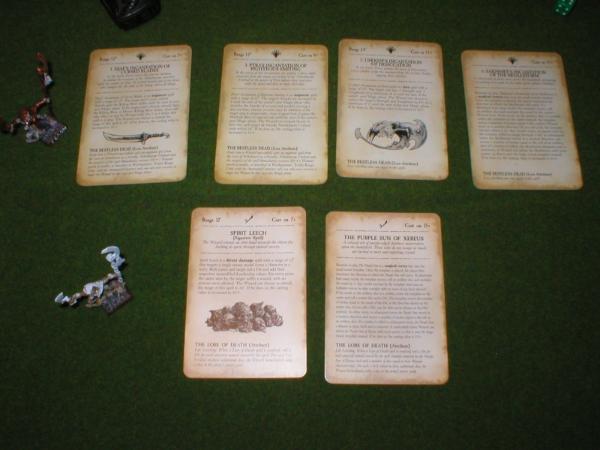
My wizards got the following magic during this game.
 The Daemons Army

1 - Herald of Tzeentch: Master of Sorcery and Spellbreaker
2 - Herald of Slannesh: Allure of Slannesh and Enrapturing gaze,
lvl 1
3 - Herald of Khorne:
BSB, Standard of unholy victory and obsidion armour
4 - Daemon prince,
lvl 2, master of sorcery, unatural swiftness and daemonic robes. He was also a Tzeentch prince. I think that he was loremaster of Beasts.
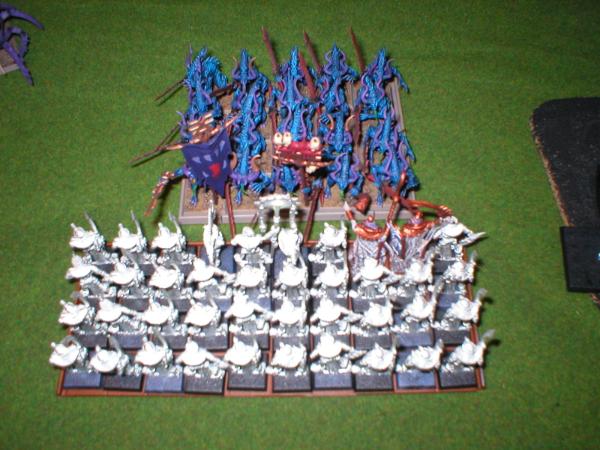
5 – Nineteen horrors, standard and musician. Standard gave them +1 to cast.
6 – Nineteen Daemonettes, full command
7 – Nineteen Bloodletters, full command
8, 9 – Three Flamers, champion
10 – Five Seekers or Steeds or whatever the Slaneeshi fast cavalry are called. Full command.
11 – Three Screamers
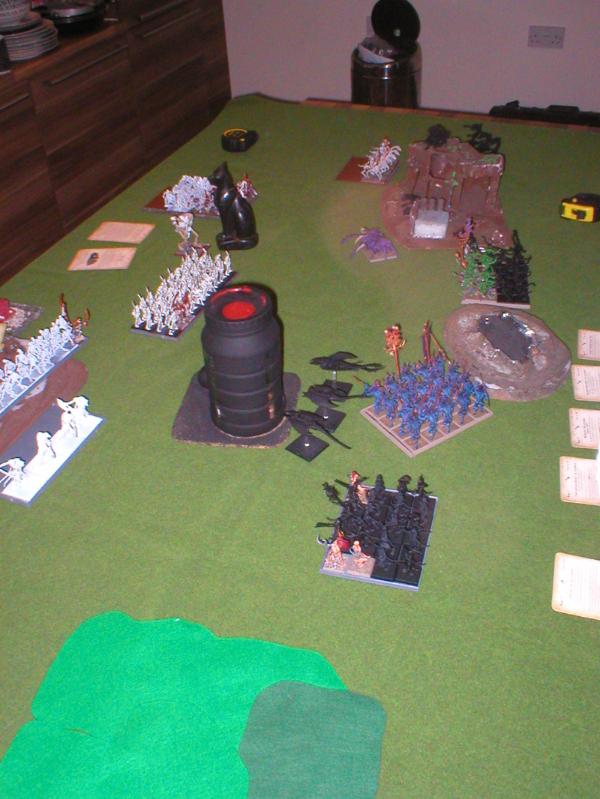
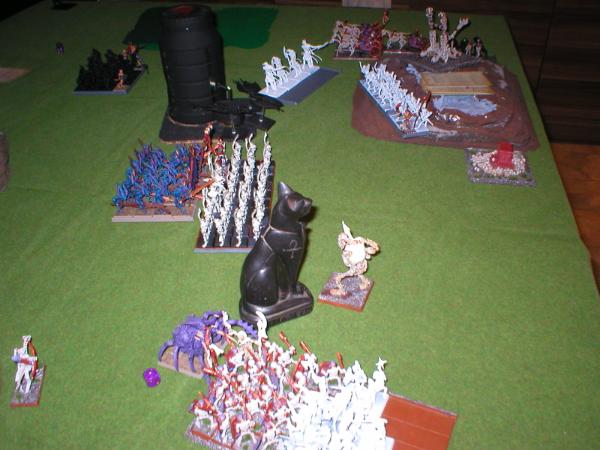
The Table & Deployment
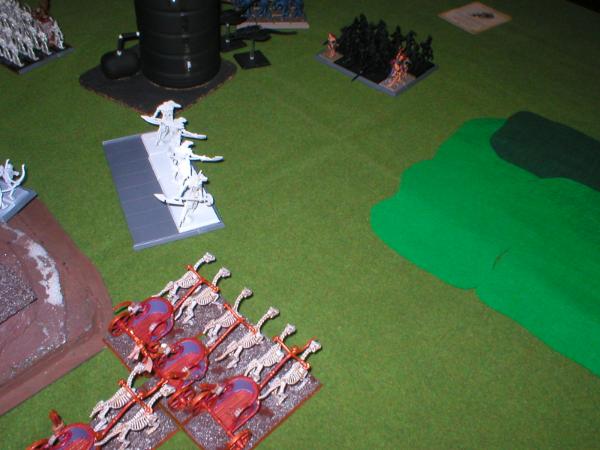
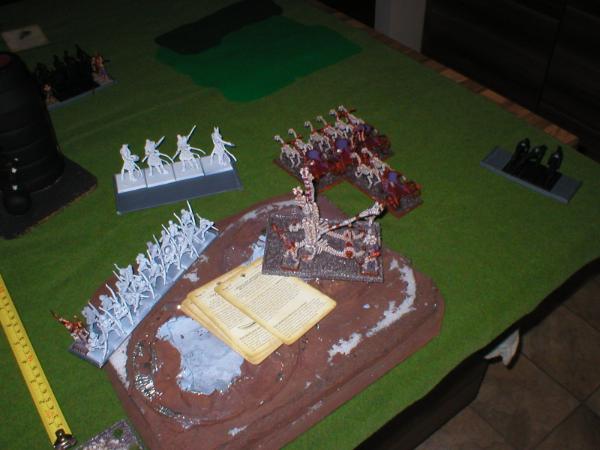
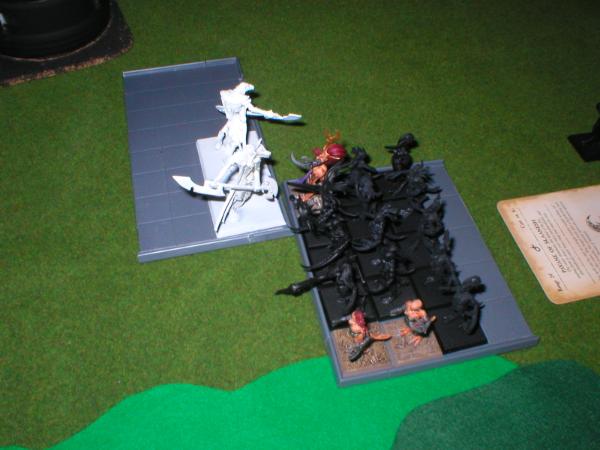
These photos show us fully deployed.
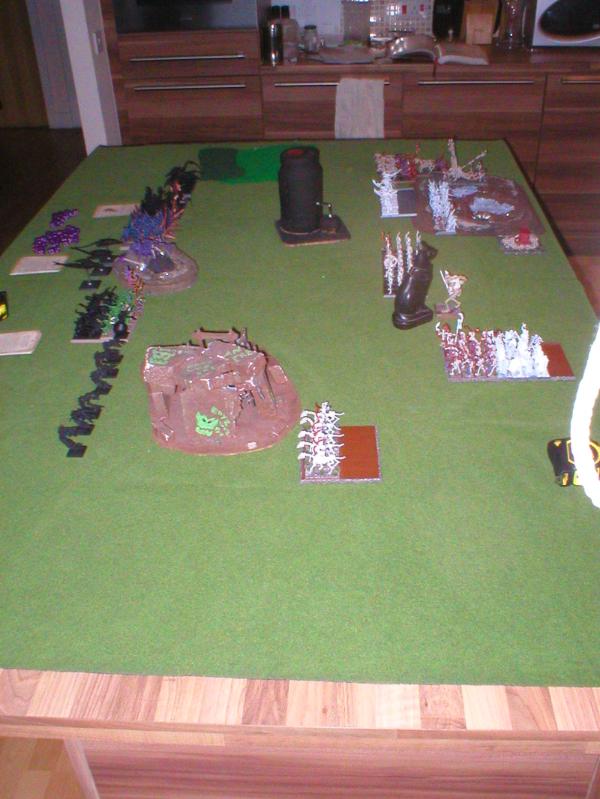
I opted to put my Tomb Guard in the centre, facing off against the Bloodletters, with the Skeleton Warriors holding their left flank and their right anchored by the black tower. The Ushabti and Chariots deployed on the right, hoping to crush the Daemonettes regiment and take their banner, while the Archers, Catapult and Casket lurked on or around the hill in my deployment zone. The Necrotect and King went into the Tomb Guard, the Liche Priest into the Skeleton Warriors and the Hierophant into the Archers.
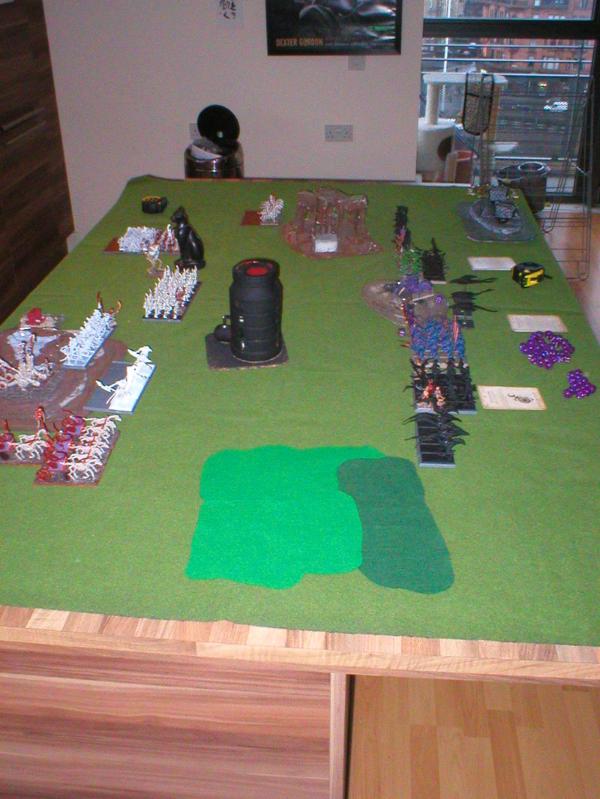
Colin put his Bloodletters and Horrors in the centre, with the Daemon Prince sitting on the hill between them. The screamers were pointed squarely at my casket, while the flamers all went on my left flank. The Daemonettes took the gap between the forest and the tower, on my right.
We played the big cat statue as a Mysterious Ruin, while the green felt was a Mysterious Forest. In the event, these turned out to be a Magic Circle (MR2 to nearby units) and a Venom Thicket (Poisoned attacks for units within but also Dangerous Terrain) respectively. The brown things are hills, while the Black tower, Brown ruin and Grey ruin were all generic buildings/obstacles.
Colin won the roll to go first.
Daemons Turn One
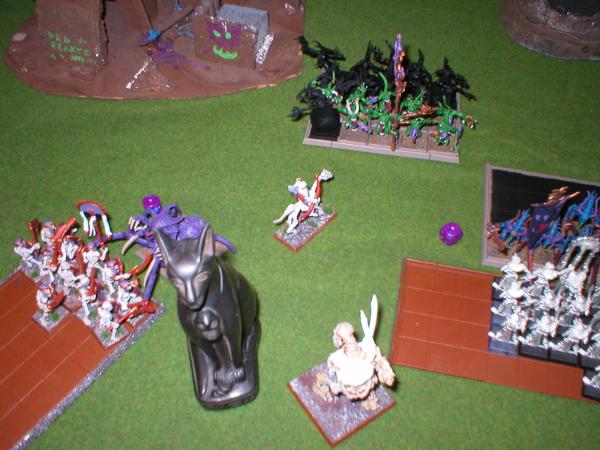
The Daemons boldly advance along the front. The centre gets very exciting, with the Daemon Prince jumping in front of my Skeleton Warriors unit and the Horrors and Bloodletters both marching forward. The Screamers move up as well, aiming for a charge on turn two against the Casket. The Flamers units bound over the ruin towards my Horse Archers, and the Daemonettes move forward into the gap between the forest and the ruin.
The Slaneeshi things have used their vanguard move and subsequent first turn march to make it through the forest and behind my lines, ready to charge the casket. They lose two of their number to the venomous foliage.
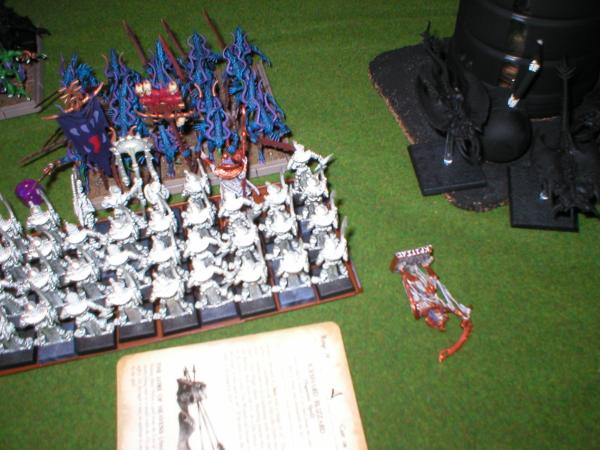
In the magic phase, very little goes in the Daemons’ favour, and they achieve little of note. Shooting sees my Skeleton Archers unit nearly wiped out, with one remaining.
Tomb Kings Turn One
I begin my turn by advancing the Tomb Guard and Skeleton Warriors. I heavily considered trying to charge the Daemon Prince with the warriors, but opted instead to rely upon magic. The Hierotitan lurks behind the statue, hoping to do a flank charge upon the Daemon Prince if it tries for the Tomb Guard flank. The Tomb Guard themselves intend to attract a Bloodletter charge and then beat them in an attrition war, hopefully taking their standard and the Herald as well.
For some reason, I decide to ignore the Slaneeshi things in my rear and moved the chariots and Ushabti up to face off against the Daemons. I tried to bait-and-flank the Daemonettes with my placement. The one surviving Skeleton Horse Archer decided to stand next to the Daemon Prince, just to annoy him.
Magic saw my attempt to destroy the Seekers with the Casket dispelled, while Shem’s Burning Gaze from the Hierotitan and Spirit Leech from the Death wizard took the Daemon Prince down to one wound.
I opened fire with the Archers at the Daemon Prince, hitting him several times but failing to wound. The Catapult tried to finish the git off, since the Seekers were within 12”, but unfortunately it missed by six inches. Sad times indeed! Killing him would have helped me a lot, not least by equalling out the Break Points disparity.
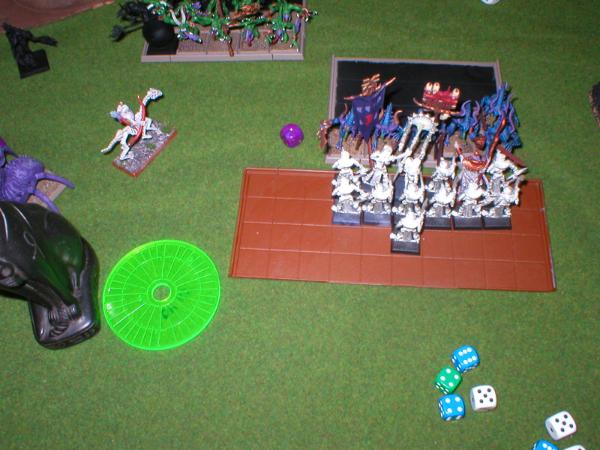
Daemons Turn Two
The turn was greeted by a series of charges from the Daemons across the table. The seekers charged into the Catapult.
Meanwhile, in the centre, the Bloodletters charged into the Tomb Guard and the Daemon Prince, opting not to accept another round of magic missiles, charges into the Skeleton Warriors.
I was reasonably confident about these two combats, thinking that my Tomb Guard could hold off twenty Bloodletters, while the Skeletons only had to do one wound to the Daemon Prince to remove him (and his 2 Break Points) from the game. The Screamers failed to charge the Casket, ending up sitting in front of the archers.
In the magic phase, unfortunately, I failed to dispel two critical spells: a hex on my Tomb Guard that gave them -1 To Hit and -1 Leadership, as well as a buff on the Daemon Prince that gave him +3 Strength & Attacks.
The melee phase was bloody. The Seekers destroyed the Catapult, but didn’t get to overrun into the Casket (thanks,
FAQ!). The Daemon Prince slaughtered the Skeleton Warriors merrily, putting a wound on the Liche Priest to boot. But the worst was to come in the Tomb Guard combat; Colin challenged with his Herald, and I confidently accepted with my Tomb King, expecting to butcher his character and do some overkill. But alas I didn’t realise that he had WS7, Strength 6 and Killing Blow...
...and managed to let him destroy my King – meaning that I had instantly lost the game, as my army was at 3 Break Points. Whoops! We agreed to play on and get a full game out of it, as we didn’t have time to restart the game and get another in, but it was desperately embarrassing nonetheless. In addition, my Tomb Guard were now bereft of WS6, and this combined with the spell put them at 5s to hit.
Just to salt the wound, The Curse only did one wound to the Herald.
In the rest of this combat, I managed to lose nearly half of the Tomb Guard, only killing two Bloodletters in return. Bad show Charles, bad show.
 Tomb Kings Turn Two
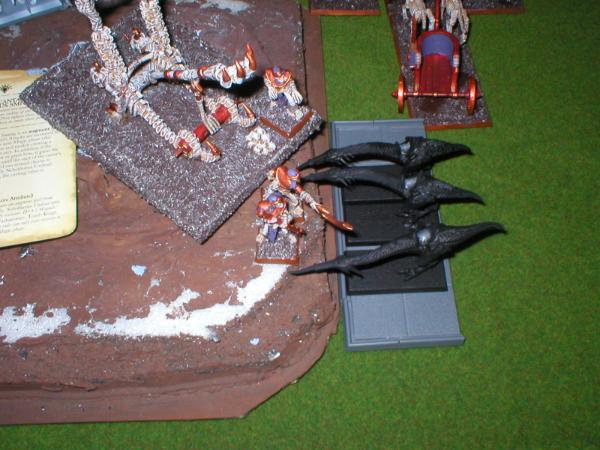
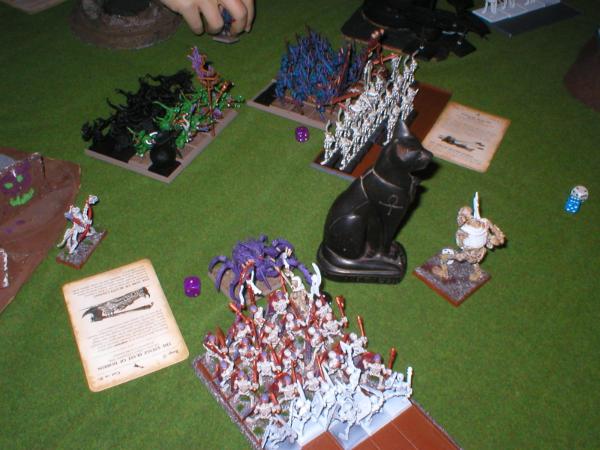
I started the turn by trying to salvage some pride, and declared charges with the Ushabti and Chariots into the Daemonettes. Both units made it in, but unfortunately one of my Chariots hit a tree and exploded into splinters. The Hierotitan couldn’t quite manage a charge around the big cat statue at the Daemon Prince, and so he shuffled around it a bit in the hopes of doing so next turn. The Skeleton Horse Archer stood in front of the horrors, hopefully angled to prevent them flanking the Tomb Guard.
In my magic phase I managed to roll poorly, and didn’t get as many dice as I could really have done with. I then made a series of total blunders that cost me dearly. First, I used the Casket to destroy the Seekers, as Colin helpfully rolled just high enough on the leadership to lose all three. I then, instead of buffing the chariots (which would have brought one chariot back, don’t forget) or using the Standard on the Tomb Guard (which would have brought them back to a decent size), I instead opted to cast Purple Sun out of the Daemon Prince combat, angled towards the Bloodletters. This did not get dispelled, and rolled straight over the Daemon Prince (survived), the Skeleton Horse Archer (survived), a Tomb Guard (survived) and the majority of the Bloodletters (four of whom helpfully died).
Shooting didn’t achieve much, with the archers unable to wound the Screamers, and so we moved onto melee. The Tomb Guard managed to redeem themselves this time, and cut down several of the Bloodletters, meaning that they actually won combat (although the Herald saw fit to gut my champion in a challenge). This had good prospects for me, but Colin rather unsportingly rolled snake eyes for their leadership, which made me cry a little. The Tomb Guard reformed to get some rank bonus going on.
My tears were only increased by the combat between the Daemonettes and my Chariots and Ushabti. The Chariots’ impact hits managed to account for a single Daemonette, at which point the Herald destroyed one chariot outright and her Daemonettes pulled another to pieces. The Ushabti also took a wound. I don’t think that my surviving chariots and Ushabti did more than one or two wounds, and so received a startling 5 wounds from Unstable; in the end, only two confused looking Ushabti were left. This combat I think that my Chariots should have done better in, but unfortunately my dice disagreed with me.
The Daemon Prince spent this combat killing my Liche Priest and savaging the regiment, who seemed unable to kill him in return. Unable, or unwilling.
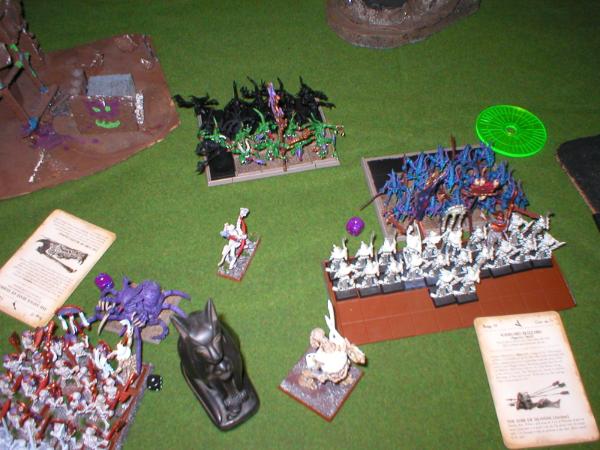
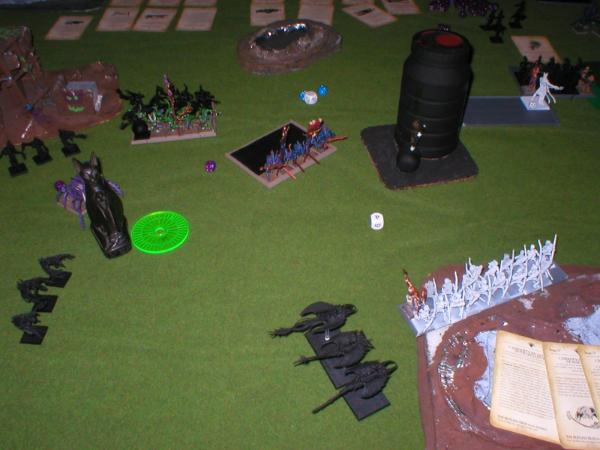
 Daemons Turn Three
The Screamers declared a charge against the Casket, and managed it with a substantial roll. The Horrors remained standing in the middle of the centre melees, unable to charge thanks to the Horse Archer.

In the Magic phase, Colin didn’t manage to cast any spells of especial note, but then as we were moving on to shooting we remembered the Purple Sun Vortex. It proceeded to bounce straight back towards my lines, and it totally eviscerated the remains of my battle line in the process.
I not only lost several Tomb Guard, the Hierotitan got himself glassed by the damn thing. Enragingly, the Daemons lost only a handful of models to it. I think that there is some sort of a moral in here somewhere about not trying to abuse powerful spells.
The shooting phase saw one unit of Flamers remove the last Horse Archer from the game, while the other shot at and mostly missed the Hierophant’s Archer bunker.
In melee, the Necrotect refused a challenge from the Herald, and got sent to the back (for being naughty, one assumes). Six Tomb Guard proceeded to get butchered, and in so they crumbled to Combat Resolution, that most mercurial of mistresses. The Daemon Prince did a similar job on the Skeleton Warriors, and my Ushabti demonstrated their herd mentality by likewise jumping into the dead pile, at the behest of the Slaneeshi Herald. This, along with the Casket being knocked over and pillaged by the Screamers, left my army reduced solely to the Archer bunker, at which point we shook hands and called it a day.
 Post-Battle Analysis
As I’ve noted, I’m not a particularly experienced Warhammer player, but this was a particularly savage loss. I enjoyed my game, and Colin is a great opponent, but I was rather dissatisfied with many of the decisions I took during the game. For starters, my use of magic is quite poor – I think that, as a player of Sci-Fi shooting games, I’m too inclined to regard magic as something to be used to kill enemy models, and don’t pay enough attention to buffing my own units. A +1 attack spell used in this game could easily have tipped one or more combats into a win for me. I am also dissatisfied with my inability to stop the Seekers from taking out my Catapult, and failing to get another unit into the combat with the Daemon Prince, which was critical. If I’d won that combat, I could have used the Skeleton Warriors to flank and help destroy the Bloodletters, which would have been a victory for me. C’est la guerre; something to remember for another time.
As a final note, I shouldn’t accept challenges from Killing Blow wielding characters :(