Hey all, just thought I'd share my successful experiment from last night with some tips and lessons learned.
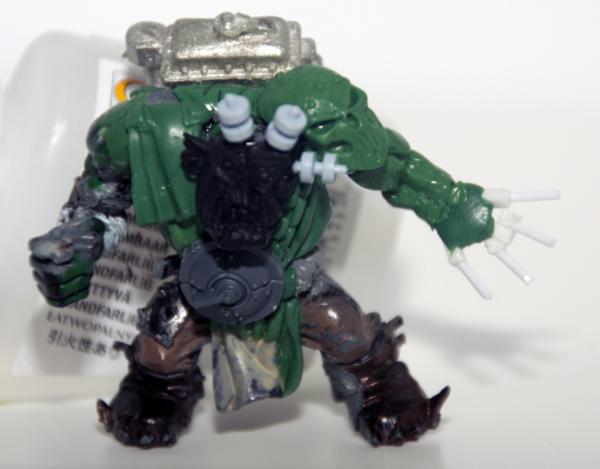
I set about wanting to duplicate some space marine iconography that I like on various weapons and armor bits. Though I've done resin casting before, it didn't seem worth the set up and time so I decided on a press mold using green stuff (50/50 mix of magic sculpt and
GS actually). A quick search on google/youtube showed people creating a
GS sandwich around original item so that the top half gives you the actual cast. That seemed like a waste of
GS so I set about creating a reusable mold. I was also attempting to cast some icons that were part of larger bits and at odd angles.
Here are the instructions with some pics and results.
Tools and Materials:
- Green stuff. Optionally can mix with other putties. I use about 50/50 with magic sculpt has it creates a softer putty that picks up details better.
- Hobby knife
- Clay shapers and other basic sculpting tools (will only be used to press and smooth
GS)
- Vaseline (you could also try vegetable oil)
- Items/bits to be casted
Steps:
1) Mix up your
GS and create a flat piece larger than your item/bit and at least twice as thick. Lay this on a flat surface and smooth out using the clay shaper with some vaseline (only need a tiny bit, you should see the
GS become shiny). Note that the vaseline is not only used for smoothing but also to keep the item/bit from stick to the
GS when it cures, which is why I don't advise just using water or saliva.
2) Firmly press item/bit into the
GS as far down as you'd like the cast to be (e.g. for the full 3d wolf head, I stuck it in half way)
3) Gently push the
GS into the sides of the item/bit to create a good seal and hard outline
4) Let cure completely. Have a scrap piece of
GS from the same batch to test the "curedness"
5) Remove original item/bit, this should be fairly straight forward, especially if it is larger than your mold
Mold is done!
6) To cast, begin by mixing up a fresh batch of
GS.
7) Apply a tiny bit of vaseline to the mold (everywhere)
8) Take a piece of
GS flatten it slightly on one side, smooth that side and apply vaseline to that side. (to keep it from sticking to the mold)
9) Press the
GS into the mold, make sure it is filling it up. Press firmly with a clay shaper if you have to. I also took the flat part of my knife and laid it across the entire mold and pressed gently.
10) Now, I did not let it cure completely because I was paranoid about being able to remove the cast and worried that it would either stick or, once hard, become too brittle to remove easily. I removed the cast after about
2 hours (
GS firm but still bendable). This was quite easy to do and has the benefit of allowing you to bend the cast before it dries completely if you want to stick it onto a curved surface.
11) Let the cast sit out and cure.
12) Trim away excess
GS and you're done!
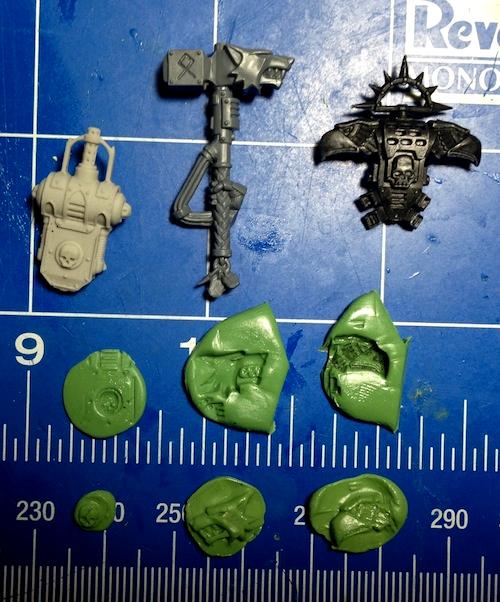
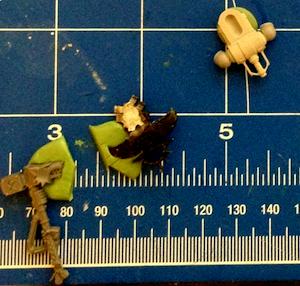
Original items, molds, casts (still curing). Note there is a little fudge up on the skull's forehead. I think its probably because of the small circular aperture of the mold so hard to get a smooth piece of
GS in there all the way for the cast.
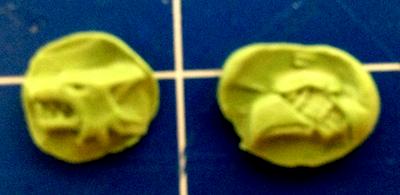
Close up of the casts. Apologies for the bad lighting
Tips/Lessons Learned:
- This whole process does not have to be done perfects. I did this fairly sloppily and very quickly and I am extremely happy with the results.
- Remember to wash off the vaseline from your casts so that glue or paint adheres to them well.


 P&M Blog -