Forum adverts like this one are shown to any user who is not logged in. Join us by filling out a tiny 3 field form and you will get your own, free, dakka user account which gives a good range of benefits to you:
No adverts like this in the forums anymore.
Times and dates in your local timezone.
Full tracking of what you have read so you can skip to your first unread post, easily see what has changed since you last logged in, and easily see what is new at a glance.
Email notifications for threads you want to watch closely.
Being a part of the oldest wargaming community on the net.
If you are already a member then feel free to login now.
2013/11/21 13:09:32
Subject: Forge World Resin 40K Roads - Custom 90° Turns- Project complete and all road sections fully painted
yeah,
So I have a set of FWOOP roads.
I dislike the FW curve section, and also dislike the approach Curves to their T-Junction.
Forge world never made any sharp 90° turns or Junctions... and I want some.
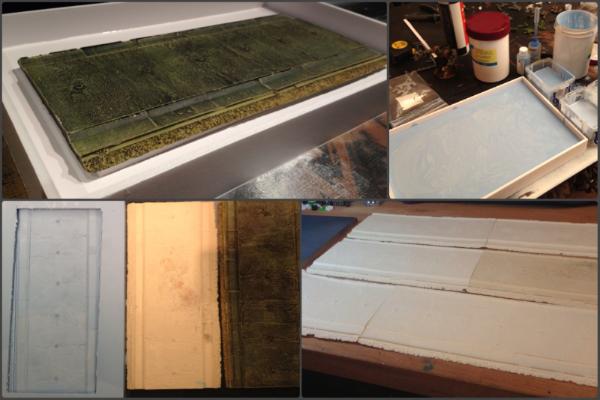
So I decided I'd make some using blue milk.
Molding process and casting...
Spoiler:
Don't drink the Blue Milk...
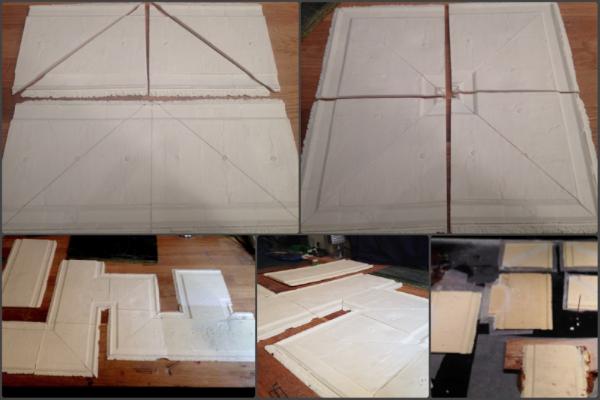
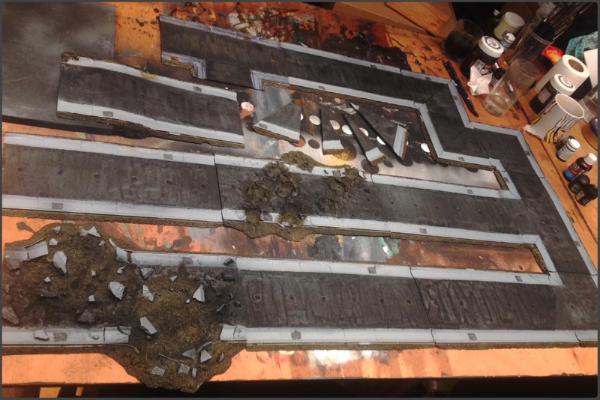
Cutting and shaping the new 90° turns and 90° T-junctions
Spoiler:
90° turns are cut and stuck together as pictured above.
the T-junctions have a 1.5 inch bit chopped off the end and then placed into a notch at the side...
The gaps were filled with milliput, and a few minor details like cats eyes were added using instamold.
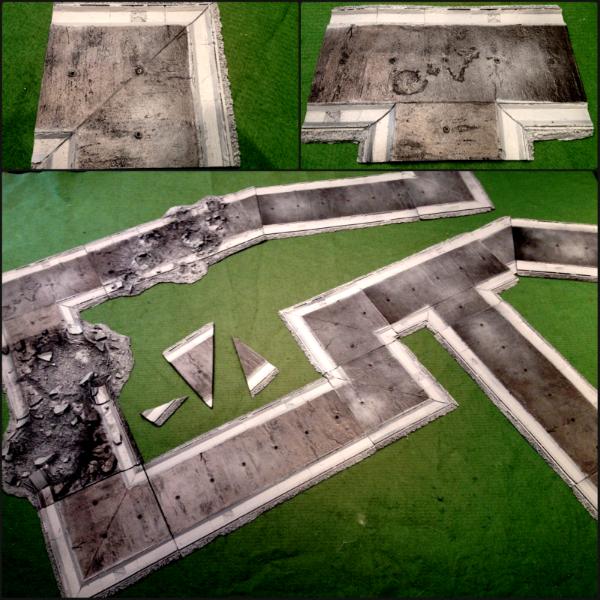
Base coating with black and grey spray paint.
Spoiler:
heavy base coat of 'army painter - matt black primer'
The edges were then masked and given a coat of 'army painter - uniform grey'
I then dusted 'army painter - uniform grey' from about 1' above the roads.
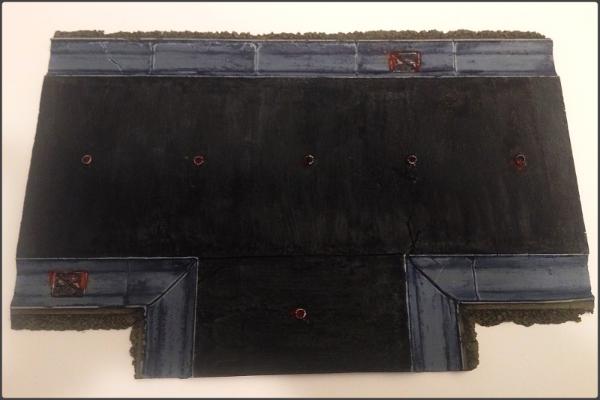
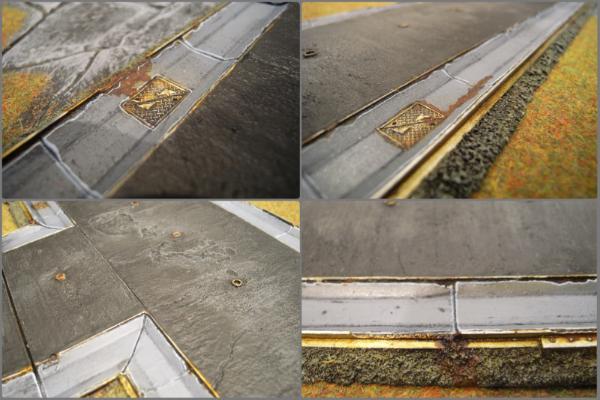
First Section of road painted.
This is the colour scheme.
I'm painting the roads in a production line format.
My seven original roads are also getting a new coat of paint at the same time so that they all match.
And I'm done for the day...
Panic...
Loads of edits mostly to keep this first post tidy!
Adding better photos of the casting and cutting.. and adding progress as it happens.
This message was edited 22 times. Last update was at 2013/12/17 22:30:06
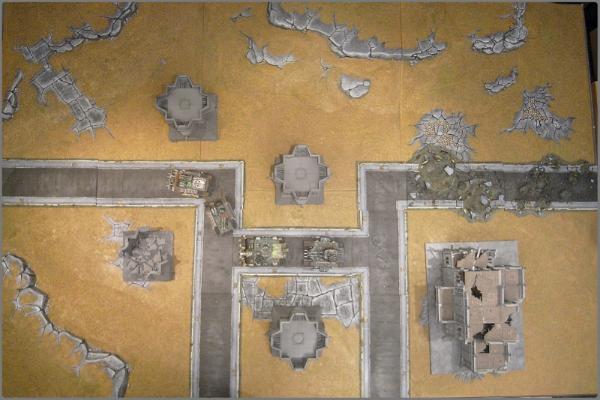
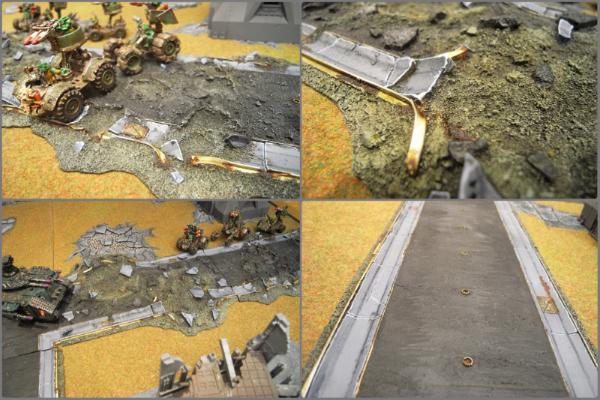
yeah, I completed the paint job and gave the sections three coats of varnish to protect during games. gloss, satin, mat... They should hopefully hold up to tanks rumbling around on top of them with getting scratched
This set up used almost all my road sections... I might get tempted to cast some more. (I have the mold... why not!)
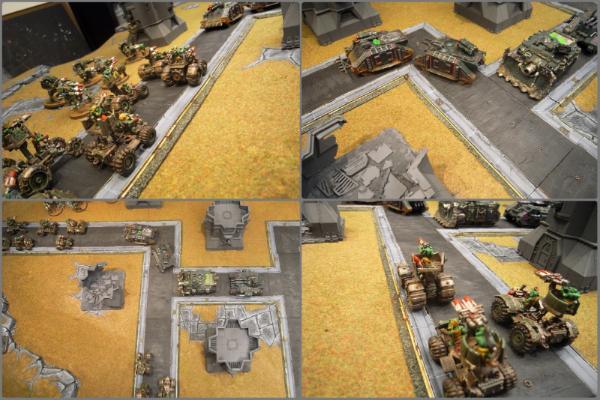
And some test shots playing around with some vehicles.
All done for now!
Panic...
This message was edited 1 time. Last update was at 2013/12/17 22:29:53