All right, so with the tournament scene debating inclusion of escalation and stronghold assault I like many are interested in seeing how not only the D effects the meta game, but also figuring out if my list can survive against them. I'm going to borrow JY2's list from his eldar tactica which includes both the revenant titan and void shields to protect it.
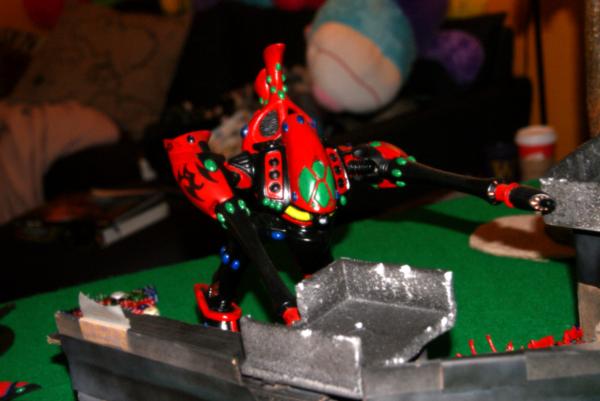
While my normal list is painted, not all of the challenger list is, and I have the old armorcast revenant, not the tall lithe forgeworld version.
Important addendum: TSHFT plays that an independent character does transfer infiltrate to the unit that he joins.
 TAC
TAC list thoughts:
So while I have that same swagger that says I can take out one of those nasty titan guys, I'm looking forward to seeing if it actually works out that way. Looking at this list, the titan is definitely my primary concern. At over half of my opponents army, it's a way to quickly un-balance the forces.
If I'm going first, my first counter is to use Illic to infiltrate the fire dragons, with or without their transport depending on the way the titan is bubble wrapped. If that fails my Hornets should be able to either scout forward and get some clear shots on the titan, or outflank to accomplish the same goal in a later turn on rear armor perhaps. After that it's lucky shots by the fire prism, or somehow getting the wraithknight into close combat. The autarch I suppose has an outside chance of doing the job, but I worry about stomp attacks. Once the titan is dead, I have a lot of counters to take out the rest of the army. Enough close combat to deal with my enemies laugh-tarch, and fire power to sweep the jet bikes off the table.
If I'm going second, I can't rely on seizing the initiative, so when I infiltrate Illic I will keep them in the tank. Good placement should be able to protect me from follow up fire after the titan manages to take take out the transport. After that it would be all about spreading out my units and keeping as much as possible in reserves. Perhaps hornets from outflank or my autarch can take out the titan.
Titan list:
Well, Titan targets the two most important units every turn, Wraith knight will be one of the primary targets since I don't have that much that can take care of him without a ton of fire. Should be able to wipe out the largest threats quickly. Lance walkers should be able to take out the fire prism, hornets any of the other dangerous vehicles. Laughtarch focuses on troops and artillery, try and scheme out a charge on the enemy autarch. Scatter walkers and crimson hunter for countering the flyer and the vyper tries to spread out targets. I'm a little concerned by the void shield generator. I feel like it will tie me to a particular spot. I will do my best to keep units within it's protection, but I also don't want to lose my mobility, particularly with the titan. Defensively I don't have the unit to bubble wrap the titan, especially with Illic's special infiltrate. Might make inquisition a good suggestion to fit in here somewhere. Maybe in place of the vyper? Keeping out of close combat, and keeping my titans back to a board edge will help protect a little, the long table set up should work in my titans favor.
Set up is hammer and anvil.
Primary is Crusade 4 objectives
Secondary is purge the alien
Tertiary (tshft) Crippling Blow – destroys all selections from 1
FOC choice.
The escalation challenger.
HQ:
Autarch – Eldar Jetbike, Fusion Gun, Laser Lance, Mantle of the Laughing God
Troops:
3x Jetbikes - Shuriken Cannon
3x Jetbikes - Shuriken Cannon
3x Jetbikes - Shuriken Cannon
3x Jetbikes - Shuriken Cannon
Fast Attacks:
Crimson Hunter
Vyper – Scatter Lasers
Heavy Attacks:
War Walker – 2x Brightlance
War Walker – 2x Scatters
Fortification:
Void Shield Generator - +2 extra Void Shields
Lord of War:
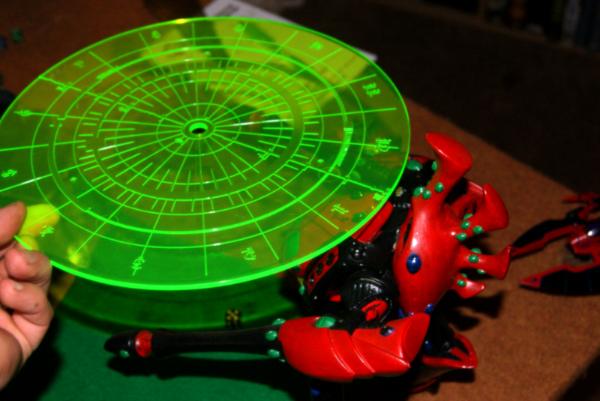
Revenant Titan
My List
HQ
Illic, warlord
Autarch, mantle, bike, lance, fusion gun, banshee mask
troops
Pathfinders (5)
Dire avengers (5)
Jetbikes (5)
Elite
Fire dragons (5) exarch, fast shot
In a wave serpent, holo field scatter lasers, shuricannon
Fast attack
Hornet, pulse lasers, holo field
Hornet, pulse lasers, holo field
Night wing
Heavy
Wraithknight, suncannon, scatter laser
Fire prism, holo field
Shadow weaver artillery (3)
[spoiler]
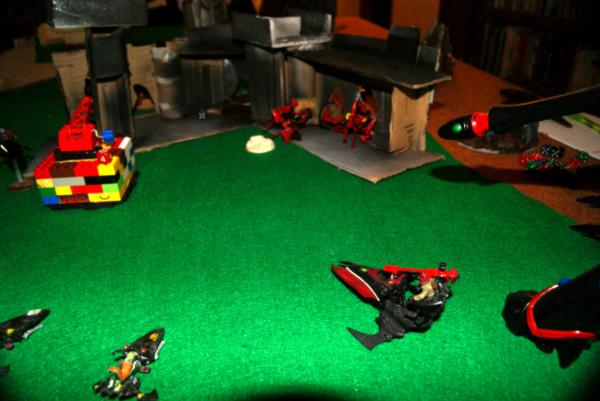
Deployment:
Objectives by the revenant army are placed in the center of their runes and midfield in terrain. Hoping to force the other eldar to be spread out.
TAC list objectives are in either corner behind terrain.
REVDAR:
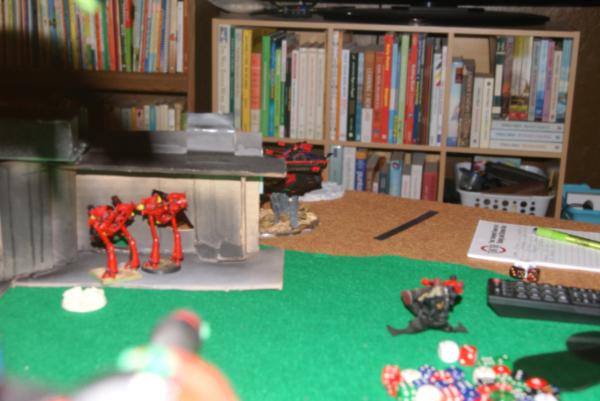
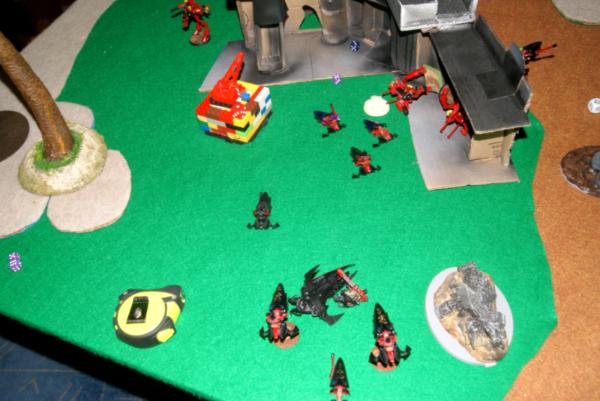
Revenant army won the roll off, which could be huge. Slightly mitigated by the seize on a 5+. Void shield generator and the titan are placed right in the middle of the open space behind the large ruins. Lance walkers just in front to the left, and the scatter walkers to the right. Autarch is just in front of the void generator.
All the jetbikes and the flyer are in reserve. The plan is that I have full coverage of the field from here. Protected by the void shield generator and the easy field of vision to take out a couple of units first turn. Walkers are spread a little to try and push Illic away when he appears, force him to be in front of the terrain, or out on an edge.
TAC list:
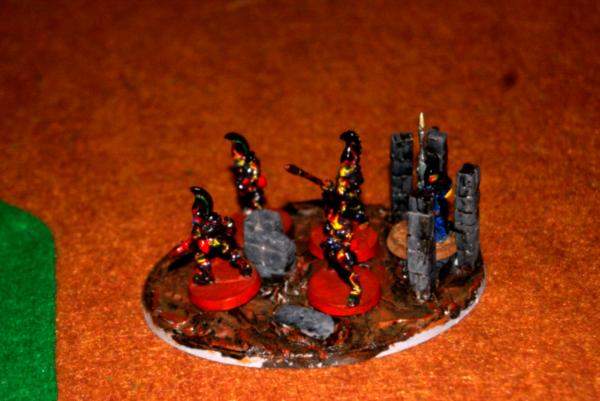
Well, I can't assume that I will seize the initiative, though I hope that I will. I'm placing my artillery on two different levels in one set of ruins, half of them will be just invisible to the revenant, and the other half are on a different level.
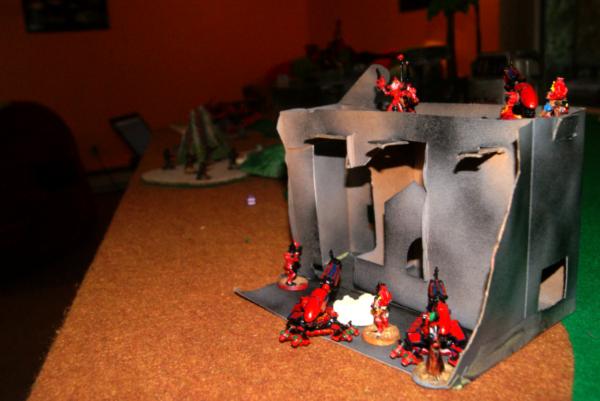
If he shoots at them, some of the squad should survive. Fire prism behind the other set of ruins is largely out of sight, the titan will have to come close to midfield to get a line of fire there. Autarch is in a corner, far enough away from others that they shouldn't have a line on me. Pathfinders infiltrate into midfield terrain, again spreading out targets, while Illic sets up the fire dragon transport just outside the terrain, and near the scatter walkers.
Lance walkers would have a tough time drawing a bead on them from here, and if I do steal away first turn there should be just enough room to move six, hop out and shoot the titan in the back. If I don't, the transport should keep them from all being fried, and then Illics save will make them hard to take out. In case my fusion guns are unable to do the trick, I have my flyer coming in from reserve, the two hornets outflanking, jetbikes and avengers in reserve. Also leaving the wraithknight in reserve. I don't want him to get D all over him before he can contribute.
No night fighting.
TAC list failed to seize the initiative.
TURN ONE
REVDAR
Lance walkers move through the cover and line up a shot on the fire prism. Scatter walkers have an epic fail moving through cover, rolling a two and staying behind the ruins. Titan hops away from the fire dragons with a clear view of them still. Lands in terrain and rolls a one. Whack there goes a hull point. (I think I played this right. It says super heavy walkers act just like walkers, jump walkers would be the same. If they jump into terrain they have to do a dangerous terrain test.) Autarch zips towards the pathfinders to keep away from the other Autarch and threaten the troops and artillery.
Titan destroys the transport with both shots,
it explodes killing one of the dragons inside,
doesn't have enough angle to take out the fire prism, so it whacks the upper story of the artillery squad.
They break and run off the table. Vyper kills off one more dragon forcing a leadership test as well as pinning. They survive both. Scatter walkers fire to no effect at the pathfinders.
TAC list
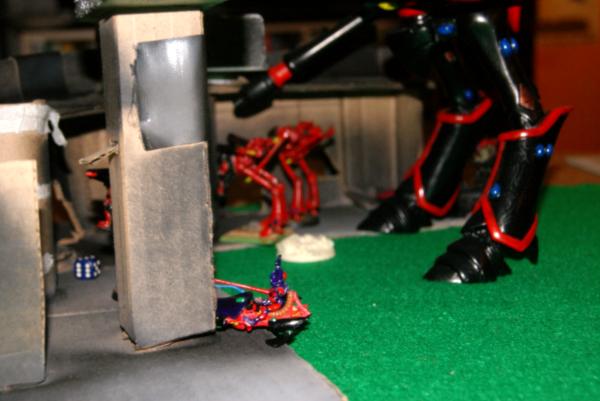
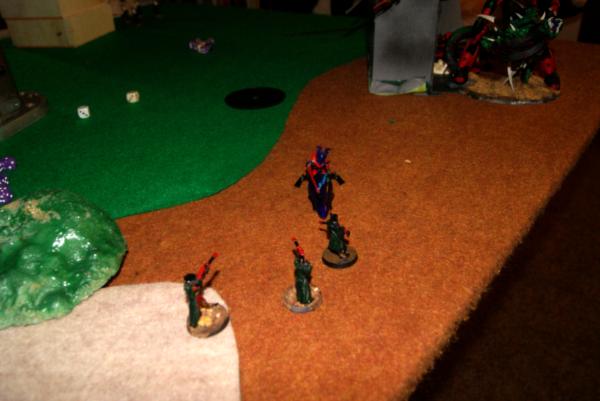
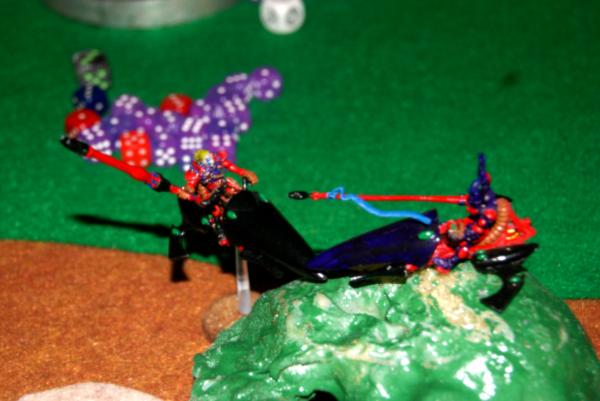
Dragons and Illic move through cover towards the scatter walkers. Fire prism shifts around, while my laugh-tarch zips forward quickly to threaten attacking the titan and force him to choose who to shoot at. Pathfinders fire at the autarch hoping for a lucky pin or a wound. No such luck. Fire dragons battle focus forward getting inside of the void shields and plastering the scatter walkers. Fire prism takes a pot shot at the titan and doesn't even hit. Illic split fires and pot shots at the titan, hits, still hits and pens for a single hull point off.
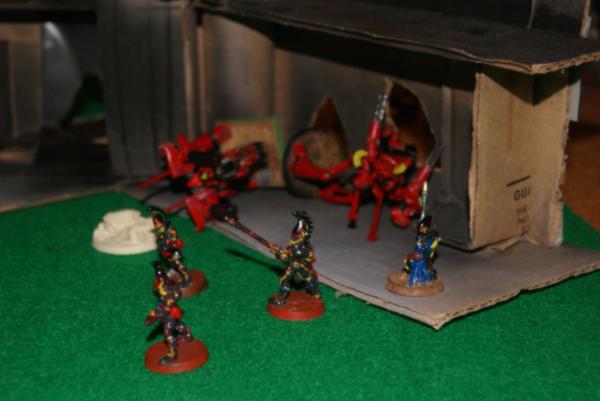
Autarch and the fire dragon are both inside the void shield bubble, so the titan has to get inside the bubble with them, or blow away his own shield.
So far attempt to hurt the titan is a fail, I've just given him first blood and likely warlord next turn. The D pasted two units turn one, that's a success so far. There are currently two things that can cause massive damage to the titan. I've taken off one hull point. I was kind of surprised that the titan only has 9 hull points. Fire prism is a third long option. If the autarch survives the hornets and flyer will come in on a 2+.
TURN TWO
REVENANT
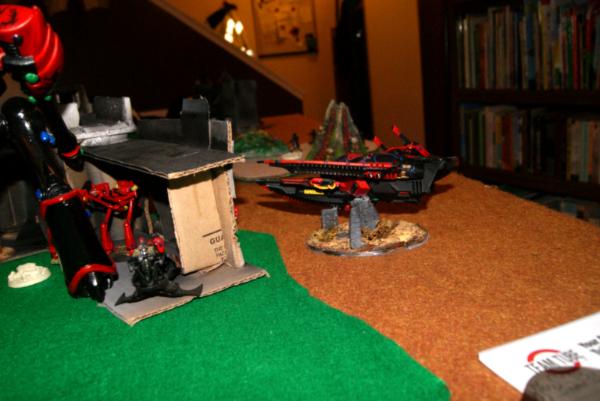
Autarch tries to keep the flyer out, he comes in anyway. Two jetbike squads also come in. Titan hops away from the laughtarch and towards the fire dragons. Half of the two jetbike squads move inside of the void shield bubble to fire at the dragons Vyper moves to create a barrier between the titan and the laugh-tarch. Flyer zips along one of the board edges and takes aim at the fire prism. Lance walkers shoot at the opposing autarch and can't get through the re-rollable cover save. Titan scatters one shot off the dragon squad. The other three eat through the void shields. Jet bikes take out the fire dragons, and the scatter laser from the vyper doubles out Illic.
Crimson hunter blows up the fire prism easily.
Autarch shoots and kills a pathfinder, then charges and kills only one more. Pathfinders break and get away. Autarch gives chase and is an inch away for the next turn. Fire prism and fire dragons gone. Warlord scored, while the Titan was a whiff, the rest of the army continued the two units killed a turn.
TAC LIST
Well the titan being unable to take out a unit this turn was a stroke of luck. Autarch is still alive so using reserve modifiers everything comes in. It would have been nice to keep the bikes out, but they came in anyway. Night wing lines up on the crimson hunter, wraith knight sets up to shoot at the lance walkers. Pathfinders rally and sneak back into the terrain. Hornets also pop in on either long side. One right next to the titan and the other by the
TAC autarch. Dire avengers head into the ruins to secure an objective, jetbikes on the other. Night wing bests the crimson hunter knocking it from the sky. Wraithknight takes out one of the lance walkers from extreme range. Autarch having moved into range to shoots the titan with his fusion gun, manages the double hit and meltas an explosion result. 3
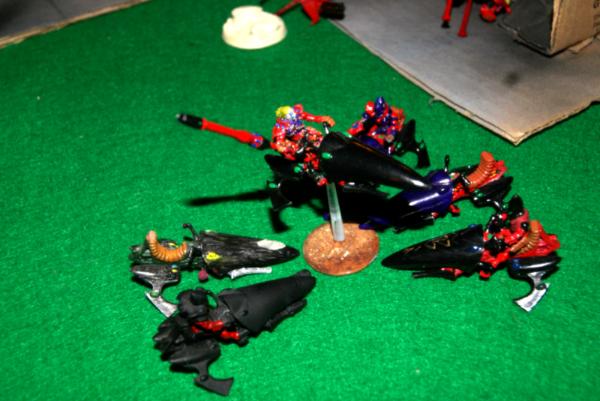
hp later and there are only five left. Hornet near by unloads and hits the titan three times. One glance, and two pens. Another explosion result and now there is only one hull point left. Hornet number two fires and manages two more hits. One fails, the other pen takes out the last hull point. It crashes to the ground,
exploding and taking out a jet bike and the vyper.
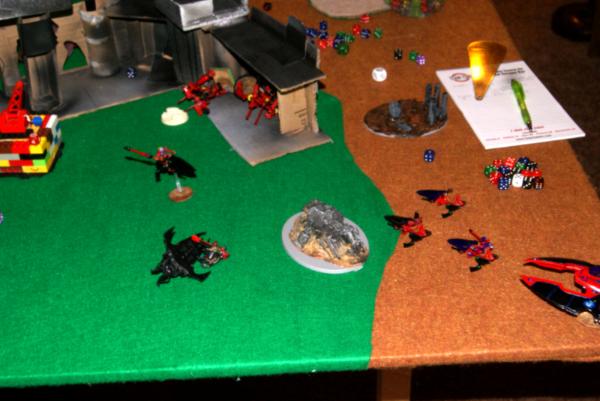
Game really turned around at this point. Titan exploded and that's over half the army gone. No anti-flyer now lets the night wing hold serve. Wraithknight has no counter, there isn't much left for the Revdar list. Four troops, a lance walker and autarch.
TURN THREE
REVDAR
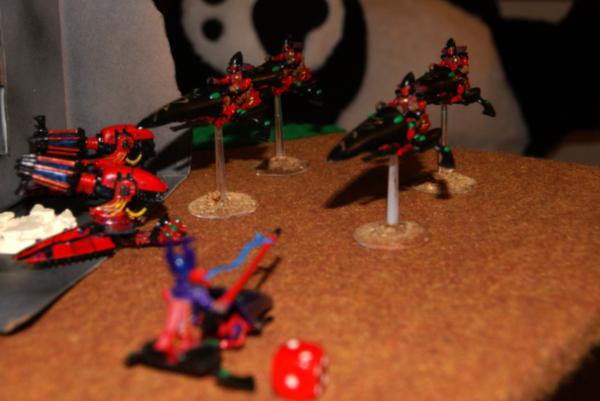
One more jet bike squad comes in and all of them line up on the autarch. Plan is for the jet bikes to shoot and then charge at the Autarch hoping to sink him under weight of attacks. Lance walker lines up on the nearest hornet, hoping to even out the odds. Autarch shoots and charges the pathfinders again, wiping them out.
Bikes flail at the
TAC autarch with no effect. Shooting and assault, in fact one of the bikes is killed by the autarch.
The others do not brake so
TAC Autarch does hit and run and gets a 15" move. That allows him to move close towards the REVDAR autarch.
Bikes consolidate.
 TAC
TAC list
Autarch and wraithknight bracket the opposing laugh-tarch, about eight inches away, and prepare to charge.
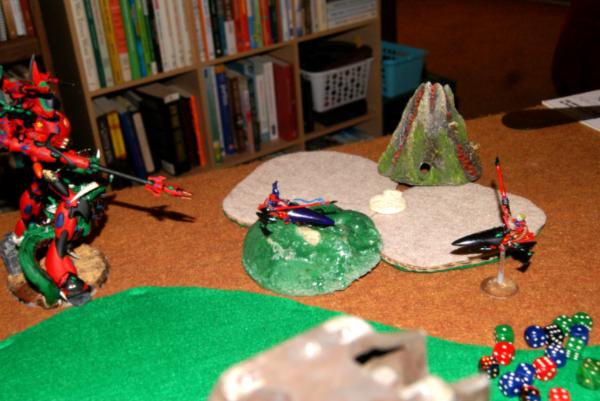
Flier and hornet lines up on the lance walker and void generator. Hornet number two sets up to shoot a jet bike squad. Hornet within the void bubble blows up the shield generator, allowing the night wing to take care of the last lance walker. Second hornet hits his jet bike squad, puts out two wounds, and watches both of them get jinked. Wraithknight and
TAC-tarch fire and predictably don't cause any wounds to the Rev-tarch. Wraithknight whiffs the charge but soaks up the shuriken overwatch.
TAC-Tarch assaults and causes two unsaved wounds, taking one in return.
REV-tarch jumps out of combat once again and sets up for an attack on the
TAC jetbikes behind the wraithknight
.
(At this point I'm just about confusing myself with all the eldar vs eldar stuff.)
End of turn three the last of the Revdar shooty forces are taken out. troops and the
HQ are all that's left. I played out one more turn, the Rev-tarch killed four out of five jet bikers from the
TAC list, but the last one didn't break. In the
TAC turn everything but the
HQ was wiped off the table.


 This is why deathstars are finesse units. If you play them well they rolf stomp people but if you mess up they fall apart.

 .....Bay Area Open GT 2013 - Best Tyranids
 .....LVO GT 2014 Team Tournament - Best Generals