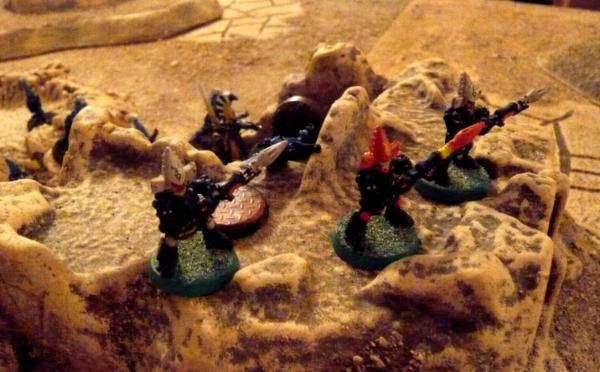
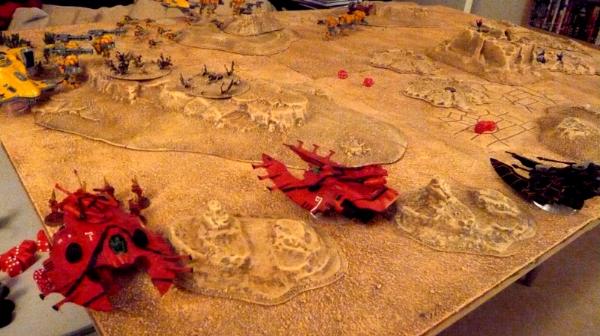
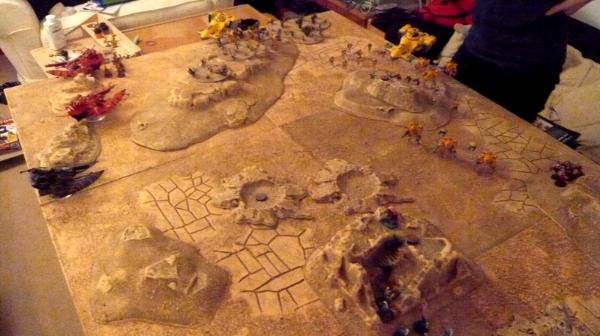
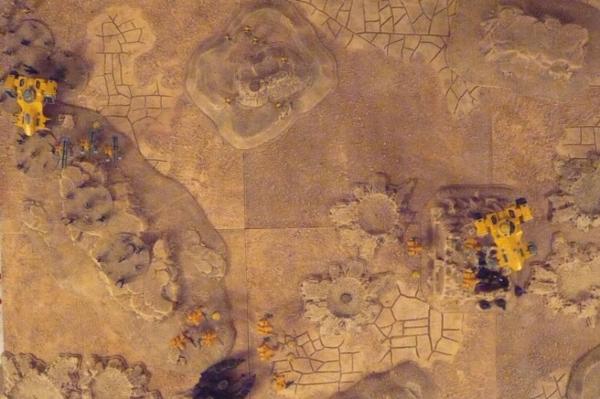
Hi. Myself and Fifty played last week on his desert terrain - a rematch for my newly repainted Tau army against his Eldar. The Tau are, hdnily, the same colour as the board, and have transparent bases, so they are very well camouflaged (especially from the camera!).
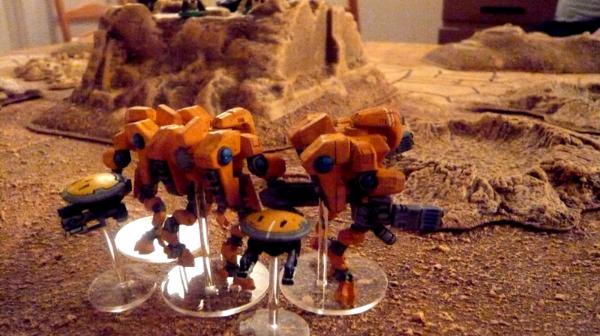
ArbitorIan's Tau [1500pts]
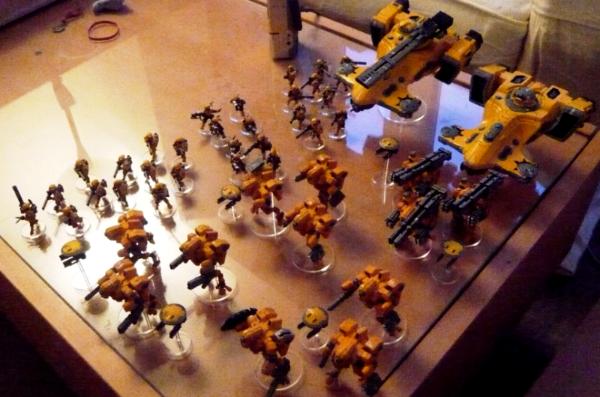
* Commander Shas'
El [Plasma Rifle, Missile Pod,
HW MT, Shield Generator,
HW DC, 2 Gun Drones)
* 2 Crisis Bodyguard [Plasma Rifle, Missile Pod,
MT]
* 3 Crisis Suits [
TL Fusion Blasters, Targetting Array, Team Leader with
HW DC, 2 Gun Drones)
* 3 Crisis Suits [
TL Missile Pods, Targetting Array, Team Leader with
HW DC, 1 Gun Drone)
* 10 Fire Warriors
* 12 Fire Warriors
* 8 Pathfinders [2 Rail Rifles, Devilfish with
MT, Disruption Pod,
SMS]
* Hammerhead [
MT, Disruption Pod,
SMS]
* 3 Broadsides [
SMS,
BSF, Team Leader with
TL,
HW DC, 2 Gun Drones]
Fifty's Eldar [1500pts]
* Maugan Ra
* 5 Fire Dragons [Exarch] in a Wave Serpent
* 10 Dire Avengers [Exarch, Bladestorm] in a Wave Serpent
* 10 Dire Avengers [Exarch, Bladestorm]
* 5 Warp Spiders [Exarch]
* 5 Warp Spiders [Exarch]
* 3 Dark Reapers [Exarch, Fast Shot, Crack Shot]
* Falcon [Pulse Lasers,
EML]
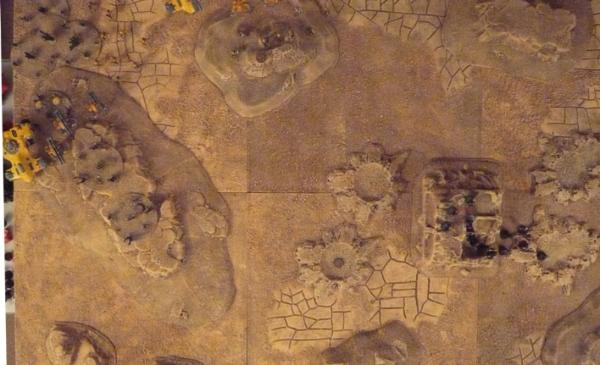
Deployment
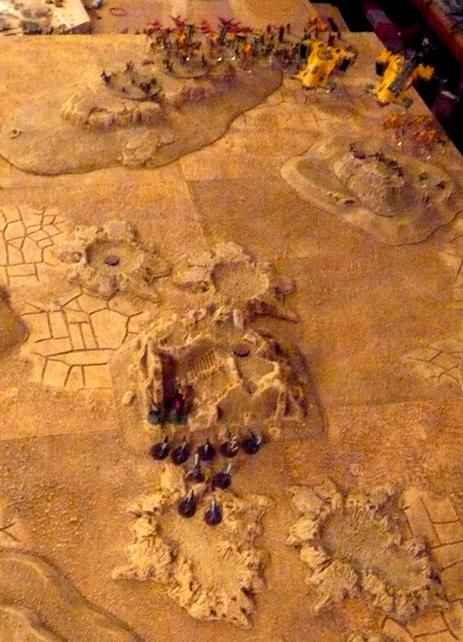
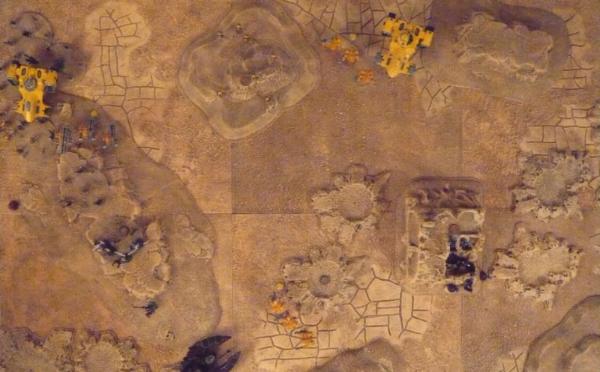
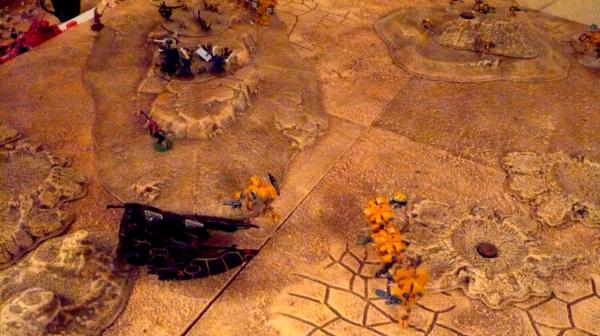
The mission was Capture and Control, Spearhead deployment, and Fifty won the roll. He opted to go second, and I though I'd be clever and leave him with the quarter with only one big hill. Not so clever, though, as when he announced he's be keeping everything in reserve except the Dark Reapers and some Dire Avengers to hold the big hill objective.

Turn 1 went by very quickly. The Tau repositioned themselves into a better-covered gunline, assuming that the Eldar Skimmers would be coming in a lot closer in turn 2, and moved a squad of Fire Warriors into the Pathfinders' Devilfish.
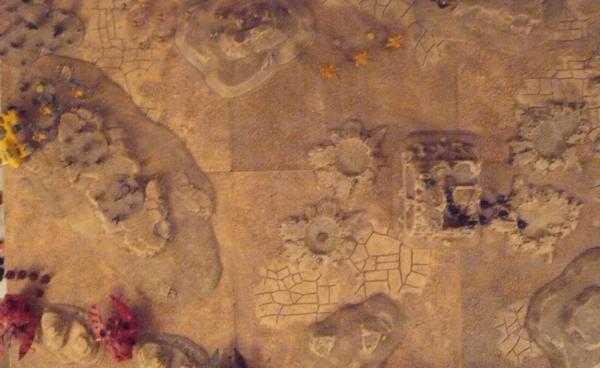
The Dark Reapers then moved up to the top of their hill, with the Dire Avengers moving up behind them to hold the objective from cover.
Still not much happening at the end of Turn 1
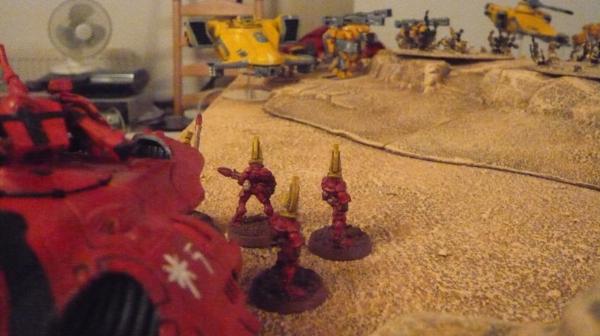
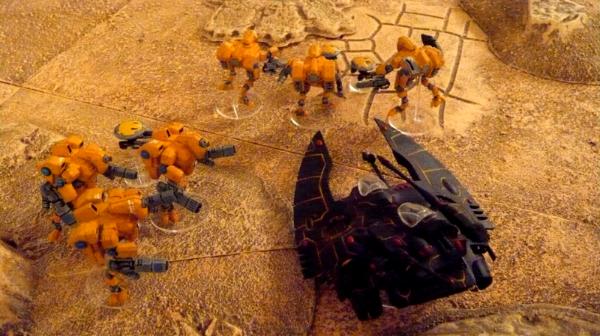
The Tau second turn starts with the Fusion-equipped Crisis suits arriving from Deep Strike, but scattering massively. They end up near the Dark Reapers, and unload Fusion, but only take down one due to cover saves.
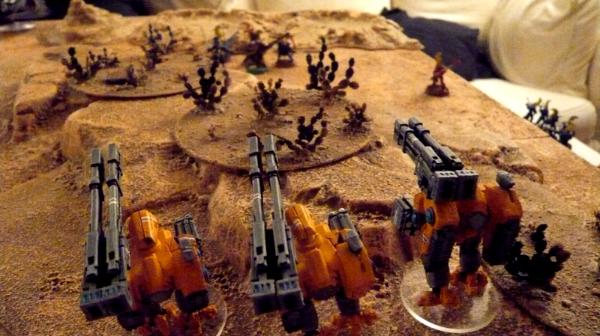
The Broadsides then take out another Dark Reaper with a Railgun. No more targets left!
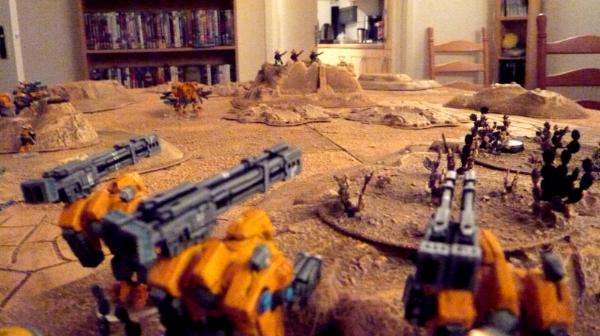
The Eldar then arrive en masse, both Wave Serpents and the Falcon coming in close to the Tau. The Fire Dragons jump out of a Wave Serpent and shoot at the nearby Devilfish, but only manage to shake it.
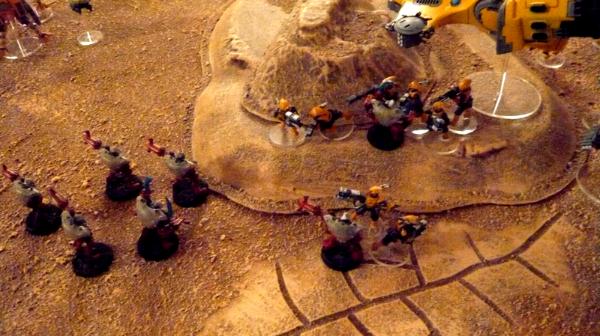
And a squad of Warp Spiders attempt to remove the Pathfinders, but scatter. They end up blowing up one of the Crisis Team's Gun Drones.
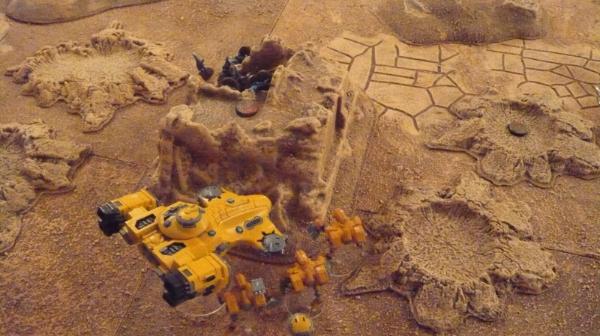
The Dire Avengers behind the rocks move further into cover to get closer to their objective, while the Falcon blows the Railgun off the Hammerhead with it's first shot!
At the end of Turn 2, the Tau have repositioned and spread out, and there are a lot more Eldar on the board.
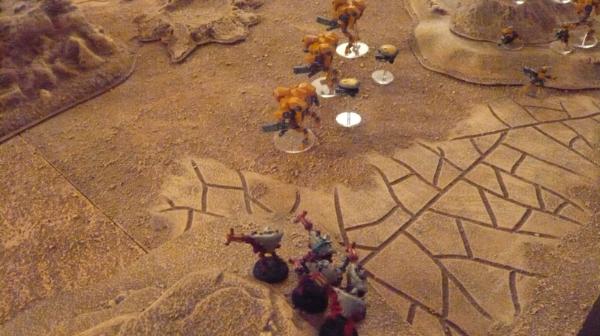
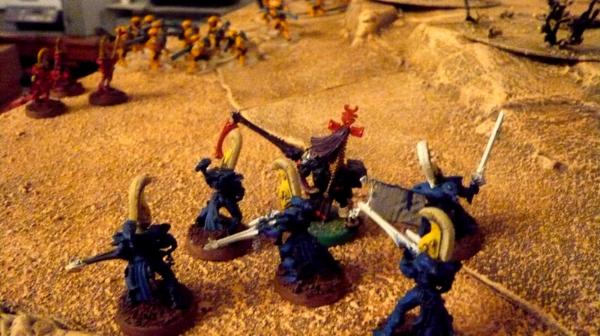
In Turn 3, with all the Eldar on the Board, the Tau suddenly have targets. The Fire Warriors disembark their Devilfish and Rapid Fire at the Fire Dragons, killing two, and the Missile Pod Crisis Suits fire at the Warp Spiders, killing three. The Pathfinders take out the final Dark Reaper on the hill. The Broadsides split their fire, the Team Leader shooting the rear of the Fire Dragons' Wave Serpent while the rest of the squad shoot the forward-facing one. Both transports explode, and the second Dark Reaper squad and Maugan Ra are left in a crater.
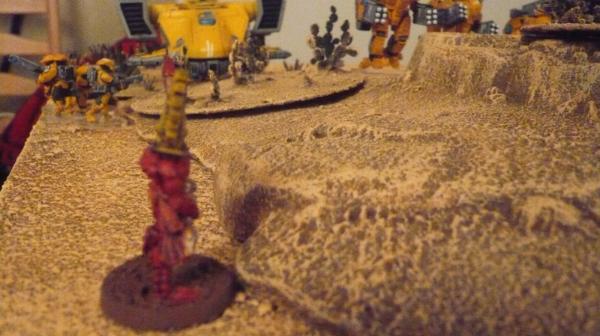
In their turn, the Dark Reapers and Maugan Ra advance, killing enough Fire Warriors to break them.
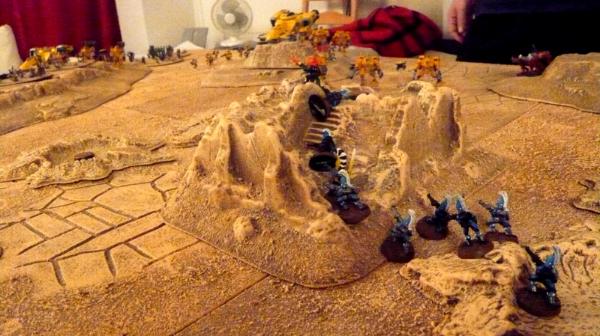
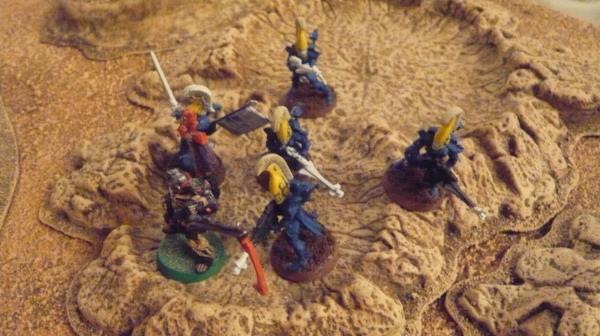
The second Warp Spider squad arrive, but scatter as far as the first and have no suitable targets, so double-teleport. The original 2 man squad then charge the Pathfinders, killing so many they force them to flee off the board!
In the Tau fourth, the Broadsides pick off most of the Dire Avengers with
SMS Missiles, while the Fire Dragons are reduced to one model.
And the remaining Fire Dragon takes out the Devilfish in his turn
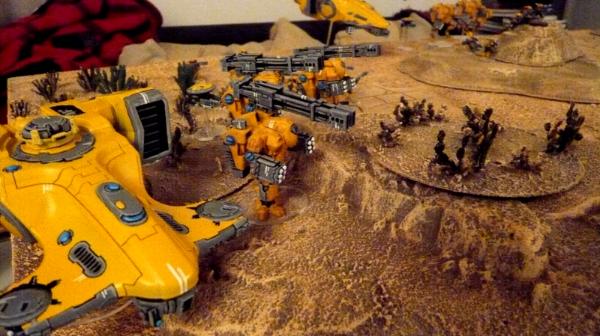
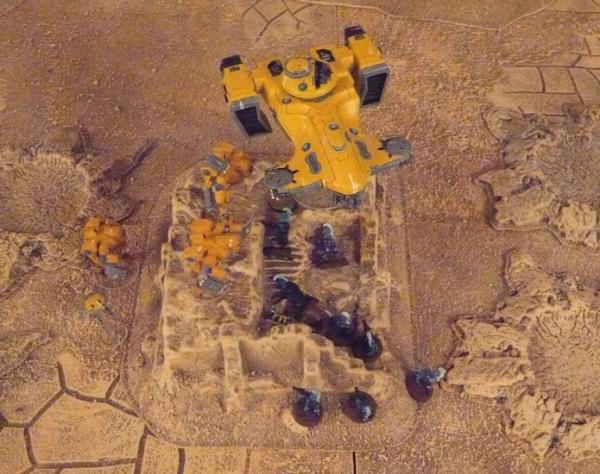
And at the end of the Turn 4 the Eldar have been stalled - the remaining Dire Avengers moving onto their closest objective. The Fusion Crisis suits have moved much closer to the Falcon, and the Missile suits and Hammerhead are making a run for the untouched Dire Avenger squad and their hill objective.
In Tau Turn 5, the Commander and his Bodyguard finally show up, and Deep Strike close to Maugan Ra. The two Crisis Teams together kill Maugan Ra and stun the Falcon. The Broadsides then split fire again, taking out the last Fire Dragon and the remaining members of the depleted Dire Avenger squad.
The only Eldar unit left holding an objective is the original Dire Avenger squad, and the Hammerhead and Crisis suits can't quite make it to the objective.
However, we roll and get another turn, and in Turn 6 the Falcon is destroyed and the Missile Crisis Suit and Hammerhead both move onto the Eldar objective, contesting it. There's no way the Eldar can hurt both units, and so Tau win!


 Order of the Sable Heart
 Grave Knights
 House Rouen


 5000+ pts
 1000+ pts


 33rd Jalvene Outlanders & 112th Task Force 6600 Points (last count)
