Switch Theme:

Filbert's Guide to Tree Stands  [RSS] Share on facebook Share on Twitter Submit to Reddit
»
Author Message
Advert


Forum adverts like this one are shown to any user who is not logged in. Join us by filling out a tiny 3 field form and you will get your own, free, dakka user account which gives a good range of benefits to you:
  • No adverts like this in the forums anymore.
  • Times and dates in your local timezone.
  • Full tracking of what you have read so you can skip to your first unread post, easily see what has changed since you last logged in, and easily see what is new at a glance.
  • Email notifications for threads you want to watch closely.
  • Being a part of the oldest wargaming community on the net.
If you are already a member then feel free to login now.


Made in gb
[SWAP SHOP MOD]
Yvan eht nioj


In my Austin Ambassador Y Reg

So I wanted to go about making some stands of trees to bulk up my gaming table so it didn't look so sparse. And along the way, I thought I would post my method and results as a quick tutorial guide. Anyway, some supplies you will need:

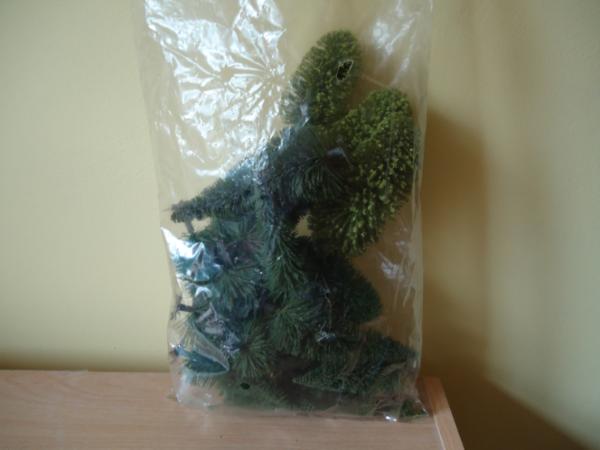
a) Model railway trees - I got mine from Modelzone and bought a back of ~25 trees for about £20


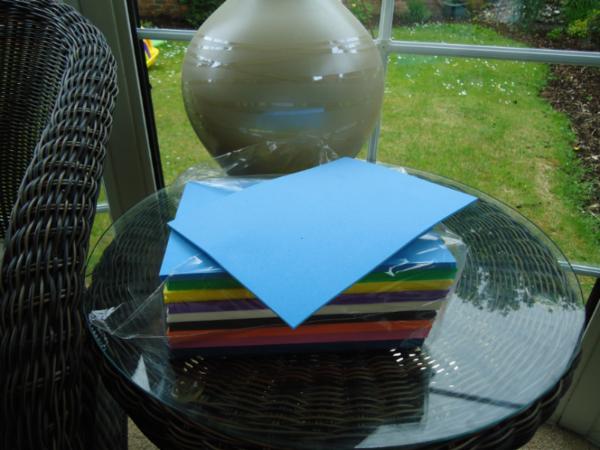
b) Some foam squares - I got a large pack from Hobbycraft for about £5


c) Some PVA glue

d) Paints

e) Flock / Static grass

f) Sand / ballast

g) Some sturdy card

So what I did first was glue two sheets of foam squares together and backed them with some card to add some rigidity.


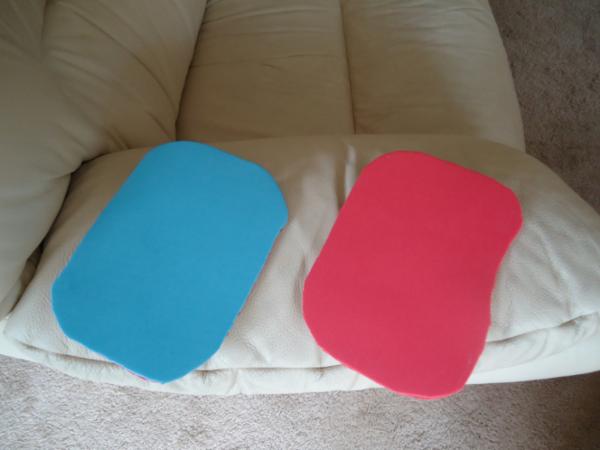
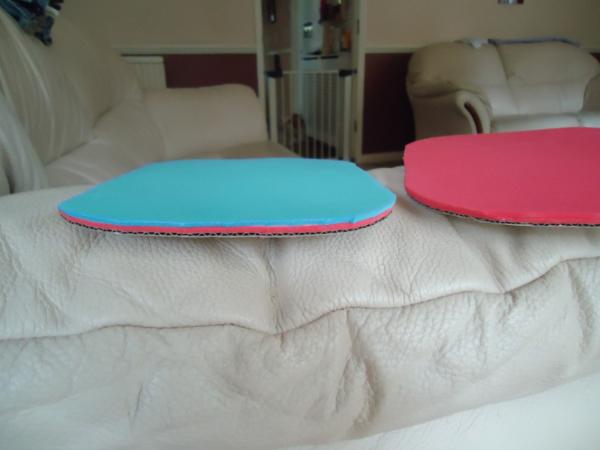
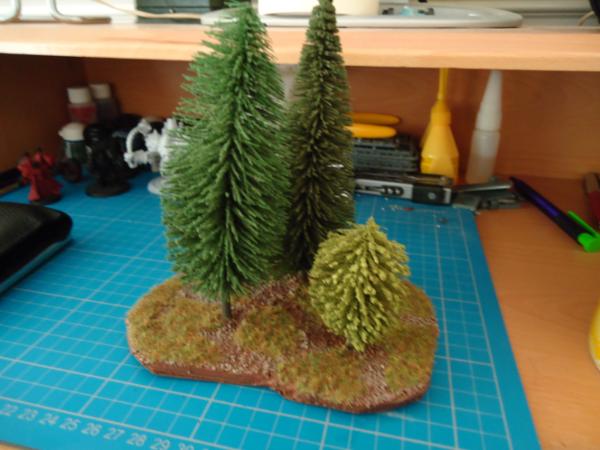
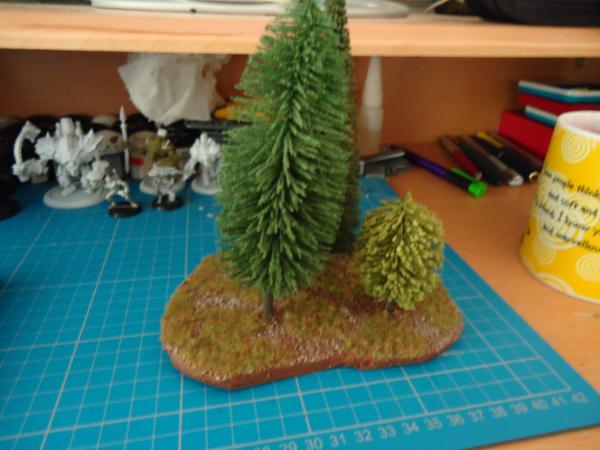
Leave to dry. Once dry, cut into desired shape - I didn't really try to cut any fancy shapes, just rounded the corners off really.

Next, I selected some trees, positioned them as I desired and then glued to the base using Superglue (the trees that I bought already had splayed bottoms so they could stand up but depending on the trees that you buy, they may need to be sunk into the foam a little. If this is the case, you may need some plasticine or putty to secure them to the base)


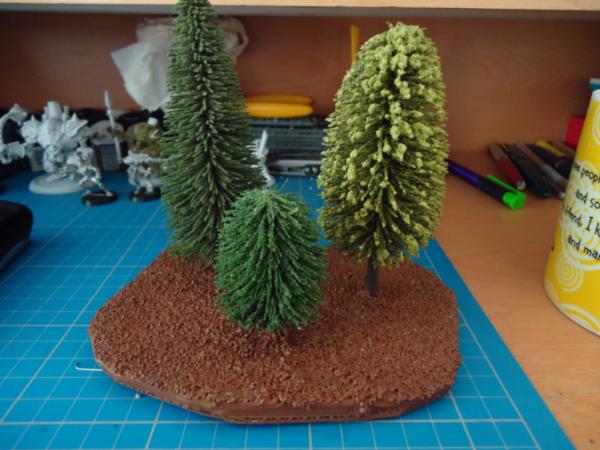
Once dry, I then coated the base with PVA and glued some fine ballast / sand to the base and painted it brown. Once that coat was dry, I then drybrushed it with bleached bone and added some patches of static grass.


Optional final step is to give it a light spray with varnish. You may find that the cardboard / foam base might warp depending on where it is stored and used, in which case you may want to consider using a plasticard or MDF base.

This message was edited 2 times. Last update was at 2011/06/15 12:26:29


=====Begin Dakka Geek Code=====
DC:80-S--G+MB+I+Pw40k95+D++A+++/sWD144R+T(S)DM+
======End Dakka Geek Code======

Click here for retro Nintendo reviews

My Project Logs:
30K Death Guard, 30K Imperial Fists

Completed Armies so far (click to view Army Profile):
 
   
Made in ca
Avatar of the Bloody-Handed God


Inactive

Woo the happy little trees :3

Paused
◙▬▬▬▬▬▬▬▬▬▬▬▬▬
           ◂◂  ►  ▐ ▌  ◼  ▸▸
          ʳʷ   ᵖˡᵃʸ  ᵖᵃᵘˢᵉ  ˢᵗᵒᵖ   ᶠᶠ 
   
Made in nz
Basecoated Black


NewZealand

Good idea i never thought of using foam nice handy hint cheers
   
 
Forum Index » Painting & Modeling Tutorials
Go to: