Played Poddy last night. He's using the same Tau list as he did last time, which I think he has almost got sorted now. I am using a different Blood Angels list tonight, I am using a jumper list. There's some counts as (like all Assault Marines have jump packs) and some proxies, the Orks and normal Marines for
Devs and also Orks for Scouts. Be interesting to see how this list runs.
Blood Angels "Red Fleas" - 2,000 points
HQ
Librarian - jump pack, shield of sanguinus & unleash rage
Librarian - jump pack, shield of sanguinus & unleash rage
Honour Guard - jump packs, 4 x meltaguns & 3 x melta bombs
Elite
2 x Sanguinary Priests - jump packs
Troops
10 x Assault Marines - 2 x meltaguns - sgt w/ power fist
10 x Assault Marines - 2 x meltaguns - sgt w/ power fist
10 x Assault Marines - 2 x flamers - sgt w/ power weapon
10 x Assault Marines - 2 x flamers - sgt w/ power weapon
5 x Scouts - 5 x sniper rifles & camo cloaks
Heavy Support
5 x Devastators - 4 x missile launchers
5 x Devastators - 4 x missile launchers
5 x Devastators - 4 x missile launchers
Tau - 2,000 points
HQ
Shas'
El - cyclonic ion blaster, plasma rifle & multi tracker
Bodyguard - missile pod, plasma rifle & multi tracker
Shas'
El - missile pod, plasma rifle & multi tracker
2 x Bodyguard - 2 x missile pods, 2 x plasma rifles & multi trackers
Elite
2 x Crisis Battlesuits - 2 x twin-linked missiles pods & target array
2 x Crisis Battlesuits - 2 x twin-linked missiles pods & target array
3 x Stealth Suits - fusion gun
Troops
6 x Fire Warriors
6 x Fire Warriors
11 x Kroot - 2 x kroot hounds
Fast Attack
4 x Pathfinders w/ Devilfish - Devilfish w/ disruption pod
4 x Pathfinders w/ Devilfish - Devilfish w/ disruption pod
2 x Piranhas - 2 x fusion guns
Heavy Support
Hammerhead - 2 x burst cannons & disruption pod
Hammerhead - 2 x burst cannons & disruption pod
3 x Broadsides - advanced stablisation system & 2 x shield drones - team leader w/ target lock
Game: Annihilation + Pitched Battle
Deployment
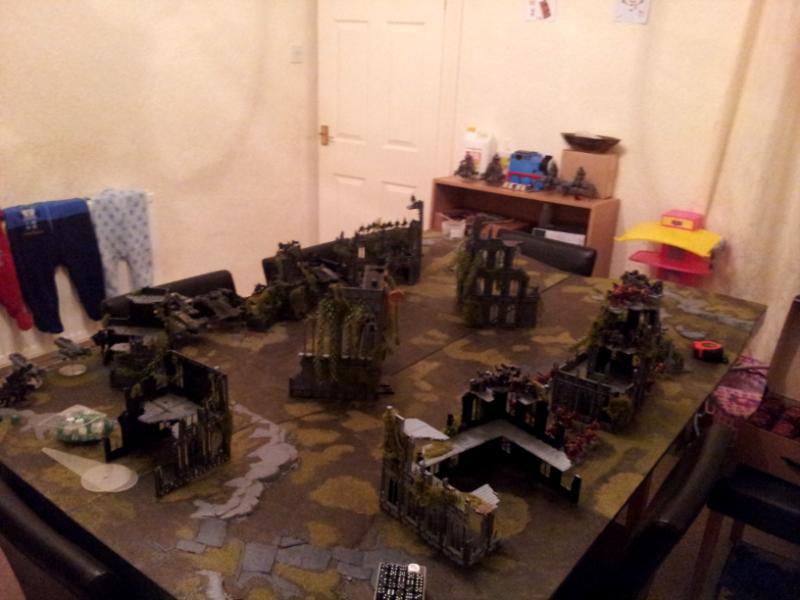
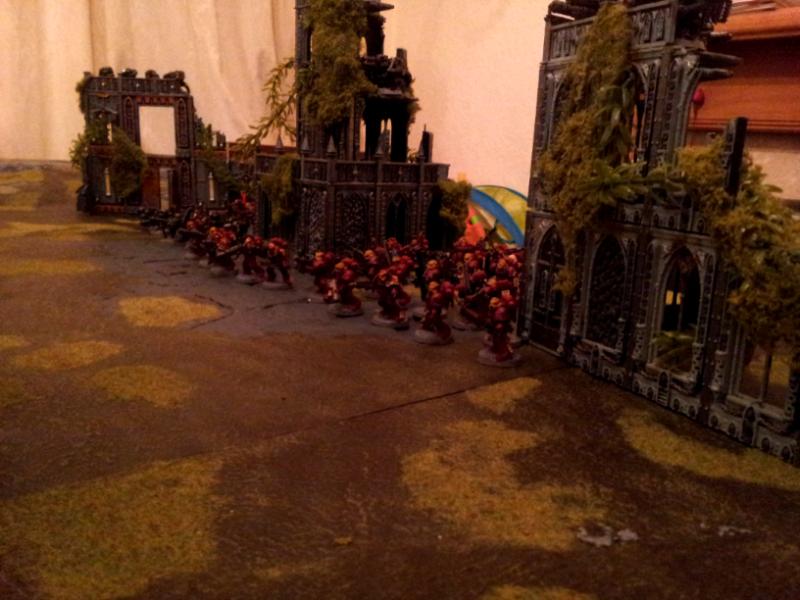
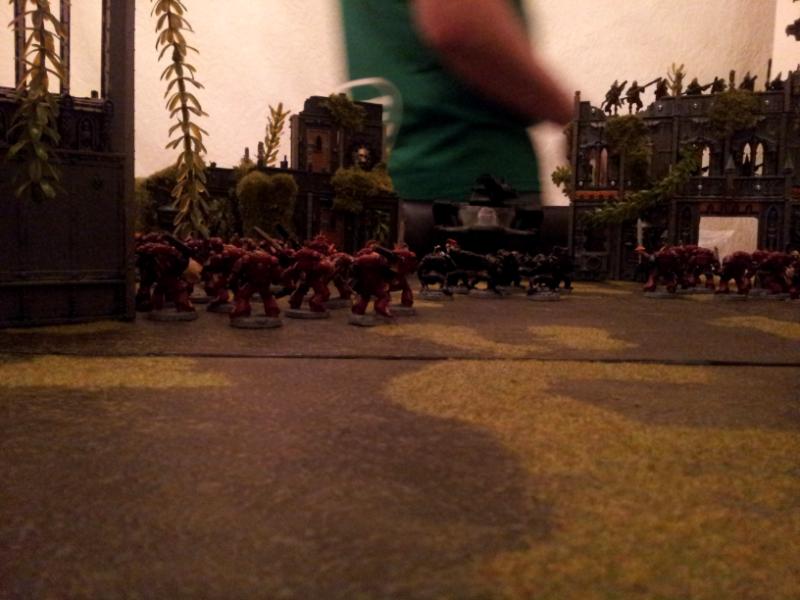
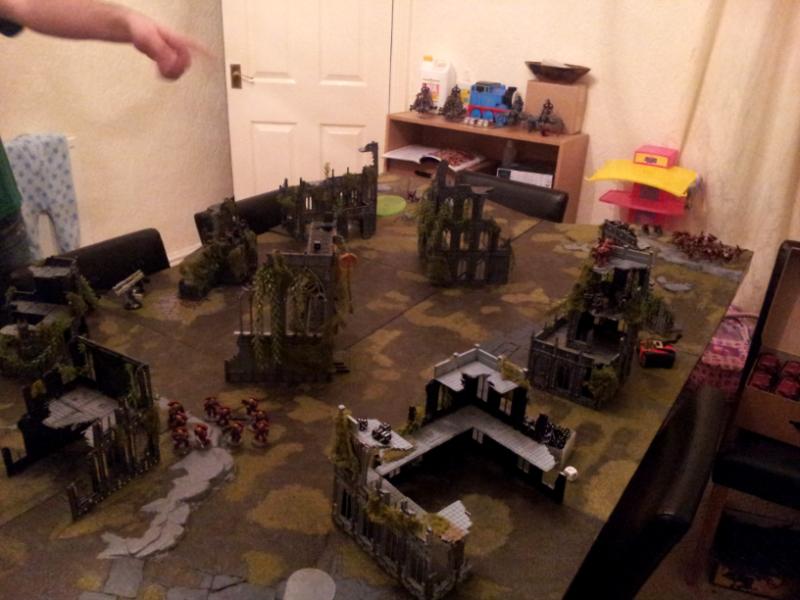
I won the roll off and decided to go first, I want to be in assault a.s.a.p and not standing there getting shot. I deployed all my units in the centre, melta units at the front with the Honour Guard in between and then the two flamer units behind. In a tower ruin in the centre of the board in my deployment zone I dropped down two
Dev units, then in a ruin to the left the other
Dev unit and ruin to the right the Scouts.
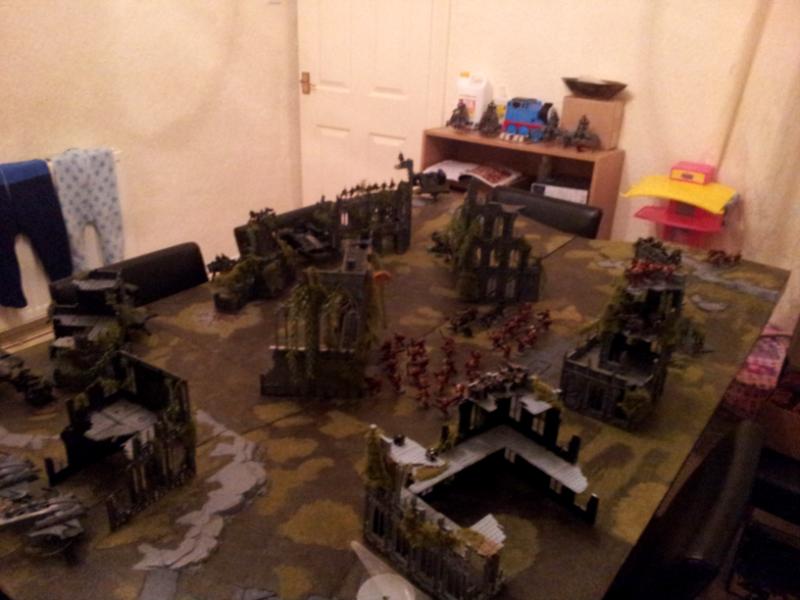
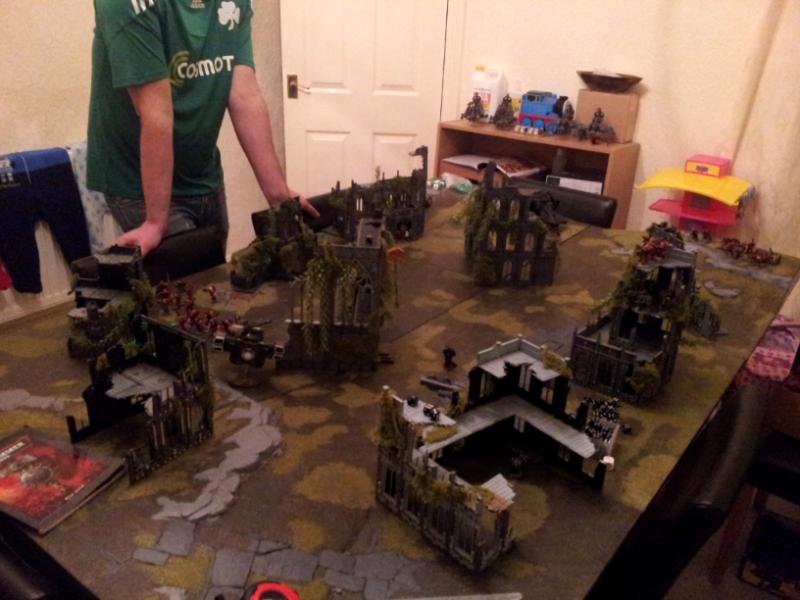
Poddy deploys the bulk of his vehicles in the centre, these are both Devilfish and both Hammerheads. Supporting them is both Pathfinder units in a ruin, Kroot in a large ruin on the right and then a unit of missile pod Battlesuits supporting the Pathfinders and the plasma-pod Shas'
El and unit deployed in the ground floor of the same ruin as the Kroot. On the left flank Poddy placed the Piranhas and Broadsides, hiding behind a ruin was the other missile pod Battlesuit unit.
 * Tactical Notes
Ok, this is going to be weird. I am used to playing with mech armies, so anti tank is always my first priority, but today the Broadsides and Hammerheads don't bother me so much, nor do the Piranhas. The only two real units to worry me is the Battlesuits with plasma-pods and that's because of the plasma. If I can gib these units first round with krak missiles I will be happy.
So, I am going to boost up the centre using the large shrine ruin for cover from the Broadsides. I'll dive straight into the Tau lines and start smashing Kroot and Pathfinders to pieces. I hope that krak missiles can gib some plasma Crisis Suits and I will be happy.
Turn 1
I boost and run all my jump pack units up the board so they can be in range next turn - I am looking at the moment to be about 20" away, I am hoping I can get some units in assault, depends on distance.
Shooting; unit of
Devs unleash krak missiles through the doorway on the Shas'
El plasma-pod unit, Poddys dice are strong and he passes all cover saves. The other Shas'
El and Crisis Battlesuit are not so lucky and get gibbed by krak missiles after two
Devs fire at the unit through the windows of a ruin. Scouts attempt to blast a unit of Pathfinders, they are out of range by 3".
Poddys first turn, he moves the two Piranhas flat out down my left table edge as the Broadsides move into position. Hammerhead in the centre moves away and the Devilfish moves in it's place, the other Hammerhead moves just a bit while the other Devilfish moves 12" away towards my right table edge. Crisis Suits jump out from behind the ruin where the Pathfinders are while the Shas'
El and Crisis Suits take two wounds moving through dangerous terrain with their jet packs.
Shooting; both my Librarians cast shield without any problems. Pathfinders blast the Honour Guard with markerlights, the Shas'
El's unit unleash a torrent of plasma and missile pods which leaves just the Priest left, though he doesn't last too long and gets brought down with a salvo of Kroot fire power. Everything else available in the centre then blasts a melta Assault Squad, two Marines go down. The Hammerhead and Broadsides blast a unit of Devastators, a
Dev and the Sgt are dusted - squad passes morale test.
In the assault phase the Battlesuits run away, though the Shas'
El's unit won't escape my assault range and Poddy has strangely left one missile pod Crisis unit out in the open....
Kill points - Blood Angels: 2 Tau: 1
 * Tactical Notes
I don't feel that was a too bad turn. Could have gone slightly better I guess with those krak missiles gibbing the Shas'El's unit, but it's a dice game and Poddys dice were on fire with cover saves. I have lost my Honour Guard thanks to Poddys good luck and then returning plasma fire, that's four meltaguns down and also Priest. I've got enough meltaguns, so that's ok, but I'll have to watch where I place my Priests now and make sure all units are in feel no pain range.
Next turn I'll send a flamer Assault Squad to batter the Shas'El's unit while meltas will move up to blow up the Hammerhead and if I am lucky get two units into assault with the Pathfinders. Krak missiles will blast the exposed missile pod Battlesuits and rain down on the Piranhas as well.
Turn 2
Assault Squads bound up the board, melta unit is in range of the Hammerhead, though it's going to be close if they are in melta range. I am pretty sure that the other flamer and melta unit will be out of assault range of the Pathfinders.
Shooting; the mauled unit of Devastators seeks some revenge on the Tau and gibs the Crisis Battlesuit unit out in the open. The other
Dev units fire kraks at the Piranha squadron, one explodes and the other is shaken after cover saves have been taken. Meltas are just out of
2D6 armour pen range on the Hammerhead and fail to penetrate. Bolt pistols from a melta and flamer unit fire into both Pathfinder units - one passes morale with only two fish-dudes left, the larger unit fails morale and falls back, but lands on top of their own Crisis Suit unit and is destroyed. Bolt pistols and flamers fire at the Shas'
El's unit, I do no damage thanks to poor rolls to hit and to wound, never mind. Scouts fire at the Kroot, I am hoping they get pinned, but only one Kroot takes a wound and passes the cover save.
In assault the flamer unit charges the Shas'
El, Librarian casts unleash rage - the Tau are wiped out thanks to mass power weapon wounds and armour saves. Squad then consolidates 6" towards the Kroot.
Tau roll for reserves and the Stealth Suits arrive, they land off target and land between the two Devastator positions.
I suggest to Poddy to move his units to come around in a pincer movement and fire all avilable guns at the depleted melta Assault Squad, then fire all Broadsides at the depleted Devastators. He does as I suggest movement wise.
Shooting; remaining Battlesuits, both Hammerheads, Devilfish and Kroot fire at the melta unit, but my saves are awesome and I think only a single Marine dies after the fire storm. The Broadsides don't do much better and only kill one Devastator along with the Stealth Suits -
Devs pass morale test.
In the assault phase the last Crisis Battlesuit unit jumps into hiding, though there will be no escape from the red fleas!
Kill points - Blood Angels: 6 Tau: 1
 * Tactical Notes
I've got a very good lead here and I plan to keep it that way. I've tackled the last plasma unit so now the only things left to sort of fear is the railguns, and lets face the single shots are the most are going to kill a single Marine and that's not factoring in cover saves etc. I did also have some luck with the unit of Pathfinders which fell back and couldn't go the full distance thanks to their own unit, Tau killed themselves!
Next turn I'll sweep the Assault Squads across Poddy's board edge, not to sound cocky, but I don't think there's a lot he can do about it. I'll send a flamer unit after the Kroot, meltas on the Hammerhead while the other melta unit goes after the other Hammerhead and the other flamer unit tackles the last Battlesuit unit. Devs and Scouts will deal with the Stealth Suits and last Piranha.
Turn 3
Flamer unit walks through terrain to get under the Kroot, I have cunningly placed the flamer Marines so they can draw
LOS on the Kroot. Meltas walk up to the Hammerhead while the other meltas go after a Devilfish instead, reason for this is to keep my units in feel no pain and shield range. Other flamer unit moves towards the last Battlesuit unit.
Shooting; flamers unleash on the Kroot and score 8 wounds, Kroot fail morale and fall back, but are blocked by my Assault Marines and destroyed. Meltas blast the Hammerhead and it explodes, other meltas blast the Devilfish, two weapon destroyed results. Flamers blast at the last Battlesuit unit causing a single failed wound. Scouts and
Devs fire at the Stealth Suits, three times I roll 12" spotting distance and the Stealth Suits are 14" away from two
Dev units, I manage to kill two of them and the survivor passes morale.
Assault; flamer unit charges the Battlesuits, Librarian casts unleash rage and the unit is wiped out - flamer unit consolidates towards the melta unit, which has assaulted the Devilfish. The Devilfish is shaken and immobilised.
Poddy's third turn, Devilfish moves up my right flank to blast the Scouts while the last Hammerhead moves so it doesn't get auto hit. Broadsides move about in attempt to escape possible assault next turn.
Shooting; both Librarians cast shield, one fails after rolling 11. Pathfinders fire pulse carbines along with support from the Hammerhead at the flamer unit, some Marines die. The depleted Devastator unit gets blasted by Broadsides and fusion guns from the Stealth Suit and single Piranha, I get lucky on cover saves, though one Marine dies and the
Dev unit fails morale and falls back.
In assault, the melta Assault Marines krak grenade the the Devilfish and it explodes - unit fails morale and falls back off the table.
Kill points - Blood Angels: 9 Tau: 1
 * Tactical Notes
Things are going down quickly for the Tau now. Doesn't help that Poddy has failed two morale checks and two units have run away, one blocked and destroyed by my own Angels.
There isn't a lot left or much to say, really. The flamer unit which blocked the Kroot will fly to the Devilfish moving down my right flank and krak grenade it, while the depleted melta unit will tackle the last Pathfinder unit as the other flamer unit and melta unit will go for Broadsides and the Hammerhead respectively. Devs and Scouts will finish off the Stealth Suit and Piranha.
Turn 4
Battered melta unit jumps into terrain and takes no wounds, the flamer unit isn't so lucky as they bound out of terrain and a Marine dies along with the Priest (I so thoughtful of my opponent I give away kill points!). Other flamer unit bounds other a ruin towards the Broadsides, they are definately out of assault while the melta unit pursues the Hammerhead. Single Devastator falls back off the board and gives up a kill point.
Shooting; Scouts fire at the Stealth Suit but the solo Tau is fine, krak missiles do better and gib the little fellow. Remaining
Devs blast the Piranha and score weapon destroyed. Flamers are out of assault range of the Broadsides (next time, Gadget!) so fire bolt pistols, all Tau are safe. Meltas fire at the Hammerhead and both miss!
In assault; flamer unit charges the Devilfish and blows it up with krak grenades, Fire Warriors fail morale after taking wounds and fall back. Melta unit charges the Hammerhead and scores only shaken :(. Depleted melta unit charges and kills the Pathfinders.
Tau's forth turn, Fire Warriors continue to fall back while the Hammerhead moves 12" away from the Assault Marines.
Shooting; Broadsides blast one of the remaining Devastator units, only the Sgt snuffs it. That's it for Tau!
Kill points - Blood Angels: 13 Tau: 3
 * Tactical Notes
Oh dear, looks like things are not looking good for Tau. Tau have a full unit of Broadsides which are no doubt going to get their faces punched in, a not shooting Hammerhead which is close going to get assaulted, a weapon destroyed Piranha and a falling back Fire Warrior unit. Not to sound big headed, but I can confidently say this game is in the bag.
Turn 5
Flamer Assault Marines bound towards the Broadsides while the melta unit chases the Hammerhead and the other flamer unit walks after the Fire Warriors.
Shooting; Fire Warriors get shot to death and all die. Hammerhead eats melta and explodes. Broadsides lose a shield drone.
In assault, flamer Assault Squad charges the Broadsides - Tau lose combat by 2 wounds after a Marine dies, Tau pass morale test.
Tau's turn and straight onto assault, Broadsides die.
Blood Angels with with 16 kill points and tabling the Tau.
 Summary
First time using this jump list and I must say it's a doddle to play. It's very simple, jump and run forward, take what's coming to you and then assault next turn.
Not sure if I made any mistakes this game, thought I did once as a Priest appeared to be out of feel no pain range of a unit, but was a nat's cock within range. I've been playing Blood Angels for sometime, so I shouldn't be making mistakes really.
List wise I think it's pretty spot on. The Scouts were pretty useless, but to be fair on them they are meant for objective games. I guess I could lose them and invest the points in power fists on the Honour Guard and infernus pistols in the melta units, this would give those units more punch. In objective games I could combat squad a unit and just pack all the melta in a single 5 man unit.
Poddy is getting better each game. I think his deployed was almost spot on as he put most of his vehicles in the centre, which means I had to get past them to get into assault - though his mistake was moving some of them away on his first turn. He also missed some of the windows in the ruins (I've done this) which let me draw
LOS on a Suit unit through one ruin and of course the other unit I could see easily through the doorway. Other mistake he made was leaving a missile pod Suit unit out in the open, I asked him about this after and he said he had his head in the clouds and thought my
Devs just failed morale and I had to roll to regroup, which means they squad could not fire in my turn as they moved.
Fortunately for me this game my dice were on fire - lots of times I rolled many 6s to wound. When my saves come up my Marines just kept passing armour or feel no pain saves.
40k really is a dice game, if your dice are poor or on fire there's nothing you can do about it and just roll with the game.


 Blood Angels - 2000
  Iron Warriors - 2000
  Orks -2000
  Imperial Guard - 2000
 Eldar - 2000
  Hive Fleet Krakken - 2000
  Dark Eldar - 2000
  Necrons - 2000
  Grey Knights - 2000
  Daemons - 2000
  Ravenwing - 2000

 .....LVO GT 2014 Team Tournament - Best Generals
 2,500
2,500


 2000 (RT era Thousand Sons),
  2500 (Skaven),
  (RT era World Eaters WIP)