At Powerfist as per the norm on Thursday. The club is now doing a random draw, if you wish to enter, I think this is going to be interesting as I don't know who I am playing. Draw is done and I am playing Tim and his cool custom Tau army. I've only played Tim at 500 points game, so a big daddy game will be interesting.
I am also testing a seocnd solar pulse, so I've dropped some Warriors to pay for it. The list is a few points under 2k, though never mind.
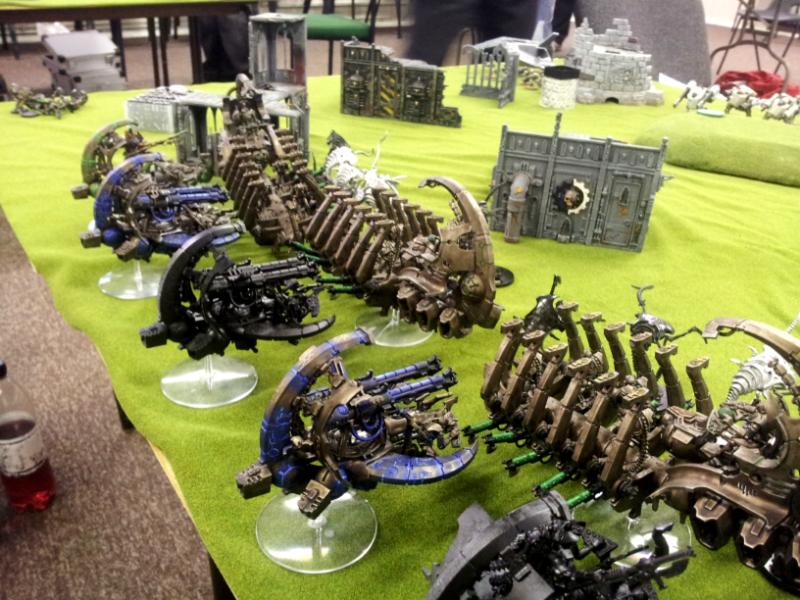
Necrons 'Necro-Wall' - 2,000 points
HQ
Necron Overlord w/ Catacomb Command Barge - warscythe
Royal Court - 3 x Crypteks w/ harbinger of destruction & solar pulse
Necron Overlord w/ Catacomb Command Barge - warscythe
Royal Court - 3 x Crypteks w/ harbinger of destruction & solar pulse
Troops
5 x Necron Warriors w/ Ghost Ark
5 x Necron Warriors w/ Ghost Ark
5 x Necron Warriors w/ Ghost Ark
6 x Necron Warriors
Fast Attack
6 x Canoptek Wraiths - 3 x whip coils
6 x Canoptek Wraiths - 3 x whip coils
Heavy Support
Annihilation Barge
Annihilation Barge
Annihilation Barge
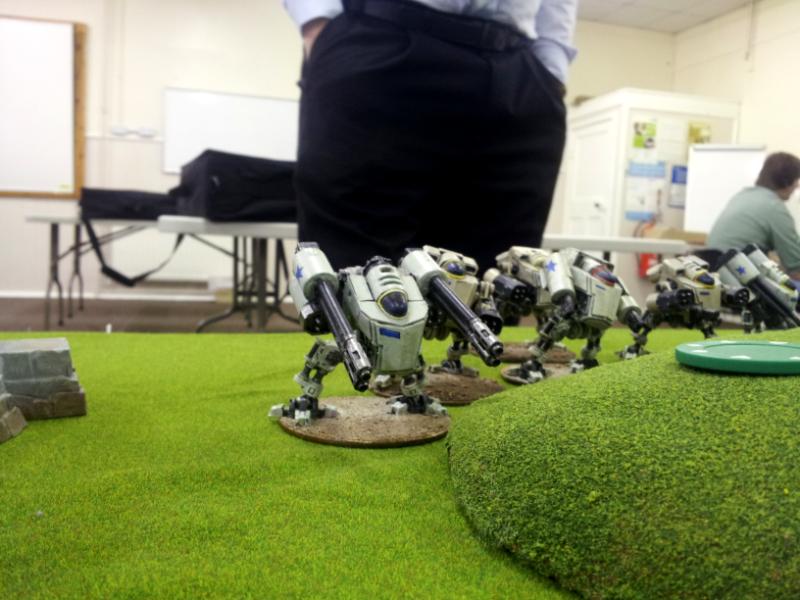
Tau - 2,000 points
HQ
Shas'
El - twin-linked plasma rifle
Elite
3 x Crisis Suits - twin-linked missile pods & 2 x target locks
5 x Stealth Suits - 5 x burst cannons
Troops
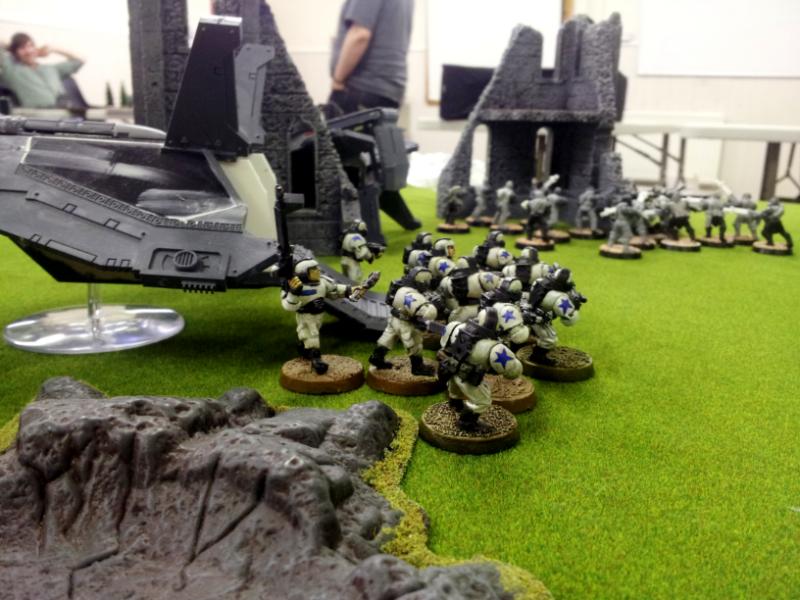
12 x Fire Warriors w/ Devilfish - markerlight - Devilfish w/ disruption pod & 2 x seeker missiles
12 x Fire Warriors w/ Devilfish - markerlight - Devilfish w/ disruption pod & 2 x seeker missiles
12 x Fire Warriors w/ Devilfish - markerlight - Devilfish w/ disruption pod & 2 x seeker missiles
10 x Kroot - 2 x Krootox
20 x Kroot
Fast Attack
7 x Vespid Stingwing
6 x Pathfinders w/ Devilfish - Devilfish w/ disruption pod & 2 x seeker missiles
Heavy Support
Broadside - target array
Broadside - tagret array
Pre-Game Analysis
Usually I hate Tau thanks to the mass railguns they have, usually that's a problem for Necrons as S10 AP1 will smash through quantum shields and get a +1 on the damage table. Luckily for me, Tim has only brought two Broadsides. Everything else can barely touch my armour when the shields are down. The only other high strength weaponry is the seeker missiles, though once they are spent they are spent.
Game: Capture & Control + Pitched Battle
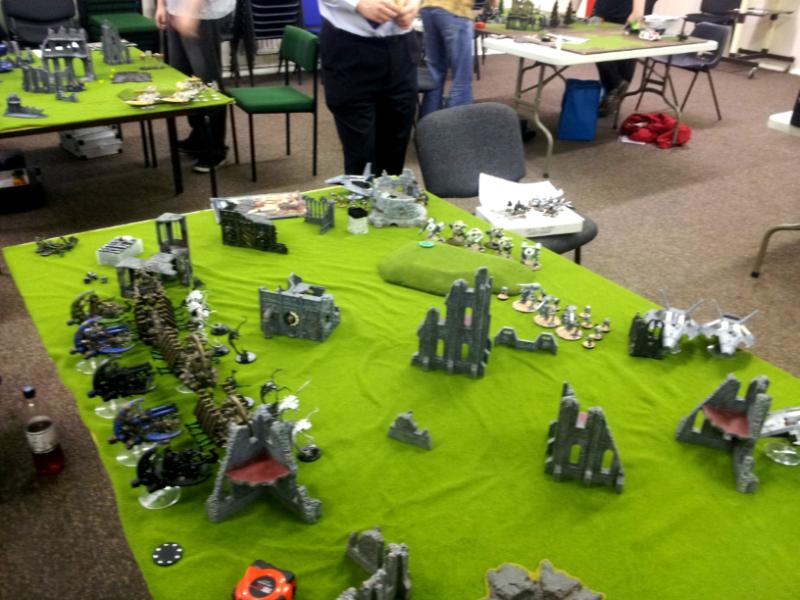
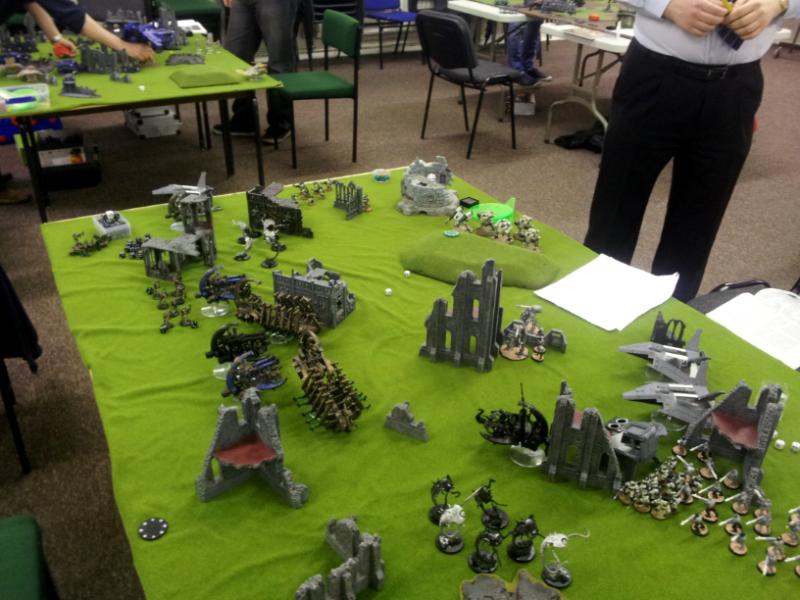
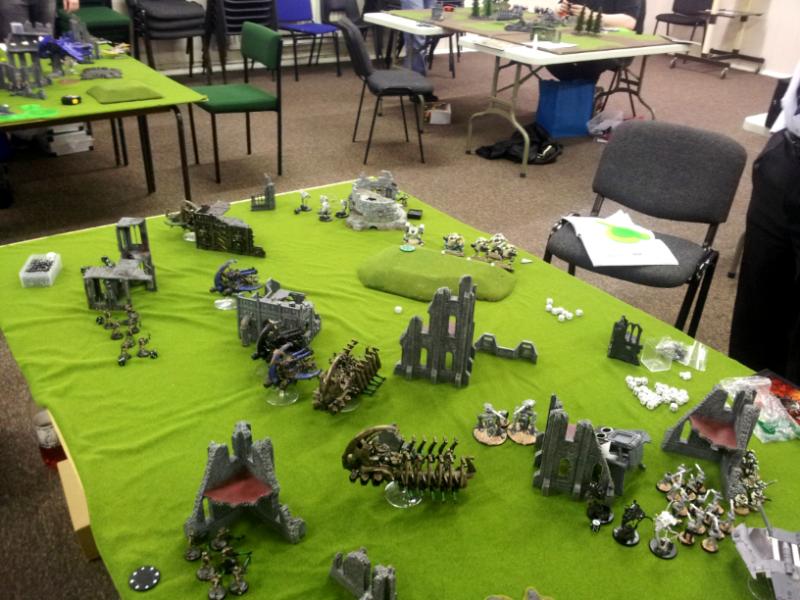
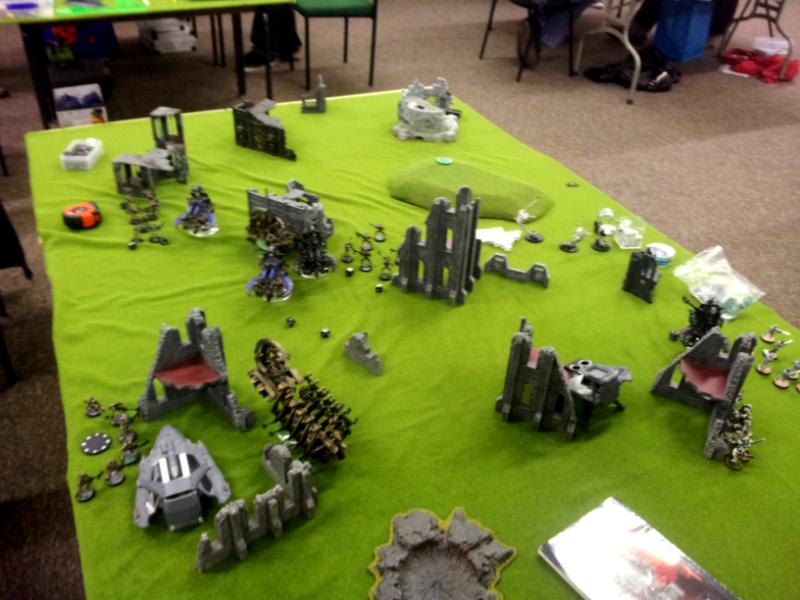
Deployment
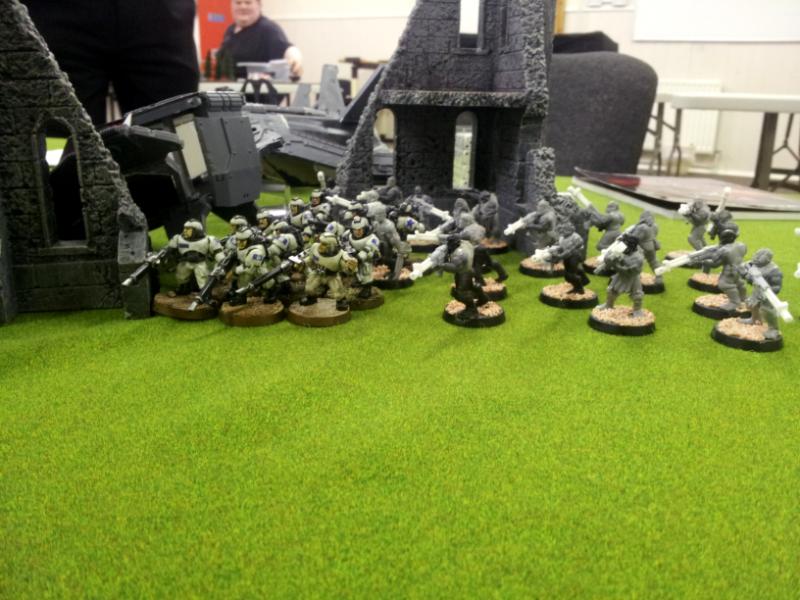
Tim wins the roll off and decides to go first. He deploys the Vespid and Pathfinders along with their ride on my left flank, then sort of in the centre behind a small hill he puts all his battlesuits, supporting the battlesuits is the Krootox unit. On the right flank are the remaining Devilfish. Stealth Suits will infiltrate and the large Kroot will scout.
So I am pondering about my deployment; if I deploy on the right flank I can perhaps use the ruins to give me a little bit of cover. If I deploy on the left flank then a big portion of Tim's army will have to move to reach me. I decide to deploy mostly in the middle, reason is on either flank I'll become bottlenecked in the ruins and deploying on the right flank would only put the Pathfinders out of range, the Broadsides can reach me any where anyway, and I would rather deal with them sharpish. I keep the unit of Warriors on foot in reserve.
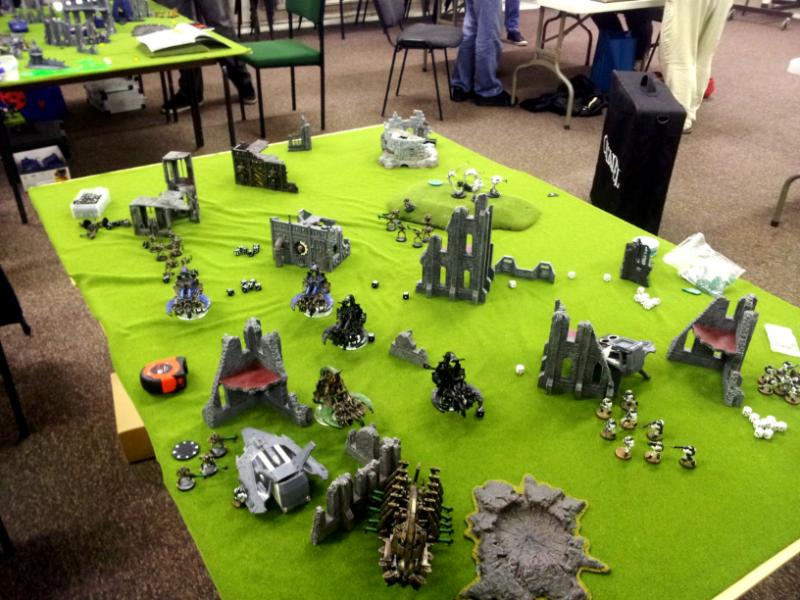
Tim infiltrates the Stealth Suits and puts them on the right flank not far from my Wraiths. Kroot scout and move down the right flank a bit so now about half way across the board.
Tim had previously placed his objective on the hill by his table edge while I put my objective right by my table edge using ruins for cover.
 * Tactical Notes
Ok, so Tim has deployed across his table edge and in any normal situation I would refuse flank, but because the ruins would bottleneck me on either flank it wouldn't benefit me much, plus I am closer to the railguns. There is the risk of him forming a pincer formation and wrapping his army around mine, though if I can tackle the flanks with Wraiths and move straight up the centre I should be ok.
Right, plan is to move the Wraiths on the right flank towards the Stealth Suits. The Stealth Suits aren't high threat, but assaulting them will catapult the Wraiths further up the field and they can just start chopping things up. Wraiths on the left will head towards the Pathfinders. Overlords will start sweeping Devilfish to remove those seeker missiles, while Annihilation Barges and eldritch lances start blasting the battlesuits.
Turn 1
I attempt to seize the initiative as I want to gib those Broadsides a.s.a.p, I fail.
Tau's first turn; I declare solar pulse and it goes dark. On the left the Vespid swing down using the ruin for cover while Devilfish move down to support the Krootox and large unit of Kroot. The empty Pathfinder's Devilfish moves 12" down the left flank.
Shooting; Pathfinders light up the Ghost Ark on the left flank, I fail cover saves from a ruin and the Ghost Ark goes boom - all Necrons are safe and pass pinning. So Tim has drawn first blood...Tim adds to his blood toll by killing a Wraith and putting a wound on another one on the unit on the left flank.I think that's really the only damage he does this turn and railguns are out of range thanks to solar pulse, burst cannons are out of range anyway and Tim forgets to fire at the Wraiths, doh!
Necron's first turn; Overlord on the left zooms up and cuts into the empty Devilfish, I know it's not posing a threat, though I don't want it lurking about and going for my objective later - it takes a weapon destroyed result. The other Overlord zooms up towards the oncoming trio of Devilfish on the right flank, the
CCB spins around so the rear has got cover from a ruin and the Overlord cuts the Devilfish in half and it's wrecked. Ghost Arks move up the centre with Annihilation Barge support. Wraiths on the right flank move over to the Stealth Suits.
Shooting; I fire a crap load of lances at one Broadside and the lucky devil makes all cover saves possible, the other Broadside isn't lucky and it blown into a mist of red. One Annihilation Barge fires at the Pathfinders and only kills one, it arcs off onto the Vespid, who are alright I think. The other two Annihilation Barges along with Ghost Ark support blast the Krootox unit, couple of Kroot remain.
Assault; Wraiths on the left are a couple of inchs out of assault range on the Vespid, the other Wraiths easily reach the Stealth Suits and rip them to pieces.
 * Tactical Notes
Ok, not a too bad start. I've lost a Ghost Ark, which is the way the cookie crumbles, though I've taken out a Broadsides, thinned out the Krootox, cut up a Devilfish and destroyed the Stealth Suits. I cannot really grumble, even though the invincible Broadside failed to fall thanks to the armoured hill of cover, lol.
Turn 2
Vespid and Pathfinders fall back, though the Pathfinders don't get far even when running. Krootox and the surviving Kroot move and run into a ruin for cover while the Fire Warriors wrecked out their ride support the large Kroot unit and target up the Wraiths on the right.
Shooting; missile pods blast the Wraiths on the left, one dies and another takes a wound. Kroot and Fire Warriors blast into the Wraiths on the left with burst cannon support, three Wraiths remain with one on a single wound. Railgun takes a pop at a Ghost Ark and fails to cause any damage.
Krootox assault the Catacomb Command Barge on the right flank, though fail to score any damage.
I roll for reserves and my Warrior unit arrives and claims my objective.
As the Devilfish on the left flank is still mobile and the Overlord cannot sweep any better targets, I sweep that and make it go boom. The Overlord on the right flank zips over another Devilfish and makes that go boom also, the Fire Warriors inside fail pinning test. Annihilation Barges move up to get into range of the Crisis Suits along with Ghost Ark support while one Ghost Ark peels off to support the Wraiths on the right flank with it's fire power. Wraiths move through terrain to reach the Pathfinders.
Shooting; Annihilation Barges blast all the suits, every single suit takes a wound. Lances fire at the Broadside again and the bugger just keeps passing those cover saves! Ghost Ark in the centre fires one array into the Krootox unit, while the other Ghost Ark splits it's fire power into the Krootox unit and also the Pathfinders out the first wrecked Devilfish. Unit inside the Ghost Ark on the right blast the Kroot to soften them up more. Both the Kroot and Fire Warriors fail morale and fall back.
Assault; Wraiths charge the Fire Warriors and wipe them out in combat, the Pathfinders also find themselves under attack from Wraiths and are also wiped out.
 * Tactical Notes
Can't complain this turn either, Tau are starting to drop like flies as Kroot are falling back and will continue to do so as my Wraiths are within 6", Fire Warriors are dead, Pathfinders dead, all battlesuits depleted, Pathfinders pinned and only one operational Devilfish left. Oh, like a noob I forgot to use the second pulse, thing of habit I guess as used to having just the one.
I would like to say Tim has had some success this turn, though unfortunately he hasn't. He's managed to put some wounds on both Wraith units, though that's about it. I am pretty sure that if the pinned Fire Warriors would have lent their fire power, then the heavily depleted Wraiths would be dead meat.
Next turn I am just going to keep the pressure on and carry on the attack, Wraiths will attack stuff in close combat, Annihilation Barges and lances will shoot suits, while Overlords sweep stuff.
Turn 3
Vespid move and run away now moving along Tim's table edge. Kroot fall back and are within 6" of my Overlord on the right flank, so they will have to continue to fall back providing I don't move my Overlord too far away. Remaining Devifish moves up and the Fire Warriors inside bail out and take aim at the depleted Wraiths on the right flank. Krootox unit moves out to assault the Ghost Ark on the right flank.
Shooting; railgun blasts the Ghost Ark in the centre and scores weapon destroyed, the quantum shield is gone as the railgun scored a penetrating hit, so the missile pods blast it to pieces and it explodes - all Necrons are safe and sound and pass pinning. Falling back Kroot and the Fire Warriors out the Devilfish gun down the Wraiths along with burst cannon support. I think that's about it.
Assault; Krootox assault the Ghost Ark, though fail to score any damage.
Overlord on the right flank sweeps the falling back Kroot and lands by them, they will have to keep falling back as the Overlord is within 6".
CCB on the left flank zooms up and sweeps the Broadside, it takes a wound, one left. Wraiths on the left fly over and can multi assault the Vespid and Broadside, so I won't fire at the Broadside and instead put all lances and tesla into the Crisis Suits. Warriors by my objective move up to get into rapid fire range of the Krootox as the Ghost Ark moves up to lend it's fire power.
Shooting; lances and tesla blast the Crisis Suits and the entire unit is wiped out. Gauss flayers rip into the Krootox unit and they are wiped out. Ghost Ark on the right flank blasts the Fire Warriors from out the Devilfish and kills a few, the lances from the squad inside along with gauss blast the Devilfish and only cause shaken.
Assault; Wraiths assault the Vespid and Broadside, the Broadside is destroyed and the Vespid fail morale and fall back off the board.
 * Tactical Notes
Ok, not to sound big headed, though Tim is on borrowed time. He has no troops near his objective and his only chance to score a draw is to move the last operational Devilfish and contest mine, though I do have the Warriors in the centre, which are about 20" from his objective, with good rolls I could probably reach his objective.
Oh, and I am a double noob as I forgot pulse again - damn it!
Turn 4
Fire Warriors bail back into the shaken Devilfish and it moves 12" and either contests my objective or is very close to doing so. Kroot continue to fall back and are about 4" from the table edge to walking off while the previously pinned Fire Warrior unit remains in position, I think Tim forgets about them actually. I also declare pulse as well at the start of the turn.
No shooty shooty, so pulse wasted after finally remembering it,
lol!
My turn; Overlord on the right flank moves flat out and sweeps the Fire Warriors who haven't moved - they take a morale test and pass. Wraiths move and run over to maybe get the Fire Warriors next turn. Warriors in the centre of the board move and run, though still a decent distance away from Tim's objective.
Shooting; everything shoots at the Devilfish, I cause every damage result except wrecked and destroyed, boo :( .
 * Tactical Notes
Looks like Tim is putting some pressure on me by using the Devilfish to contest my objective. I'll have to remove it to score a victory or else I am looking at a draw, unless those Warriors reach Tim's objective.
Turn 5
Fire Warriors bail out the immobilised Devilfish and target the Warriors on my objective. Other Fire Warriors flank down, though not going to help. Kroot walk off the table thanks to the Overlord nearby.
Shooting; Fire Warriors blast the Warriors and fall go down, unit passes morale and the Warriors fail to get back up.
Necron's fifth turn; I hope to regen the depleted Warriors with the last Ghost Ark, though it's just out of range, I then move the Ghost Ark around so lances can target the rear armour of the Devilfish. One of the Overlords zooms over the Devilfish and sweeps it, though only scores weapon destroyed and a seeker is gone. Other Overlord sweeps the Fire Warriors coming down the board and kills one. Warriors move and run towards Tim's objective, though I get a 1 for run and I am not claming it.
Shooting; I blast the Devilfish and Fire Warriors with everything I've got, the vehicle remains and a solo Fire Warriors passes morale and holds the good fight.
At this point we roll for turn 6 and game continues, Tim conceeds as he only has a Devilfish left which cannot take much more damage and there's two Overlords ready to sweep it and assault it and a single Fire Warrior to contest my objective.
 Summary
At first when Tim said he was using Tau I was a bit worried; I was expecting loads more railguns. What got me the win in this game was Tim's lack of serious anti armour and perhaps anti armour as a whole. He had two railguns, unit of missile pods and several seeker missiles, though those are one shot. I guess against lists which have typcial transport vehicles and low quantity of them Tim's anti tank would be fine, though against eigh av13 vehicles, Tim didn't have much chance. To add to the game Tim also forgot to move three units if I remember right, which my Wraiths and Overlord capitalised on.
I can't say I played perfectly. Not once but twice I forgot to use the second pulse, damn it.


 Blood Angels - 2000
  Iron Warriors - 2000
  Orks -2000
  Imperial Guard - 2000
 Eldar - 2000
  Hive Fleet Krakken - 2000
  Dark Eldar - 2000
  Necrons - 2000
  Grey Knights - 2000
  Daemons - 2000
  Ravenwing - 2000

 4000pts Vior'la

 .....LVO GT 2014 Team Tournament - Best Generals
 he gave me the impression he's been playing longer than me, he's at least been playing in 4th as he had the night fighting rule confused. That's at least 5 years.


 and thanks about the report.
