hey everybody I was making a scenic base for an eldar autarch im gonna paint and I made pictures while I was at it so I hope someone can use it to make their own great looking bases.
If you have any questions please leave a comment or look me up on facebook and shoot me a question there

Okay lets start!
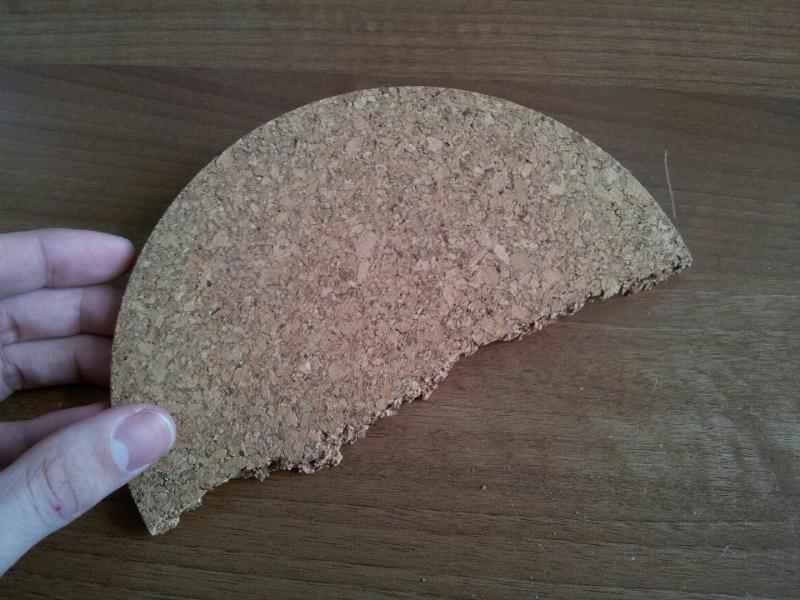
For this base I'm using a half an inch thick cork mat. I like using cork because its cheap, its easy to work with and it has a nice rocky texture.
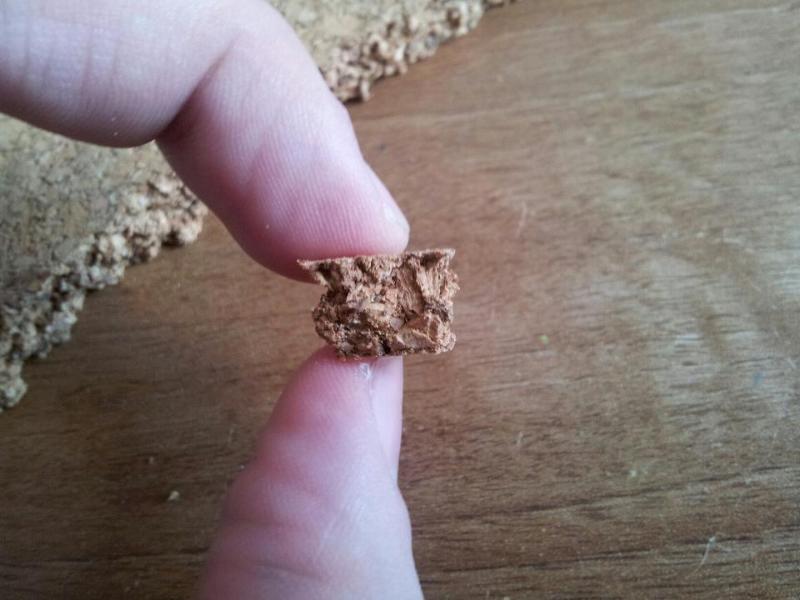
Ive torn off a piece here a piece of cork to show the texture.
Build up your base using superglue. You could use PVA glue or white glue for this but it will take longer to dry. you can see on the top i drew where my miniature is gonna stand so i wont change that area.
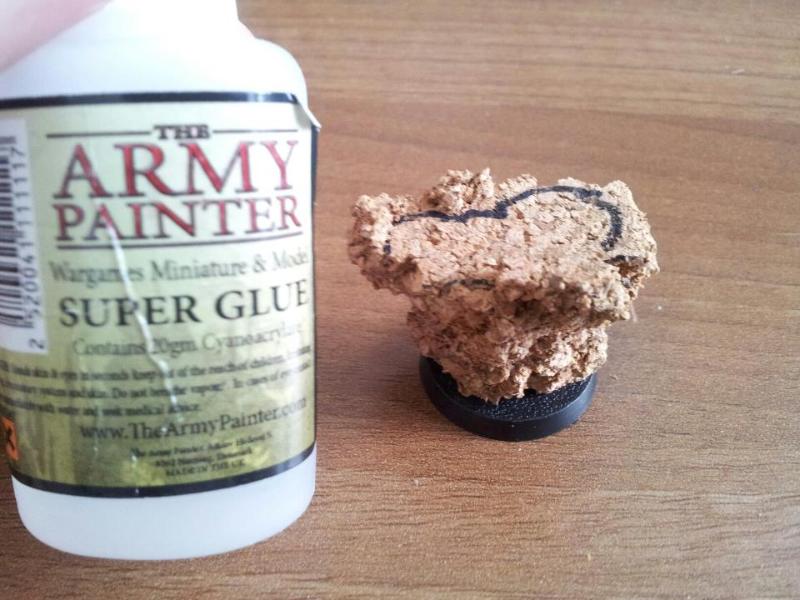
Once you got up to the hight you like, you can tear away pieces of cork to get the shape you want your base to be. I used a dental tool for this. You can also add stuff like roots, plastic H-beams for urban enviorments or like in my case, skulls to the base to make it look more interesting.
(its easier if you drill a hole to add skulls or roots. for H-beams i suggest cutting the shape into the cork after marking it by adding paint to the beam and pressing it on the spot where you want your beam leaving a mark)

Okay so what you wanna do next is cover all the cork with liquid greenstuff. The reason for this is that
LGS does fill these gaps! (as I feel it sucks at filling any gap on models or whatever) I applied it with a jabbing motion to keep the
LGS from pooling and obstructing that lovely rock texture you have created. If you cover up something you didn't want to cover (I accidentally hit one of my skulls with
LGS) don't worry,
LGS is water soluble to take a brush and dip it in clean water and rub off the
LGS. Then rinse of your brush real good or you wont be able to use it again, like EVER!

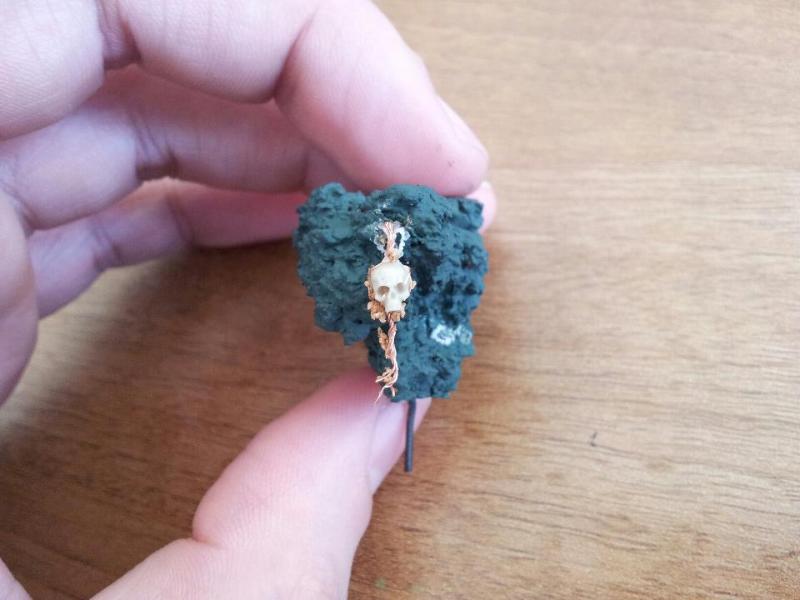
Once your done, give your base a swirl to see if its really done or if it needs more detail. My base was kind of bland on one side so I've added a root entangled skull to one of the sides. i used very thin copper wire to create the root. I glued tiny bits of cork to it to make it look like it was recently ripped out of its soil.
Still following this? Do you like what you got so far? Then its time to glue it to the base with superglue. After that just add some flock or sand or grind up cork or like in my case, grind up walnut shell from GaleForce9.

After this all that is left is painting and final detailing. I'll make a tutorial for this as well if there is a demand for that but that will have to wait till the near future.
Still here? That means you have completed this tutorial. For more tutorials check out my youtube channel and subscribe for frequent updates and follow my facebook page.


 The Black Hand