This game featured Space Wolves VS Nids
“The Wolf and the Kraken”
Nids
Wolves
Pregame
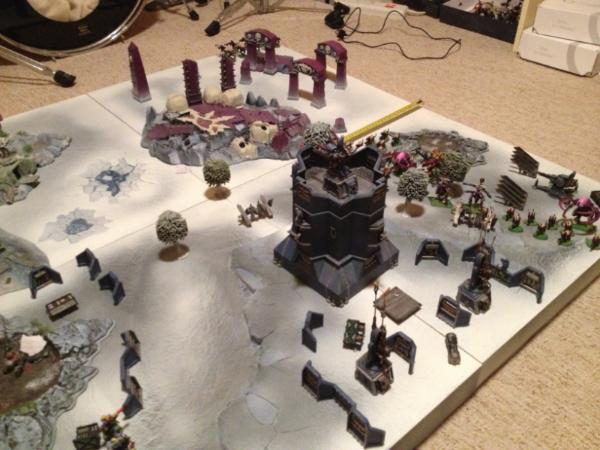
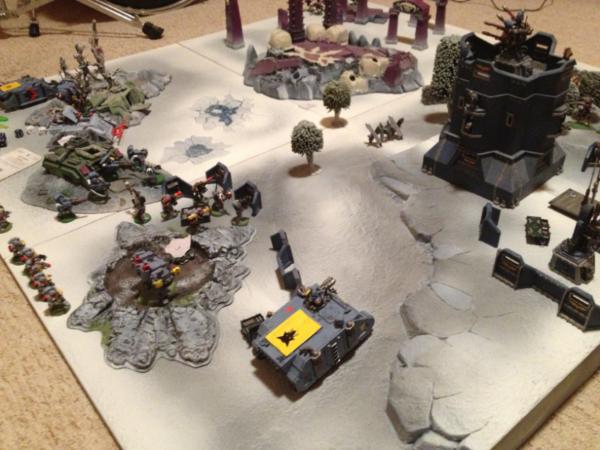
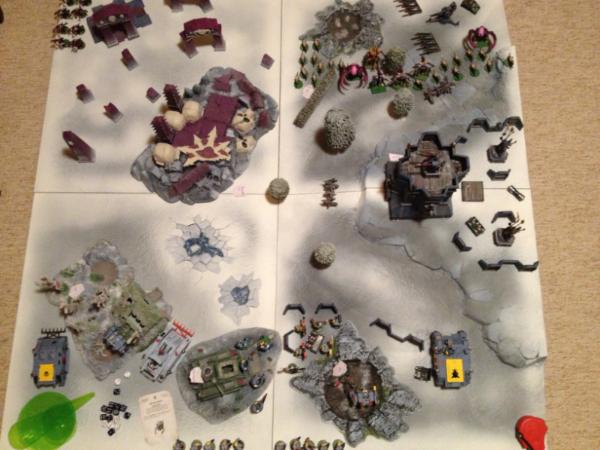
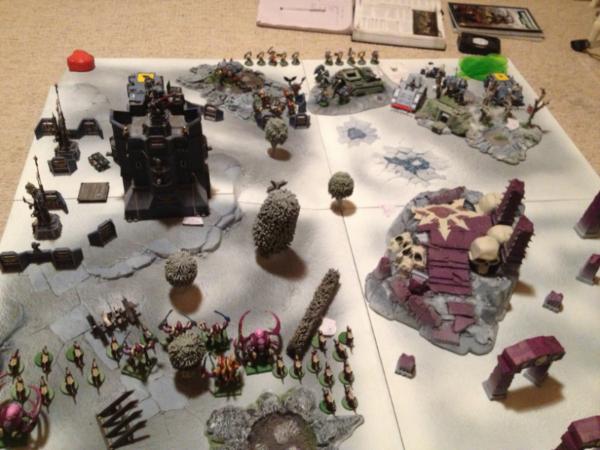
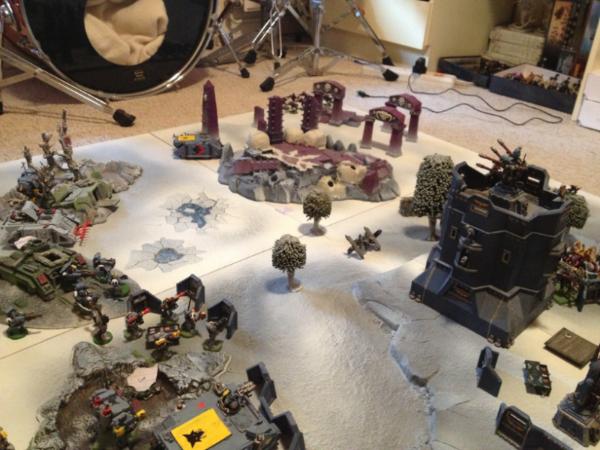
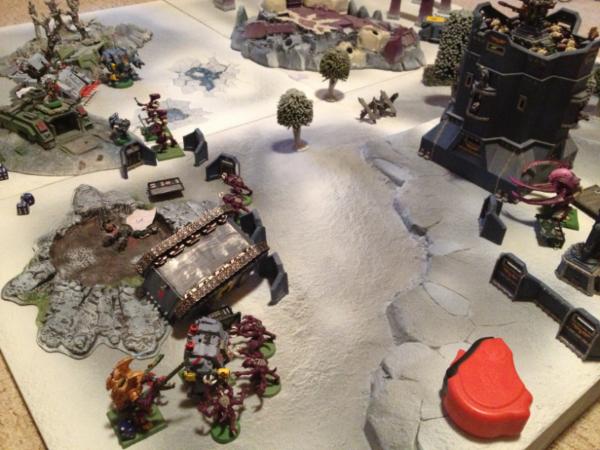
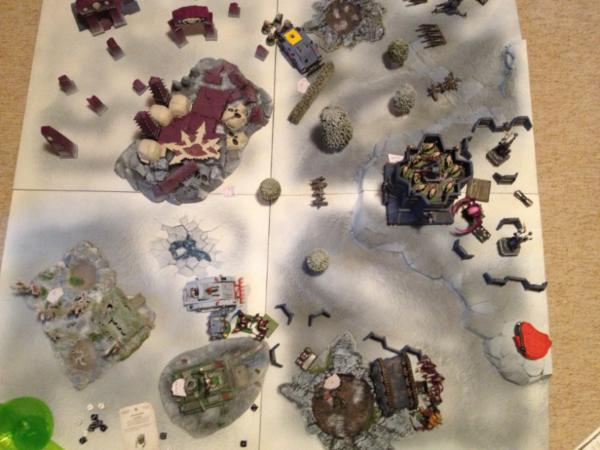
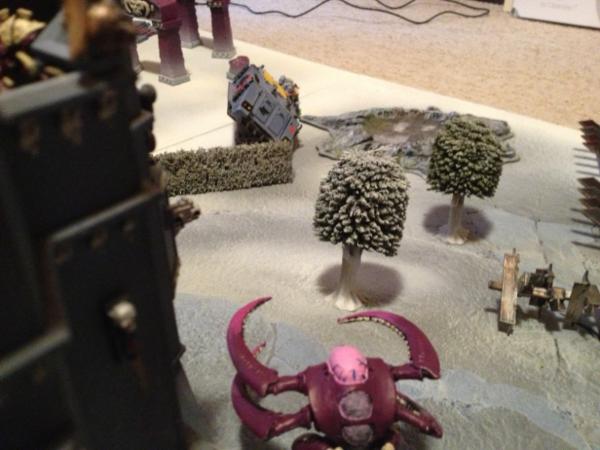
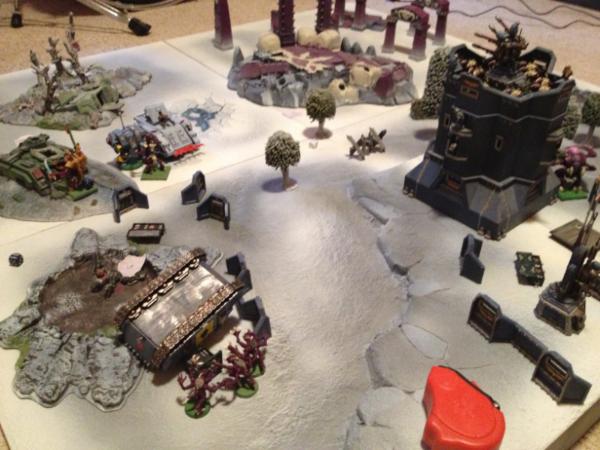
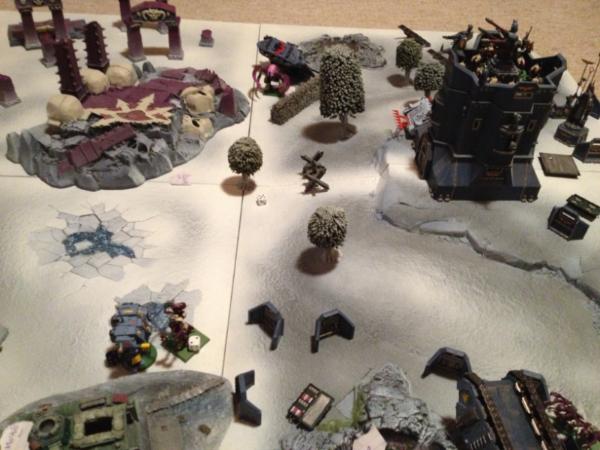
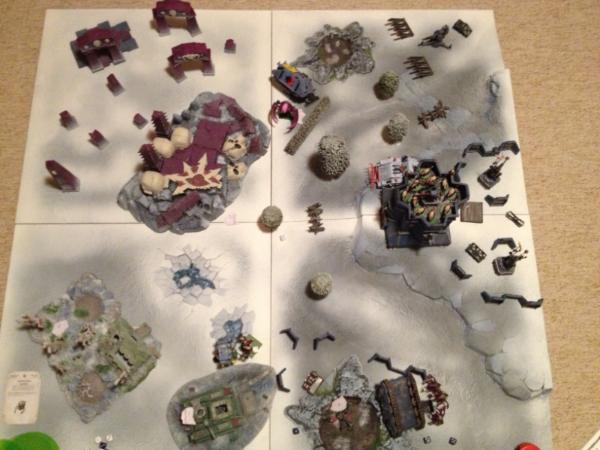
Terrain and objectives:
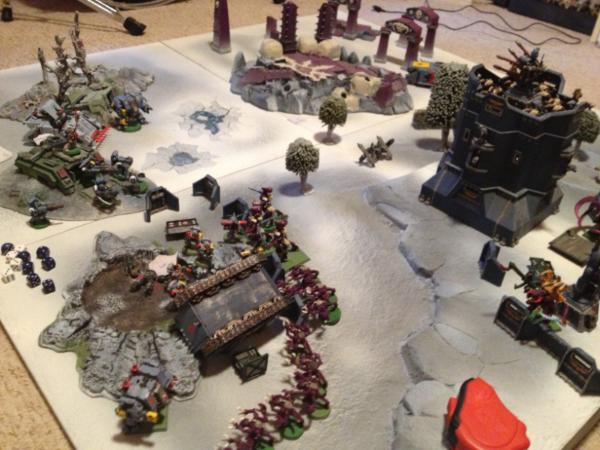
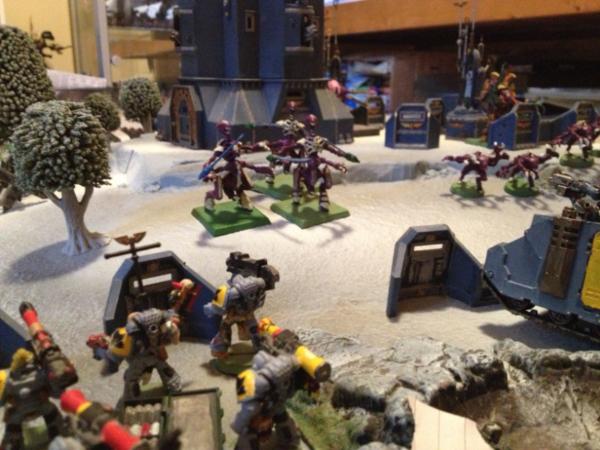
4x4 map.
6 objectives were placed down with the
Sws placing 3 – one in the forest, one at the wrecked Chimera and one in the crater. The Nids placed one behind a hedgerow, one at the Chaos ruins and one behind the bunker.
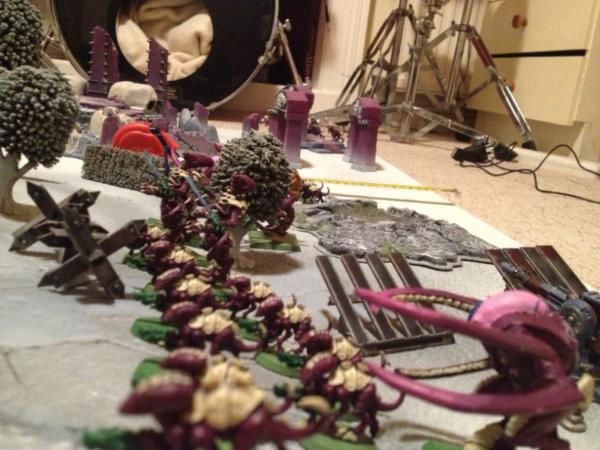
Nids deployment and plan:
The Nids chose to deploy on the opposite side from the wrecked Chimera and craters. Taking a gamble they thought the
Sws might deploy in and around there for cover and having that as a single point of attack for the army seemed like a good idea.
They chose to ignore the objective in the forest and concentrate on the others instead. As a result they used a semi refused flank and all Nids deployed on the left flank except for the Ymargls who chose the comms relay on the hill as their entry point.
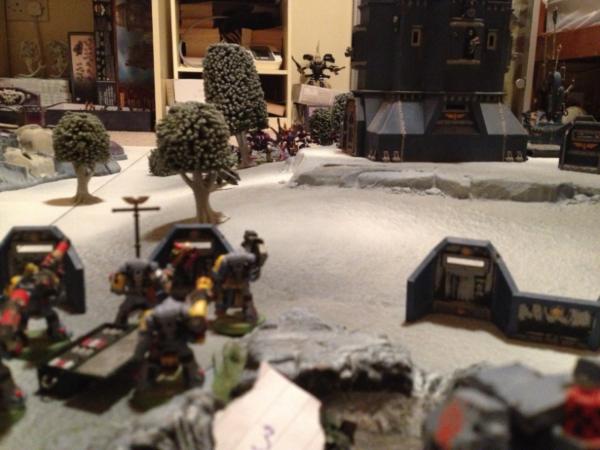
 SW deployment and plan:
Both units of
Lfs setup as a firebase around the cover of the crater and wrecked Chimera supported by a Dread.
The second Dread and Predator deployed on the left flank with a good
LoS to the Nid home obj near the hedgerow.
One Rhino/
GH unit deployed on the far left flank to speed into that objective mid/late game too.
The other Rhino deployed on the right flank to pressure the Nids bunker obj.
The basic plan was to ninja cap the Nids home obj, contest the bunker one if possible and firebase the rest of the Nids down.
 Objectives revealed:
Nid Hedgerow – 2 – nothing special
Nid Bunker – 4 - skyfire
Nid ruins – 3 – nothing special
SW forest – 2 - skyfire
SW chimera – 1- sabotaged
SW crater – 3 – nothing special
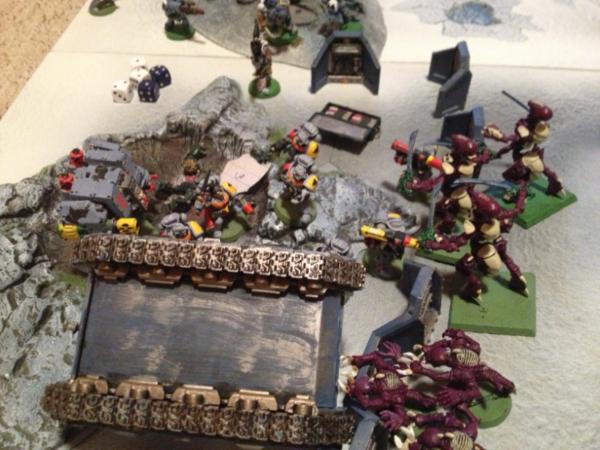
Objs can be seen as the white pieces of paper on the board
The Space Wolves failed to sieze and the game began.
 Nid turn 1.
Movement:
Nid turn 1.
Movement:
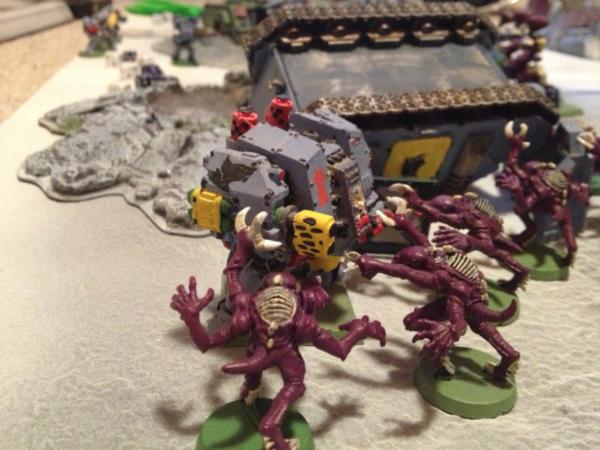
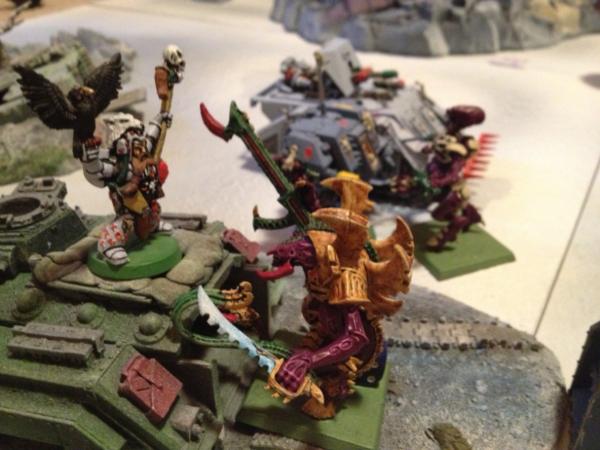
The Shrikes, Parasite and first Termagant unit all moved up close behind the bunker for cover.
The two Carnifexes moved/ran being out of range for first tuen shooting whilst the second Termagant unit reshuffled at the hedgerow for better cover.
Shooting:
No shooting this turn.
 SW turn 1.
Movement:
SW turn 1.
Movement:
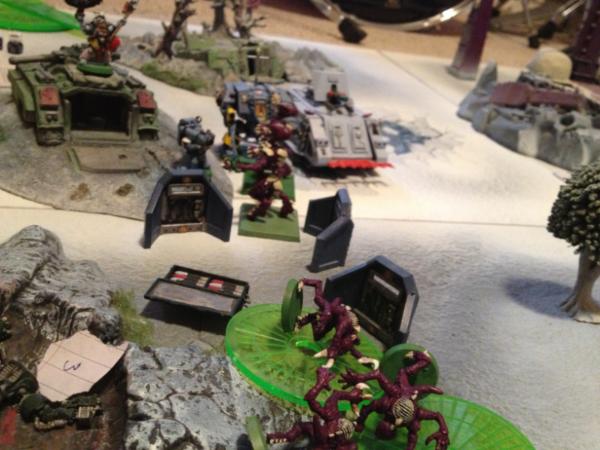
The Rhino on the left flank moved up behind the Chaos Ruins to being pressuring the Nid objective at the hedgerow.
The second Rhino moved behid the aegis line for cover. Everything else held its position.
Shooting:
Both units of
Lfs and one Dread opened up on the Carnifex and not being able to go to ground, it took 5 wounds and was oblitereated.
The Predator and second Dread then opened up on the Terms at the hedgerow, they chose to
gtg being out of Synapse and saved 7 juicy wounds.
 Nids turn 2.
Movement:
Nids turn 2.
Movement:
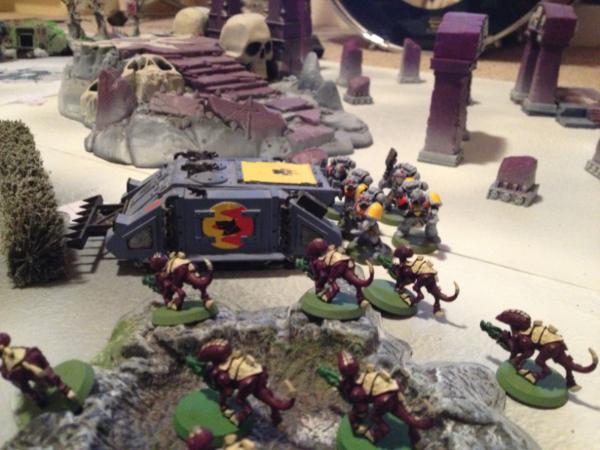
Both units of Ymargls luckily arrived at the comms relay on the hill from reserve.
Due to being out of Synapse range the Terms holding the hedgerow moved into the crater for cover.
The Shrikes jumped into a position to assault the first
LF unit whilst the Ymargls moved down from the hill to attack the Rhino.
The second unit ofTerms entered the bunker to hold the obj there.
The Parasite jumped to where the Ymargls had been behid the aegis line and the last Carnifex moved to get shots in the Rhino.
 Shooting:
The Carnifex shot the Rhino and scored two glanes but failed to do any other damage.
Hand to hand:
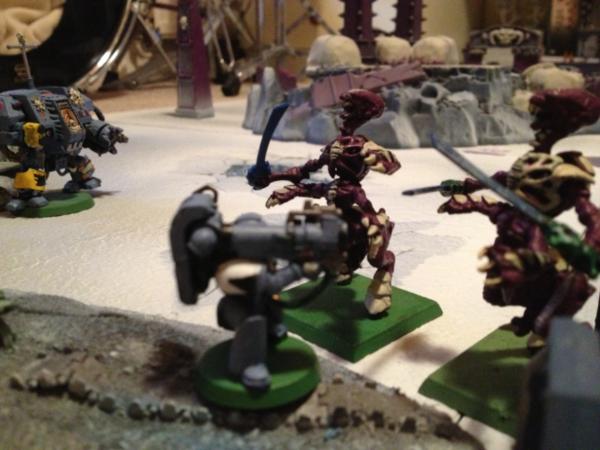
The Shrikes charged the first
LF unit in the crater. They just about made the charge and survived overwatch. The
Sws struck first causing one wound, however the Shrikes caused 3 but the
Lfs passed morale.
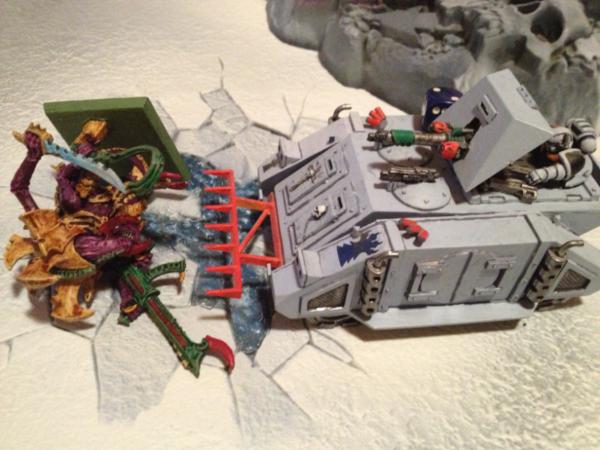
The Ymargls then cahrged the Rhino, passing their
DT test and wrecking it in combat. The
Ghs disembarked but failed their pinning test.
 SW turn 2.
Movement:
SW turn 2.
Movement:
The Runepriest retreated away from the Shrikes into the Chimera ruin.
The Rhino on the left flanked moved falt out to the Nid backfield, ready to attack the hedgerow obj.
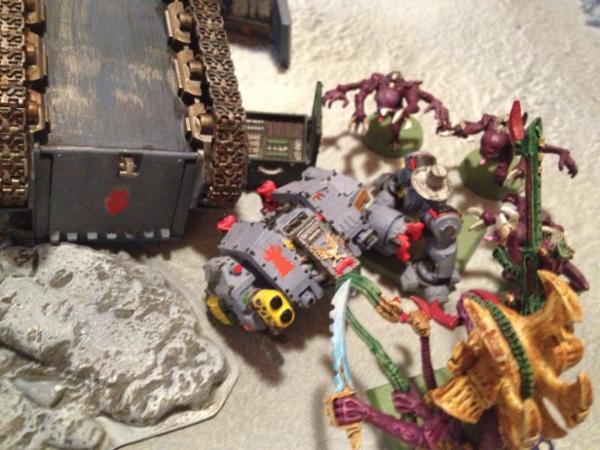
Both Dreads moved 6”, the first to assault the Ymargls and the second to get a better angle on the Parasite.
 Shooting:
That Dread, the Predator, the second
LF unit and the Runepriest with Living Lightning then shot the Pararsite (unable to see the Ymargls). Causing 6 wounds he amazingly saved 5 from behind the aegis line!
The second Dread then shot the Ymargls killing 2. With prescience cast on the pinned
Ghs they then shot the second Ymargl unit and killed another 2.
Hand to hand:
The Dread charged the first Ymargl unit but failed to wound them whilst they penned once causing a shaken result with rending.
The Shrikes wiped out the remaining
Ghs and consolidated 3”.
 Nids turn 3:
Movement:
Nids turn 3:
Movement:
The Shrikes moved slightly to assault the second
Lf unit. The Parasite jumped to assault the Dread engaged with the Ymargls whilst the Carnifex moved up 6”. The backfield Terms continued to lurk.
 Shooting:
The Carnifex shot at the disembarked
Ghs to soften them up the second Ymargl unit but only killed 1.
Hant to hand:
Both the Parasite and Ymargls failed to pen the Dread this turn. The dread caused a wound in return on the Parasite but he saved it resulting in a tie.
The second Ymargl unit then charged the
Ghs. Overwatch caused no wounds and in combat they killed all four
Ghs with some very lucky rending rolls.

They consolidated back into cover.
The Shrikes then charged the second
LF unit. Again overwatch caused no wounds.
3 went down again to rending! They passed their morale check however killing one Shrike in return (2 wounds caused).
 Sw turn 3.
Movement:
The backfield Rhino moved slightly and the
Ghs disembarked.
The second Dread moved to try and engage and tie up the Shrikes. The Predator moved to get
LoS on the lurking Ymargls.
Shooting:
The Runepriest using
LL in conjunction with the Predator wiped out the 3 lurking Ymargls.
The
Ghs then opened up on the Terms in the crater completrly wiping them out.
 Hand to hand:
The Parasite again failed to pen the Dread but the Ymargl (again with rending!) caused two glances and wrecked it.
The Shrikes killed off the last
LF they were engaged with as the second Dread charged them causing two wounds.
At the end of turn 3 the score was
 Nids turn 4.
Movement:
Nids turn 4.
Movement:
The Carnifex moved back to try and targe the Razorback/
GHs.
The Parasite jumped 12” to try and assault the Runepriest.
The Ymargls hid behind the wrecked Razorback out of
LoS of the Predator.
Shooting:
The Carnifex opened up on the Razorback causing 3 pens and wrecking it.
 Hand to hand:
The Dread killed one Shrike in combat and suffered no damage this turn.
The Parasite then assaulted the Runepriest. He scored only one hit but yes it was another rending hit (!) and with implant attack instagibbed him.
 Sw turn 4.
Movement:
Sw turn 4.
Movement:
The Predator moved to try and shoot the Carnifex and possibly contest the bunker obj next turn.
The
Ghs moved to take the Nid backfield obj.
Shooting:
The Predator failed to wound the Carnifex as did the
Ghs.
Hand to hand:
The Shrike/Dread fight was a tie.
Nid turn 5.
Movement:
The Parasite jumped to assault the Predator whilst the Carnifex moved/ran to try and contest the hedgerow obj where the
Ghs were.
 Shooting:
No shooting this turn.
Hand to hand:
The Parasite could only glance the Predator.
The Dread/Shrike fight wa another tie.
Sw turn 5.
Movement:
No
SW units moved this turn. However the Predator was definitely caught in two minds – did it flat out to contest the Nid bunker obj and hope it survived a turn and the game end? Or did it try and kill the Parasite and get StW? Or did it shoot the carnifex to prevent it contesting next turn?
Shooting:
It decided to fire on the Parasite and with some decent rolling killed him.
The
Ghs then fired on the approaching Carnifex but failed to wound him.
Hand to hand:
In hand to hand the Dread caused 2 wounds on the last Shrike but he saved both luckily. He then glanced the Dread in return.
 Nid turn 6.
Movement:
Nid turn 6.
Movement:
None!
Shooting:
The Carnifex opened up on the
GH unit backfield and killed 3 of them but they passed their morale check.
Hand to hand:
It then charged them and wiped them out to man despite taking two wounds from krak grenades.
Again the Dread/Shrike combat was a tie.
 Sw turn 6.
Movement:
Sw turn 6.
Movement:
The Predator moved flat out to contest the bunker obj where the Terms were hiding.
Hand to hand:
Another tie between the Dread and the Shrike concluded the game.
 Final score:


 6000+ pts NIDS
 (
( ) 2000 pts growing to 4000...


 16250 points 45/18/3 (W/L/D) 7th Ed
 6250 points 9/3/1 (W/L/D) sixth-ed
 3400 points 19/6/0 (W/L/D) 8' armybook


 SeiNaah craftworld
 Order of Her Sacred Remains