Progress report pending. Status urgents due to Inquisitorial summons in occupied Ghosar Quintus mining colonies. Unknown data interception, imperial sanction not approved... transmission terminated. Conntacting Adeptus Astartes representatives, forwarding to terminus ultra killteams rerouting to badab terminus killteams, connecting:

Transmission censored imperial override initiated ordarnate xeno code 1X5801DIVIDENTZEAL, dispatching Deathwatch.
WELCOME
TO THE HIVE

WARNING BIG POO PHOTOS ABOUND (will work on this asap please bare with me)
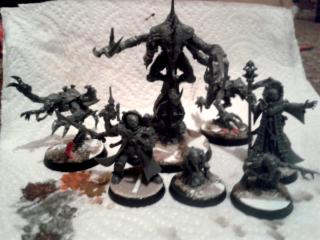
Here i hope to share my endeavors to bring together Space Hulk, Ex Force, Overkill and a host of other models to create a
40k army of Tyranids and Imperials on urban bases to use in both normal
40k and with a board game esq space hulkie ruleset.
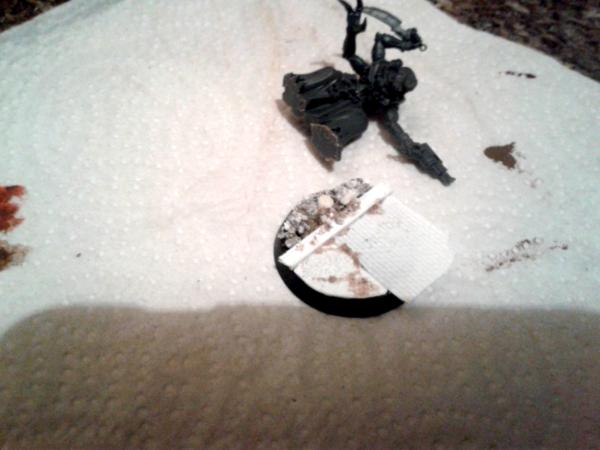
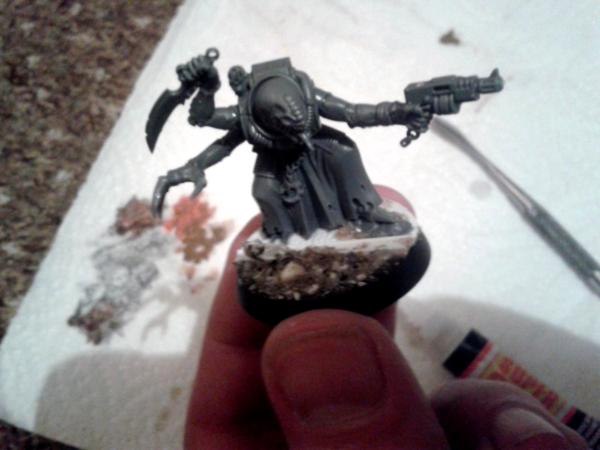
My first model to test out my colours:
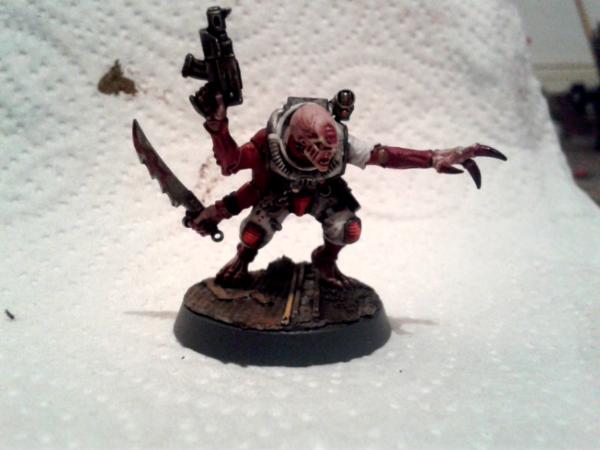
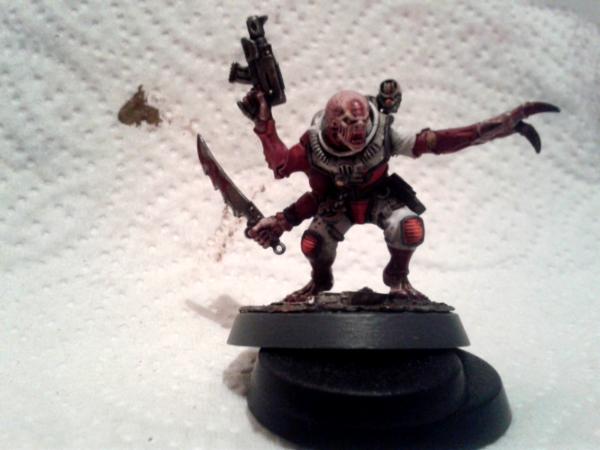
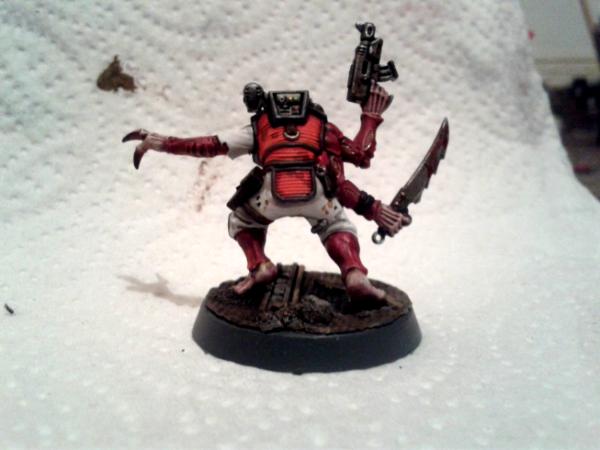
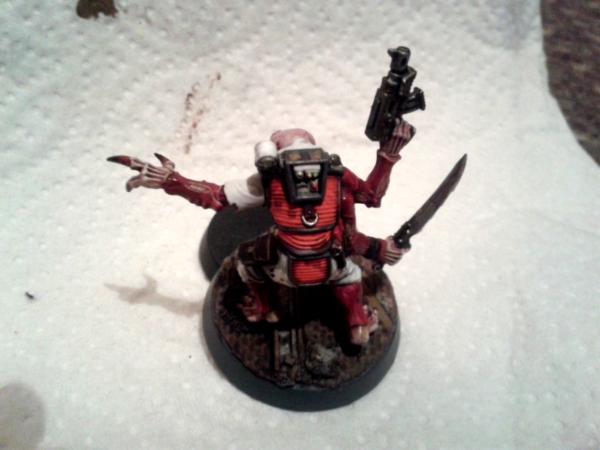
So my nid fleet uses the kraken colours, cream skin withe red chitin. I'd like to carry this though all my nids so the cult will follow this reguardless of the boxed games setting!
Here is the paints i used if anyone is interested:

so the model was based with white spray then the flesh was washed with crabby crimson, the chitin was then painted khorne red, with evil suns high lights. the skin was overbrushed with bleached bone or what ever the cream paint is called

the head was glazed in cream then rehighlighted in more cream and red with red vein work on the bulbous brain sac, in furture i may try a little green n or blue wash to tone the ol noggin but this will do for now, the teeth where done in white then i remember i should paint the gums n the mouth hole so i carefully painted with blood for the blood blood blood keeping those whites white. yellow eyes, soft bits got a nurgles rot slodge to give them a bit of green n goo, carpace edges too.
The suit is what im most pleased with, styled on a mix of modern astro suits and high vis / penel uniforms = my thinking on the influences that would have cause dthe suits to be said white n orange. its blazing orange with bloodletter glaze tis all, trim is mec standard grey. metals are a mix of silver n bronze with weatherings, same with suit weatherings here there ect.
Automatically Appended Next Post: Id like to include progress with a smidgin of tut if peeps want more then i will shimmy one way or another!
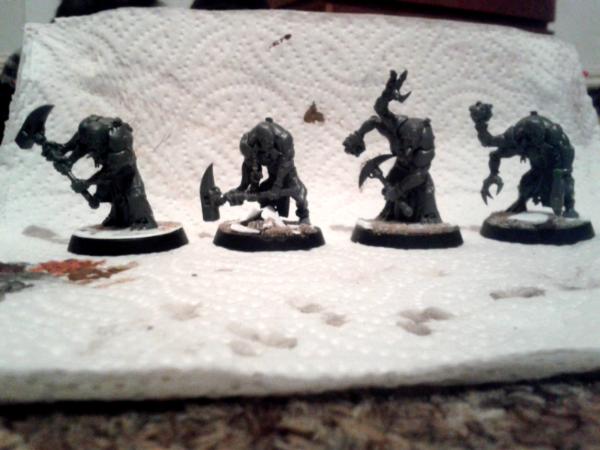
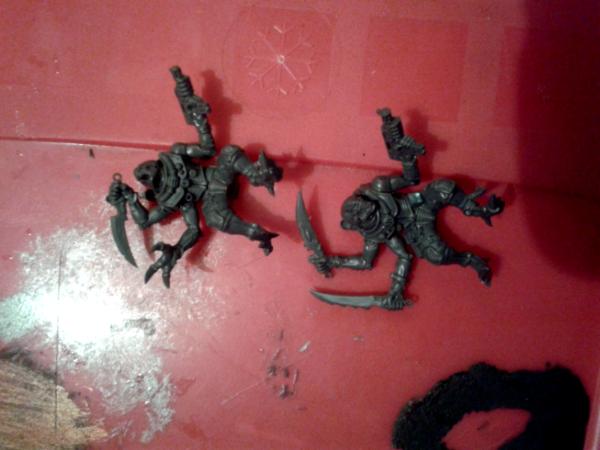
So in the box you get duplicates! DUPLICATES oh the horror... actually i freeking love a lil duplicates lets me justifies cutting super expensive models into tiny peices and glueing them back together at like slightly different angles because i need them unique to satisfy some unknown urge
lol So first the one with three arms n cqc weapons and a derp look in their eyes:
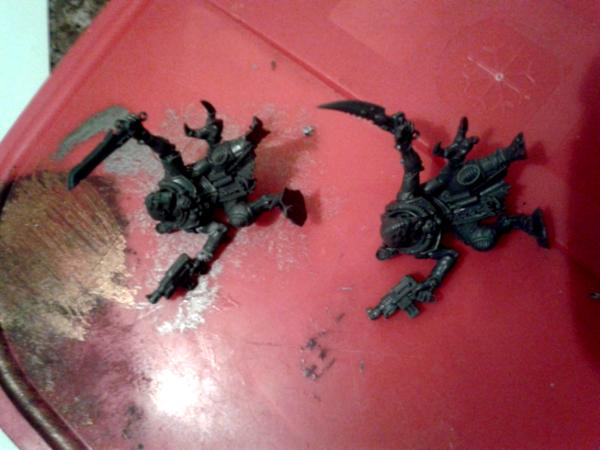
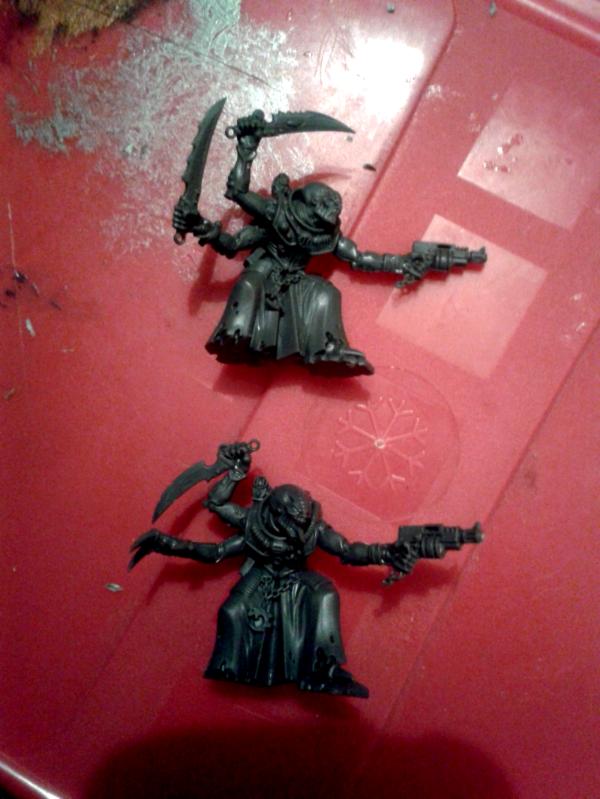
The Abhorrents:
whats that you cry they are already differnt out of the box.. yeah well not enough i need 2% more different... so i put a badge on one yeah!
lol but anyways
GW did a good job
imo making them interchangeable to get variety and still save on molds so well done to them. But i still found the pick dude to similar so i swappped up the skull and claw hands - very easy bash just slice with the shape of the chitin on the wrist from both sides then glue the back together! You can cut the pick hand free from the chest and easily repair the end (if you even care the damage is tiny, i green stuffed it back into shape) then turn it to alter the silhouette further. For me parts dont overly matter its the silhouette and the likeliness or beliveableness that pose/pieces should be similar the pick dude broke that rule for me with the holding a 'prop' ie the skull in the same hand ect...
NEXT
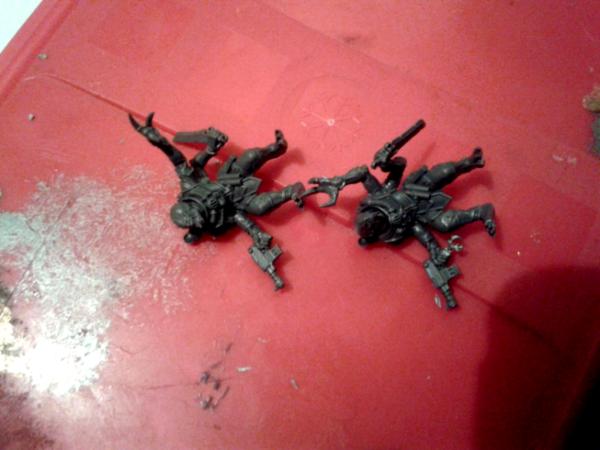
The three armed dudes with the pistols n stabbies:
The 'i forget which'
gen cultists:
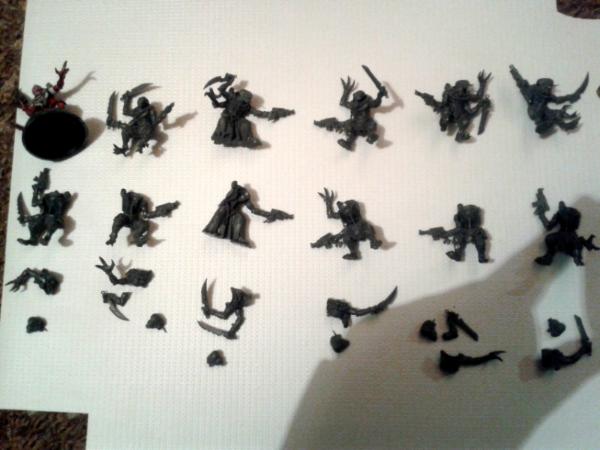
I know the pics make it hard but if you wanna follow along with this make up one sprue of these guys and keep the other ones parts un-assembled then match the silhouettes as i have layed out above. So the top row is the as boxed assembled cultists minus laser guy i havent covered him here i did alter him but pose is very limited hes hold a massive three handled cannon just head turn gun pointed forward done BAM.
Anyways back on topic, the second row is the matching main body+legs of each one, i have then placed some parts below each of these, they have been swapped around as best i could find to fit with ease and yet make a big difference, the heads just swap as you like, cut off the nubs n stick as you please, note; they all look to their left so make your conversions look forward or right! Now if you use the parts i do they almost all just slot together, the first one we will cover, going right to left needs a bit cutting to fill in the middle of his claw hand from another price so i will show close ups of that.
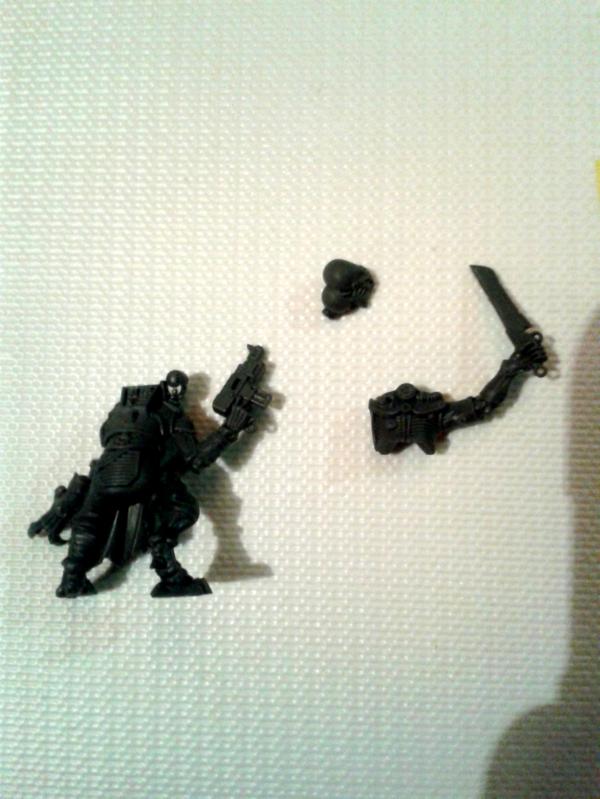
so we will do this guy first, add to this the middle arm part from this bit (i think its the poison alien looking knife):
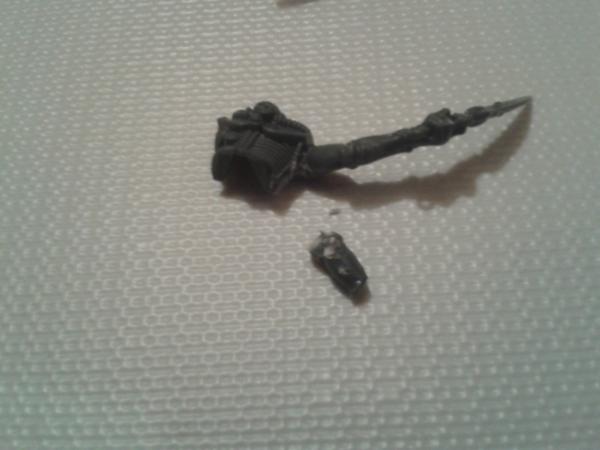
now glue that little nub on to the chest peice and slot that onto the body/legs. I added green stuff to make the trim/suit openings that the cultist have where the third arm comes through and now lack because of how im switching them up. This step could be skipped and it would still fit/look ok.
So now thats done i add in the swapped head, and twist the gun to face a different angle(recommend cutting them off with knife but twisting will work, remember make multiple small cuts at different angles to not ruin details)
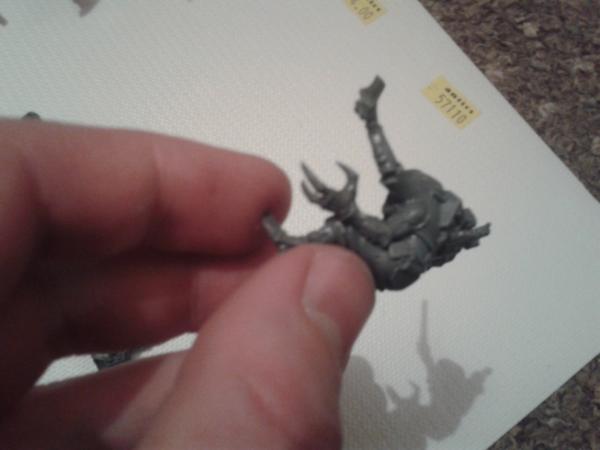
Heres a comparison between the boxed one and the parts swapped one:
So guy 2 (still going right to left)
I cut off the cult symbol to use on the abhorrents neck chain. This one needs the body front trimming on the front left side and inside to fit, not to much but theres a bump caused by the arm on the main piece that needs to fit, also the pipes dont quite fit together on the top but a made a small greestuff rag knot to fix this issue. the same as the first one we did you need to steal back part of the arm for the knife hand. the shoulder is easy to cut away (i for got to do working pics heres soz) and then you are free to stick it at a cool angle to get a ganster pose on the go.
Looks like ive forgot to photo number 3 we will guess that means it was easy
lol i remember some where very easy, just needed option green stuff and hand spinning.
Number 4 pointy gun arm guy! I may add a detail to the front of the robe to switch it up more, i may even change the pointy gun arm to a pointing up pose. This one just requires you to remove the pouch on the chest piece belt, then it fits nicely. i used this piece later on the more standard style cultists.
Number 5 i think this one just worked :/ sorry should have take notes
lol noob XD
Number 6 last one the painted one, as this one had two hands on the bosy piece i cut of the hands and switched them, i chose to cut them not at the wrist but
st a point where one arm had a leather wrapper then green stuffed the something similar on both arms.
After this had dried i used up my greenstuff n sculpted some rags n trinkets onto them to add variety.
Dont be afraid to model them models its were the funz at.
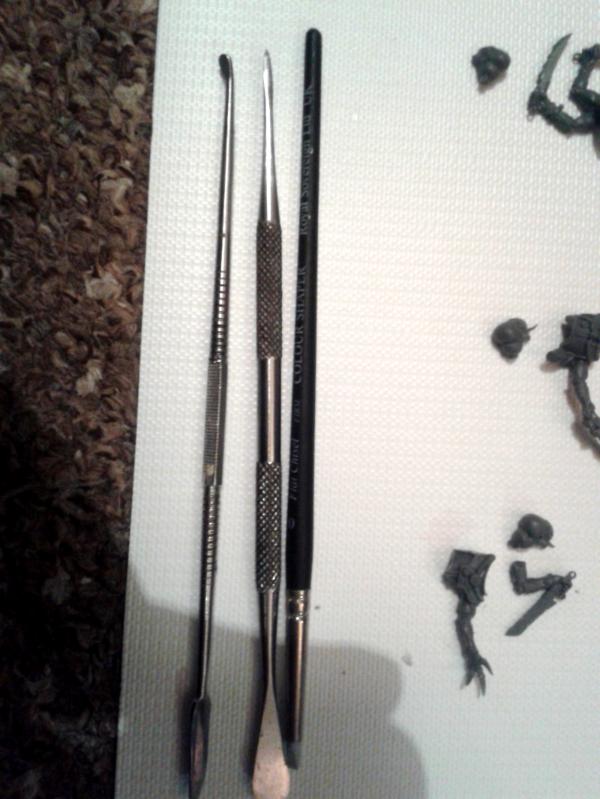
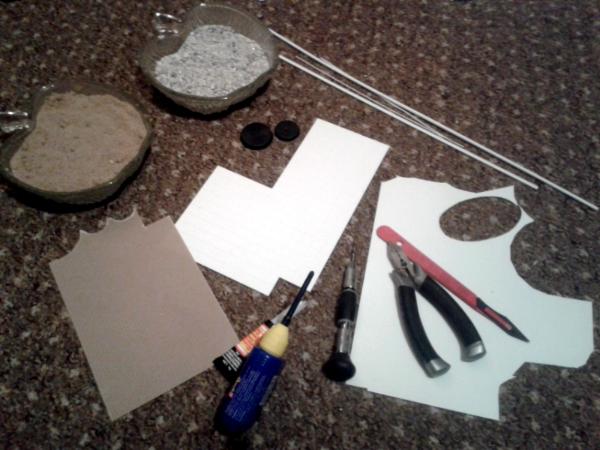
a rubber paintbrush, a sharp edged tool and a small blunt tool will do for almost all ur sculpting need.
To be continued
 Ps
Ps please comment awy i really look forward to crits and comments, suggestion ect ect w00t
this is my first blog n my first proper project so here goes


 3500pts
 1500pts
 2500pts
 4500pts
 3500pts
 2000pts
  2000pts plus several small AOS armies


 !
!