Once again, I printed the head with my Anycubic Photon, which is a photosensitive resin (DLP) printer. it has a small bed, and it's much more expensive to run, but it also gives the finest detail. So, I do the body with my i3 Mega (FDM/Plastic) printer, and the fine details with the DLP printer.
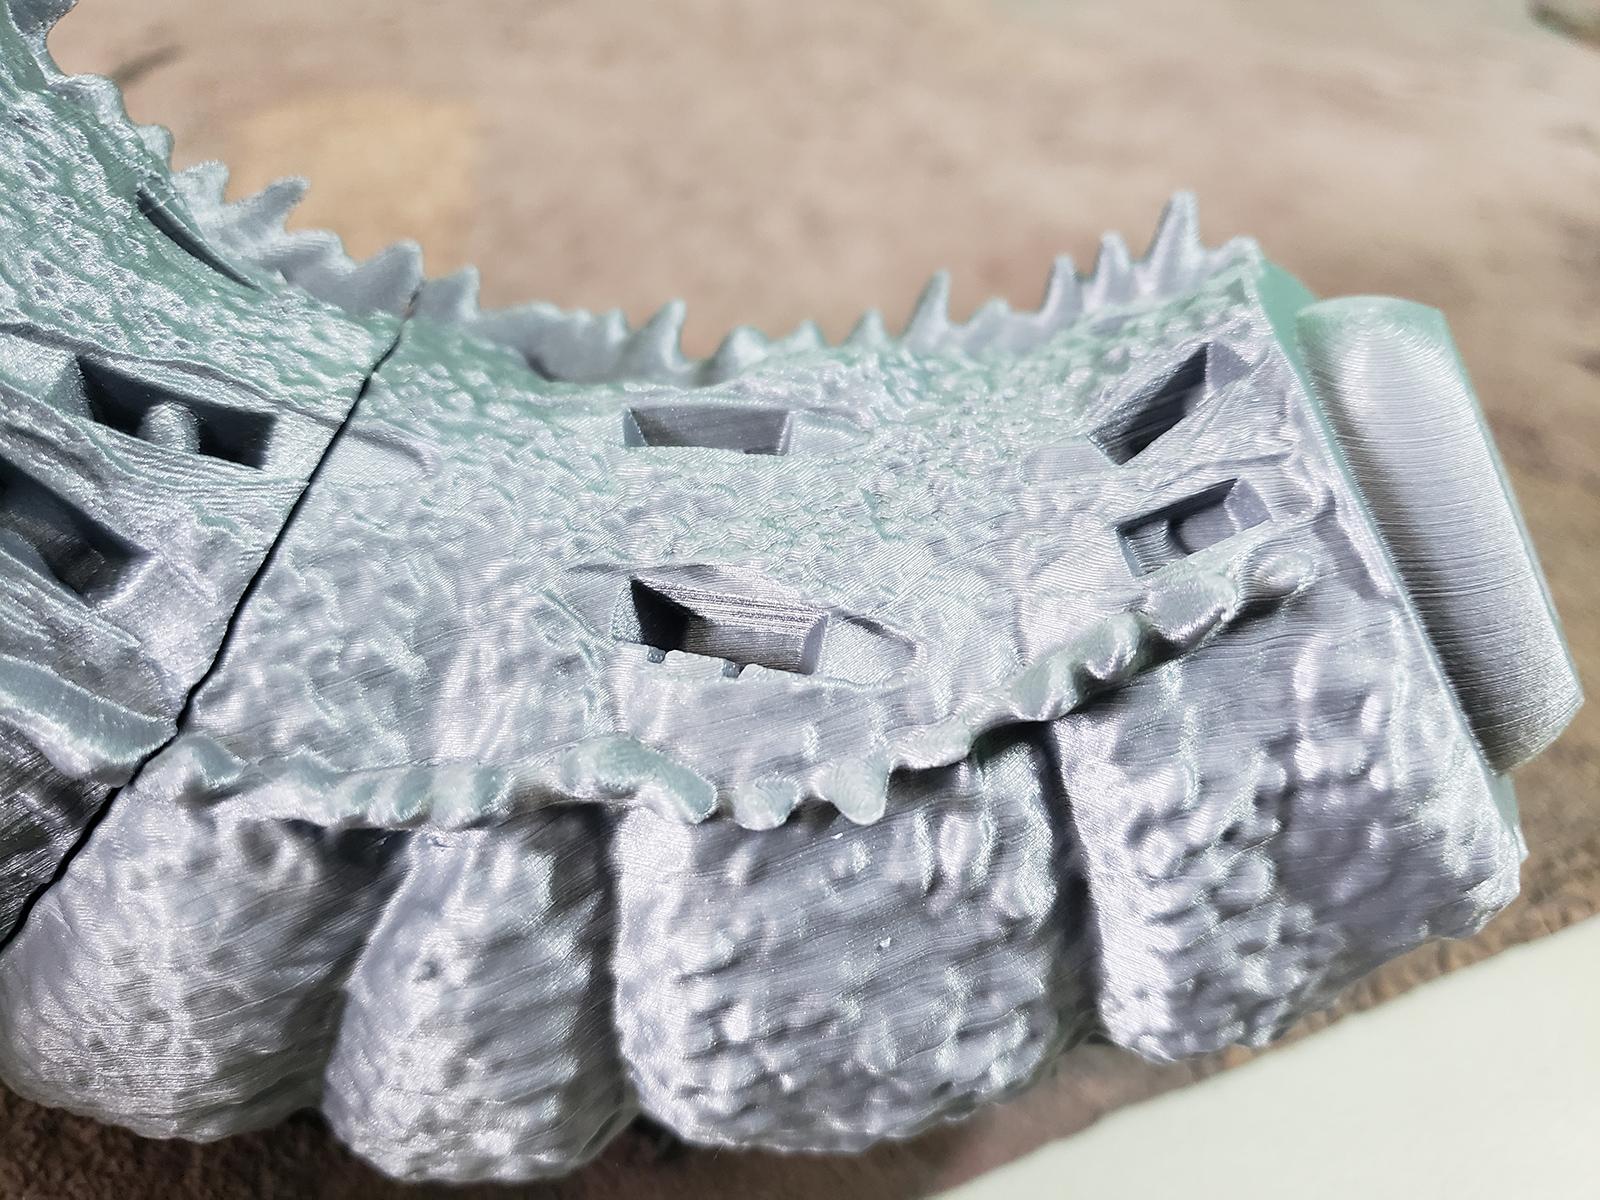
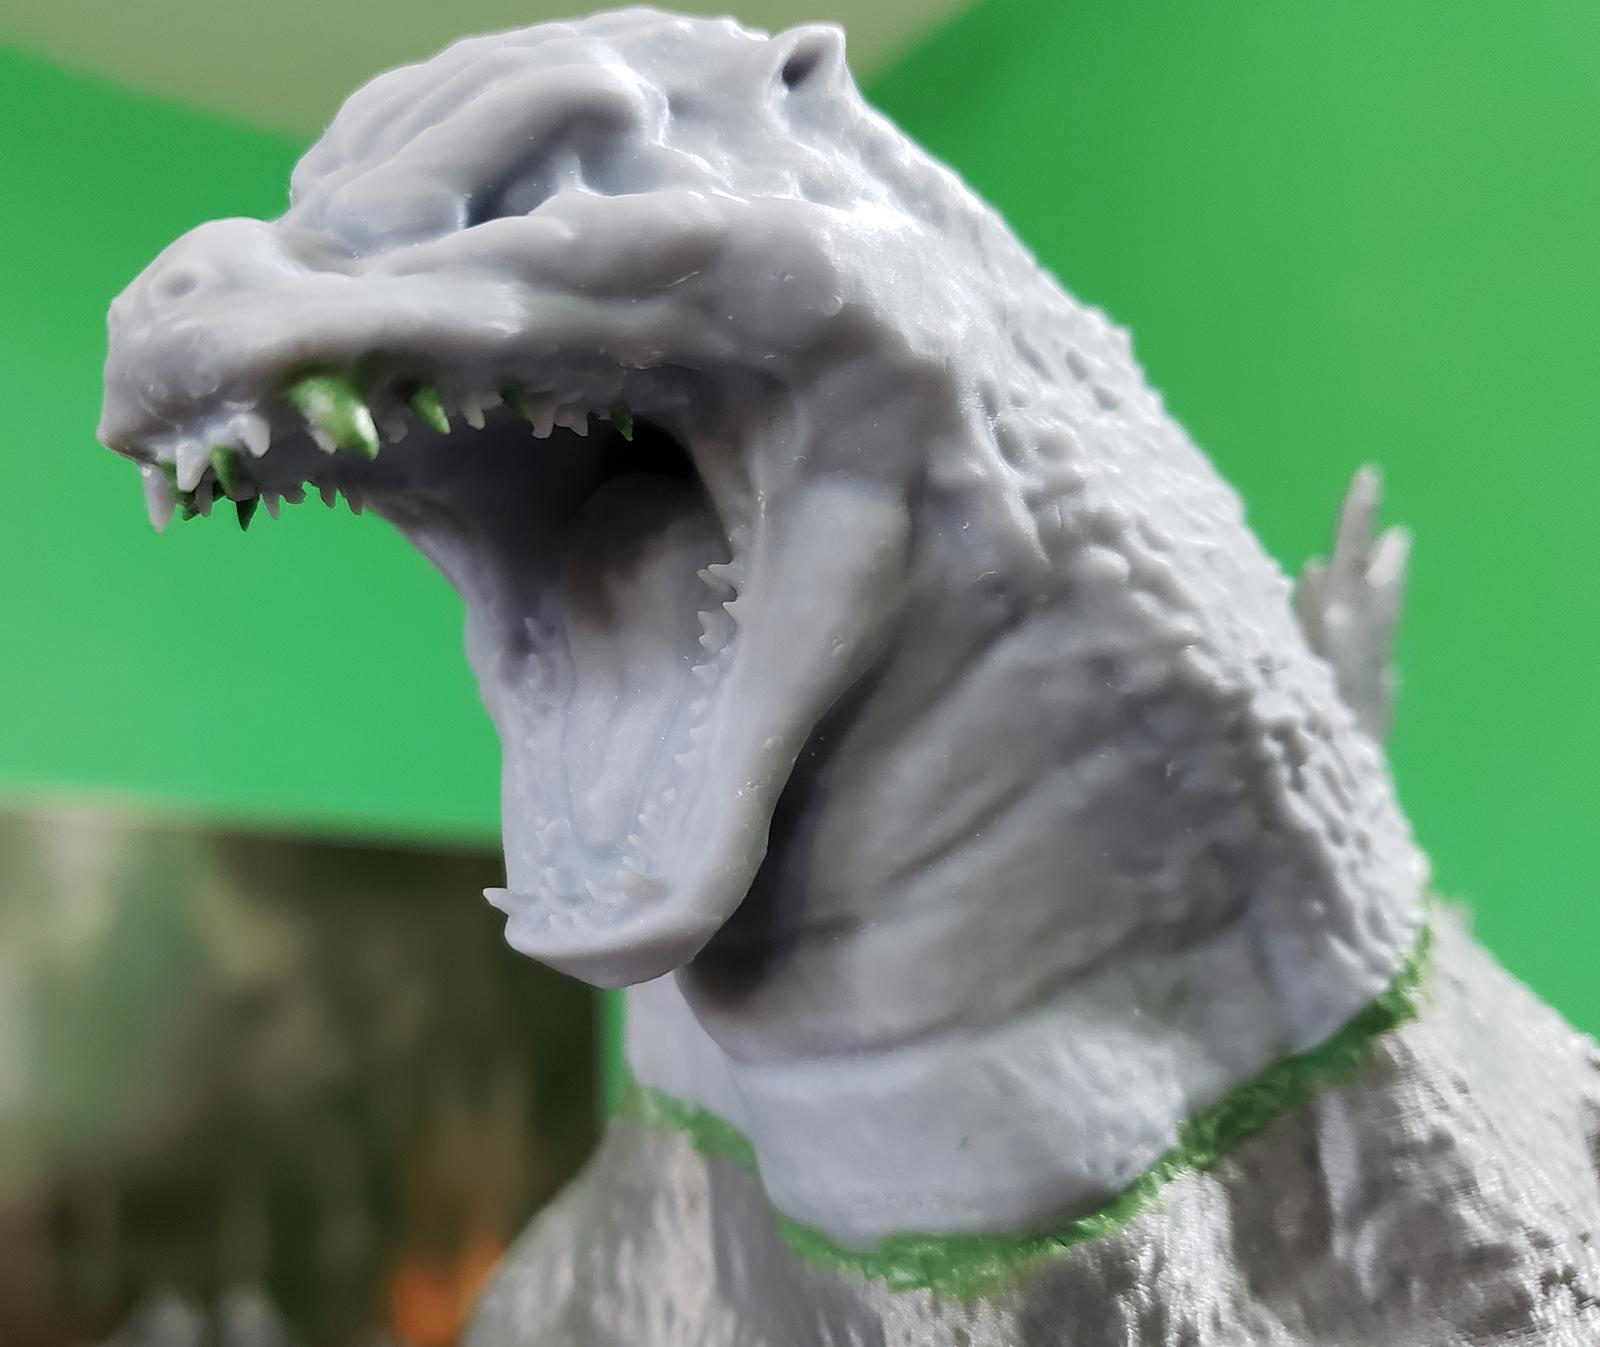
here is the head post-print curing:

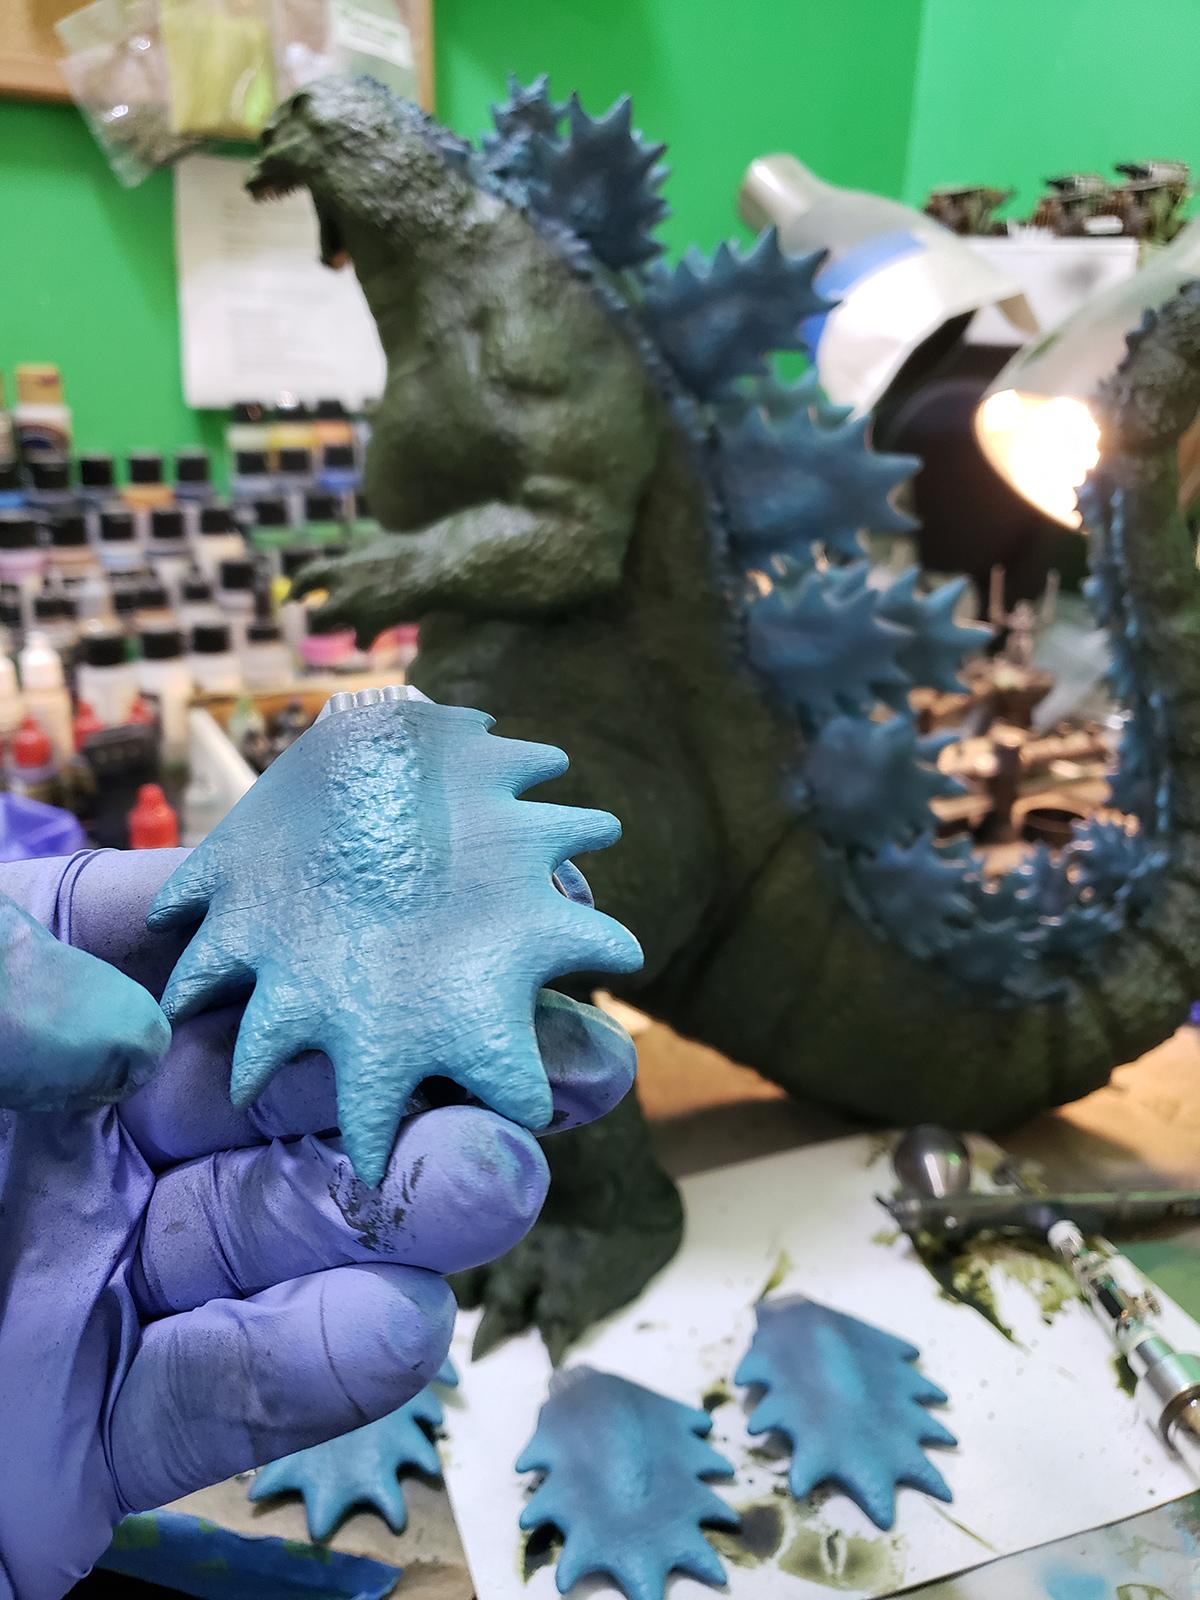
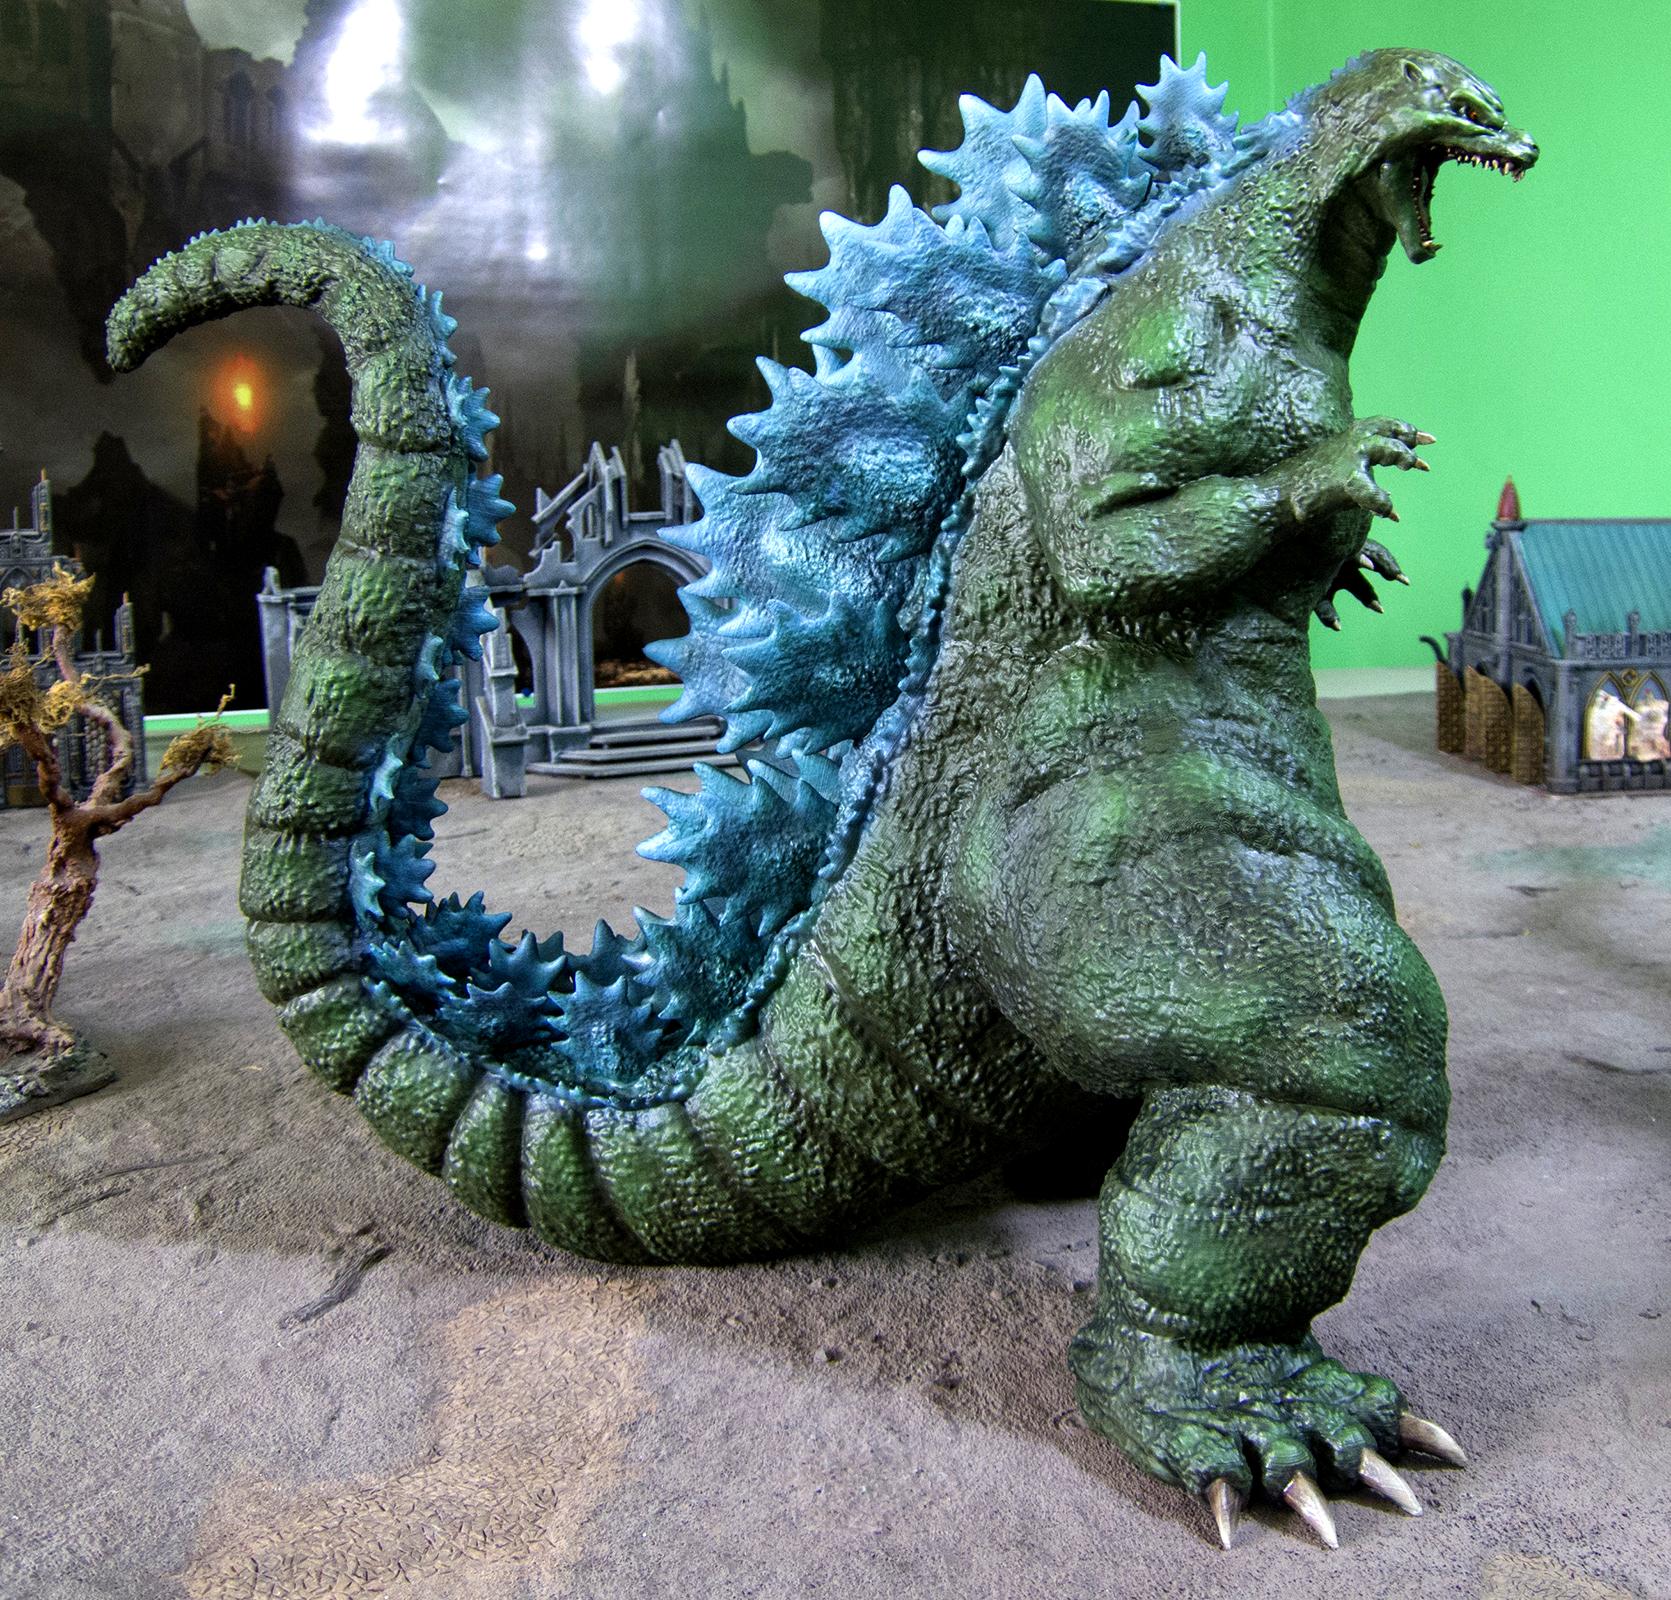
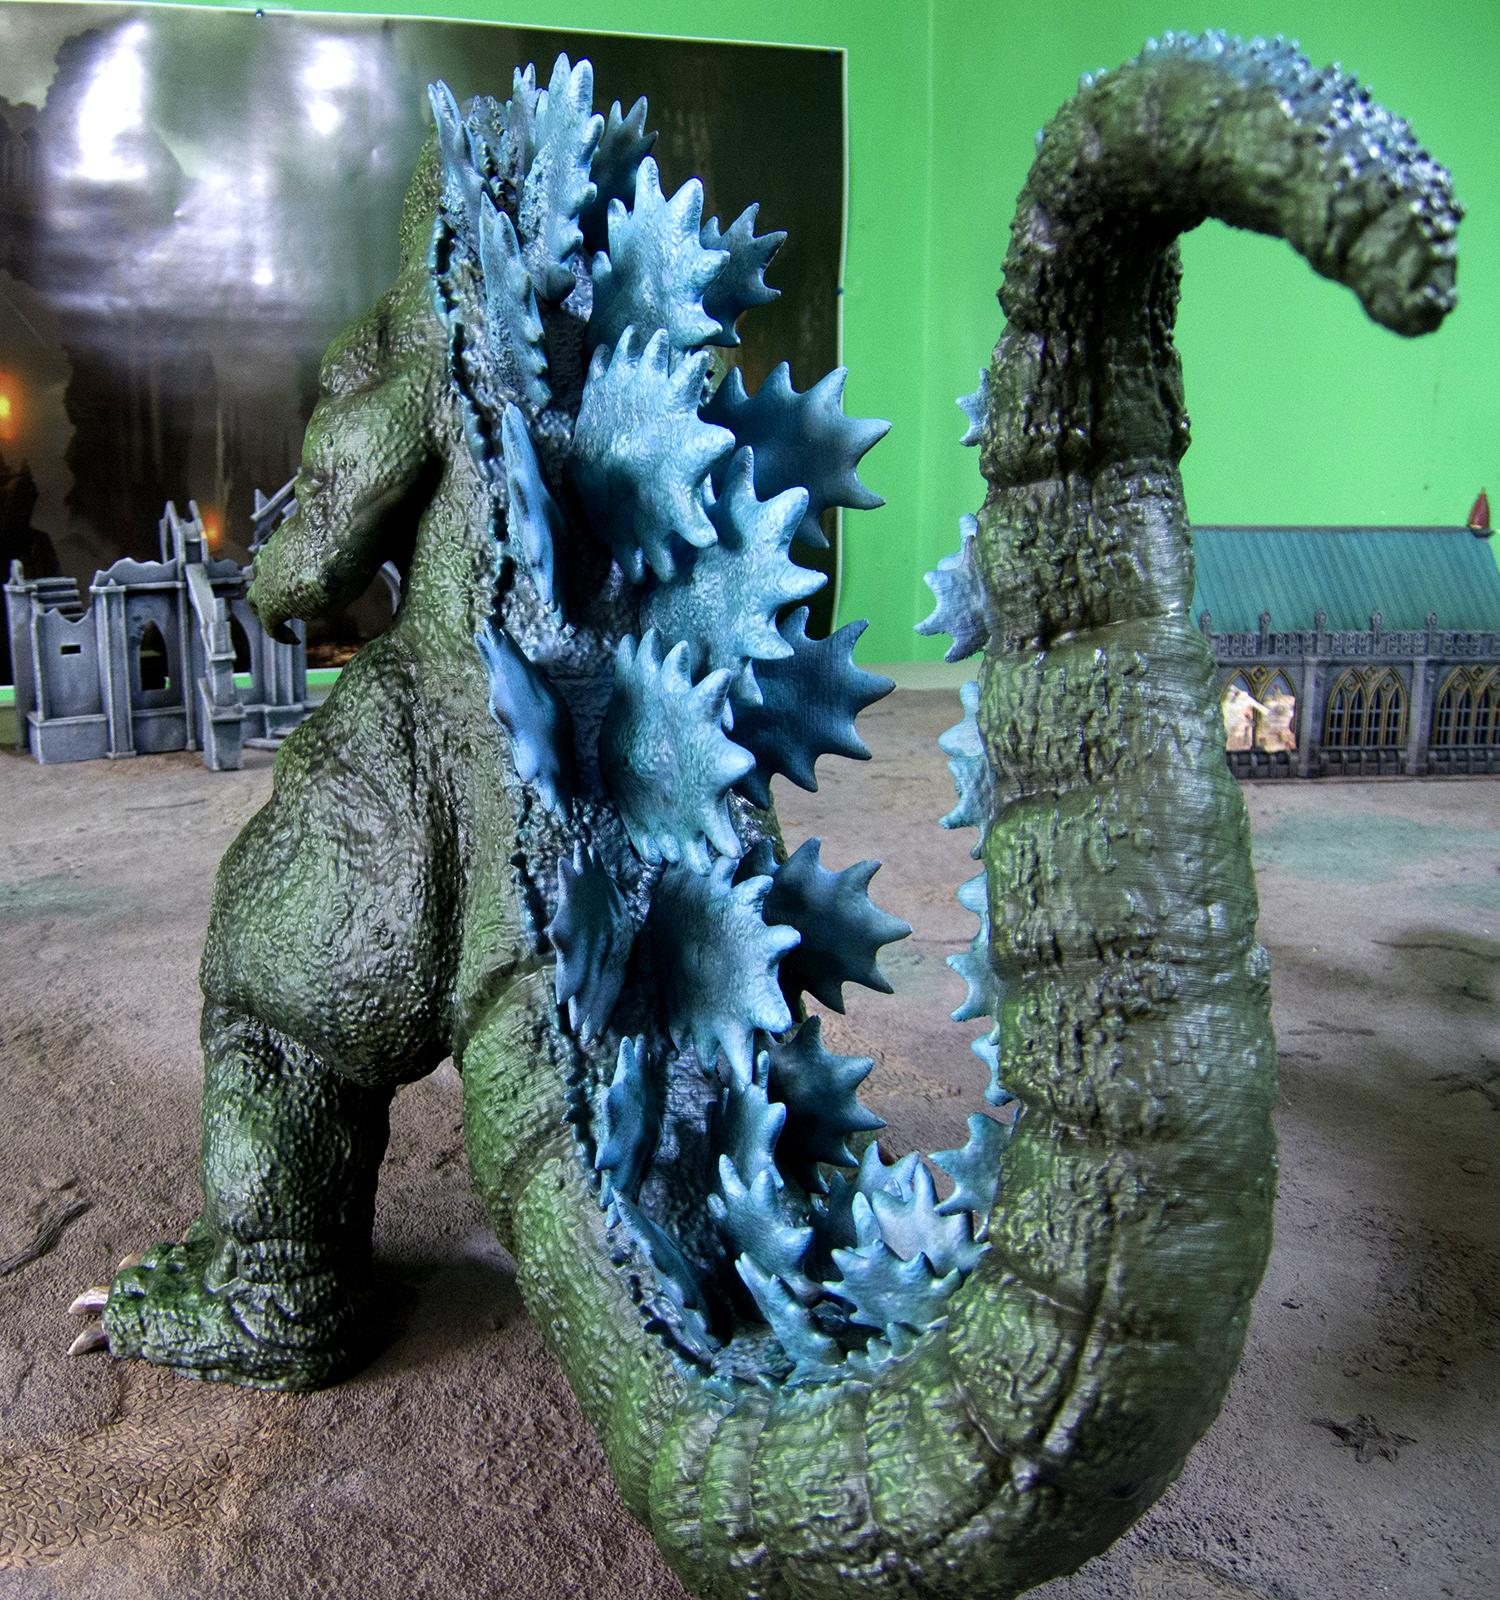
For this model, all of the spines are cut from the model and keyed. This is a bit of a hassle for blending into the physical model but makes painting them much, much easier - my other godzilla had all of the spines built into the back which made printing (and removing the supports) very difficult.
I also decided to do the spines with resin. Here they are in the slicer:
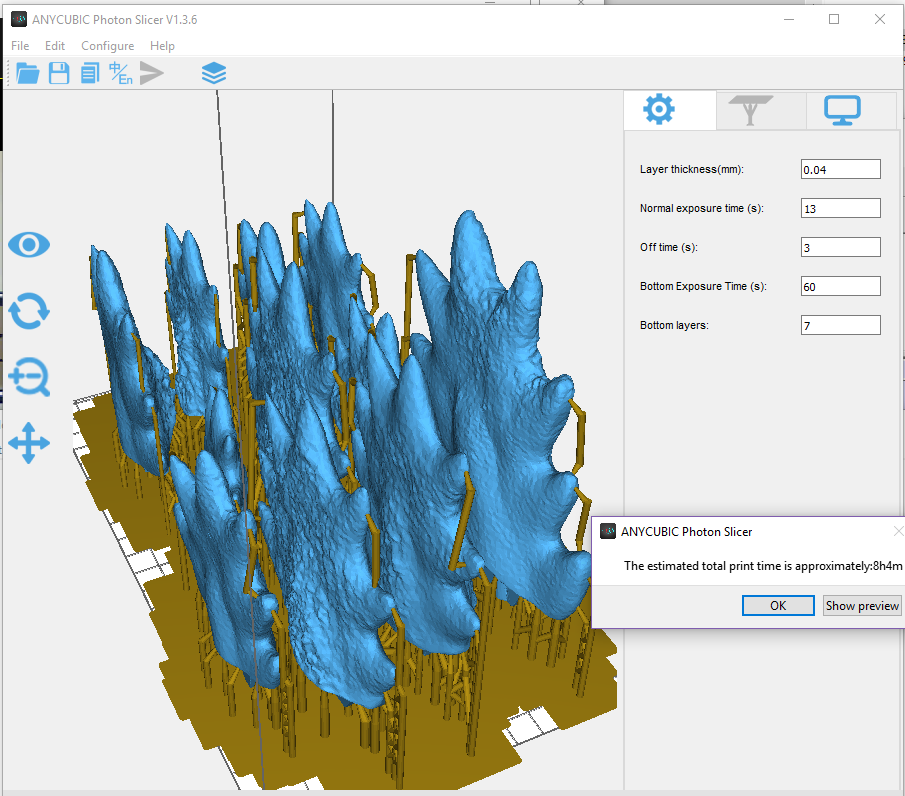
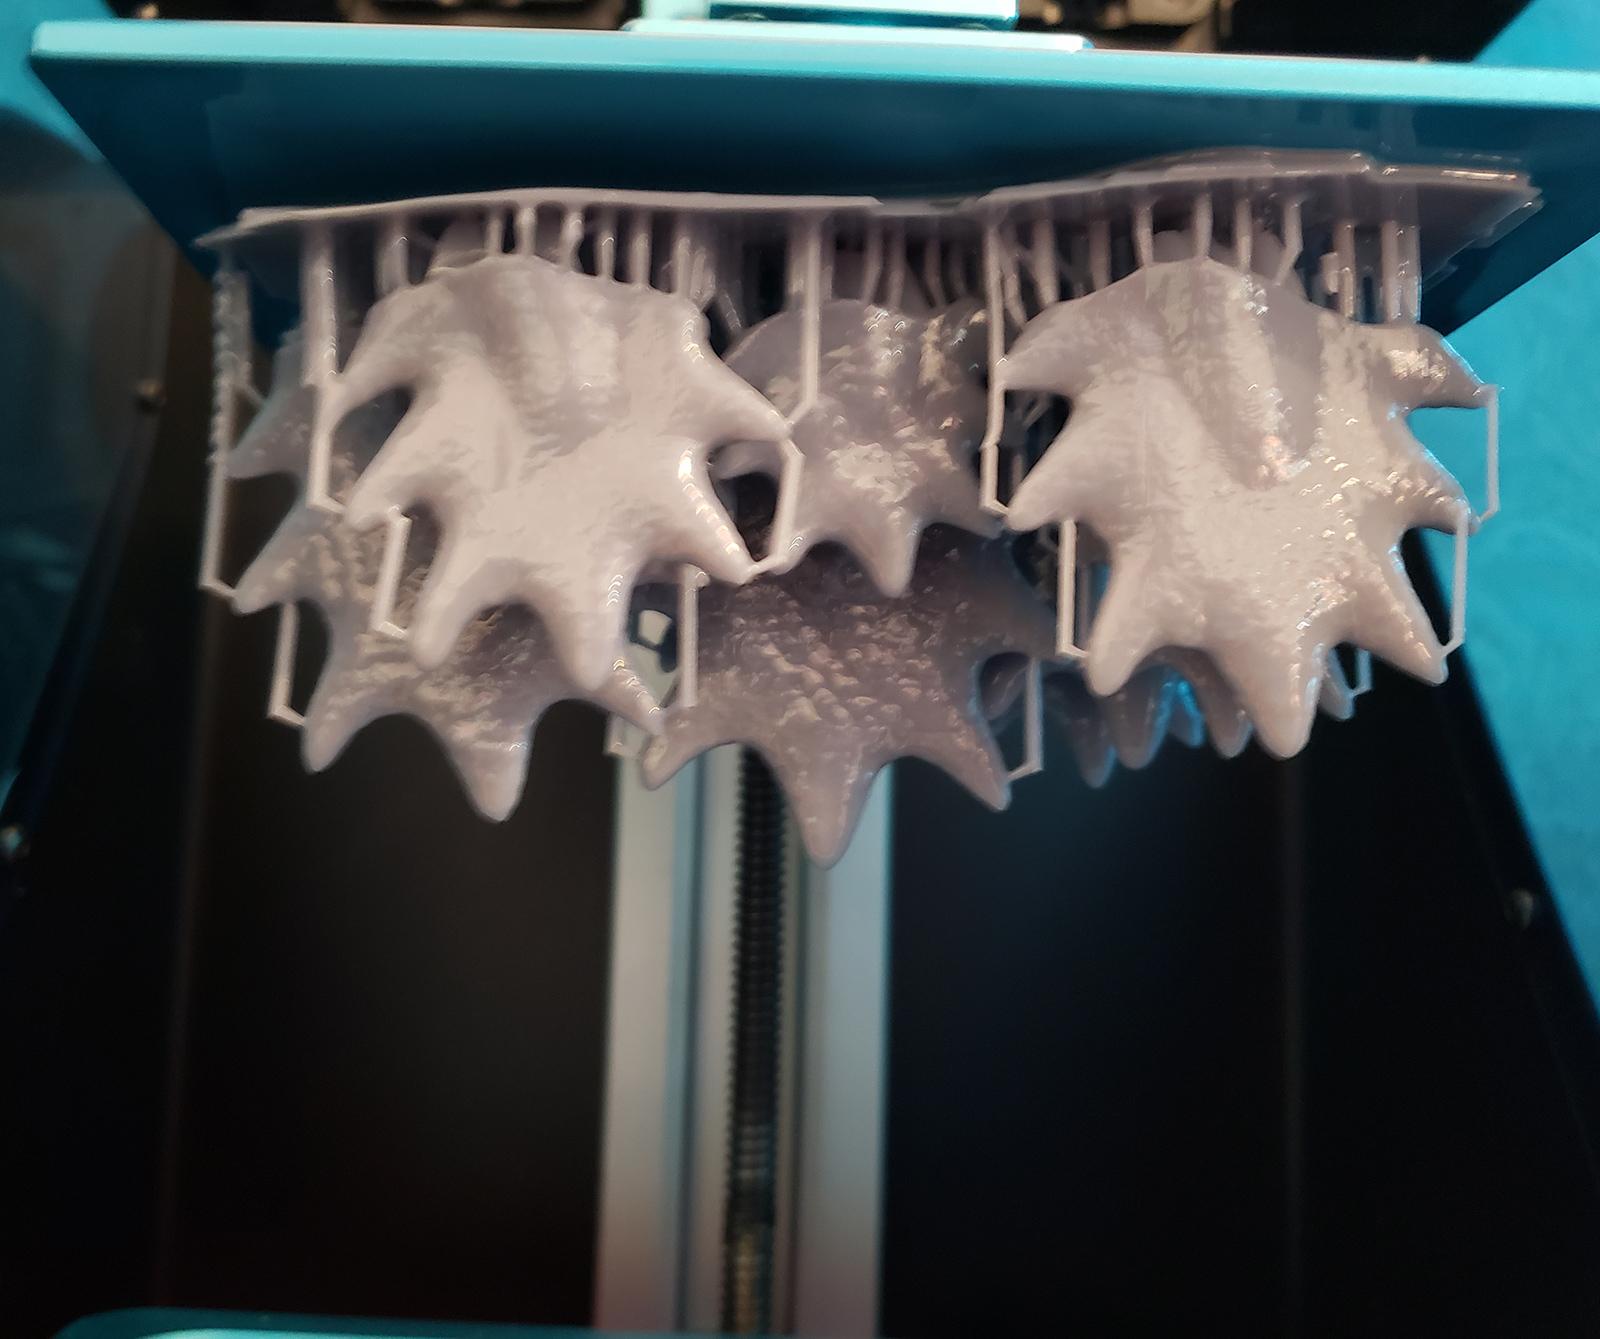
This wound up being a little too heavy for the printer - the spine plates are all solid. I should have hollowed them in the modeller. You can see them peeling off the build plate. They still came out OK, mostly:
But it turned out there were some conceptual problems with this idea. Specifically, the resin shrinks a tiny bit - between 3-5%, depending. This was just enough to not have the spines fit very well. I mean, they fit, but they had a lot of gaps around where they were plugged I would have to fill. I tried printing some with the FDM printer, and they wound up coming out pretty good - so the spines are a mix of resin and plastic.
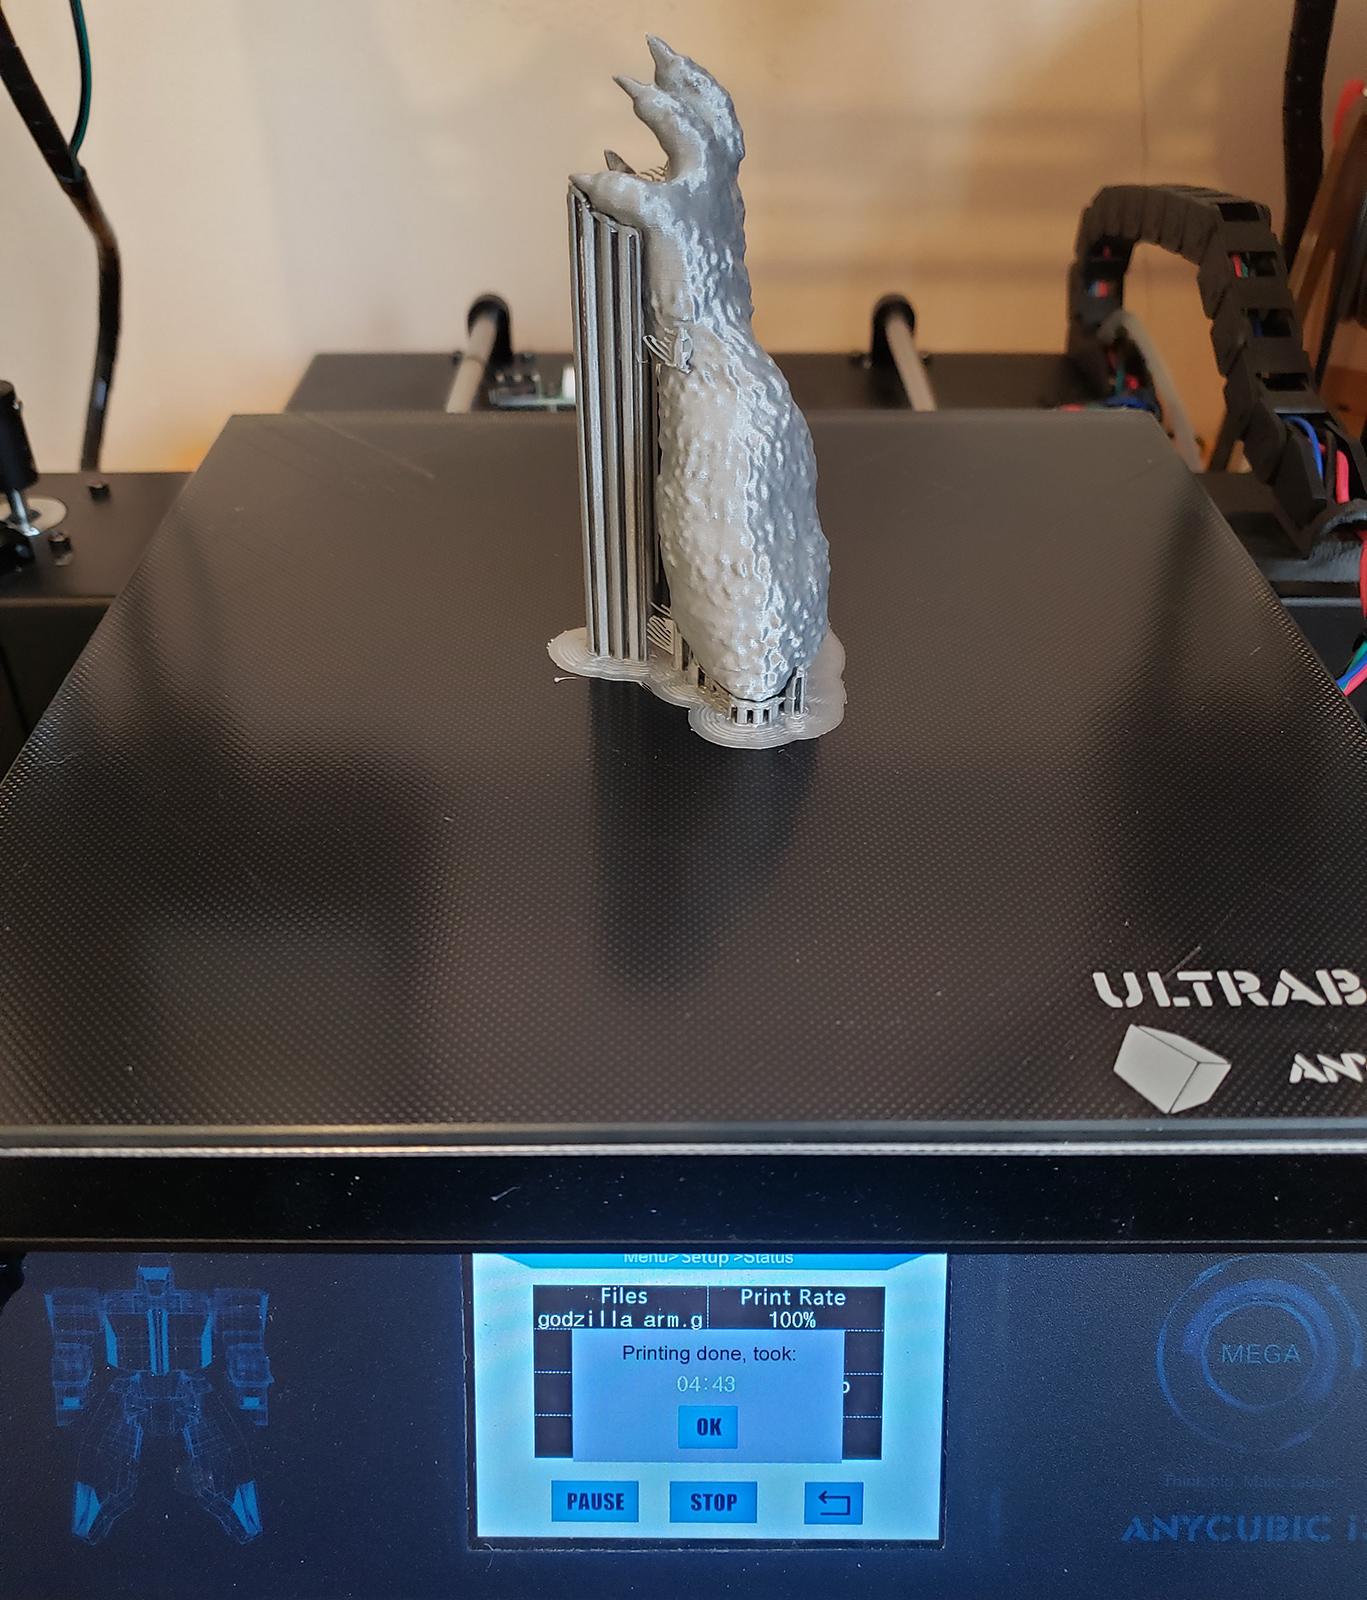
This one was a lot faster to print than the last one: I have a better feel for the printer settings now. The longest part to print, the chest, took about 40 hours, but most parts too about 20 hours. This arm took 5.
Compare that with the other Godzilla, where some parts took as long as 120 hours to print and I'd guess the average was more like 60 hours.
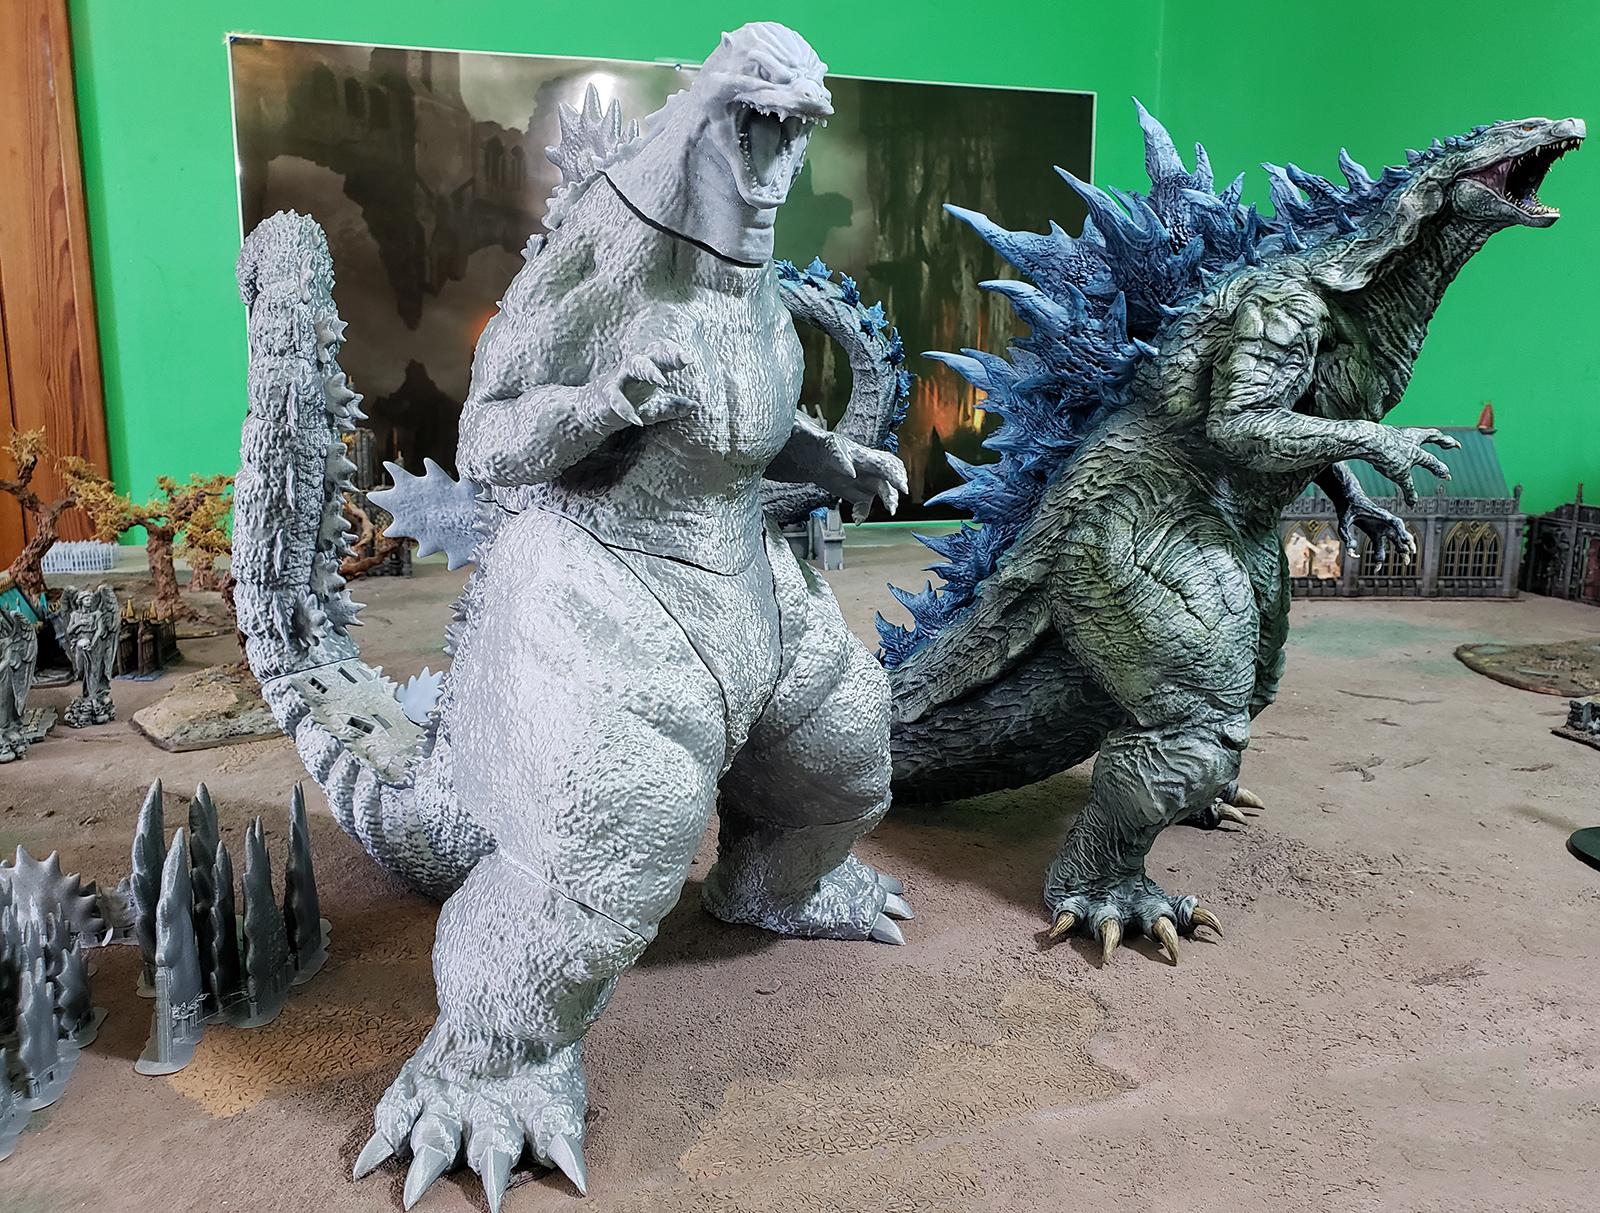
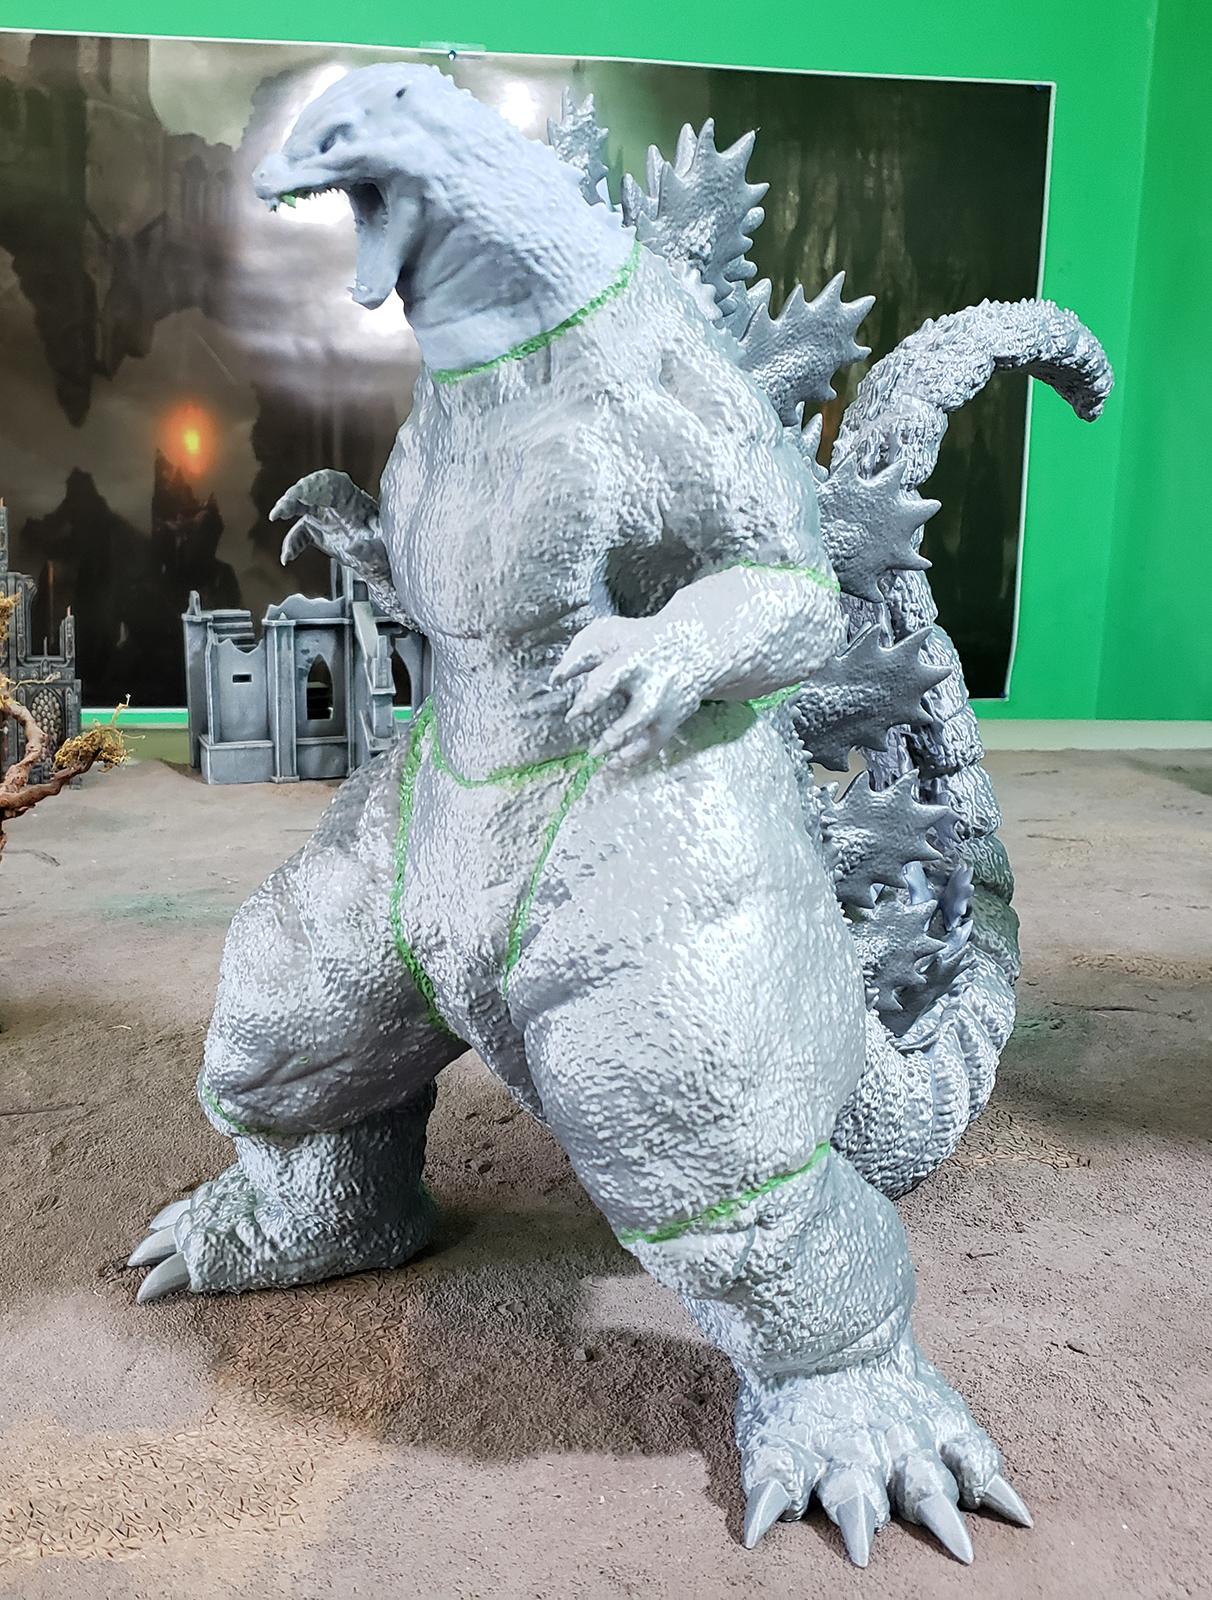
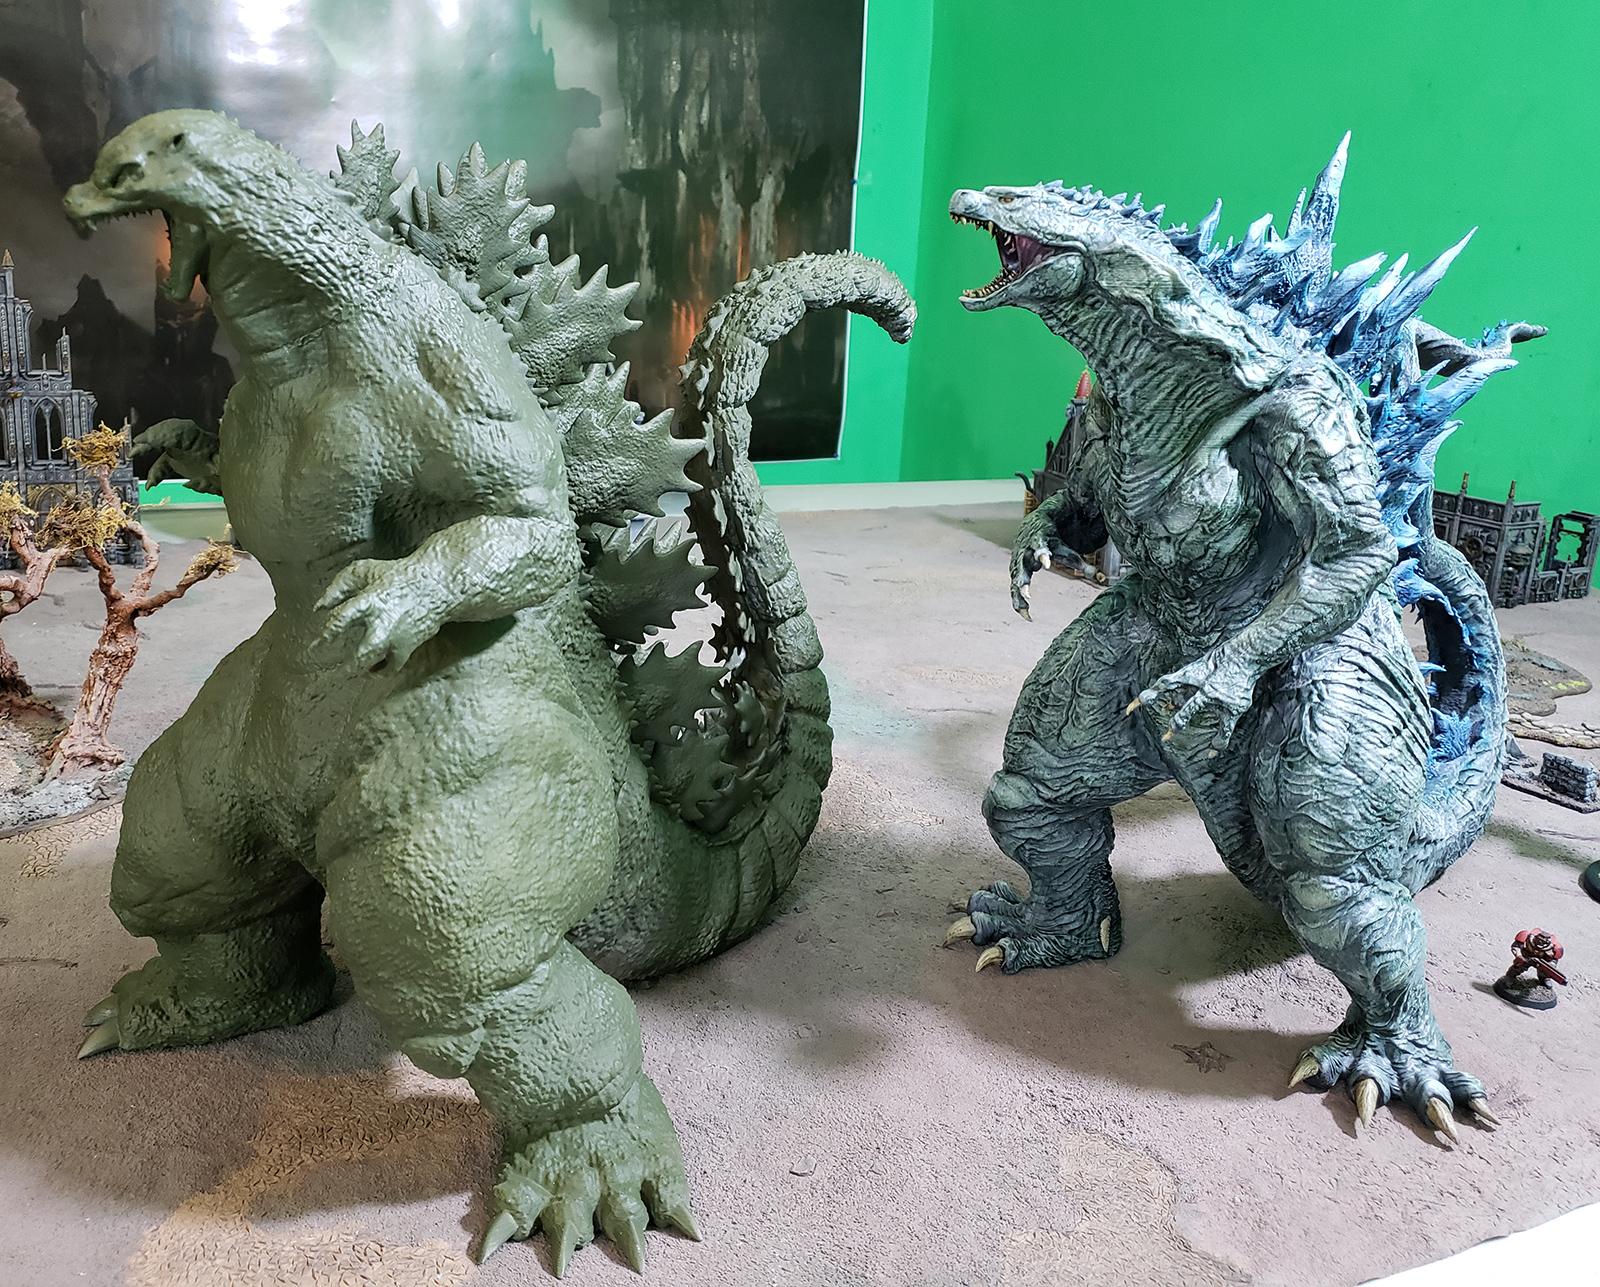
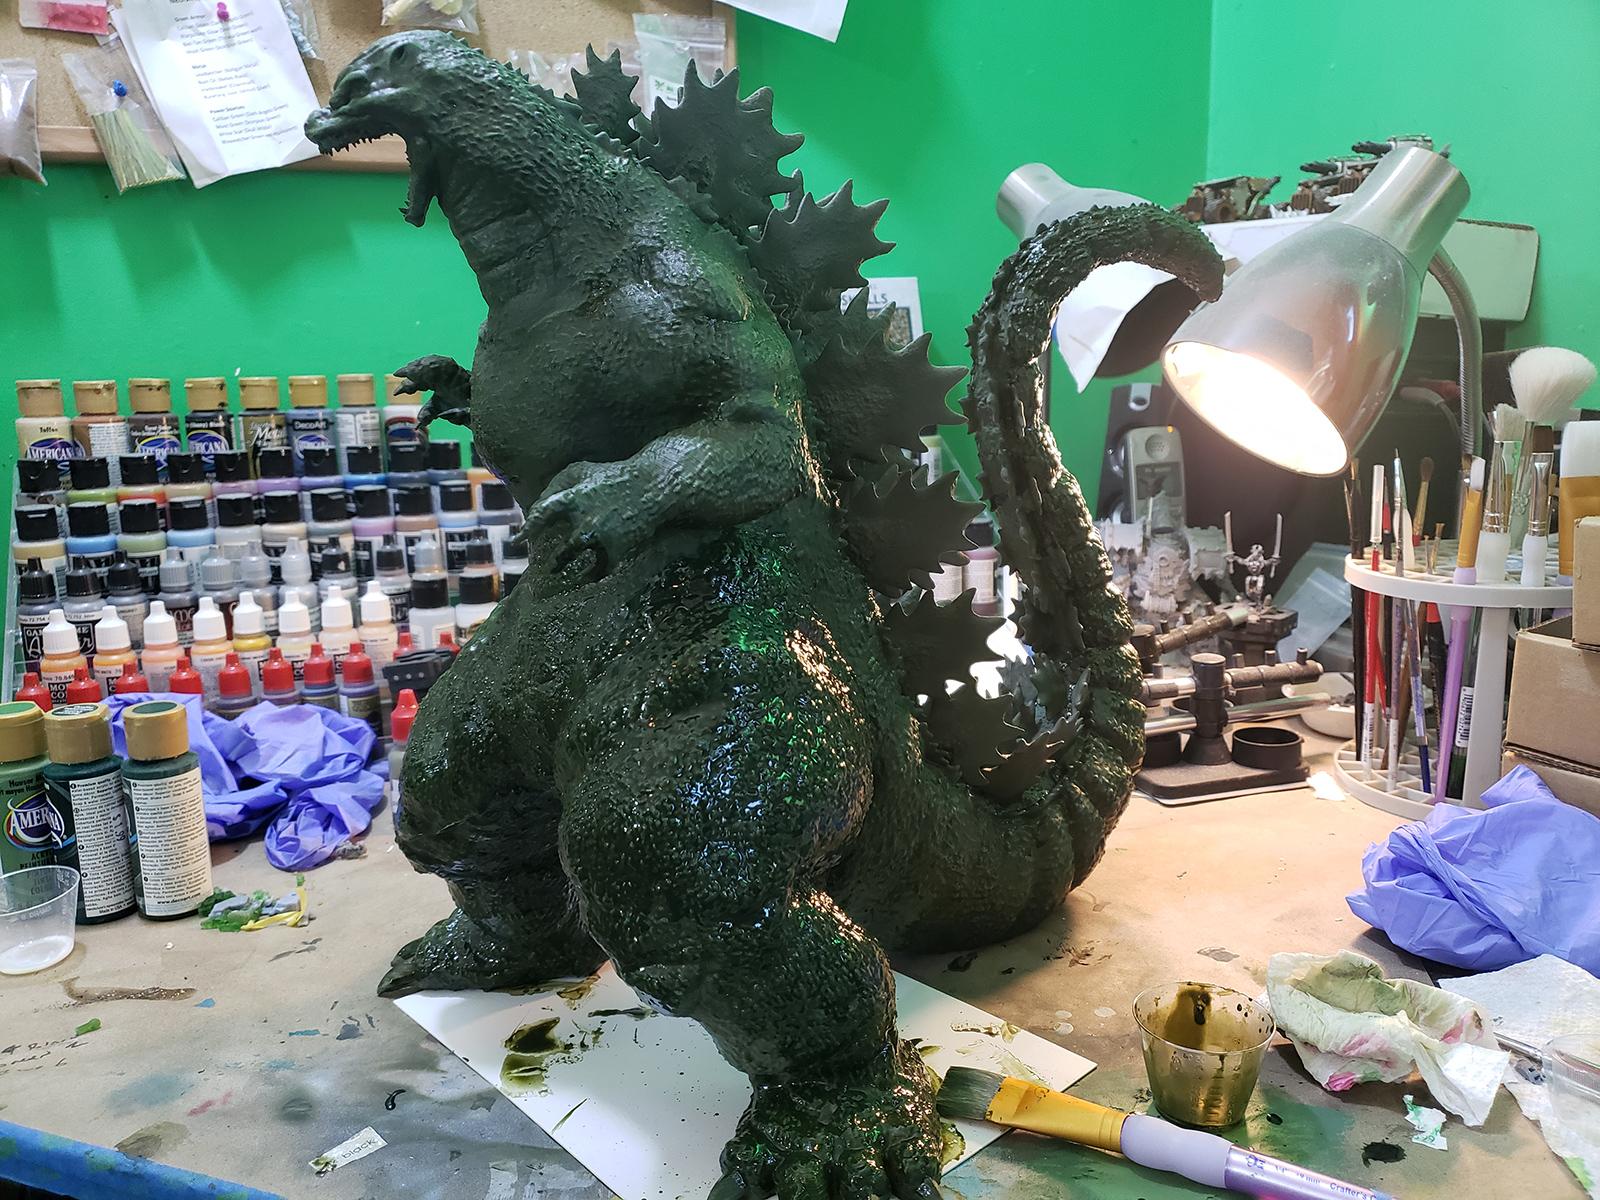
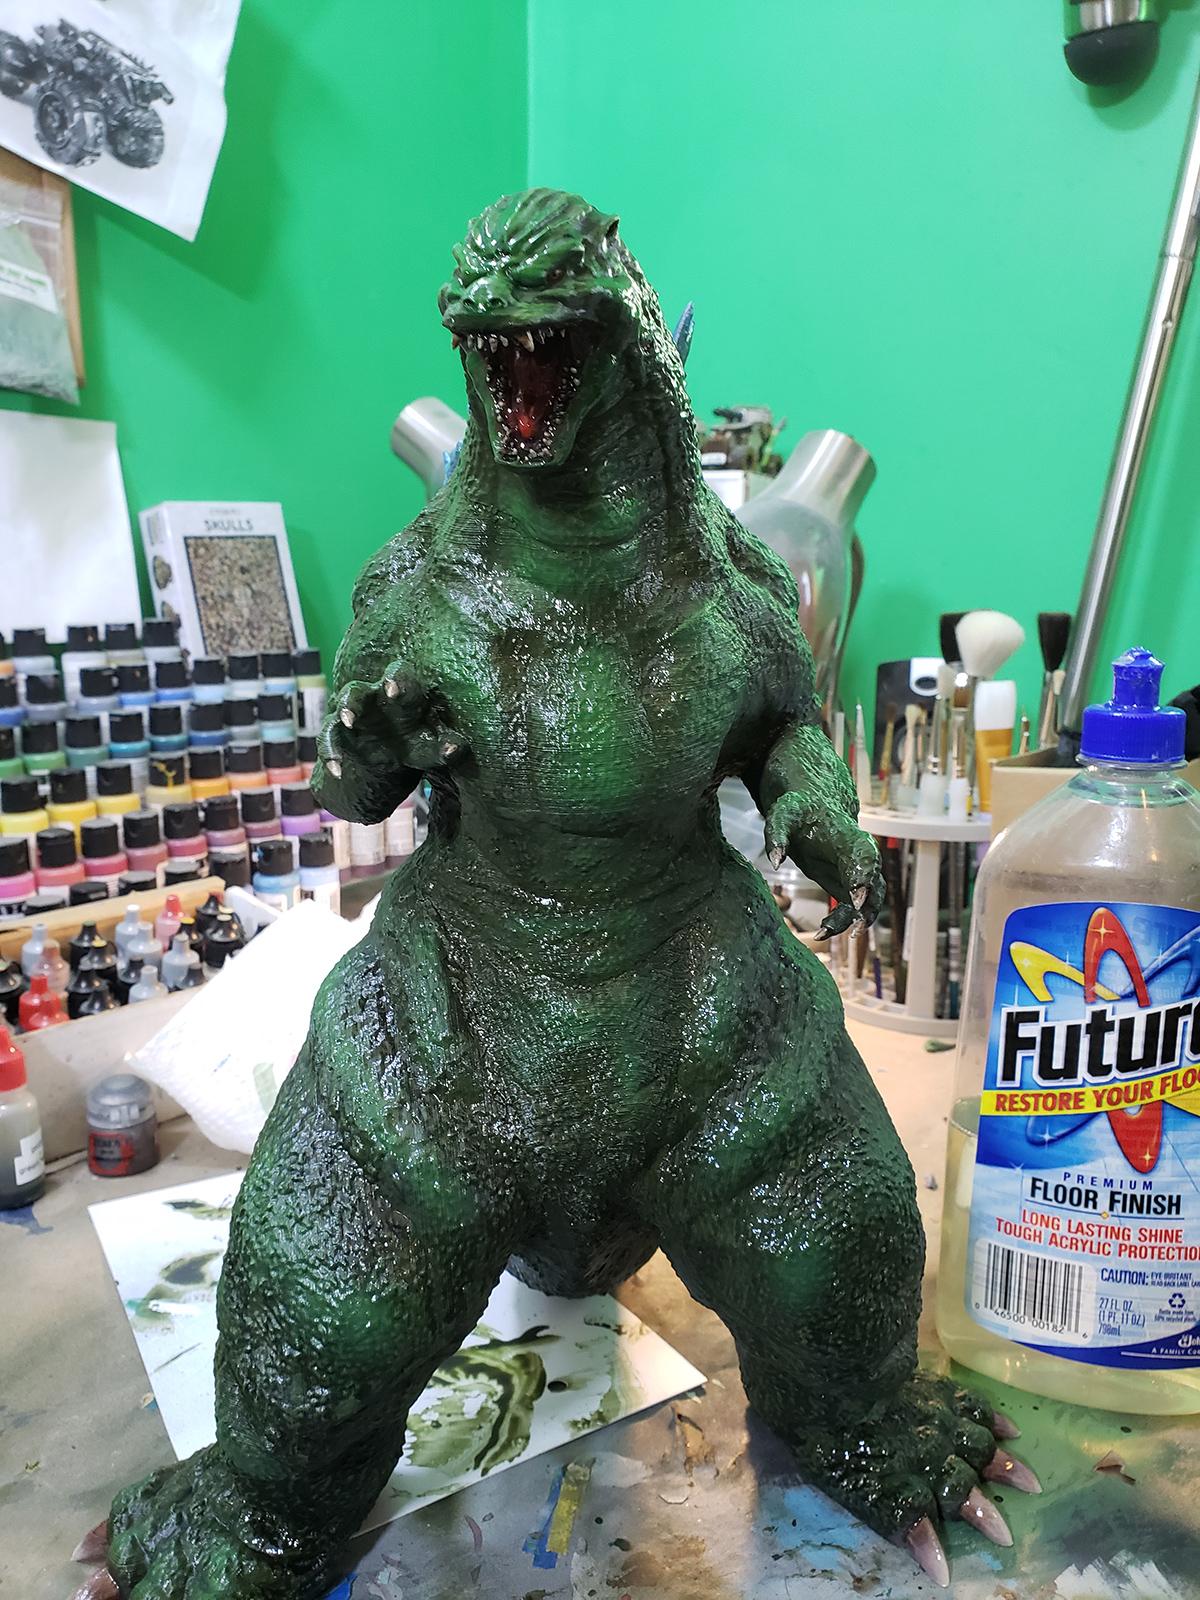
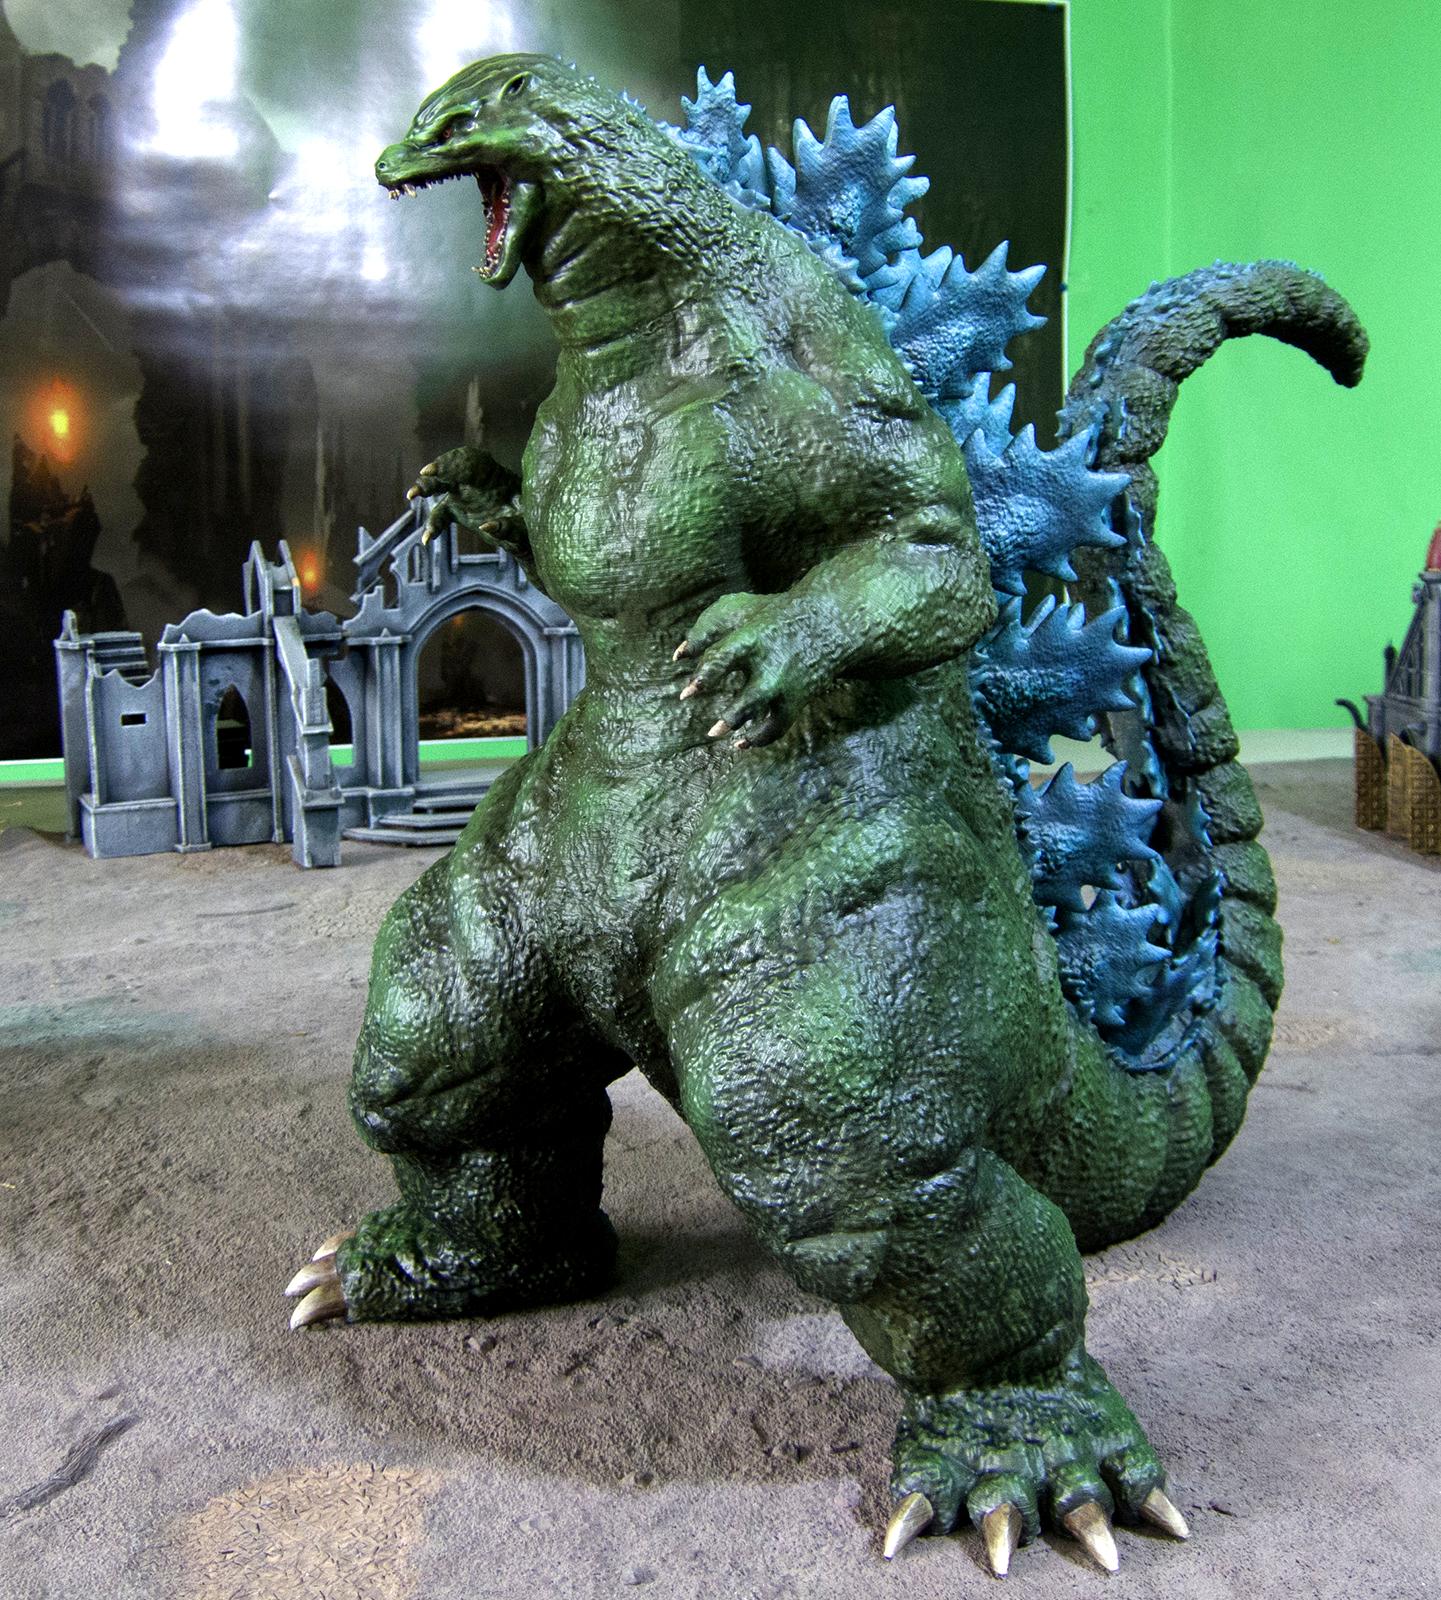
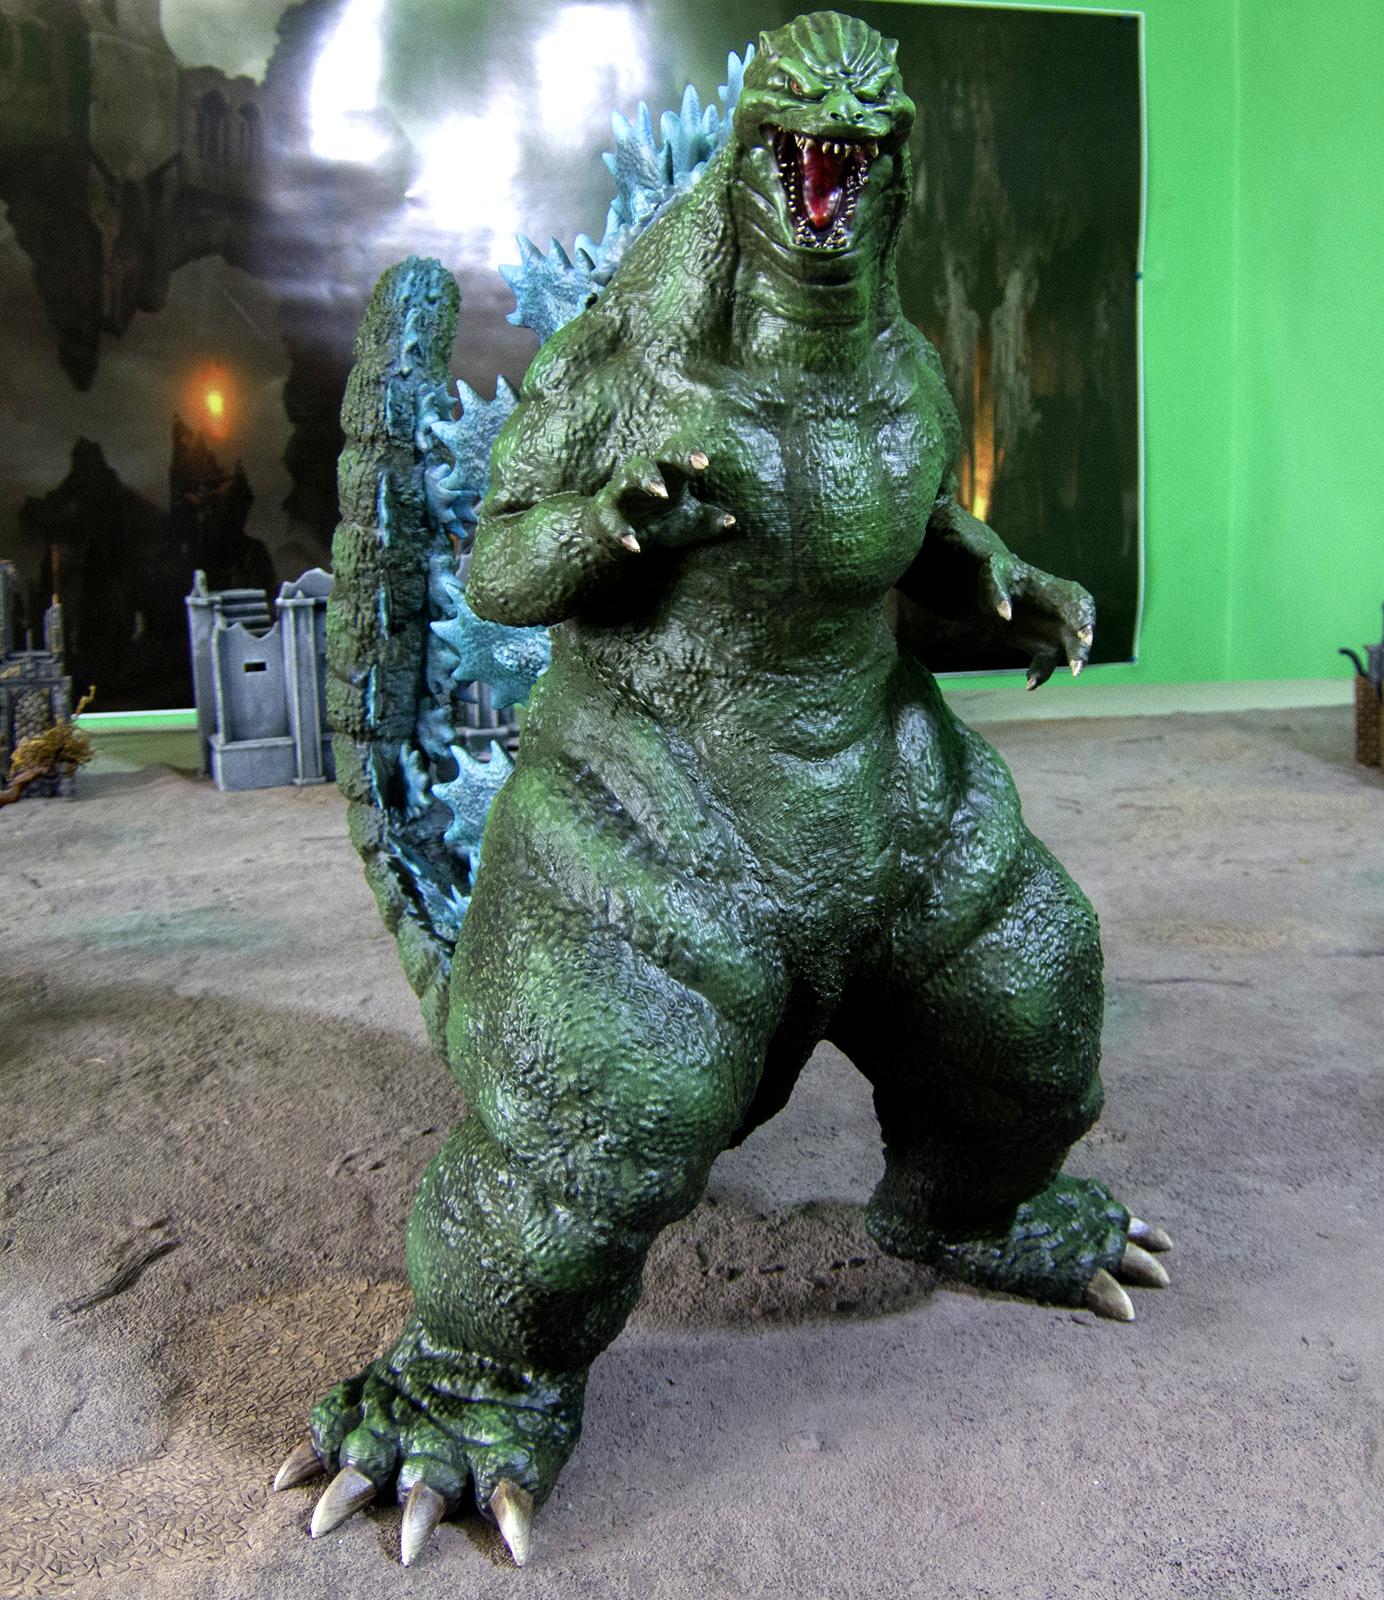
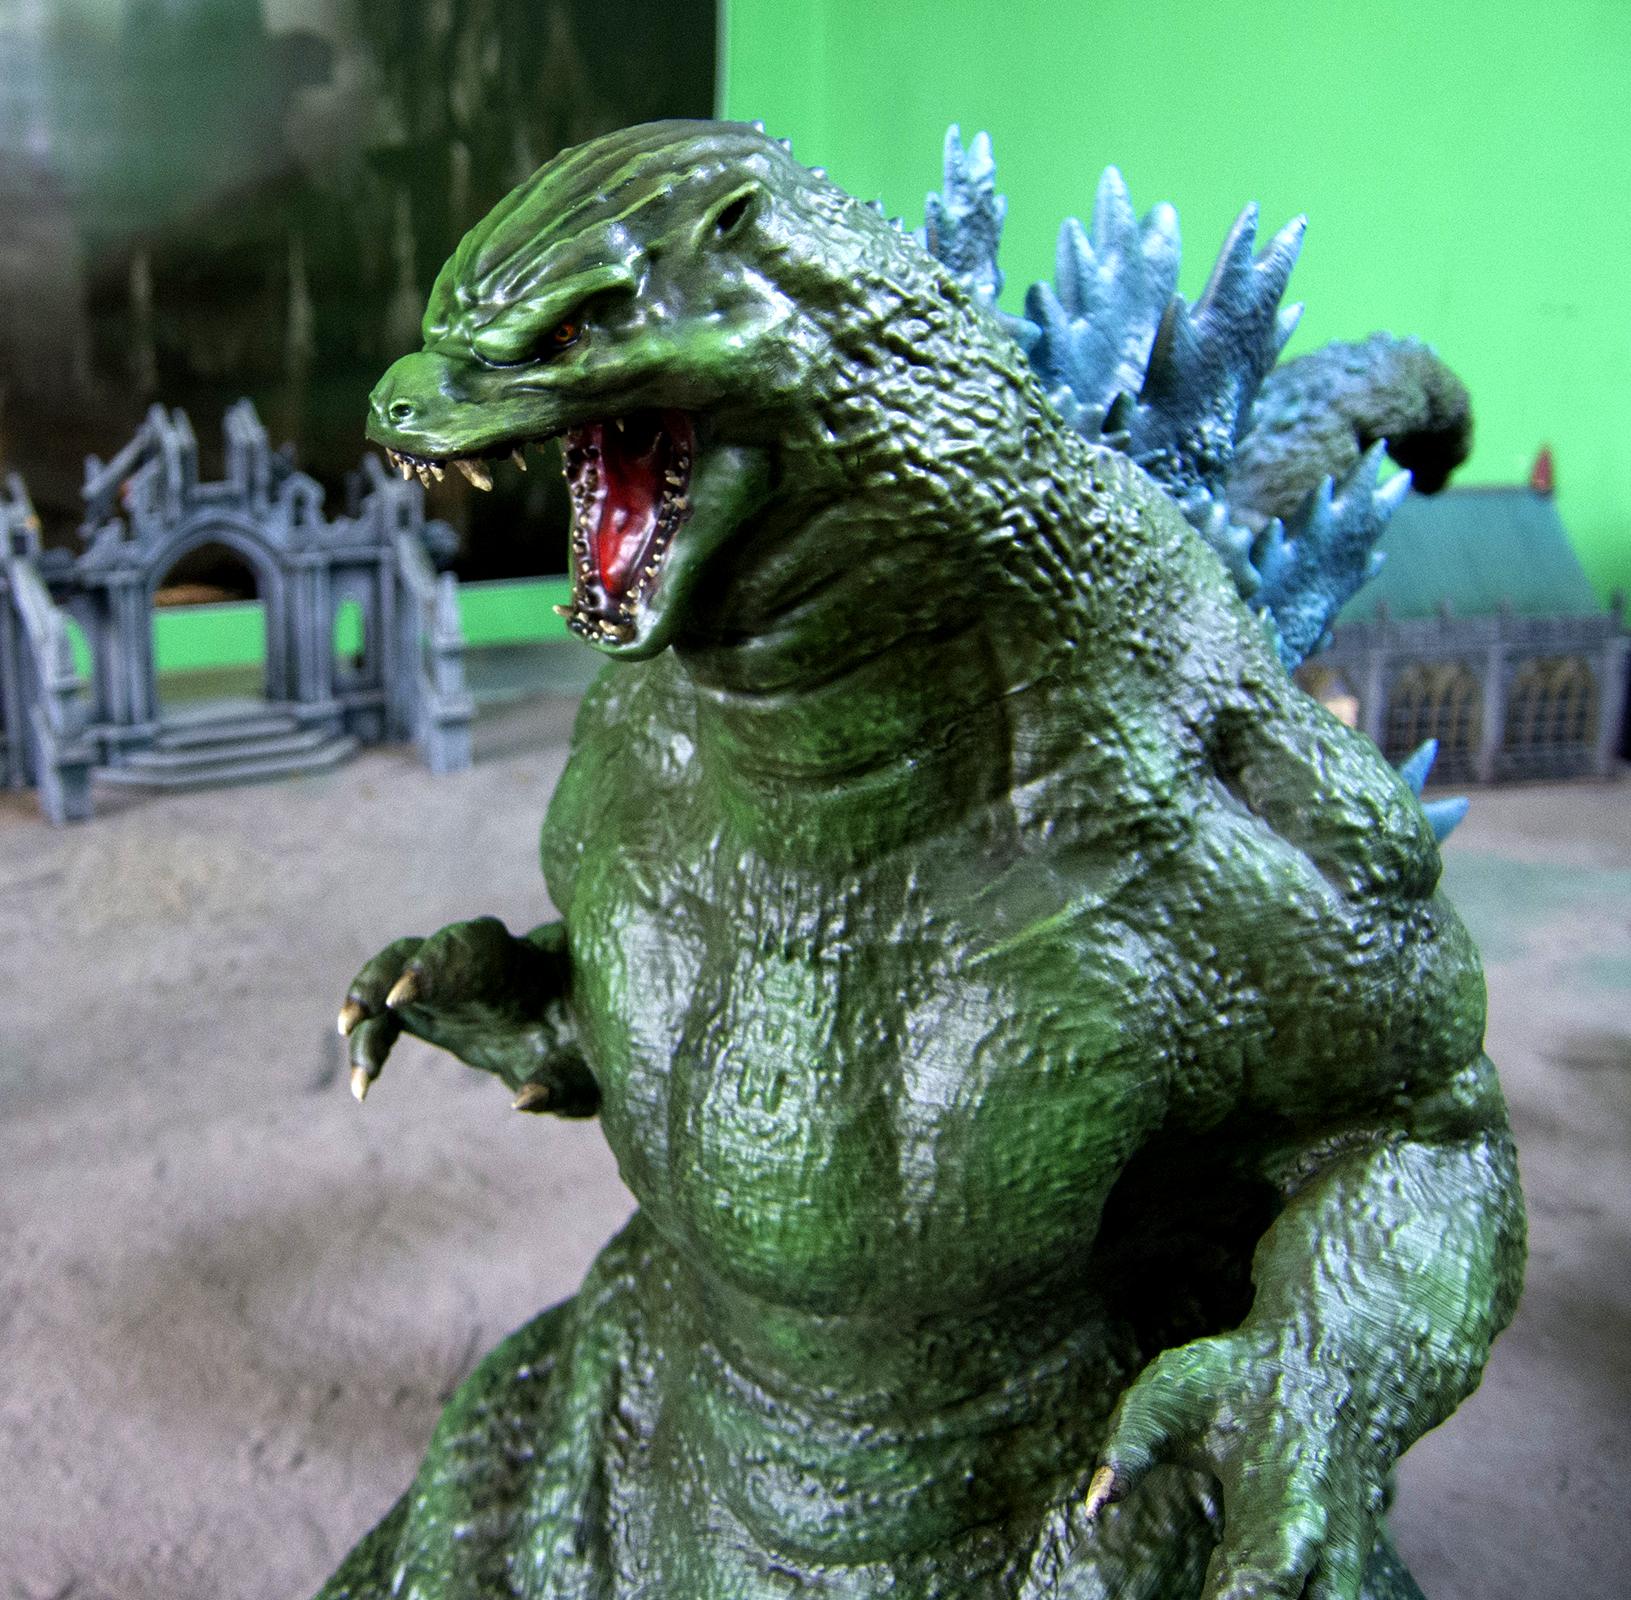
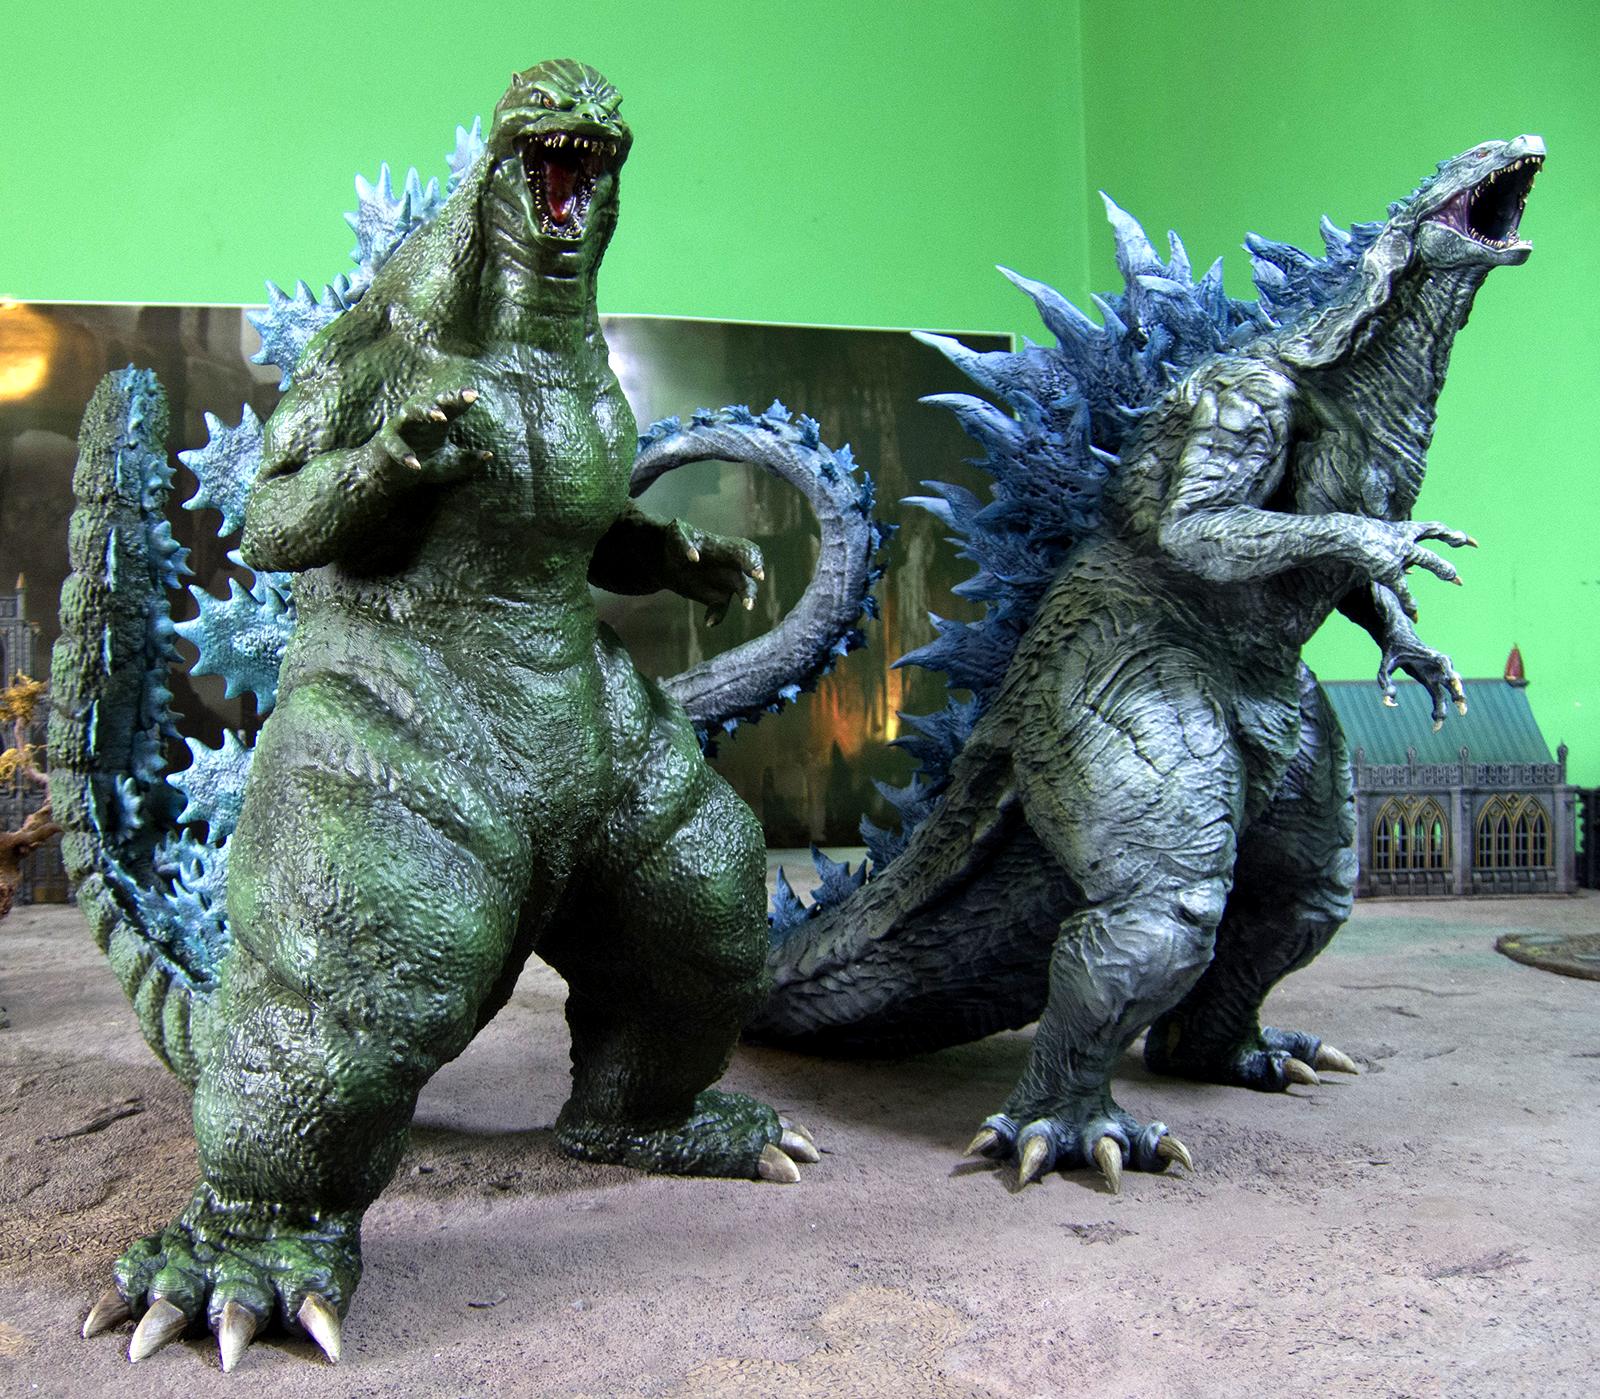
Here is the finished Godzilla, which is about the same size as the previous one.
In addition to blending the seams in, I had to do a lot of repair on the teeth. I didn't really do the supports as well as I could have, but fixing them with greenstuff was faster than reprinting the model (also, I didn't 100% love the teeth by default anyway).
I blended in most of the seams with greenstuff. This was UNSPEAKABLY TEDIOUS, just like last time. I would estimate it took 3 hours to fill the gaps, sculpt the texture, and then fix the spots that weren't 100% perfect.
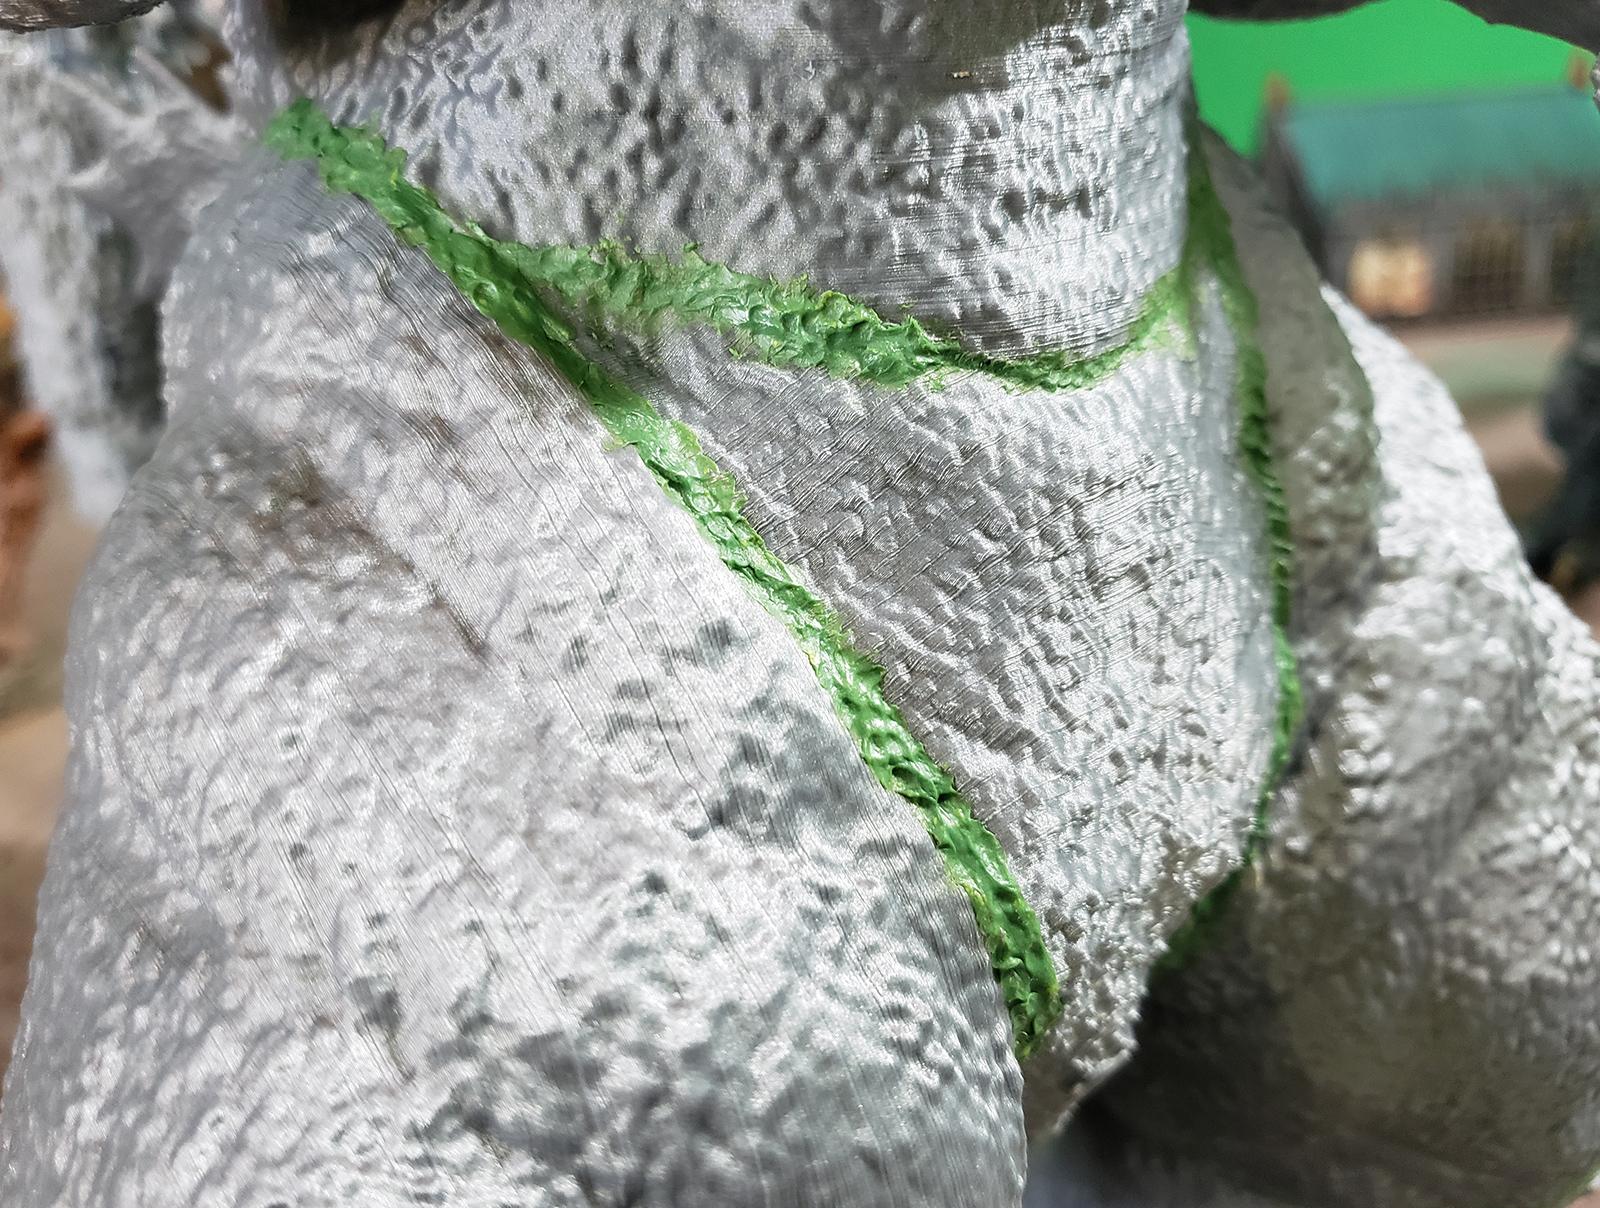
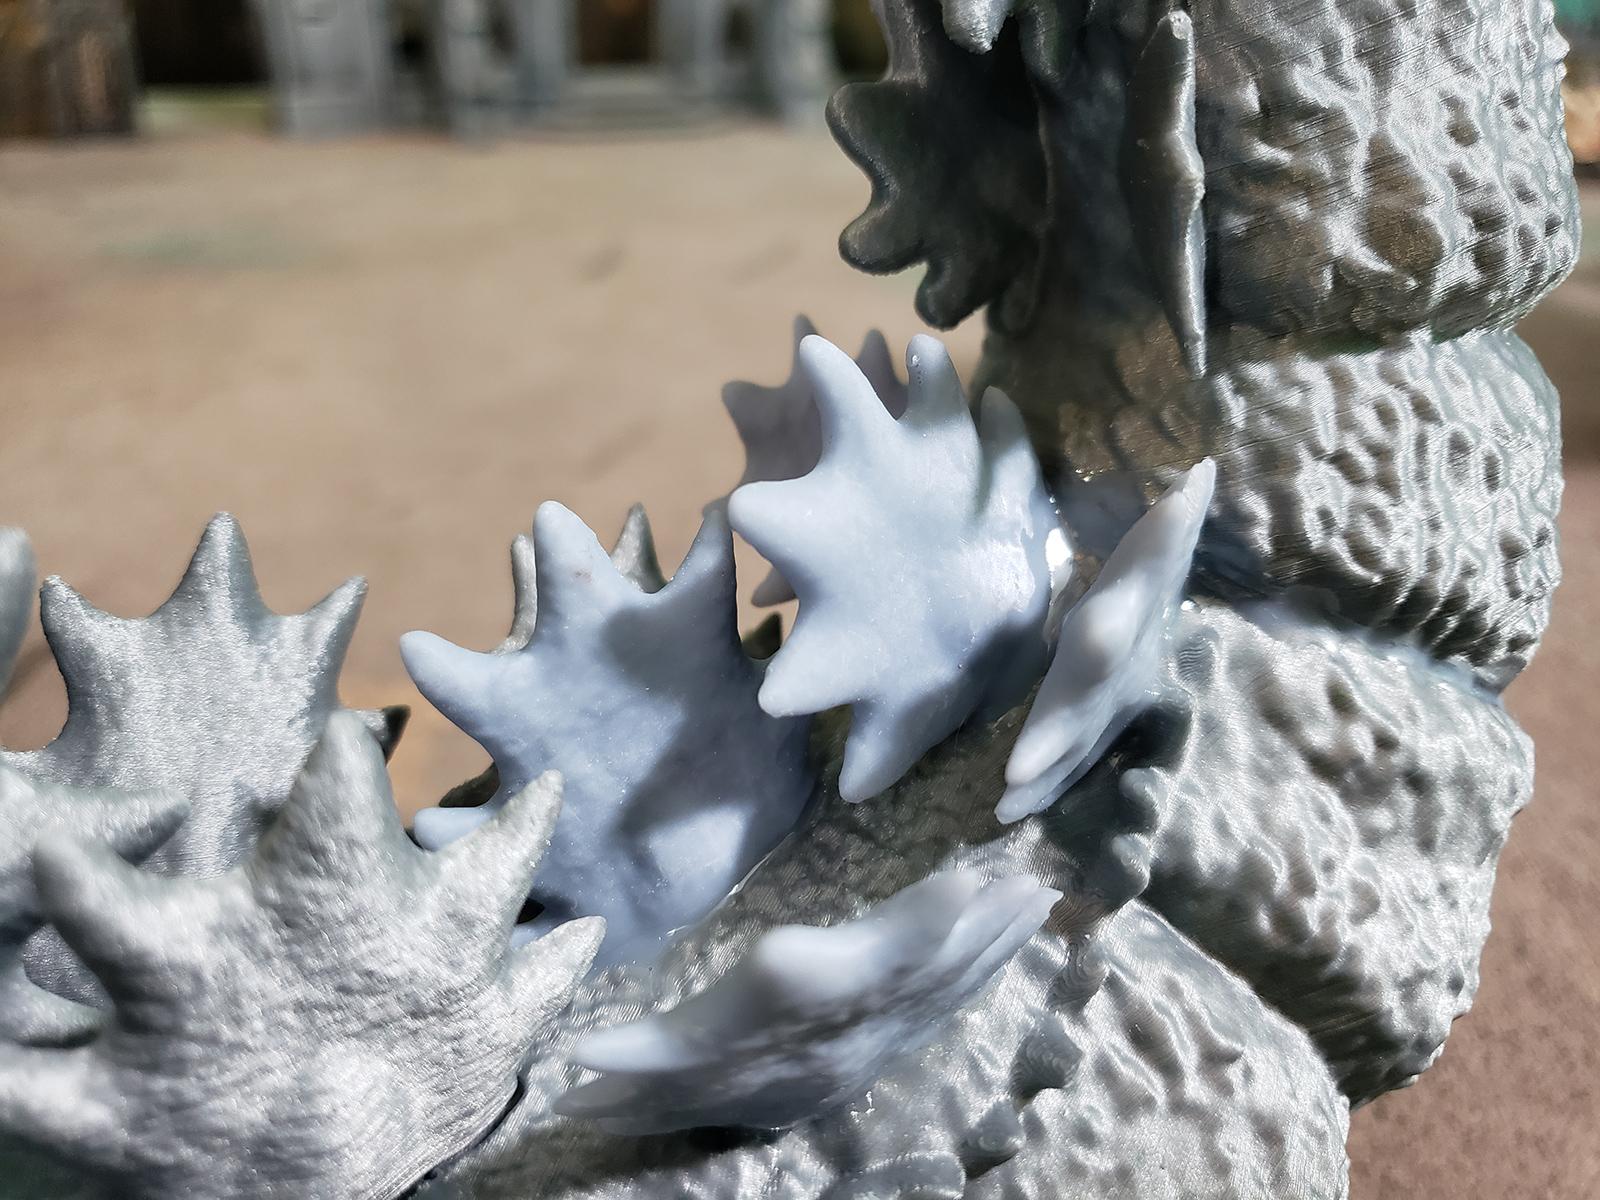
Some of the seams were really close, though - a gap of 2 or 3 millimeters. For those, I tried filling the gap with liquid resin, and then blasting it with a UV flashlight for 20 seconds (which is pretty much how it prints). This worked quite well in some specific circumstances and was much faster than greenstuffing, but it only works when the gap to be filled doesn't need any texture.

A good example here is the unfilled gap on the bottom left, compared to the next one up in the line.
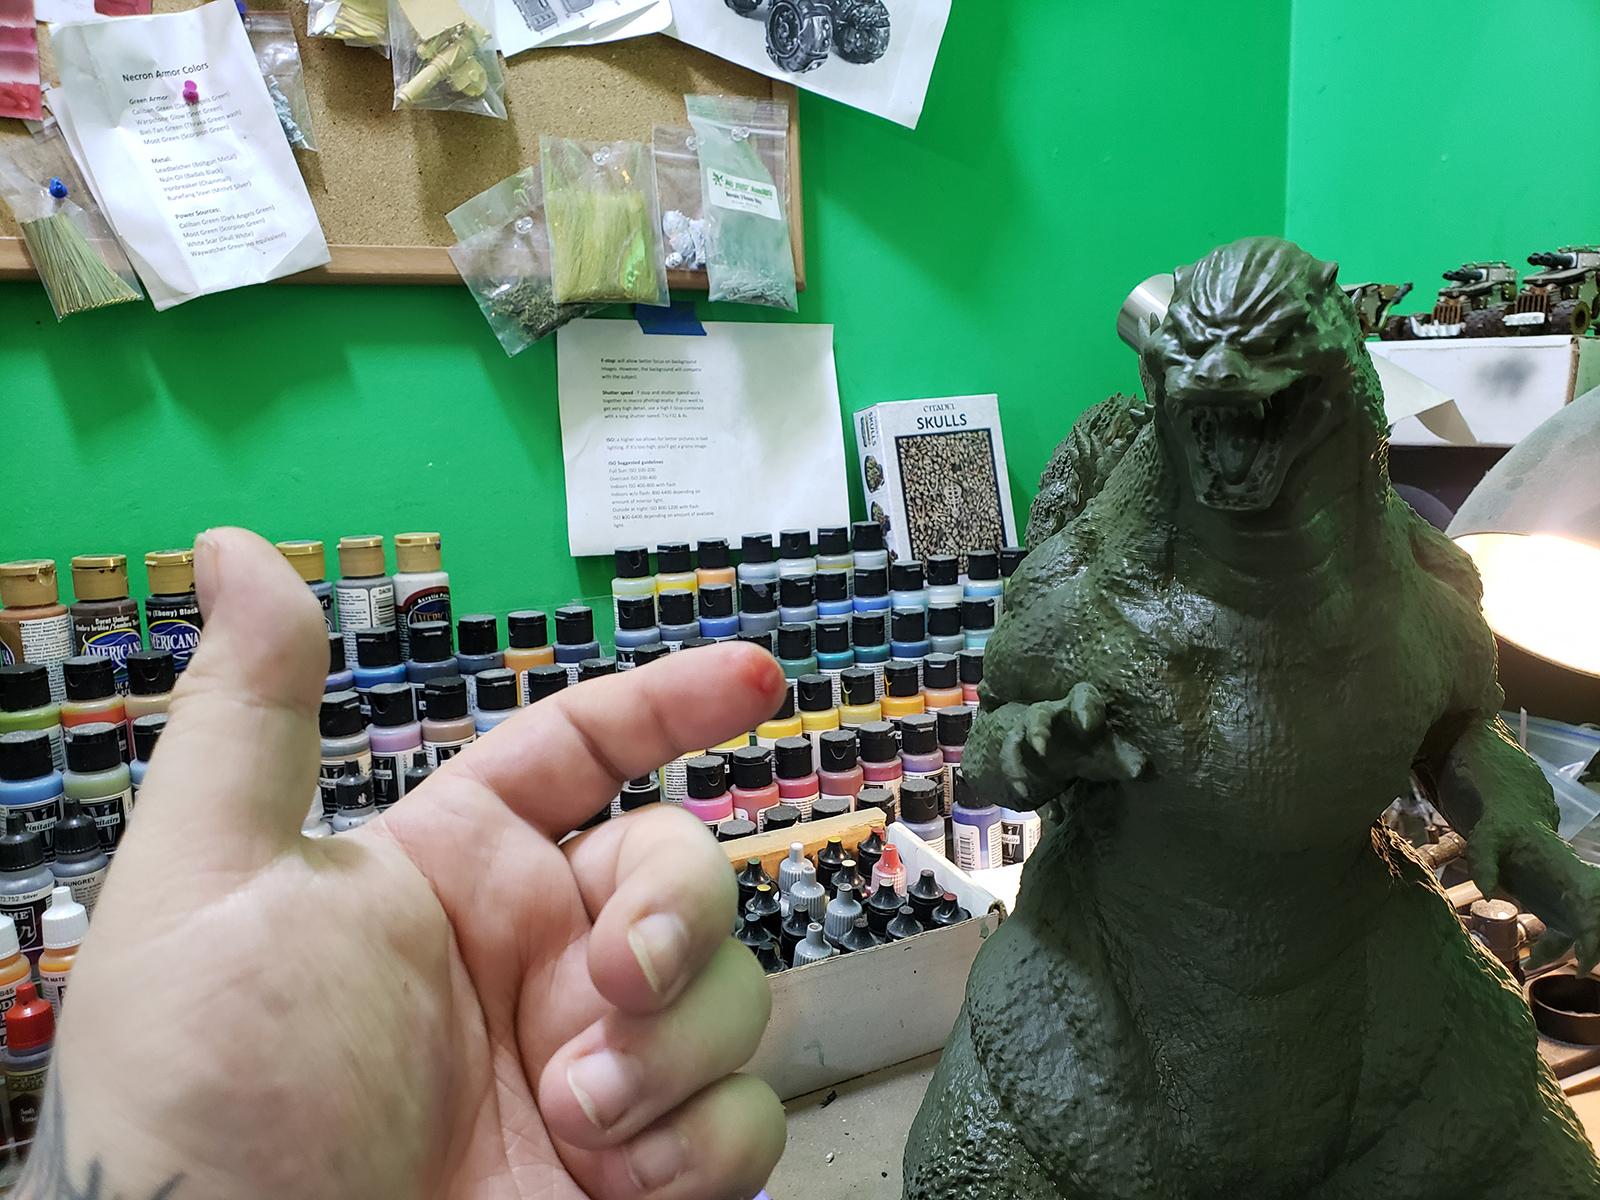
I managed to stab my finger pretty good when basecoating. The airbrush was slipping out of my hand, so I grabbed it with my other hand and jabbed myself good with the exposed needle tip. I also cut the hell out of my hand earlier pulling a broken spine (no pictures of that injury).
Godzilla cares not from whom the blood flows so long as it does, I guess.
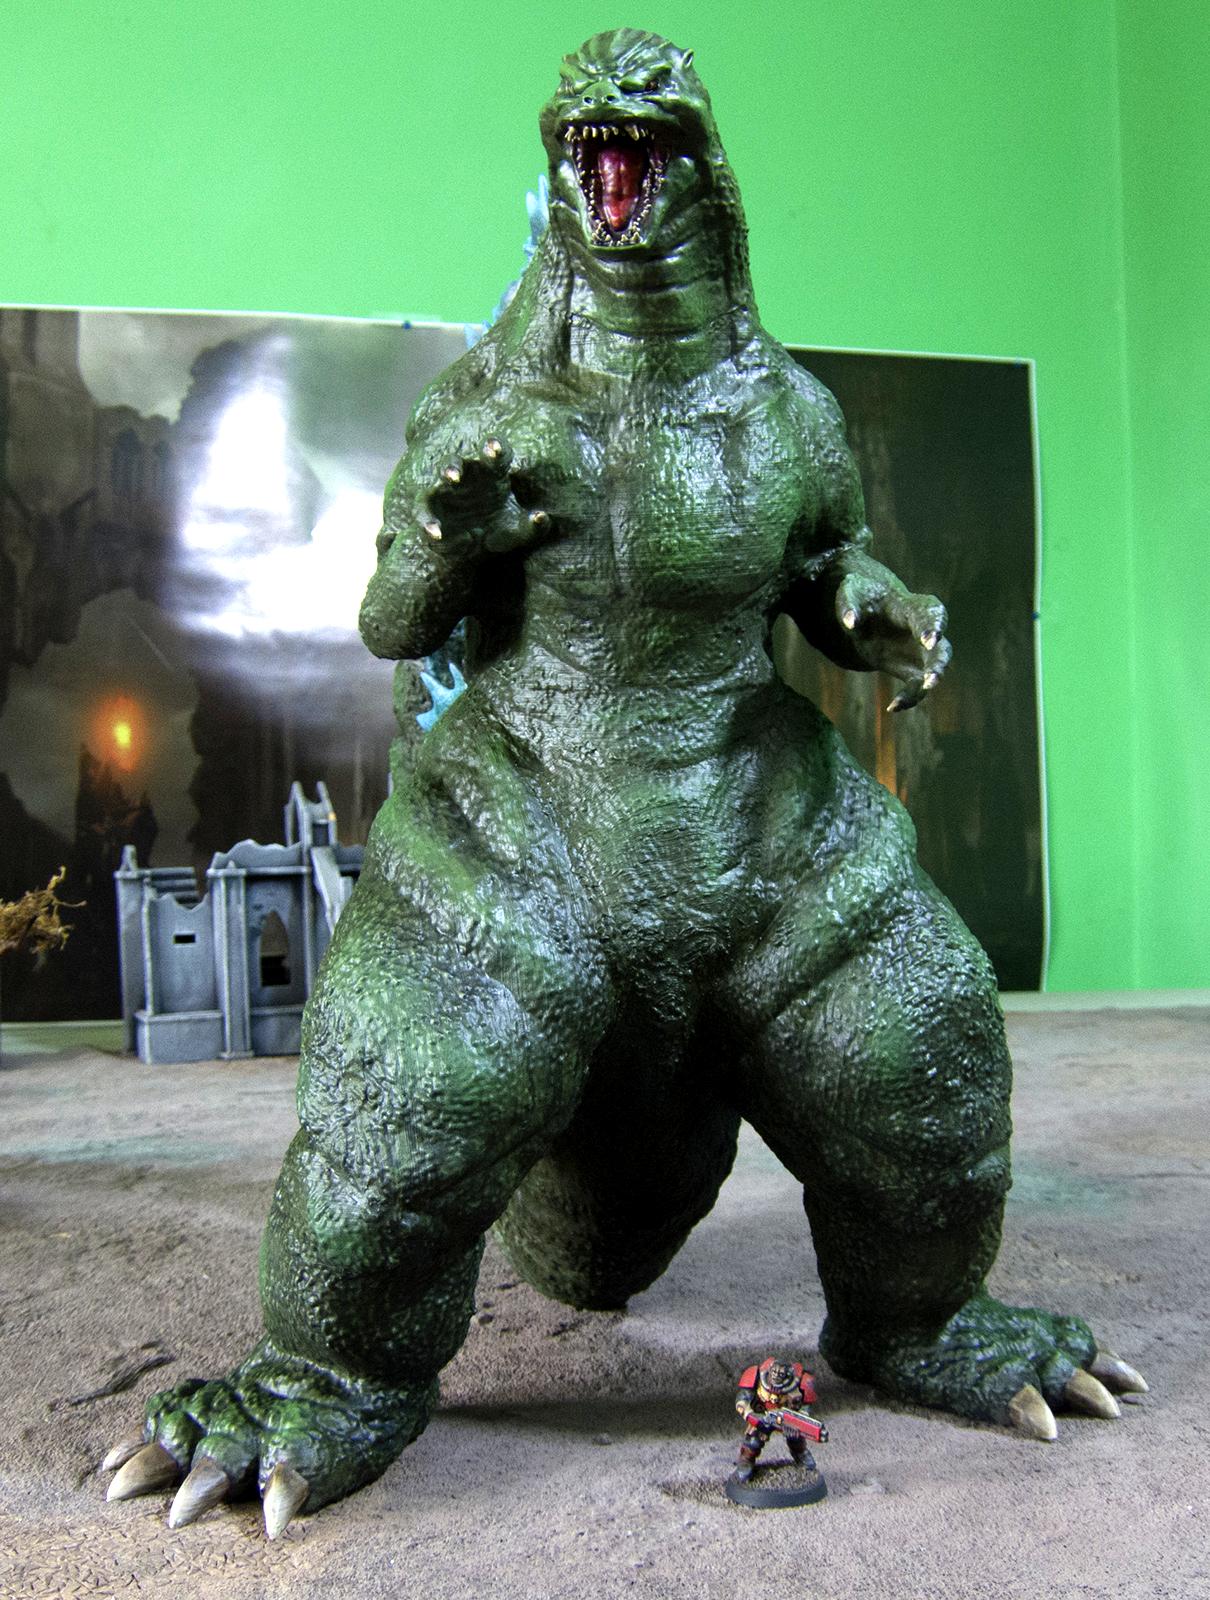
Relative size comparison:
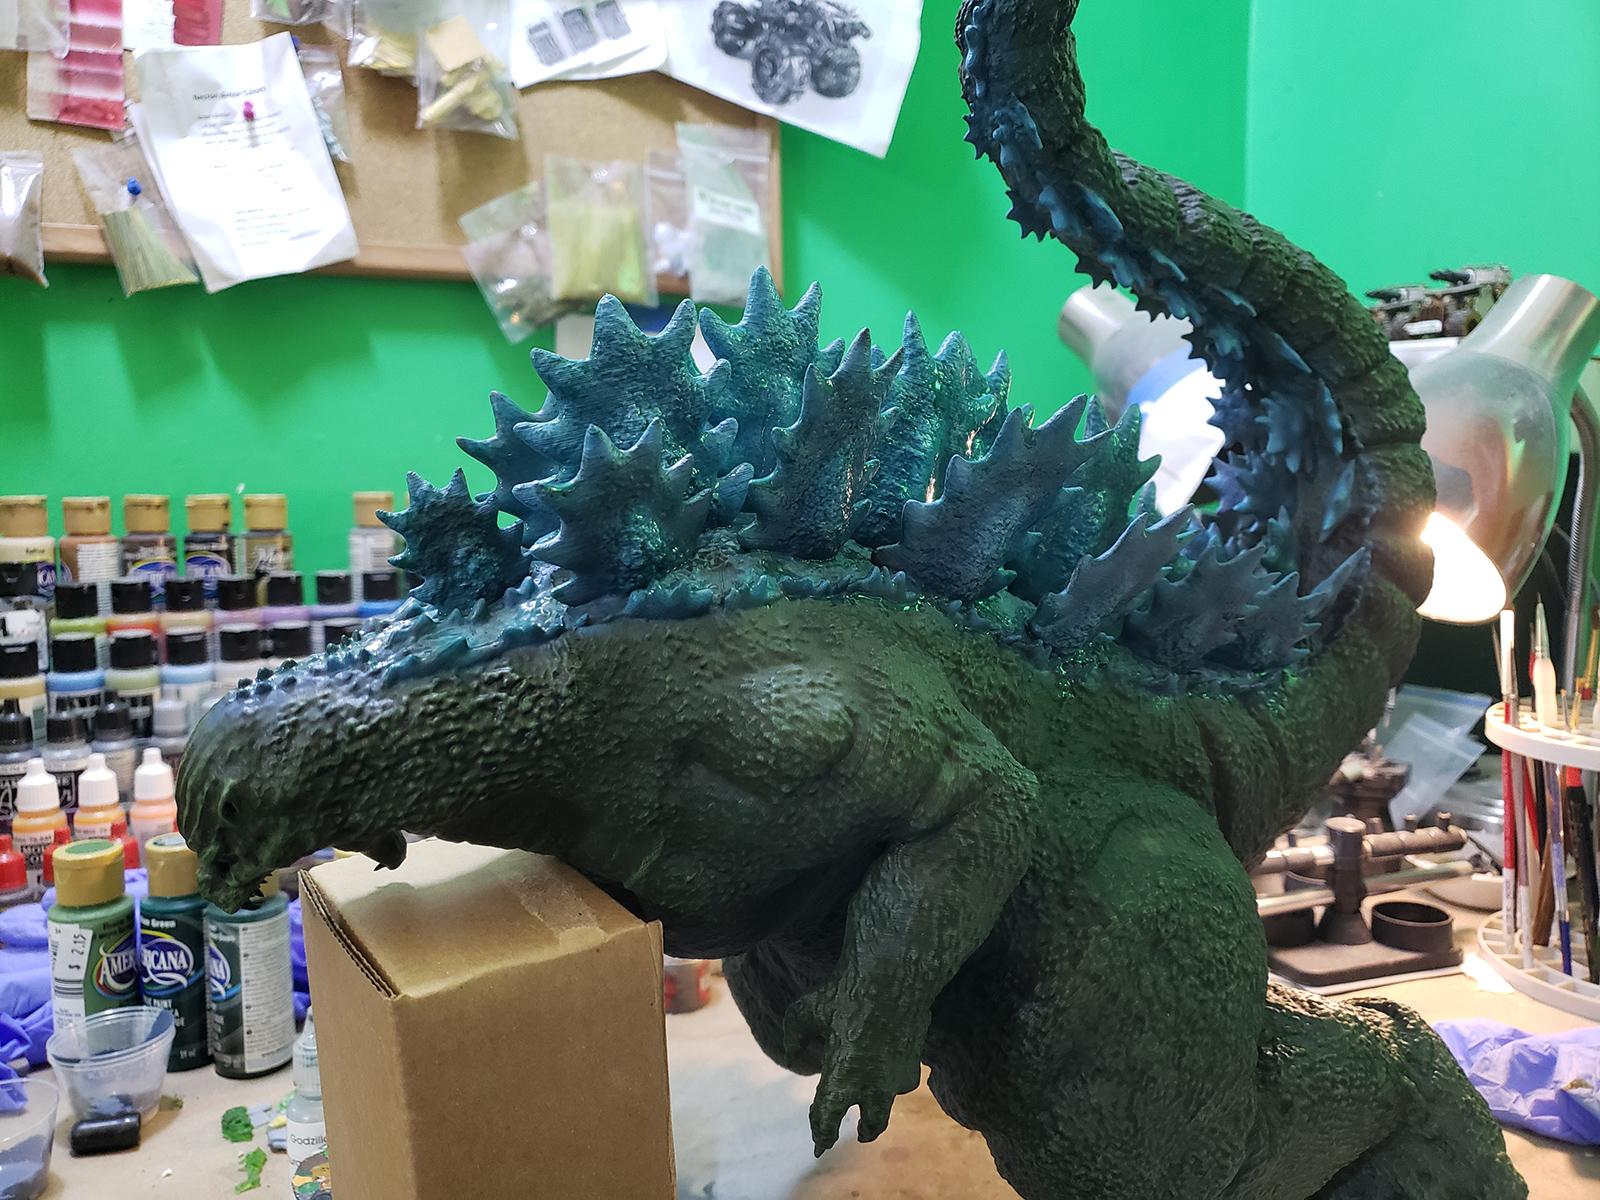
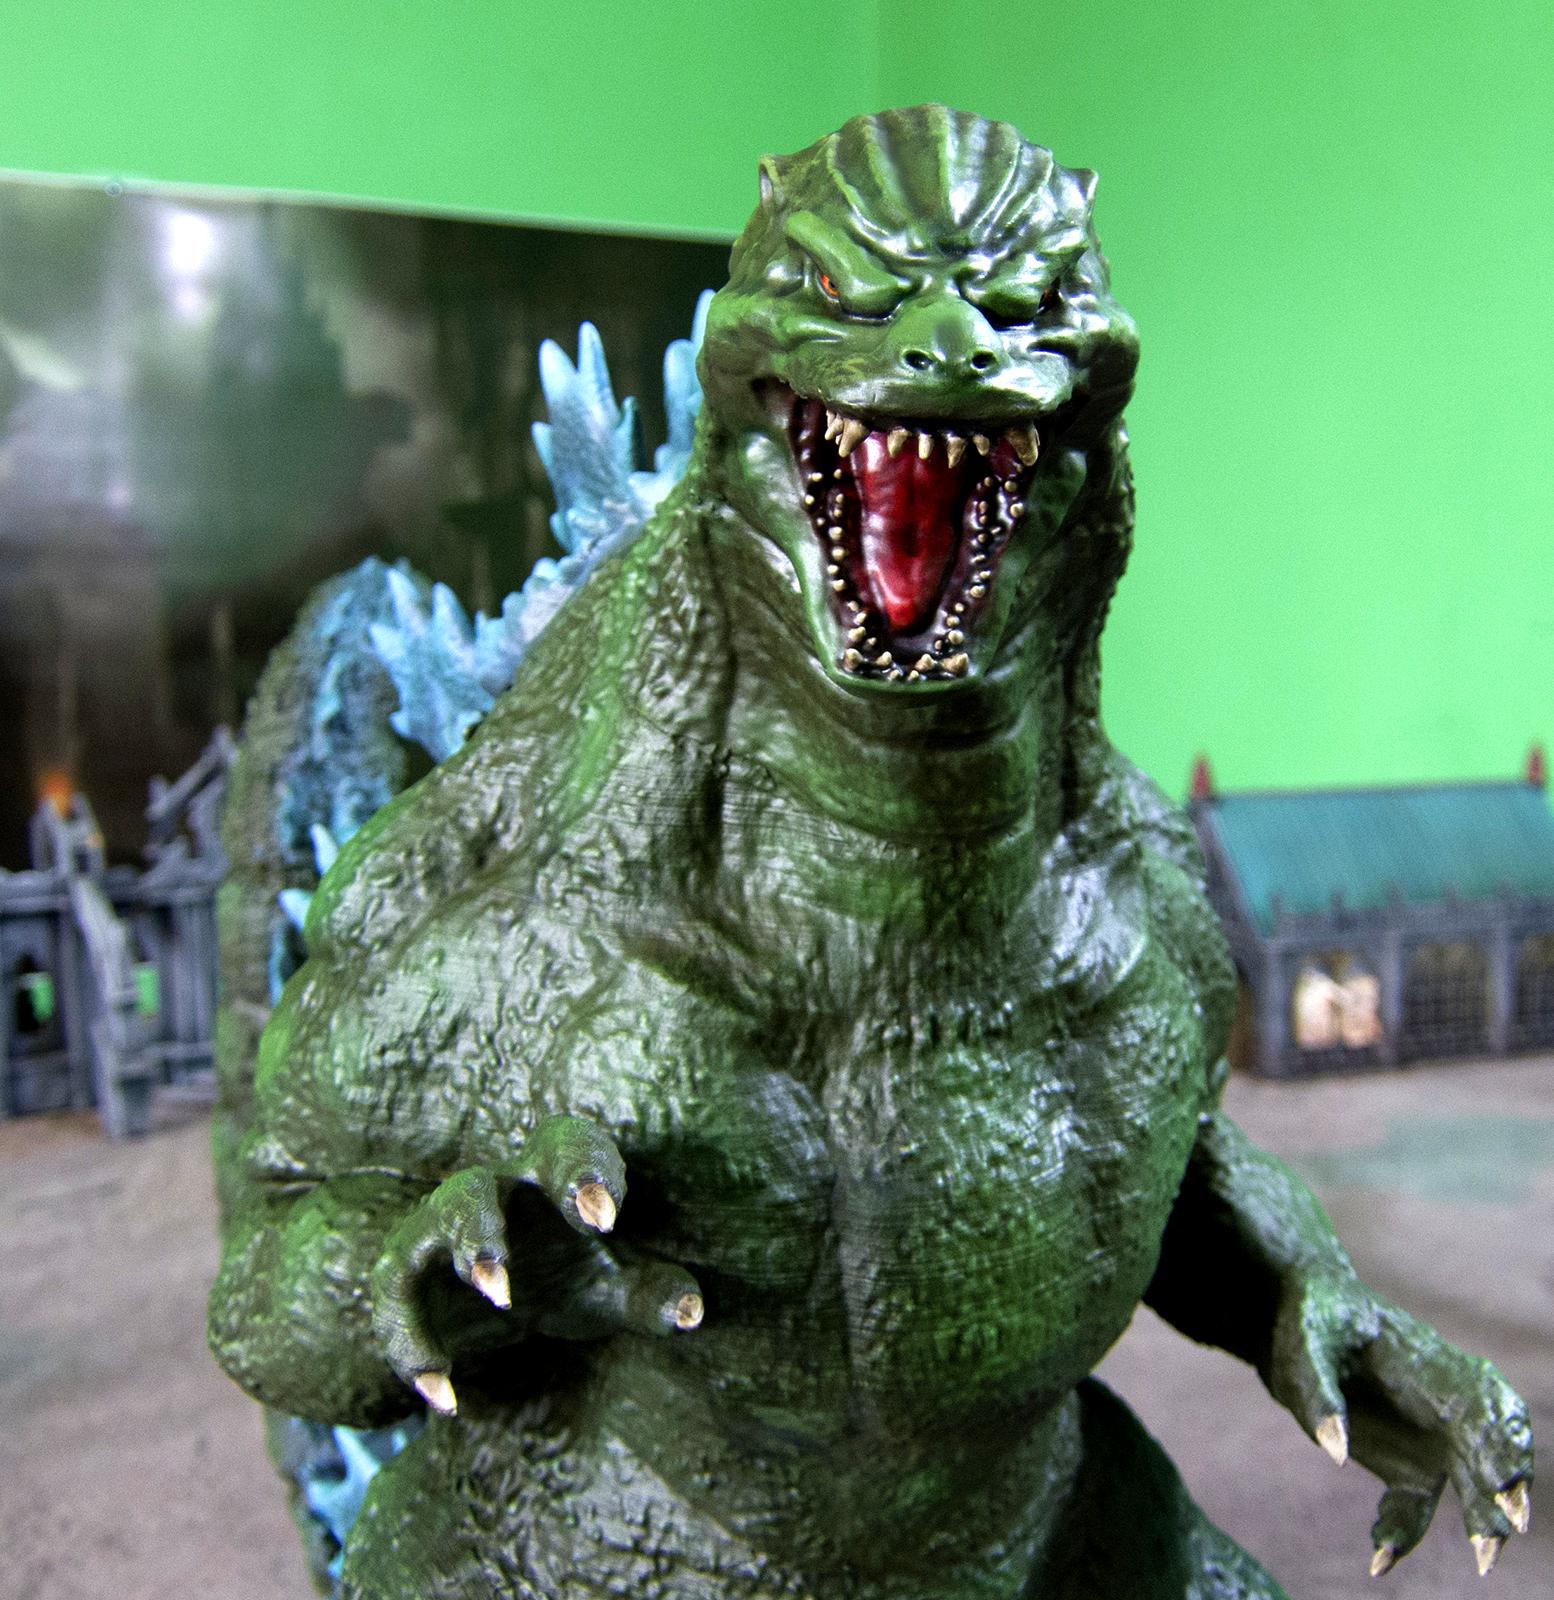
First layer drybrushing, second highlight layer, post wash:
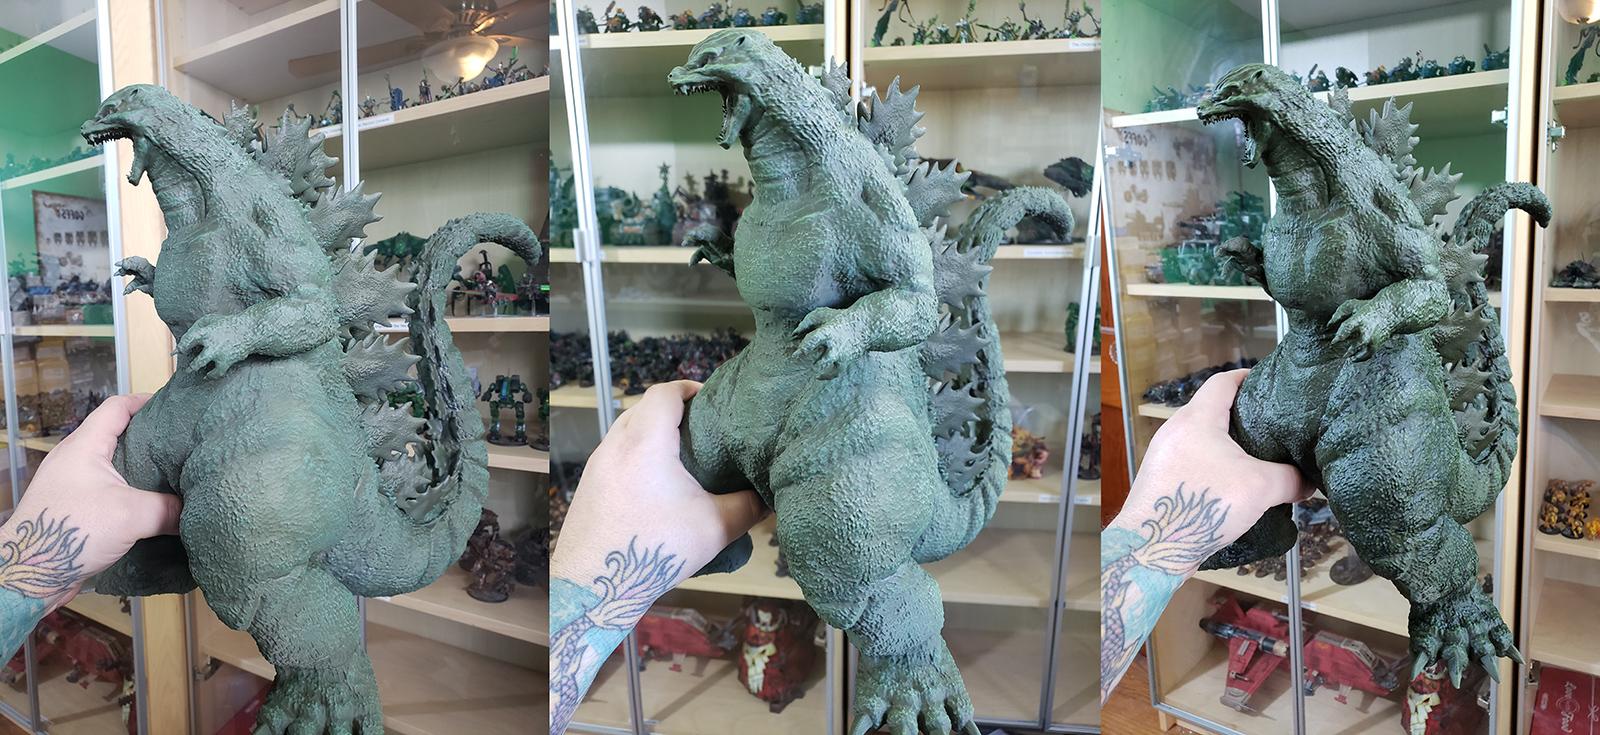
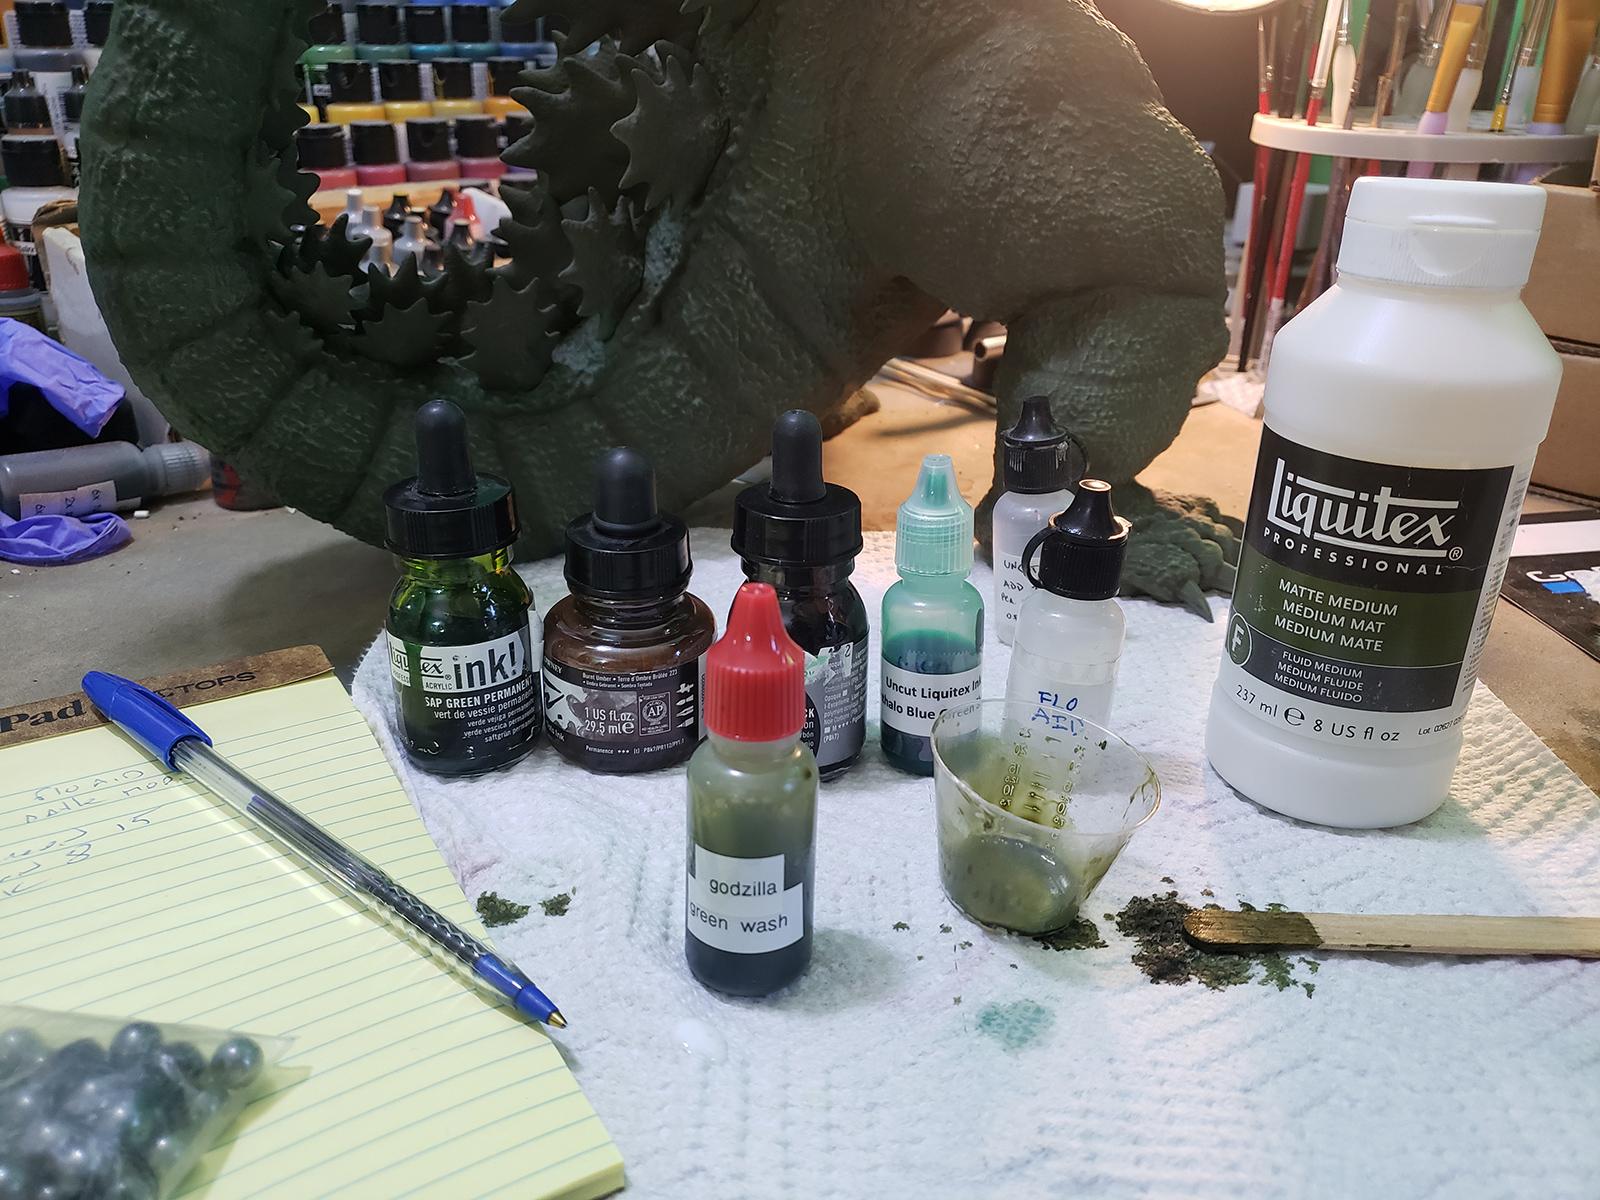
I basecoated with Vallejo Russian Green primer, and did all the drybrushes with craft paint. I did some highlight touchups with Minitaire and some shading with Minitaire ghost tints.
For the wash,
as always I went with Les Bursley's wash recipe. I love Army painter washes but this model was going to need pretty much a whole bottle and I'm not about that life.
I use this big ol cheap nylon brushes for drybrushing and wash application:
The detachability of the scales really made painting them a lot easier.
I made sure to apply the wash to the scales with the model positioned to minimize pooling. #FaceDownAssUp
The second to last step for me is always spraying the model with a thick layer of acrylic floor polish to protect the paintjob from handling (the final step is dullcote).


 Ultramarines, 3rd Co. and friends, 16k+
  4k
4k  4k Points
 Competition Index


 224th Astra Legion (main army)
 628th Praetorian Guard Cohort (wife's army)
 827th Auxilia Cohort (ad mech fun)
 825th Foderati Cohort (in the beginning army)
 1212th Foederati Cohort - Jokaero (cause I like apes with guns)
