Albertorius wrote:
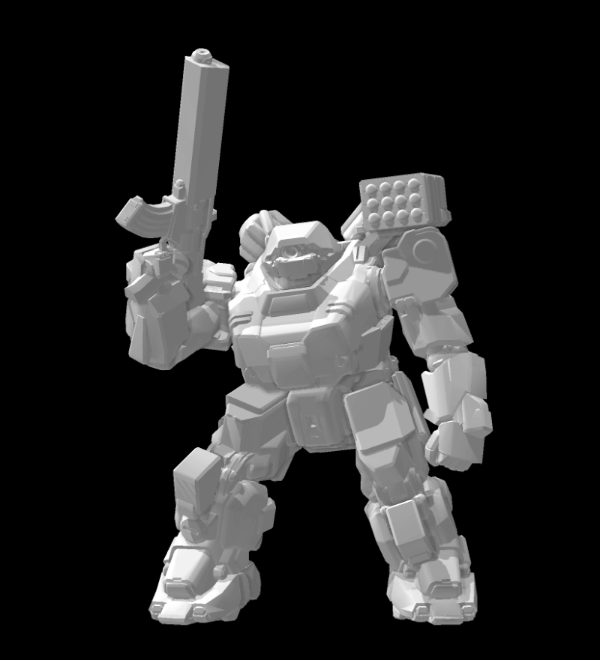
I think it looks amazing already... I'm not exactly surprised to see it looks more rounded, given that the renders already looked that way, so I'd say pretty good rendition of it.
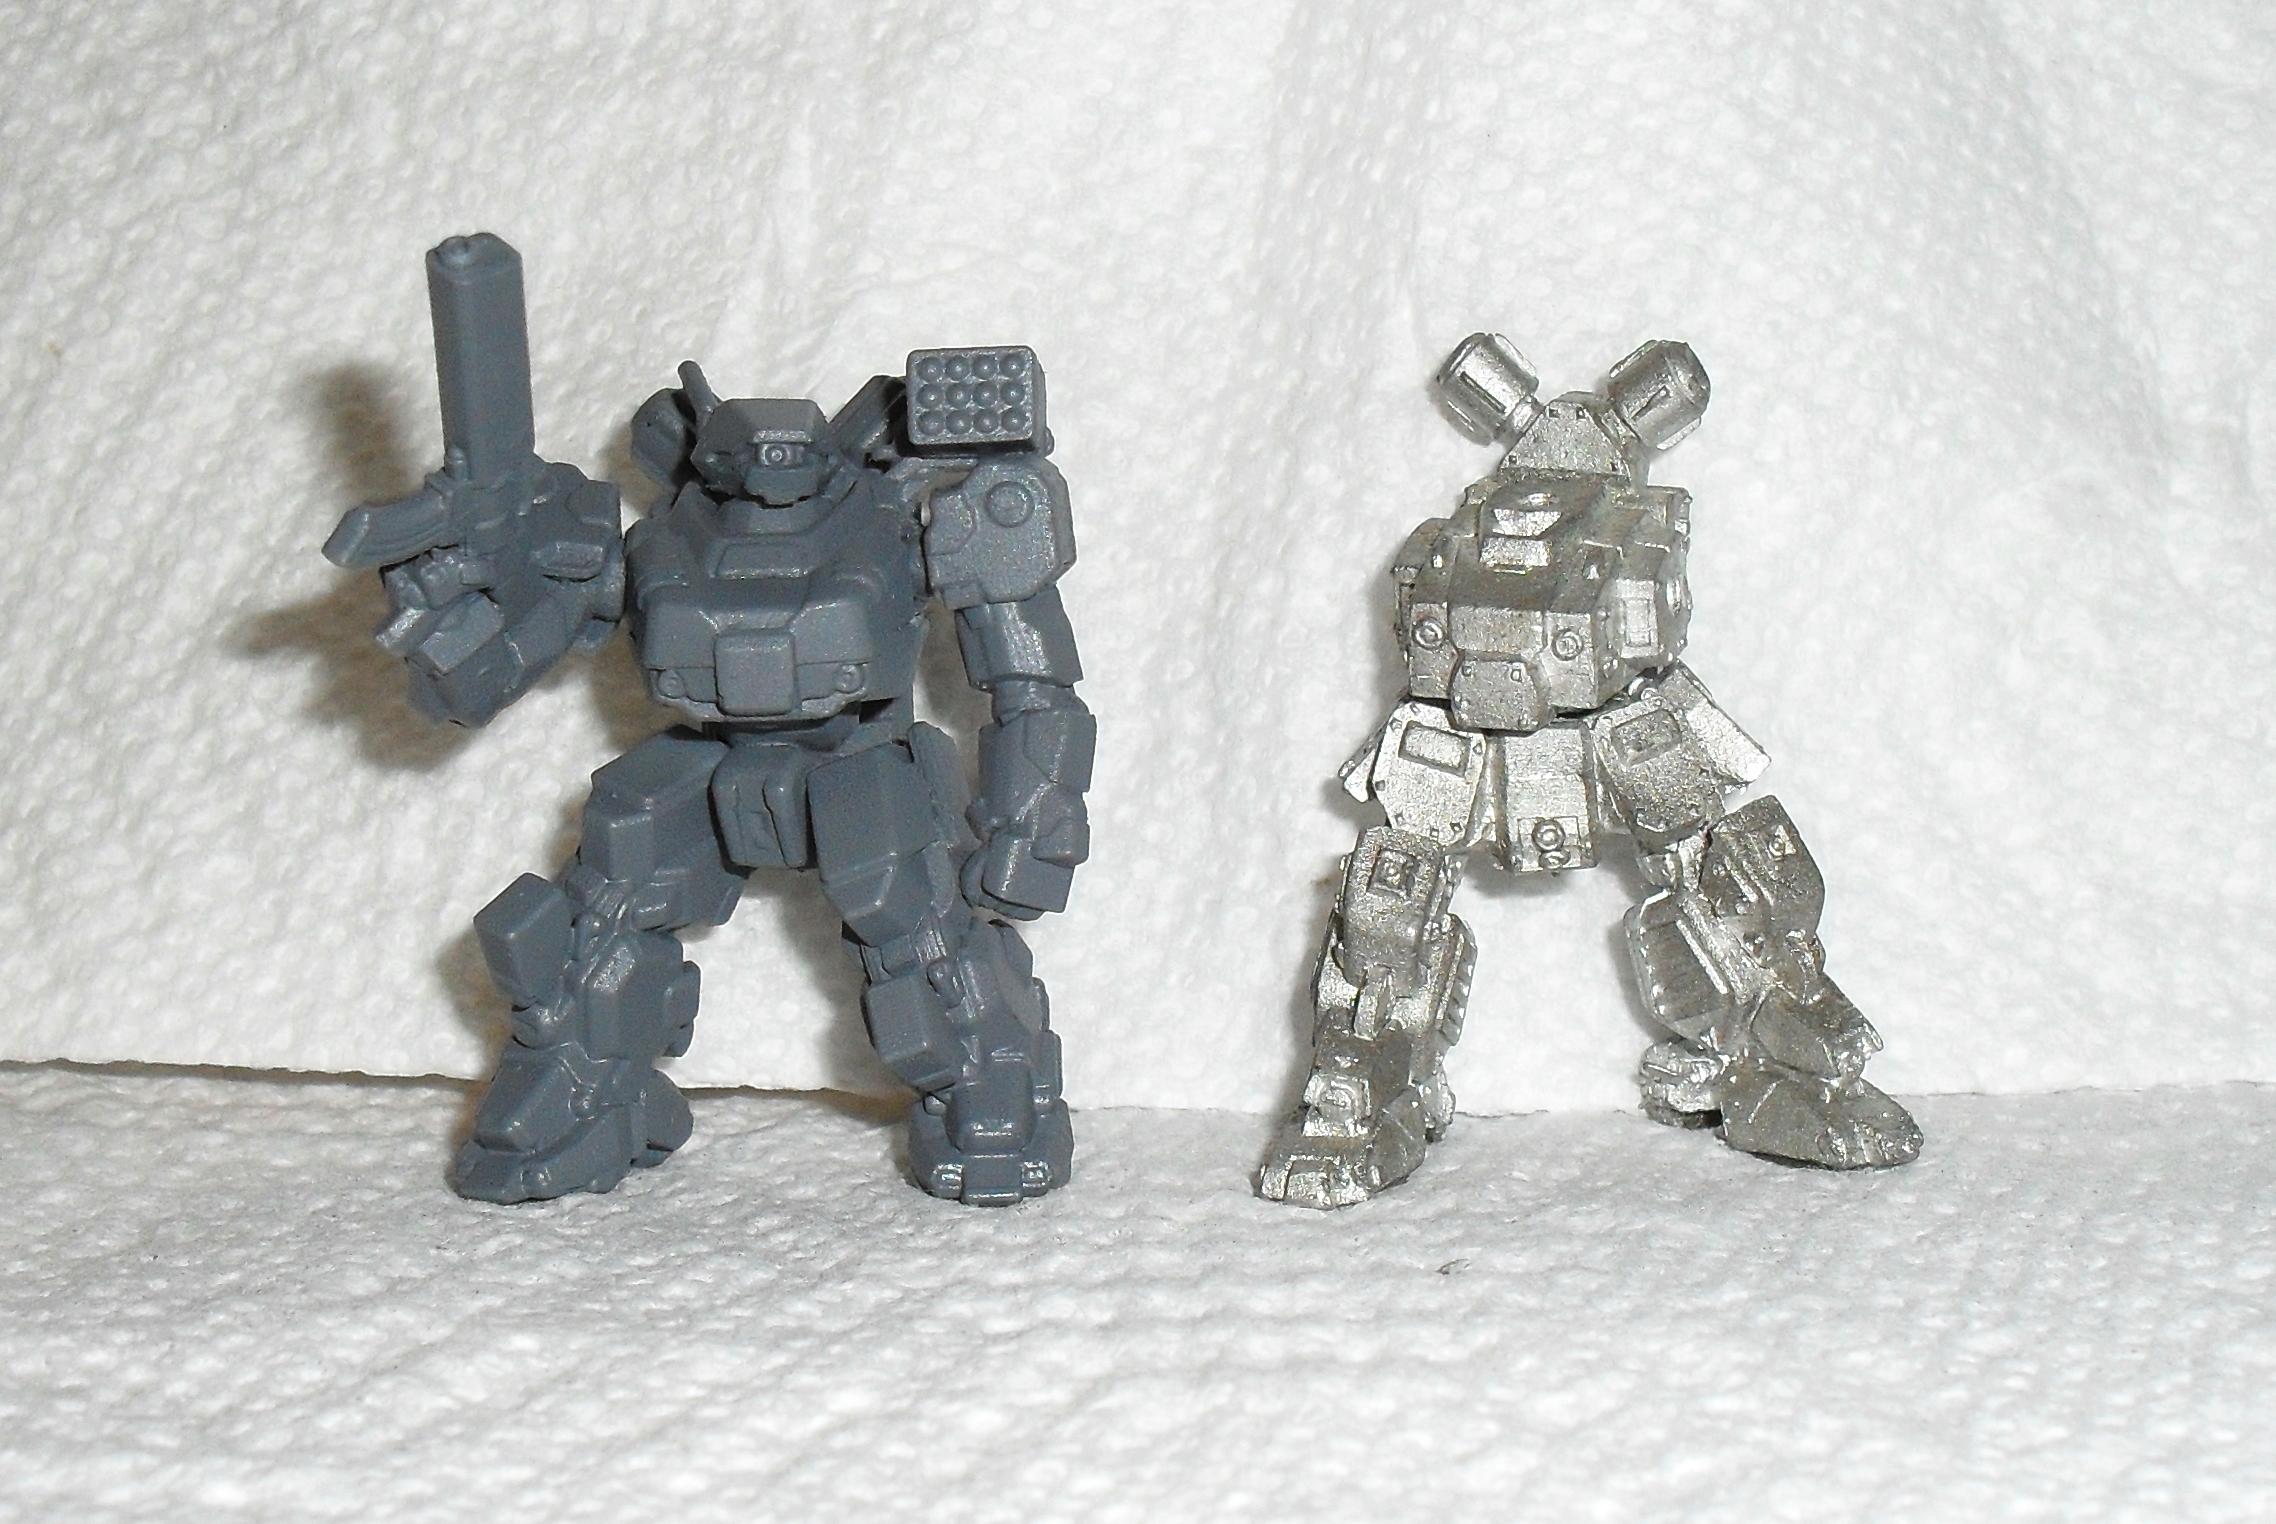
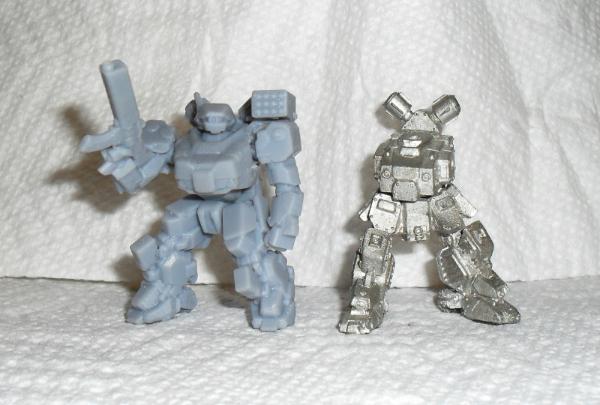
Considering you're on the top of the list of people who make me feel self conscious about my prints, I appreciate that! I cleaned out my tray and don't see any additional damage though there was a tiny chunk of cured resin about the size of two grains of rice stuck to the
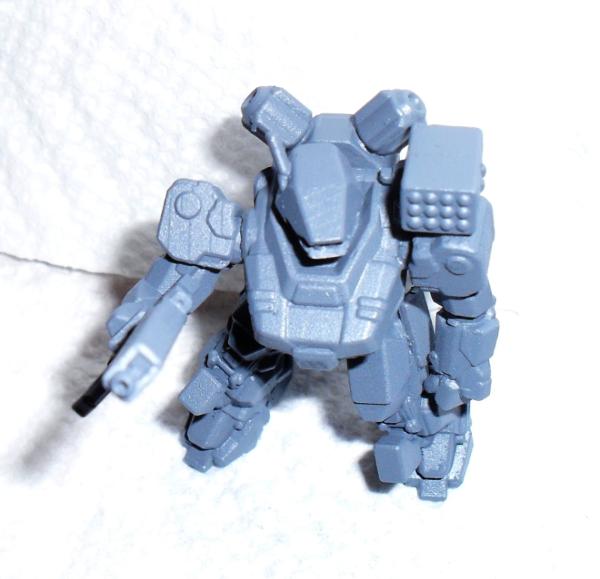
FEP (likely from two small supports that I noticed were half missing). I primed the model with grey primer and it does look a bit crisper than my naked resin does in the pics so that's a relief. It did reveal a bit of slippage though on some of the parts that I previously wasn't aware of visible on the second pic on the right shoulder. Since I've got the tray empty, I may end up trying to lubricate the
FEP as well as the guide rail for the first time but I'll need to research that a bit more as I've only read in passing posts about what is needed. I think it was lithium grease on the guide rail and PTFE on the
FEP but I'm not entirely sure. I figure now is as good of a time as any to try.


 Cadre Coronal Afterglow w1;d0;l0