posted by Panic
Intro
yeah,
Ok this Tutorial is to make a 6'x4' Game board Designed to hold 6- 2'x2' Tiles.
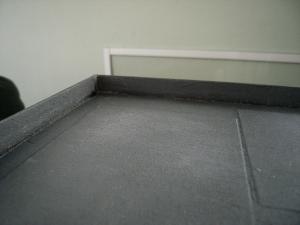
The idea is to make a Board with a Frame around it.
The Frame Serves to hold the Tiles in place during a game, but it also protects the boards edge from knocks and bumps when it's being moved around.
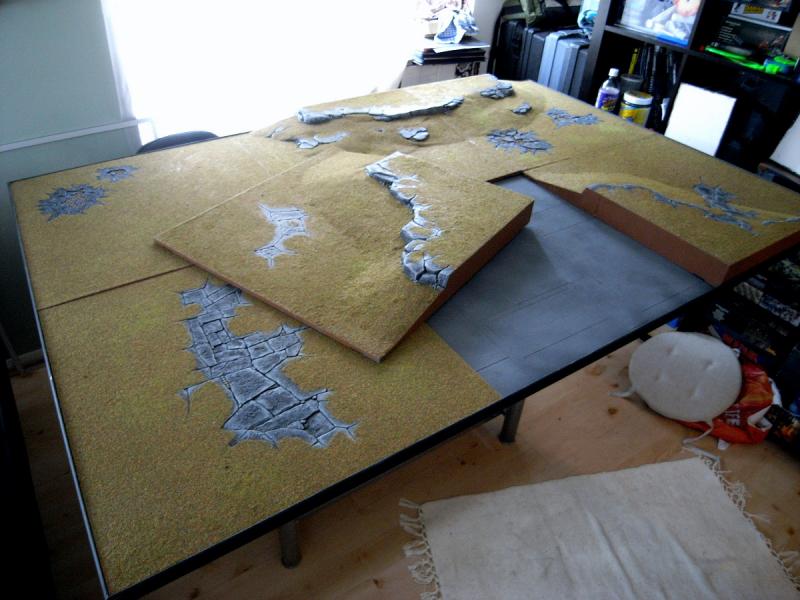
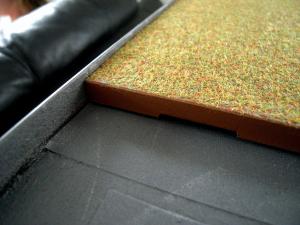
My first tiles are the GW Realm of Battle Board, but I plan to make my own DIY tiles.
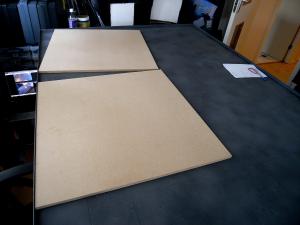
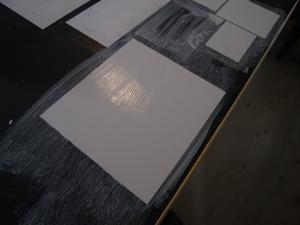
If you wanted you could make all your tiles DIY. Two of my furture DIY tiles^...
Also As you can see the area inside the board is a game worthy surface in it's own right! I painted mine up as my 'Urban' game board.
But it can just as easily be grass/snow/whatever as long as it's flat, so that the tiles lie flat and dont wobble on any raised bumps.
Getting Ready

List of materials
- 6'x4' board.
- 4 Lengths of 'Frame' Trim
- SetSquare
- mitreBlock
- Hand Saw
- Hammer
- modeling pins or small nails.
- Wood Glue
- Wood Filler
- Sand Paper
- maybe a Sanding block
- Pen or Pencil
- tape Measure
- Paint
- Paint Brush
Notes on Buying the Board
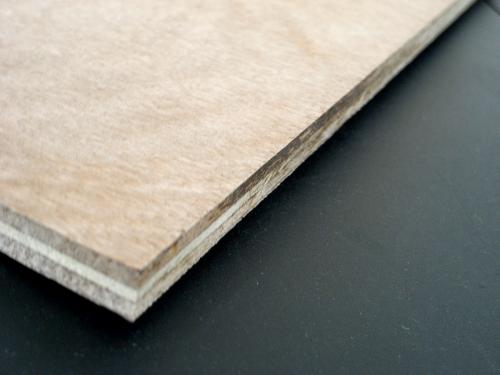
For the last two boards I've made, I used plywood. It lasts longer and resists warping. but you could use cheaper wood like MDF
When I was buying wood they sold it in 8'x4' Sheets.
They cut it to size for free. When having it cut you'll end up with a 6'x4' wood and a offcut that's just under 2' because when you get it cut the thickness of the bench blade eatting up the wood will mean that some wood is converted to dust and lost.. make sure the guy cutting it knows you want the main section to be exactly 6'.
The wood lost using a bench saw has a huge impact on buying wood for Game Board Tiles.
If you cut a 8'x4' section into 8 you don't get 8 that are exactly 2'x2' tiles (24"x24")
they will all be slightly smaller and be loose in the frame. You'll have to talk to the timber merchant to find out the best way to buy wood that's exactly 2'x2'.
Notes on Buying the Frame
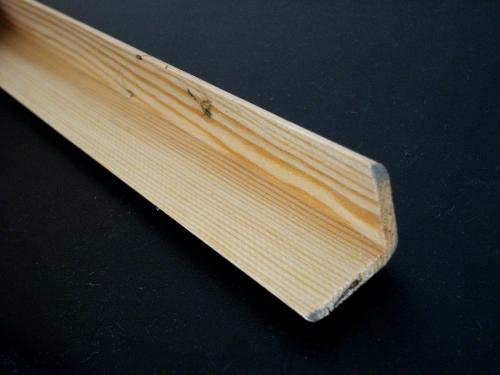
This stuff is Surprisingly Expensive and was sold in 8' lengths.
The Short 4' board edges require 4'3/4" lengths of frame...
The Long edges required 6'3/4"
So Four 8' lengths of trim are required in total.
You'll need to consider the thickness of the board and the tiles when choosing your trim.
My Frame Trim is 1" deep on the inside measurement.
Also I spent a bit extra getting trim with rounded edges, this is nicer for carrying the board and leaning over the table.
Making the board
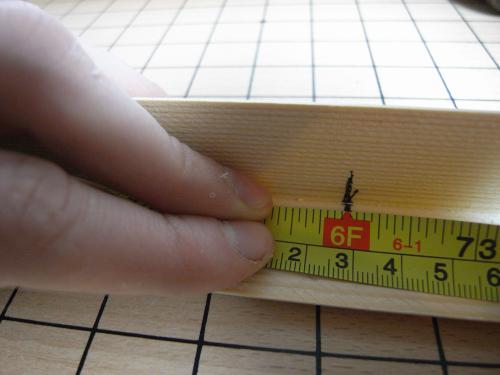
Cutting the Frame.
The inside edges will be exactly 6' and 4'
Be mindfull that the outside edge is going to be longer.
After you make the initial measurements, Mark out the rest of the cut with the set Square. (look at the next picture for referance)
Before you cut place the trim against the Board and check the marks are what you expect.
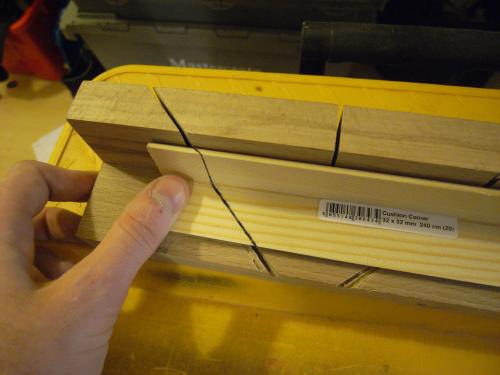
Next Place the Trim in a mitre block and use the hand saw to cut.
Attaching the Frame
Use wood glue to stick the trim onto the board
Glue the entire length of the trim...
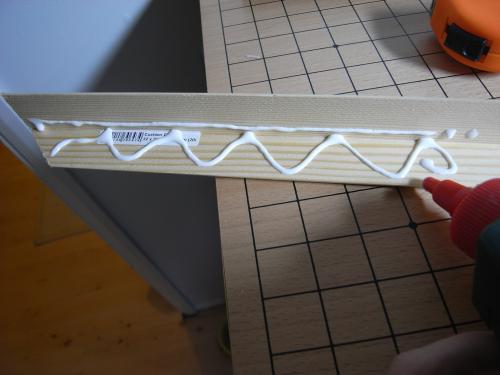
Line the inside edge up. (as you can see the outside edge is longer)

Use modeling pins to hold the Frame in place while the glue dries.
I used a pin every 1' along the edge of the Frame to keep it tight.
Tip: after you hit the pin all the way in. Use the ball side of the hammer and hit the pin once or twice more, to hit the pin 'flush' with the wood.

Finnishing Touches
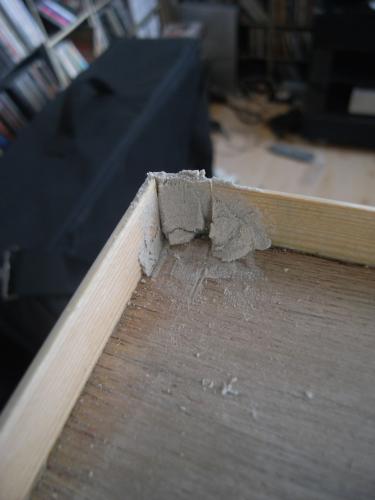
Next Spread wood filler into the Join.
Put a similar ammount as shown in this picture, next push it into the Join, forcing it into any gaps you have.
Remove extra filler and Spread it flat.
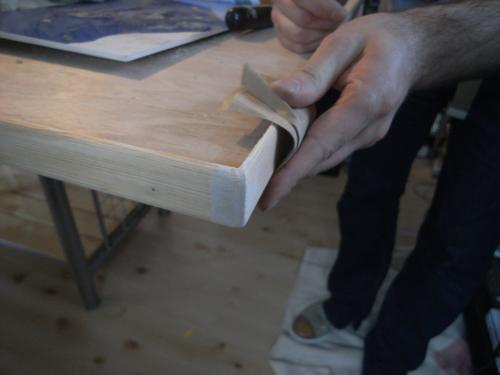
Use Sand Paper and Smooth all around the board, this will prevent splinters when playing.
Pay attention when Sanding the Corner Joints, because the filler is very soft, you should be able to get a good blend but don't sand too much, or you'll ruin the filler...
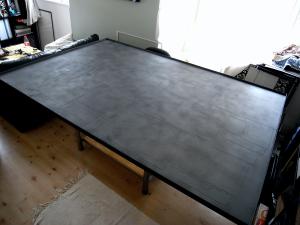
Paint the Board and That's it your 6'x4' "base board" is finnished!
All you need to do now is get/make the tiles to place on/in it.
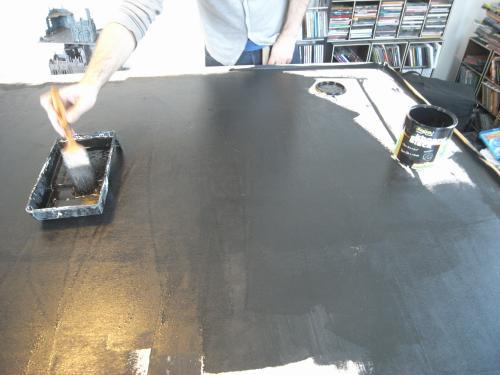
After this I decided to Paint the game surface of mine as a urban board.
I Pasted down Card with a 50/50 water/PVA mix and Painted it black and and sprayed it with a Can of GW RoughCoat onto the board..
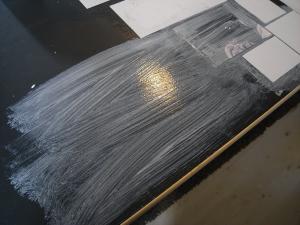
After it was done I still had a few bubbles under the card I just slit these with my hobby knife and stuck the bubbles back down again.
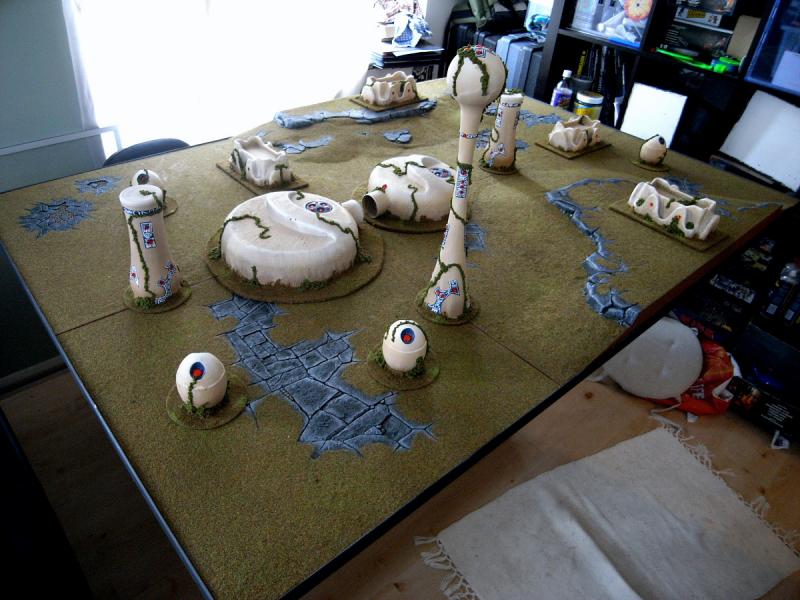
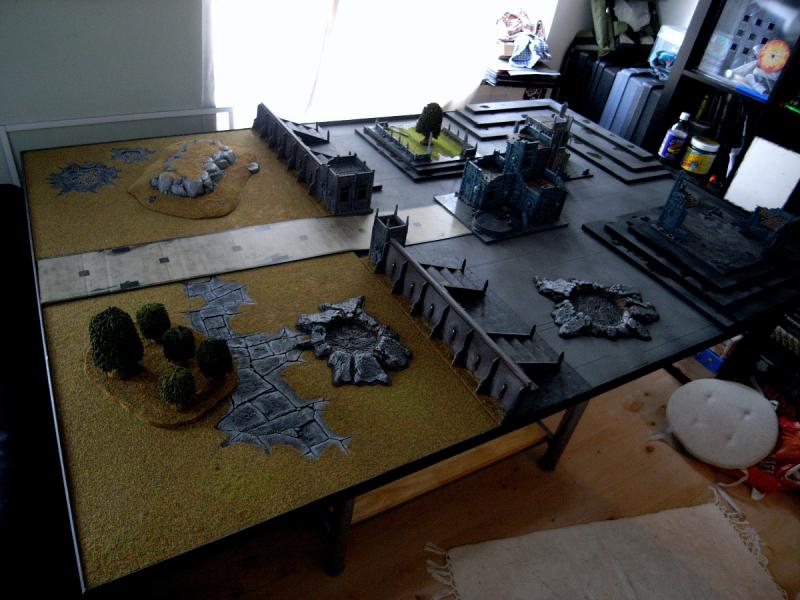
ShowCase
This is a few of the Setups I can currently create while playing on this "Base Board".
I'll update this with a few more shots taken during games in the future.
One of the greatest benifits of using this type of board is that you don't have to play around with the annoying clips involved with the GW Realm of Battle Board and it will be very easy to make you own additions.